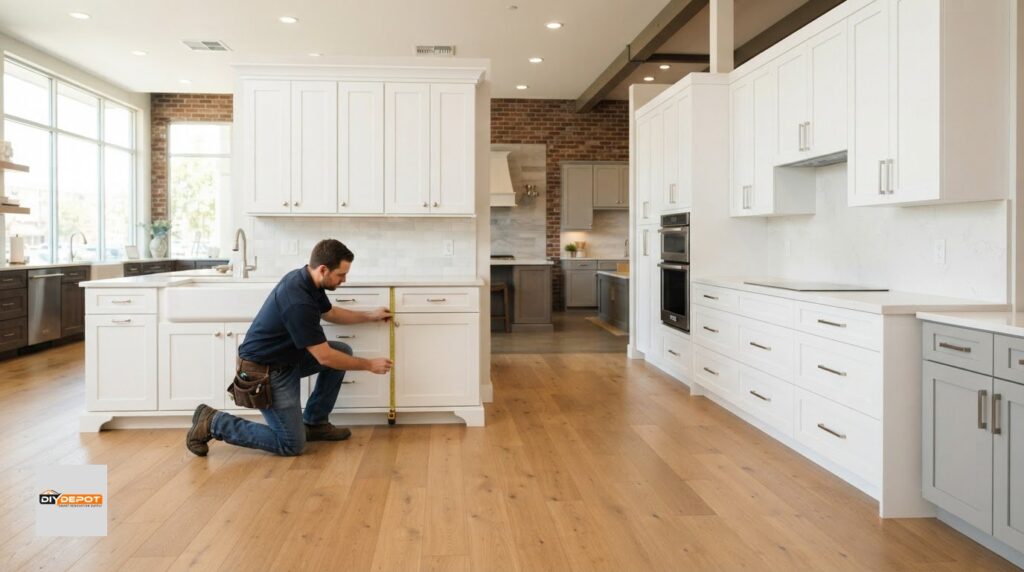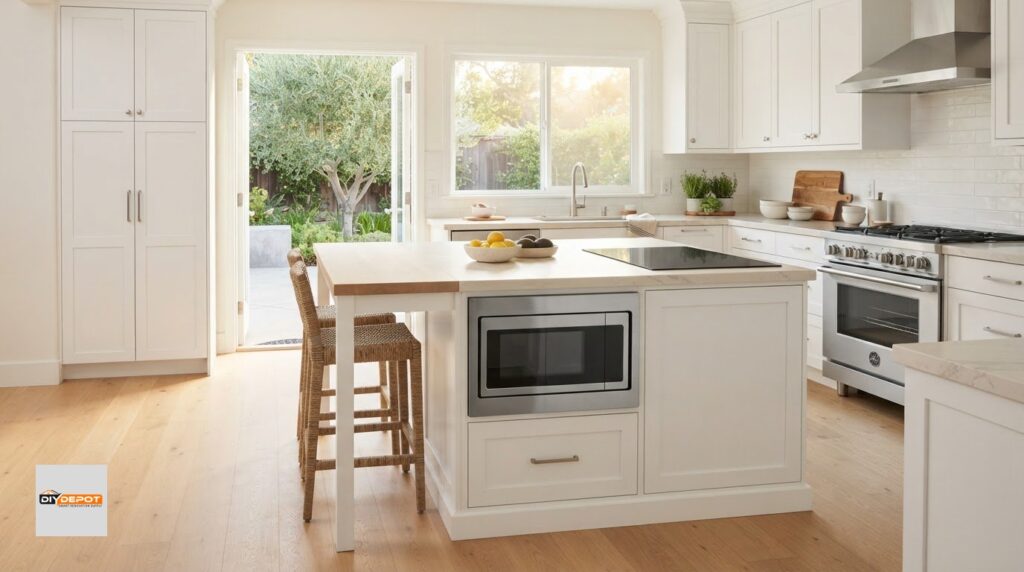

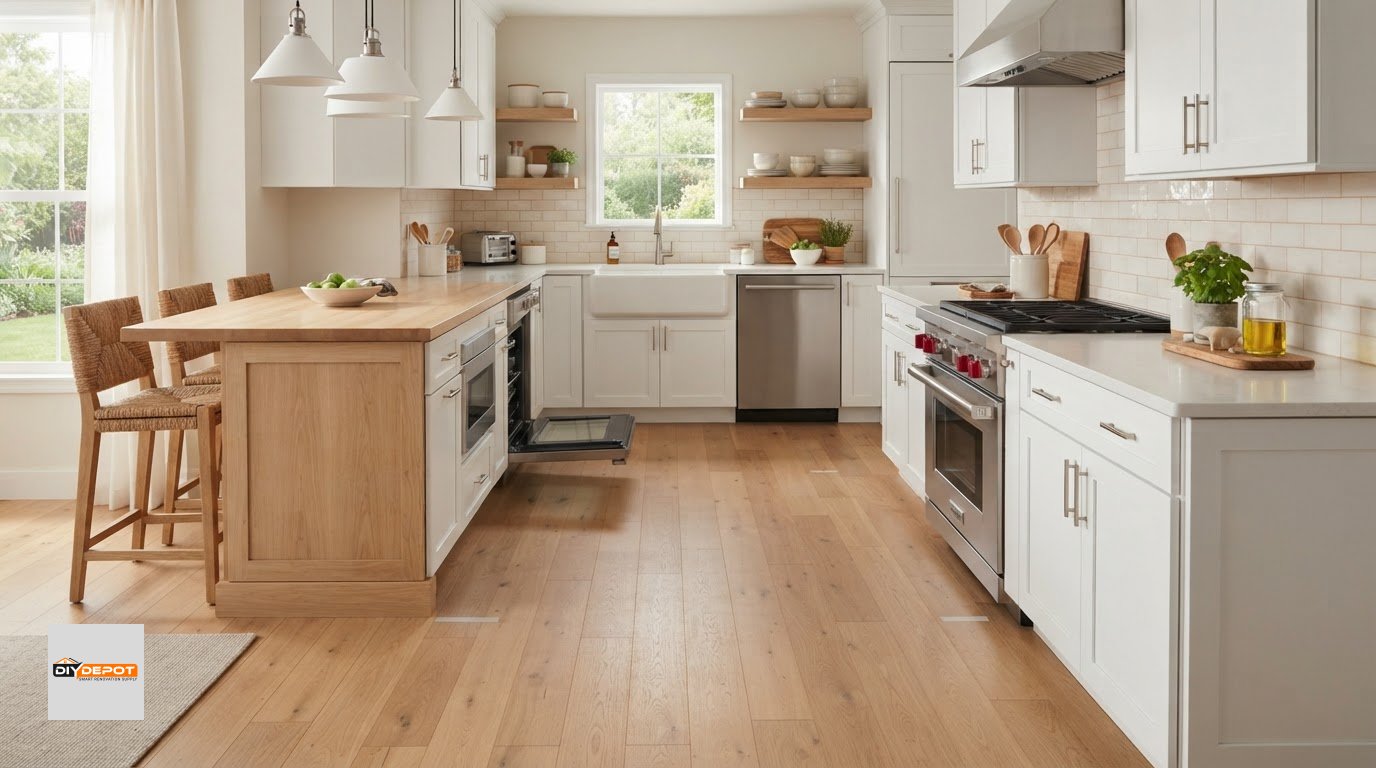
A bigger kitchen island isn’t always a better one. Leave at least 36 inches of clearance on all sides; 42 to 48 inches can make movement easier in a busy kitchen or when multiple people cook. Some of the common kitchen design mistakes to avoid start with choosing an island before considering how people will move around it.
It’s easy to focus on an island’s size and style, but everyday comfort depends on more than looks. Tight walkways, crowded prep areas, poor lighting, and storage that doesn’t suit your routine can make a new kitchen harder to use.
This guide covers common kitchen design mistakes to avoid, from poor island clearance and limited prep space to lighting that leaves work areas dim. You’ll learn how to compare an island with a peninsula and plan storage around the way you use your kitchen.
Key Takeaways
- Map appliance and cabinet door swings before settling on the island position to prevent awkward collisions.
- Protect clear prep areas near the sink and main cooking zone when choosing counters and storage.
- Consider a peninsula if an island would interrupt the kitchen’s natural traffic flow.
- Combine general, task, and accent lighting so work surfaces are useful and the room feels comfortable.
- Arrange storage and outlets around how you cook, what you use often, and where tasks happen.
1. How much clearance should there be around a kitchen island?
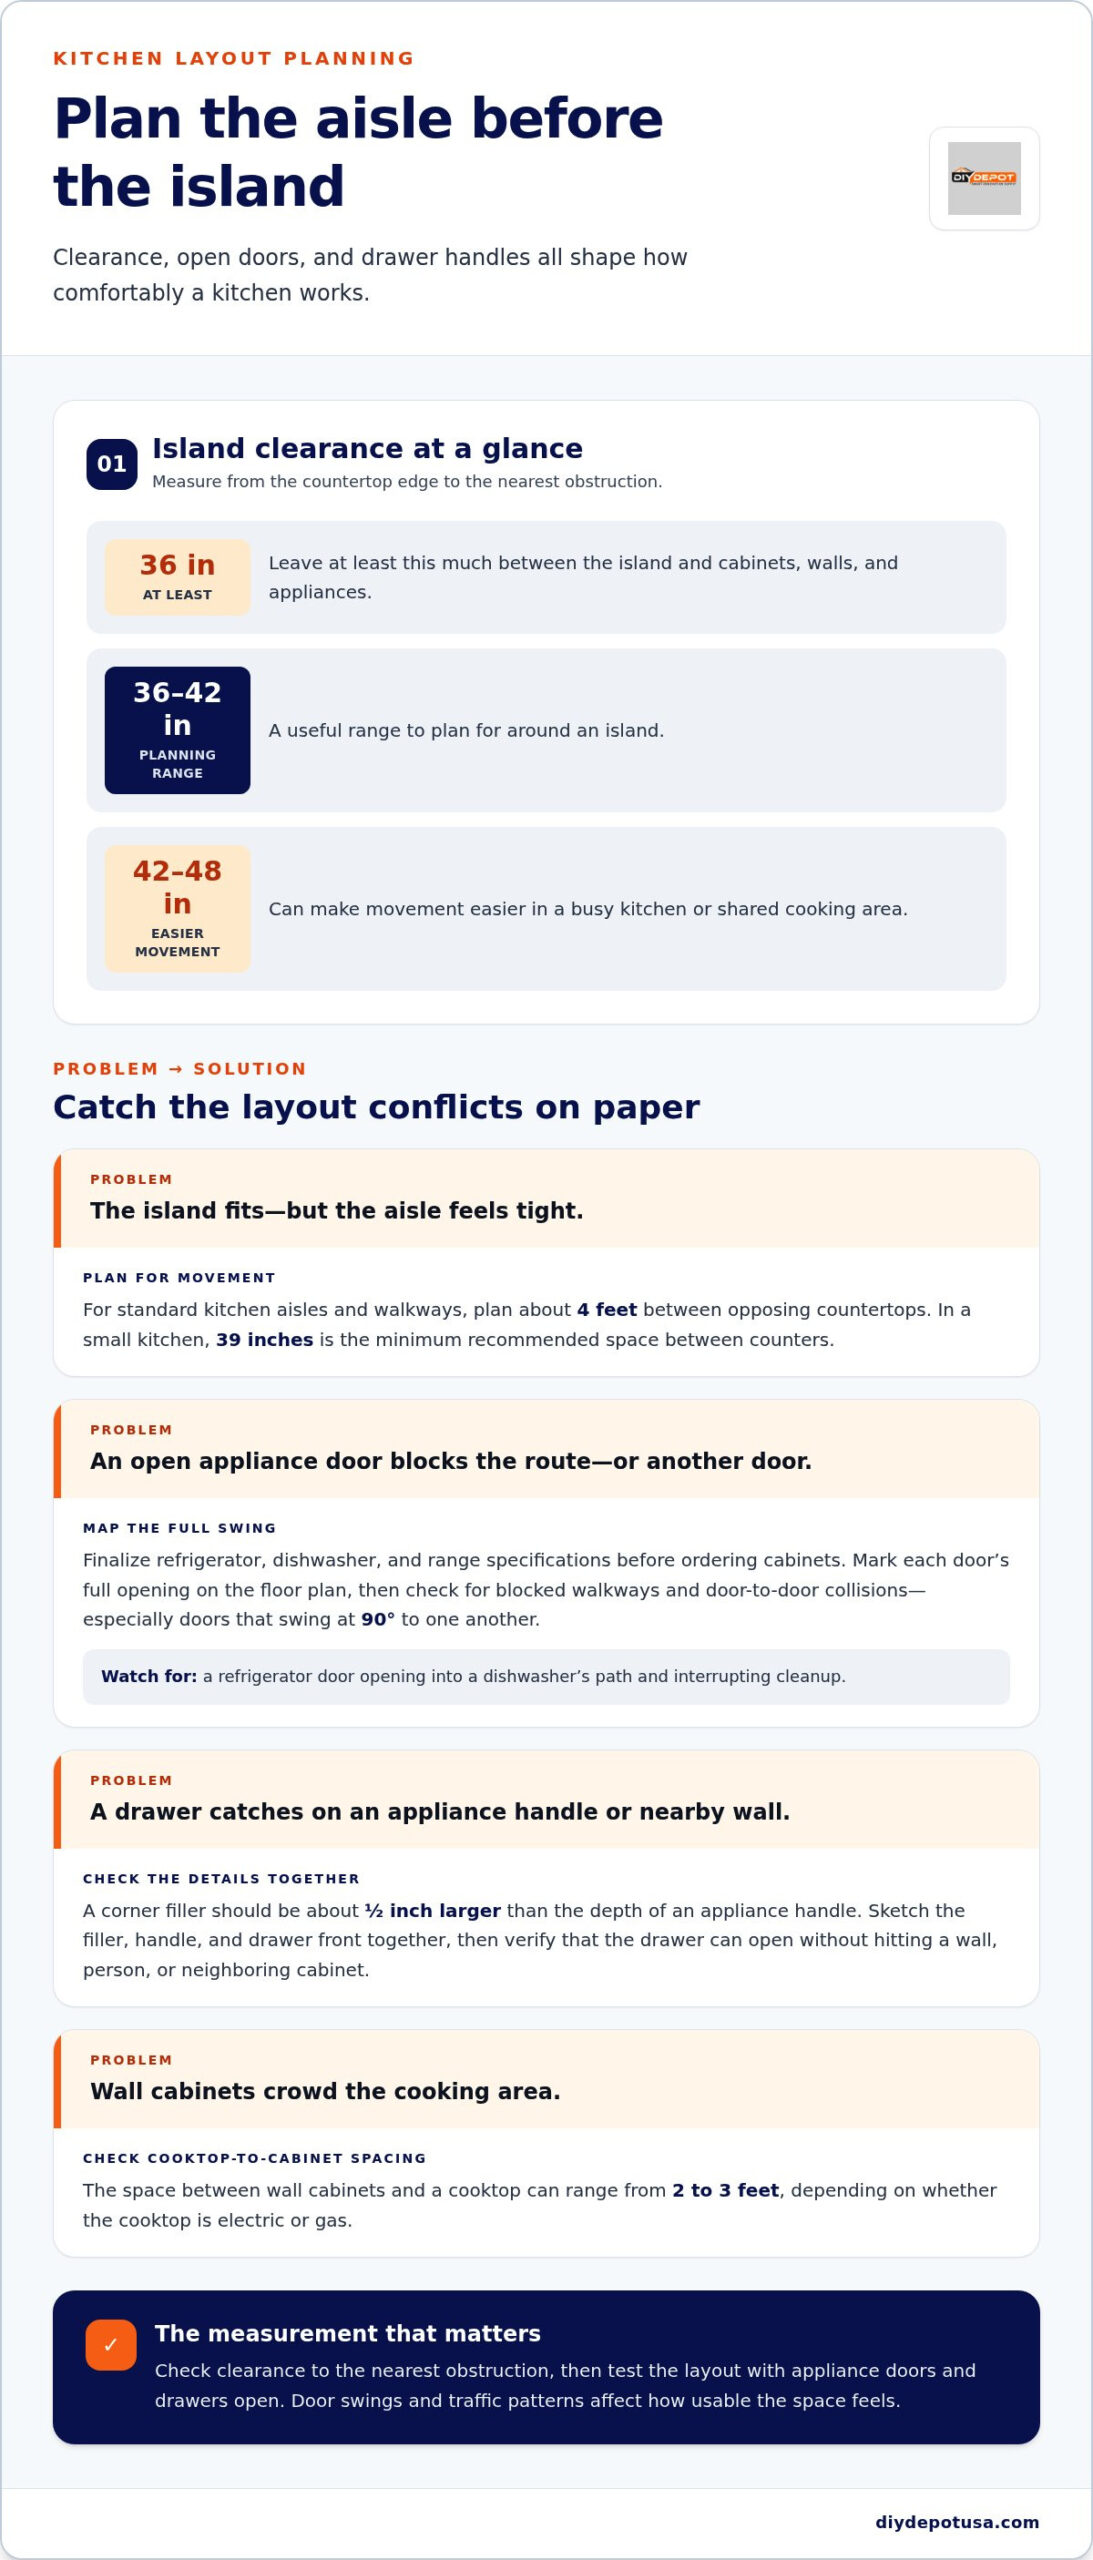
Leave at least 36 inches between an island and surrounding cabinets, walls, and appliances. A 36- to 42-inch clearance is a useful planning range, while 42 to 48 inches can improve movement in busy kitchens or shared cooking areas. Measure from the island countertop edge to the nearest obstruction, not just between cabinet boxes.
For standard kitchen aisles and walkways, plan about 4 feet between opposing countertops. In a small kitchen, 39 inches is the minimum recommended space between counters. These measurements help people pass while drawers or appliances are open, but actual usability also depends on door swings and traffic patterns.
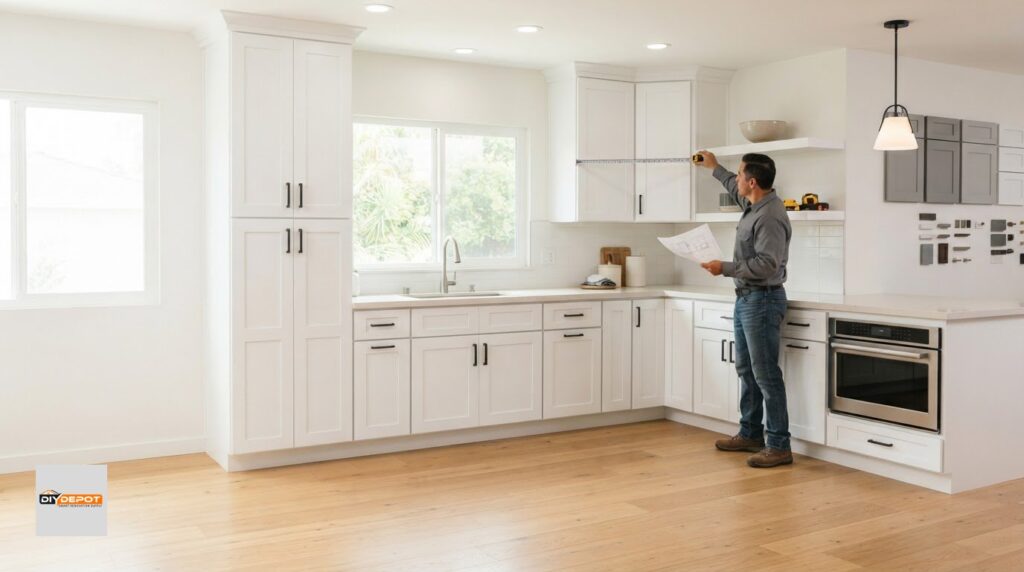
Before ordering cabinets, finalize refrigerator, dishwasher, and range specifications. Mark each door’s full opening on the floor plan, then check whether it blocks a walkway or meets another open door. Pay particular attention to doors that swing at 90 degrees to one another. A refrigerator door that opens into a dishwasher’s path can interrupt routine cleanup.
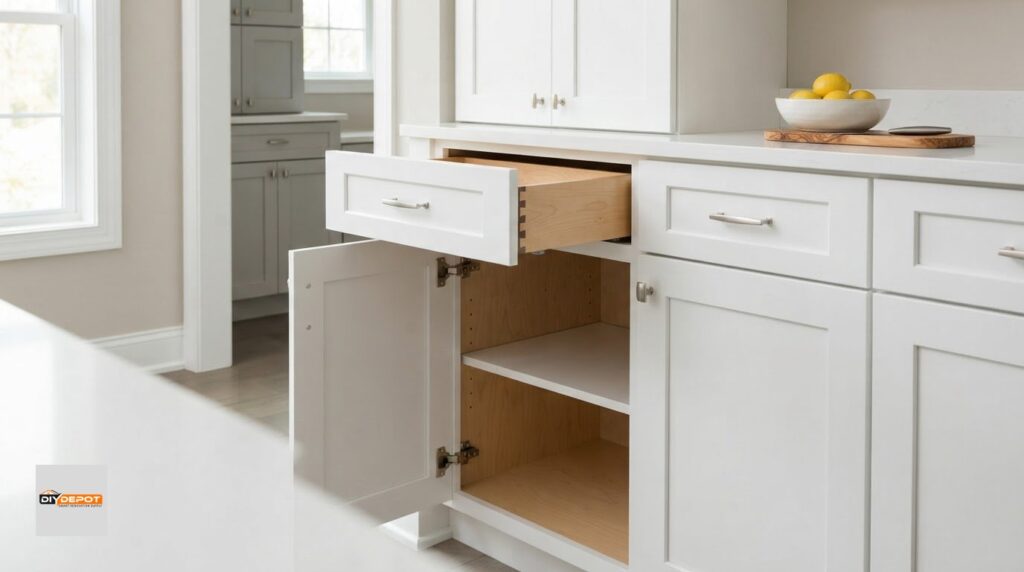
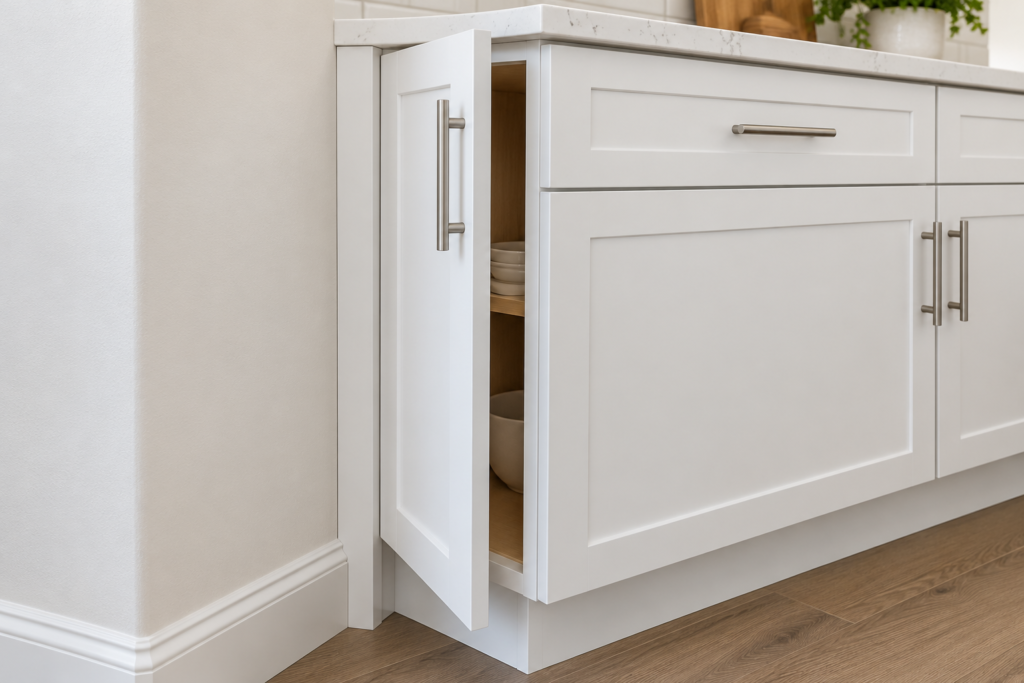
Check handles as well as door panels. A corner filler should be about 1/2 inch larger than the depth of an appliance handle, helping nearby drawers clear it. Sketch the filler, handle, and drawer front together, then verify that each drawer can open without hitting a wall, person, or neighboring cabinet.
Vertical storage needs clearance, too. The space between wall cabinets and a cooktop can range from 2 to 3 feet, depending on whether the cooktop is electric or gas. In compact layouts, cabinets above a refrigerator or extending toward the ceiling can make use of otherwise overlooked storage areas.
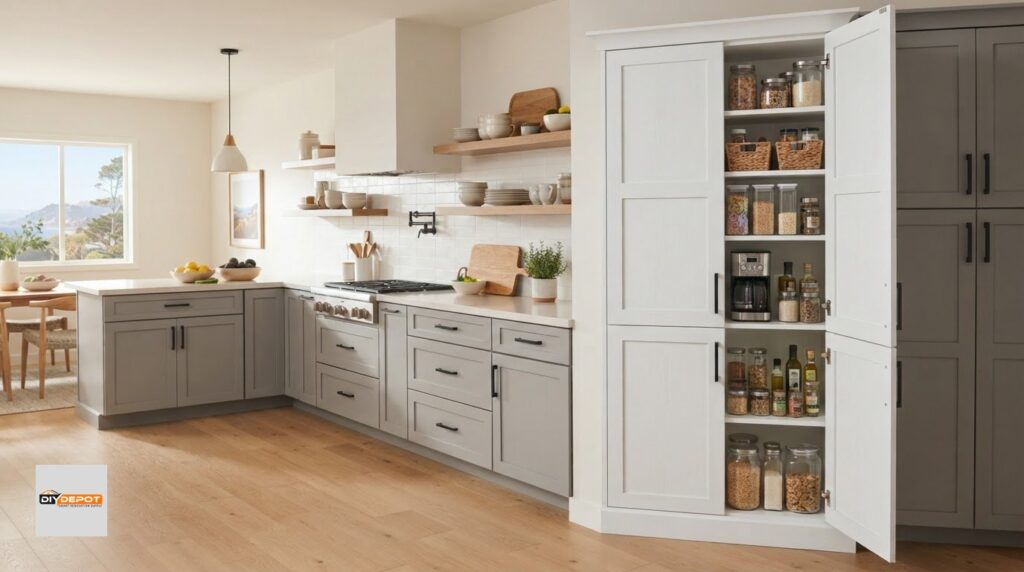
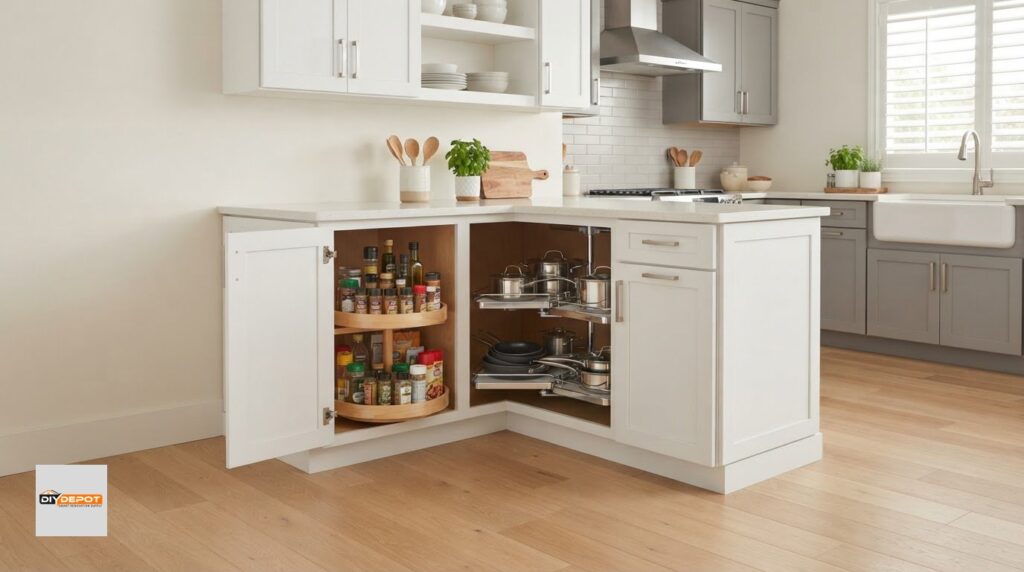
Plan storage around the cookware, utensils, pantry items, and small appliances you use regularly. Keep frequently used dishes near where you need them, and reserve harder-to-reach cabinets for occasional items. If deep base cabinets hide supplies at the back, rollout trays can make them easier to reach.
Choose surfaces to suit your kitchen’s use and the care routine you’re comfortable with. Quartz is commonly chosen for stain resistance and straightforward cleaning; laminate can also be wiped clean. On cabinets, a smooth, sealed finish is practical for routine dusting and spills.
In the United States, permit requirements depend on local rules and the renovation’s scope. Plumbing, electrical, and structural changes can have different requirements from cabinet or countertop updates. Identify the work involved before setting the project sequence.
Moving plumbing or electrical systems can make a project more complex and costly. Where practical, keep existing connections in place, and settle appliance dimensions before ordering cabinets. This helps prevent redesigns caused by mismatched openings, blocked doors, or shifted utilities.
2. Usable counter and food-preparation space
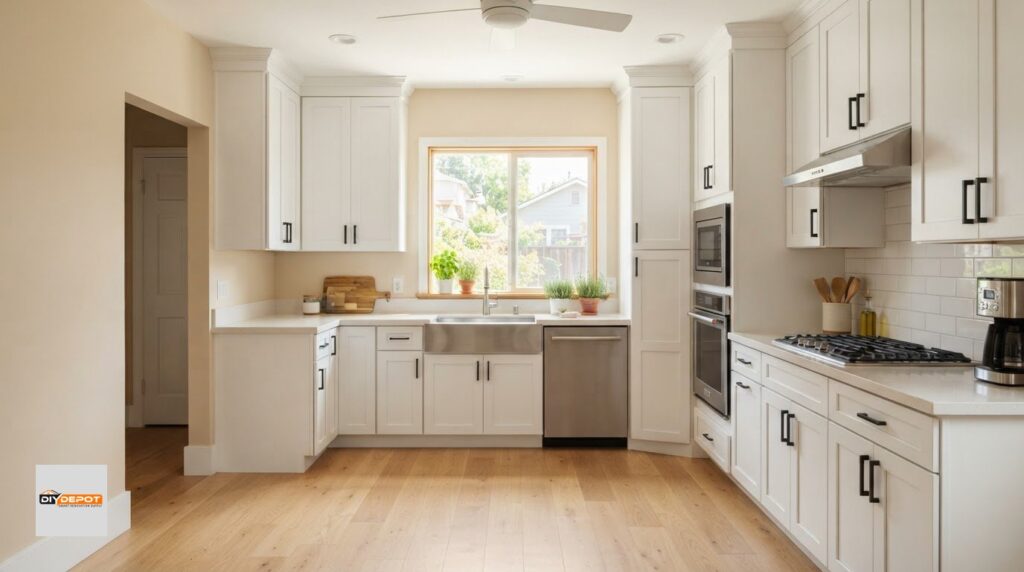
A spacious kitchen can still lack a useful place to chop vegetables or set down groceries. Plan continuous countertop space near the sink and cooking area, where rinsing, chopping, and cooking connect. Before finalizing the layout, mark where a cutting board, mixing bowl, and frequently used appliances will go. This shows whether the counters support real tasks, not just look generous on a plan.
Keep a clear work surface between the sink and stove whenever possible. It can hold ingredients during preparation and provide a landing spot between washing and cooking. The work triangle connects the sink, stove, and refrigerator, with recommended distances of four to nine feet between each point. Put prep space along this route, so food and dishes don’t have to cross the kitchen.
Countertop width also affects circulation. About four feet between opposing counters supports movement, while 39 inches is the minimum recommended distance between counters in a small kitchen. Test the layout with a dishwasher door open and a person standing at the counter. That practical check can reveal bottlenecks a floor plan misses.
Choose fixtures and appliances with their footprint in mind. A 27-inch sink instead of a 36-inch sink can preserve 9 inches of countertop. In a condo galley kitchen, a 24- or 27-inch refrigerator instead of a 36-inch model could free another 12 inches. Those choices matter most when they protect a useful work surface, not just when they reduce dimensions.
An island without a sink or stovetop can be about 24 inches wide, offering a modest prep surface without adding plumbing or cooking equipment. If there’s little room for an island, don’t forget a clear counter beside the main work zone. A small, unobstructed stretch often serves daily cooking better than a larger surface used for appliance storage.
Small appliances can quickly take over countertops. Store a toaster, blender, or coffee maker in a cabinet or appliance garage with an outlet, then bring it out when needed. Keep everyday items easy to reach and reserve the clearest surface for prep. Plan space for ventilation equipment, including a hood and cooking zone, before assigning every wall section to storage.
Professional Kitchen Design support can help coordinate prep habits, storage, and appliance placement before you finalize the plan.
3. Choosing an island or peninsula to suit kitchen circulation
An island should support the kitchen’s function without turning the central floor into an obstacle course. About 40 inches of clearance on both sides is recommended for good traffic flow. Treat that as a planning target, then consider where people enter, open appliances, and move between cooking and dining areas. The biggest island that fits physically may not be the best choice for the interior.
Size the island around its intended job. A designer’s recommendation places a kitchen island at about 47 inches wide, but dimensions alone don’t establish whether it works. Decide whether it needs seating, storage, or a clear work surface. Then sketch its footprint and check that nearby kitchen cabinet doors, drawers, and appliances can open without blocking regular routes.
Test the layout before committing to a fixed island. Use painter’s tape to mark its edges on the floor, then walk from the refrigerator to the sink and cooking area. Imagine opening a drawer, passing another person, and carrying a hot pan. If these everyday movements feel cramped, reduce the island’s footprint or shift its position.
A peninsula may fit better when the kitchen cannot accommodate an island and comfortable circulation. Connected to a wall or cabinet run, it provides a landing surface without creating a freestanding obstacle in the center. Compare both layouts on the same floor plan, including routes from entrances to work areas and space for appliance doors to open.
Shape matters as much as width. Avoid unnecessary angled corners that create awkward routes or hard-to-use edges. A curved end can soften a tight turn and make the walking path feel more natural. If the main route passes one end of the island, draw it out and check whether a rounded corner improves movement without sacrificing useful counter space.
Ventilation matters when the cooktop is on the island. A range hood or efficient extractor fan can help remove steam, grease, and odors. An updraft system may use an internal, inline, or remote blower. Include the hood and its visual footprint in the layout early, so it won’t interfere with sightlines, lighting, or nearby cabinets.
Choose an island or peninsula by comparing daily routes, not by treating either as a default. Mark the proposed shape, test clearances, and review appliance openings before finalizing the plan. If a peninsula preserves movement while an island interrupts it, the connected option may work better.
4. Layered kitchen lighting
Plan three types of kitchen lighting: general, task, and accent. General lighting brightens the room, task lighting helps with chopping or reading recipes, and accent lighting highlights features such as tile or cabinet finishes. Each layer has a distinct purpose. A kitchen can look beautiful but feel impractical if one ceiling fixture leaves counters dim or casts shadows on prep areas.
Start with the layout and mark work surfaces, walkways, and seating areas. Position task lights slightly in front of the person using each surface, rather than directly overhead or behind them. A light behind someone at the counter can cast a shadow across the cutting board. Under-cabinet lighting can brighten the countertop without relying on ceiling lights alone.
Give each lighting layer its own control where possible. Separate circuits make it easier to adjust brightness and mood for different activities. General overhead lights on dimmers can provide softer light at night, while task lights remain available for cleanup. Plan switches and circuits alongside the kitchen layout, not after choosing cabinetry and finishes.
Pendant lights need careful positioning above an island. With an eight-foot ceiling, pendants should hang around 36 inches above the island. To plan their arrangement, divide the island into fourths, then consider the fixtures in relation to those sections. This helps create a balanced composition instead of bunching lights near one end or placing them where they obstruct the main work area.
Use the lighting rule of 3 as a planning consideration, but don’t interpret it as a reason to add fixtures everywhere. Too many lights can make the room feel harsh and visually busy. First identify dark work areas, then choose lighting that addresses those needs. A row of recessed ceiling lights won’t replace focused task lighting if the person working at the counter blocks the beam.
Consider what each light reveals. Under-cabinet task lighting can make food preparation clearer, while accent lights can draw attention to a backsplash or display shelf. Check how the lighting works with cabinet and countertop finishes, since surfaces may look different under focused task lighting than under general overhead light.
Before installation, review the plan at the island, sink, and main counters. Switch on general, task, and accent lighting separately, then together, to assess the effect. This simple three-layer check can reveal whether the kitchen has useful work light, comfortable ambient light, and enough accent lighting without unnecessary fixtures.
5. Designing around everyday kitchen habits
A kitchen works best when its layout reflects the people using it, not just an architectural drawing. Before remodeling, list everyday routines such as making coffee, packing lunches, cooking dinner, and cleaning up. Mark where each activity happens. If breakfast involves a toaster, mugs, and cereal, group those items near the refrigerator and an available counter.
The sink, stove, and refrigerator form the work triangle, a simple way to think about movement between core tasks. Keep each point between four and nine feet from the others, then check whether counters or an island interrupt the route. A clear path between the refrigerator and prep surface makes it easier to carry ingredients without crossing the main cooking area.
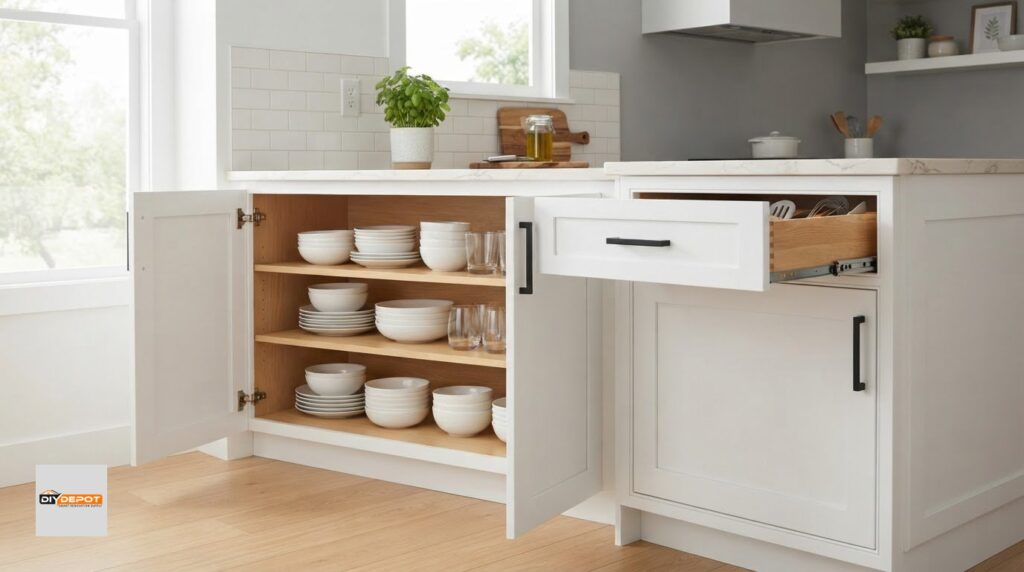
Place frequently used storage near the task it supports. Store spices and oils near the cooking zone, and keep cutlery and dishes close to the dishwasher. Dish drawers beneath the counter on each side of the sink can reduce bending during unloading. These details make cleanup more direct and help keep everyday items off the countertop.
Plan for different ages and abilities in the household. Keep common dishes and pantry staples within comfortable reach, provide clear paths, and avoid putting frequently used items in hard-to-reach cabinets. Families with young children can store knives, cleaning products, and hot cookware beyond their reach. Older adults may benefit from easy-access drawers and lighting that clearly illuminates work surfaces.
Seating needs its own space in a kitchen layout. Allow enough legroom at a counter or bar, and keep the route behind seated people open. Consider whether someone can sit at the island while another person carries dishes to the sink. A well-designed kitchen supports conversation without turning a shared walkway into a bottleneck.
Plan appliances and charging before remodeling. Decide where phones, tablets, and small appliances will be used, then plan outlets near those activity areas. A pantry cupboard may suit an appliance used occasionally, while a frequently used coffee maker needs a practical spot nearby. Planning early can prevent cords from crossing a busy counter or living area.
Match storage to what your household owns. Make an inventory of cookware, lunch containers, serving dishes, and small appliances, then assign each group a home. This helps prevent cluttered counters and oversized storage that doesn’t serve daily life. A considered plan can balance an attractive interior with routines that feel natural.
Ready to turn household routines into a workable kitchen plan? Book a kitchen design appointment to map your priorities and layout.
DIY Depot: Base Shaker Cabinets
DIY Depot offers Base Shaker Cabinets and Professional Kitchen Design to help bring a practical kitchen plan together. Vanity Shaker Cabinets and Wall Shaker Cabinets can coordinate cabinetry across different areas. Design support can help you consider how cabinet placement relates to island clearance, prep surfaces, and your household’s everyday storage.
Turn to DIY Depot when you’re ready to translate your measurements and routines into cabinetry choices. A clear plan makes it easier to discuss which cabinet types fit the kitchen and how they support your intended layout. Explore shaker cabinet options or visit DIY Depot at diydepotusa.com.
Make Your Next Kitchen Decision With Confidence
Before choosing finishes or finalizing cabinet placement, write down what currently slows you down in the kitchen. Is there a place where groceries collect, a drawer you avoid opening, or a daily task that sends you across the room? These observations turn remodeling from a series of attractive choices into a plan shaped around real life.
Understanding common kitchen design mistakes to avoid can help you spot problems early, but your own routines are the best guide. List the changes that would make cooking and cleanup simpler, then use them to focus design decisions. A beautiful kitchen should feel comfortable to live in, not just look finished.
For help thinking through your kitchen plans, contact DIY Depot for kitchen advice. Each practical decision can bring you closer to a room that feels welcoming and works well for your household.
Frequently Asked Questions
How much clearance should there be around a kitchen island?
Plan for at least 36 inches of clearance around an island, with 42 to 48 inches useful in busier kitchens. To test a proposed layout, mark the island’s footprint with tape, then walk through the kitchen while imagining a refrigerator door open or someone seated nearby. This helps reveal pinch points that an empty floor plan may hide, especially along the route between an entrance and the cooking area.
Should appliances be selected before kitchen cabinets are ordered?
Choose appliances first, then use each model’s specifications to coordinate cabinet openings and placement. Record the refrigerator, range, and dishwasher dimensions, along with door swings, handles, ventilation needs, and utility connections. Changing to a wider refrigerator after ordering cabinets, for example, can affect the adjacent cabinet run. Keeping appliance selections and cabinet plans aligned helps reduce last-minute layout changes.
What are the most common kitchen remodeling mistakes?
Common trouble spots include changing the layout after ordering materials, overlooking how people move through the room, and choosing finishes before resolving practical needs. A late decision about a range can affect nearby cabinetry, ventilation, and work surfaces. Make a decisions list before ordering, settle major items in sequence, and review the impact before adding scope midway through the work.
What cabinet design mistakes can reduce kitchen functionality?
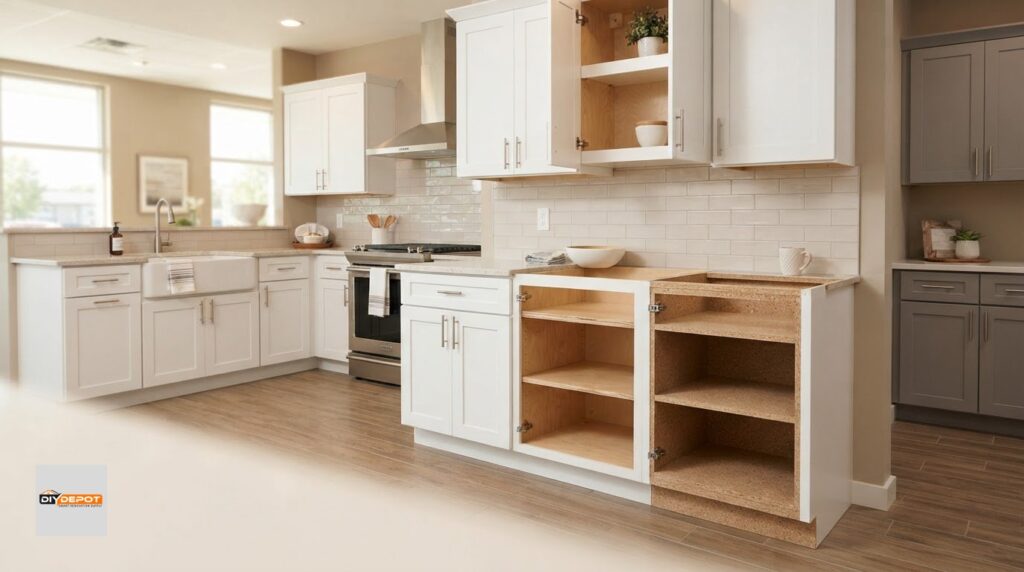
Cabinet choices can limit function if doors or drawers obstruct one another, corners waste accessible space, or everyday items are hard to reach. Check whether a drawer can open beside an appliance handle and cabinet doors can swing fully near a wall. Avoid changing cabinet heights across a straight run without a practical reason. Assign everyday cookware and dishes to convenient locations.
What kitchen island mistakes should homeowners avoid?
Don’t choose an island based on appearance alone. An oversized footprint can interrupt movement, and seating can crowd the route if people can’t sit without blocking others. Consider whether an island cooktop needs a range hood or extractor fan, and whether the shape creates awkward corners. Tape out the footprint and test walking routes before finalizing the design.
What are the most common kitchen design mistakes to avoid?
Prioritize decisions that affect daily use: circulation, appliance placement, prep surfaces, storage access, and lighting. A striking island can frustrate cooking if it interrupts the route from the refrigerator to the sink. Extra cabinets won’t help if everyday items are hard to reach. Use a written list of household routines to compare options before committing to cabinetry, fixtures, or finishes.
How do you plan kitchen lighting, including task, ambient, and accent lighting?
Begin by matching light to activities: ambient lighting for general visibility, task lighting over work areas, and accent lighting for features you want to highlight. Check whether a person standing at the counter will cast a shadow across the work surface. Separate controls can make it easier to adjust the layers independently. For an island under an eight-foot ceiling, pendant lights should hang around 36 inches above it.
How much storage and counter space should a functional kitchen have?
There’s no single storage total that suits every household. List the cookware, pantry goods, dishes, and small appliances you use, then plan accessible storage around those items. For counter circulation, allow about 4 feet between opposing countertops; 39 inches is the minimum recommended space between counters in a small kitchen. Reserve a clear prep area near the sink or cooking zone instead of letting appliances occupy every surface.