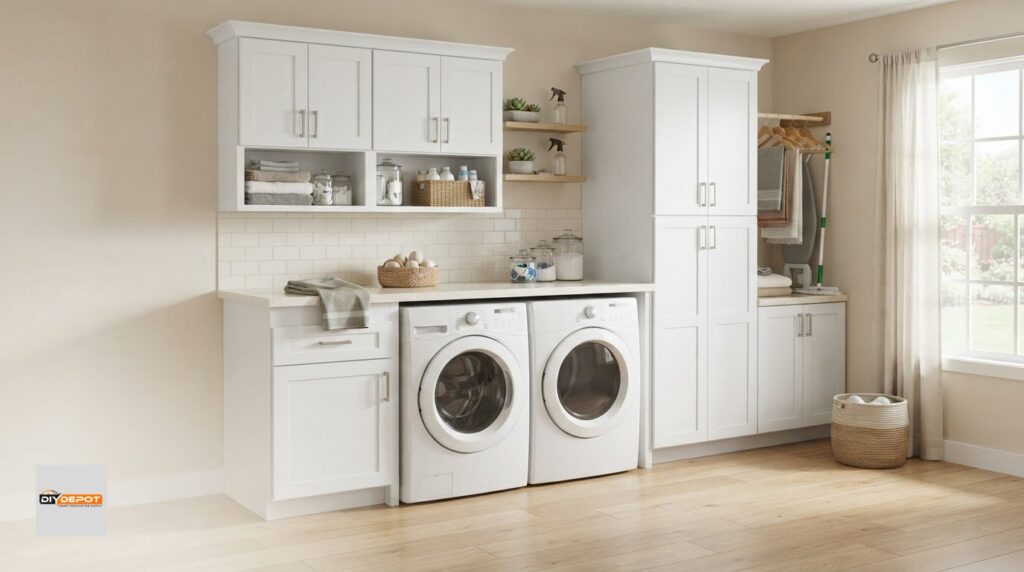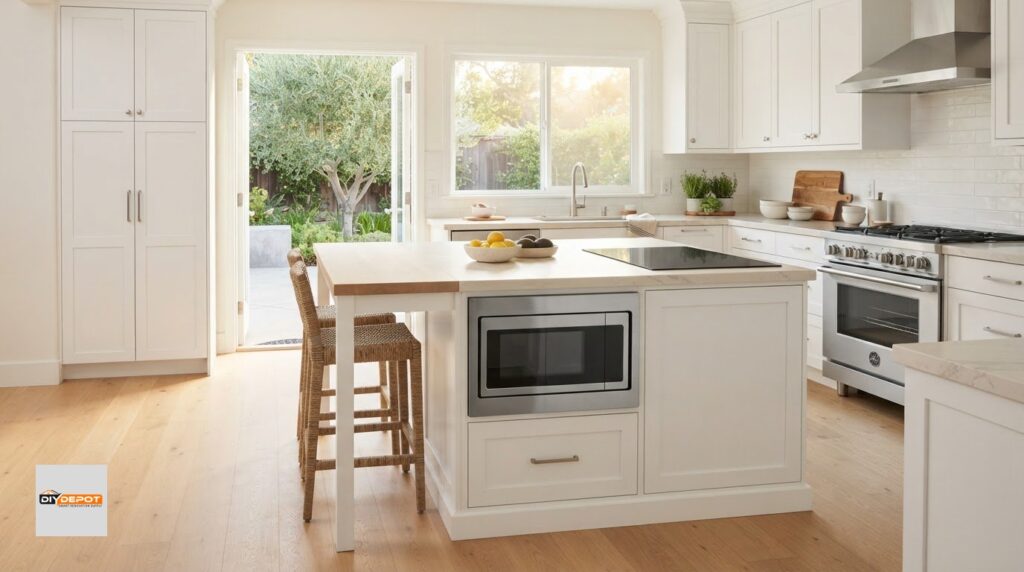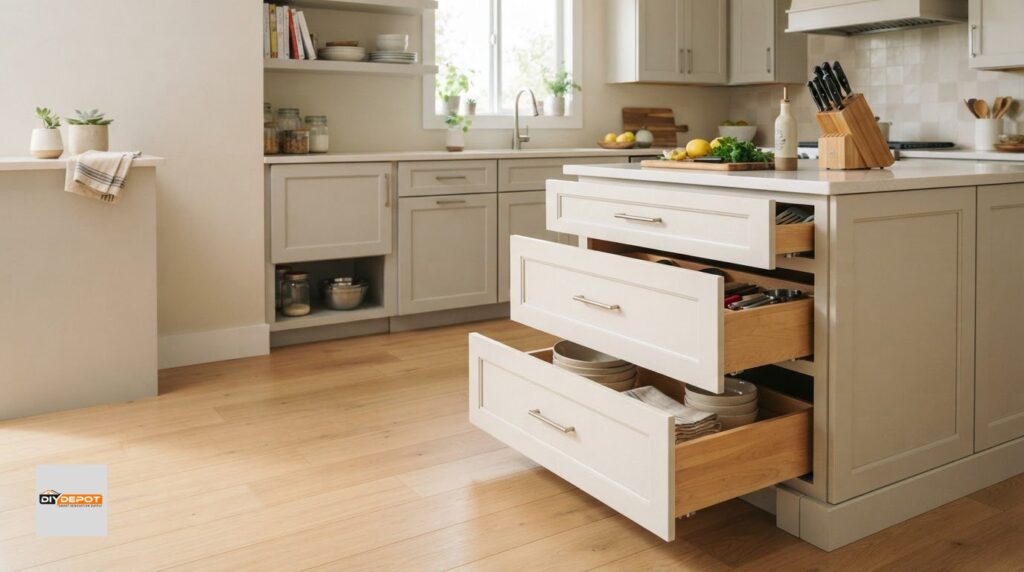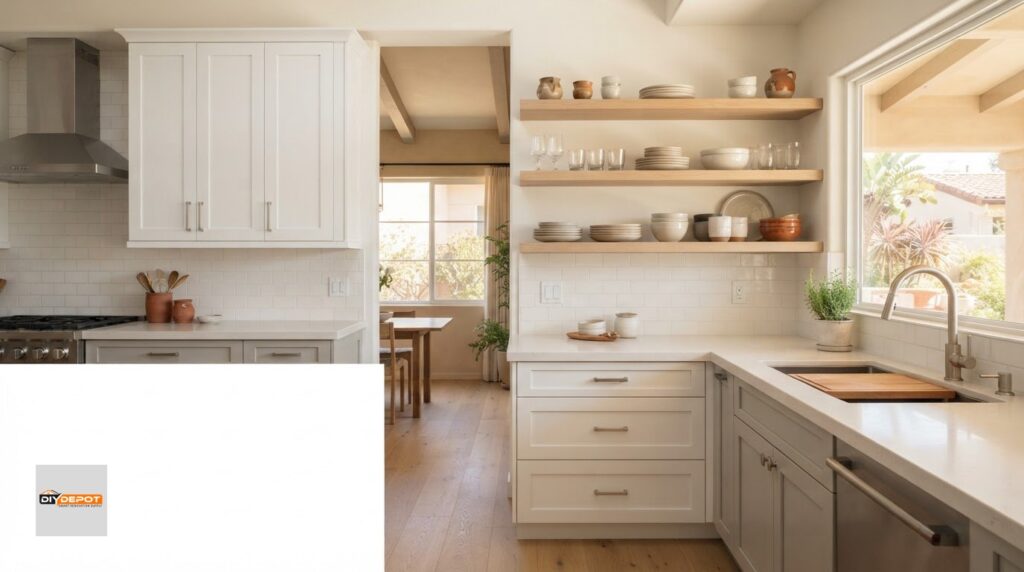

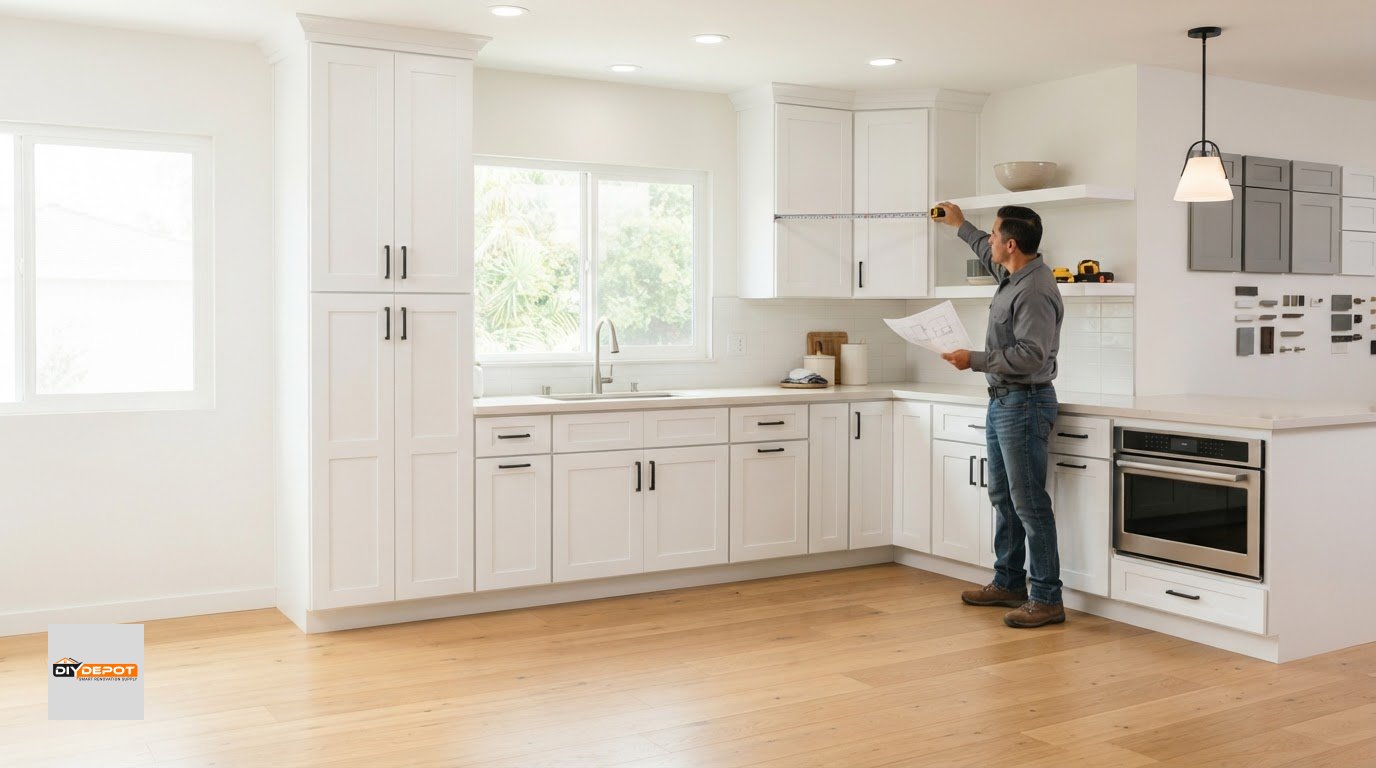
White Shaker cabinets are a practical option for many house flips because their clean, simple design has broad appeal. Choosing shaker cabinets for house flipping can give a kitchen a classic, neutral look without tying it to one buyer’s taste. Their popularity makes them worth considering, but the right choice still depends on the home, renovation budget, and layout.
A cabinet style for a flip should look current, work well, and fit the renovation plan. This guide compares Shaker cabinets with other styles, explains cabinet materials, and outlines when ready-to-assemble or pre-assembled cabinets may suit your project. You’ll also learn what to measure before ordering and how to plan for delivery, assembly, and installation to avoid preventable delays.
Key Takeaways
- Compare ready-to-assemble and pre-assembled cabinets by weighing purchase format against the time and labor your flip can accommodate.
- Choose a finish that photographs cleanly and feels neutral enough to suit a range of potential buyers.
- Match the cabinet style and package to the home, neighborhood, renovation scope, and available budget.
- Look beyond the door style: cabinet box and panel materials affect how well cabinets handle everyday use and moisture.
- Measure the room carefully, plan delivery and assembly, and account for installation before placing an order.
RTA versus pre-assembled cabinets
Replacing kitchen cabinets does not follow one nationwide permit rule. Local requirements depend on the jurisdiction and project scope, especially when the work also changes plumbing, electrical systems, or the structure.
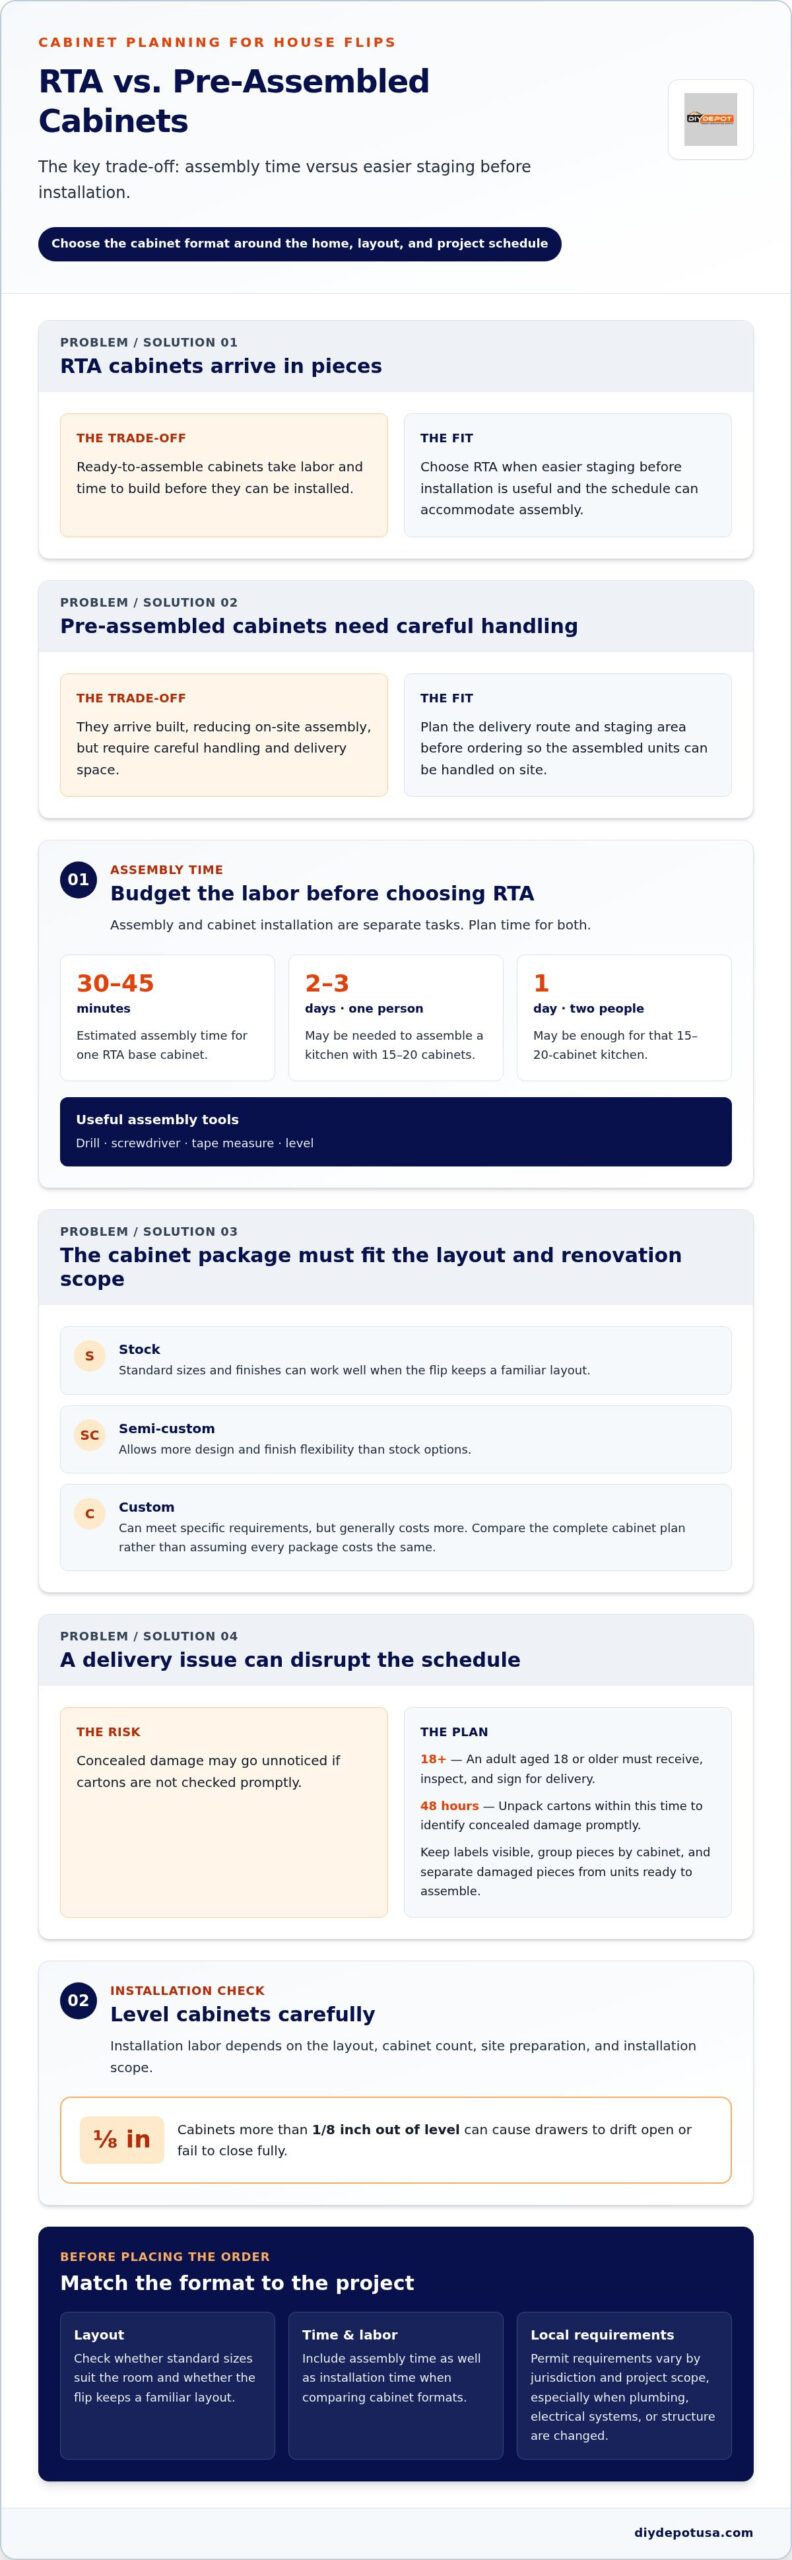
Stock cabinets use standard sizes and finishes, which can be practical when a flip keeps a familiar layout. Ready-to-assemble (RTA) cabinets arrive in pieces, trading assembly time for easier staging before installation. Pre-assembled cabinets arrive built, reducing on-site assembly but requiring careful handling and delivery space. Semi-custom cabinets allow more design and finish flexibility than stock options, while custom cabinets can meet specific requirements but generally cost more.
Custom pricing depends on the design and project, so compare the complete cabinet plan rather than assuming every style or package costs the same.
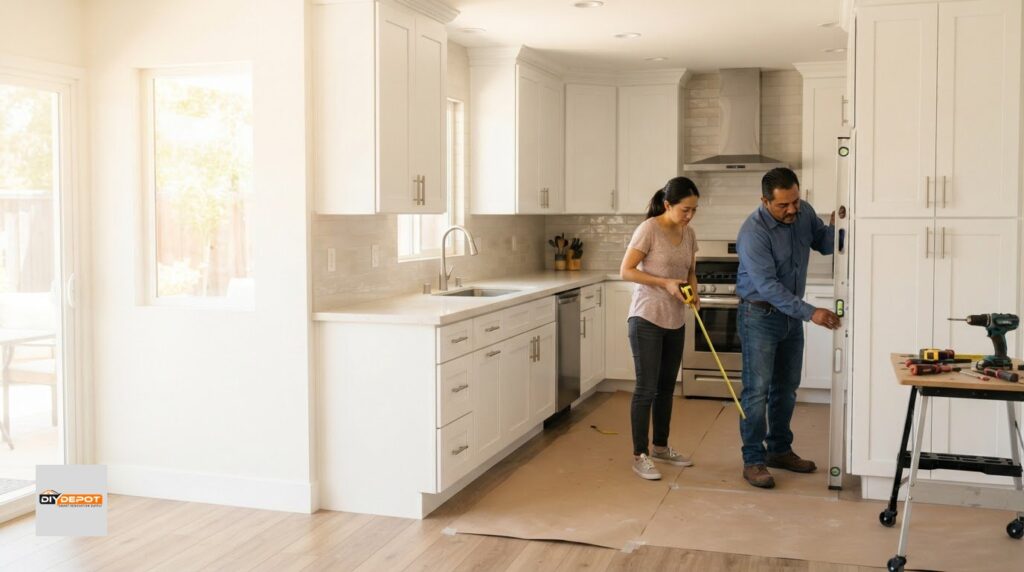
Assembly adds labor to an RTA order. One RTA base cabinet takes an estimated 30-45 minutes to assemble; a single person assembling 15-20 cabinets may need two to three days, while two people may finish that kitchen in one day. Set up a clear work area, sort hardware by cabinet, and use the assembly instructions for each unit. A drill, screwdriver, tape measure, and level help with assembly and installation.
Stage cartons by cabinet location, keeping labels visible and pieces grouped. An adult aged 18 or older must receive, inspect, and sign for delivery. Unpack cartons within 48 hours to identify concealed damage promptly. Check each cabinet before assembly, and keep damaged pieces separate from ready-to-install units.
Installation labor has no single cost across flips: the layout, cabinet count, site preparation, and installation scope all affect the work. RTA assembly and cabinet installation are separate tasks, so plan time for both. During installation, level each cabinet carefully; cabinets more than 1/8 inch out of level can cause drawers to drift open or fail to close fully. White Shaker RTA cabinets suit a straightforward kitchen refresh when standard sizing works and the schedule allows assembly.
Assembling a full RTA cabinet run takes 2-4 hours.
Are shaker cabinets popular?
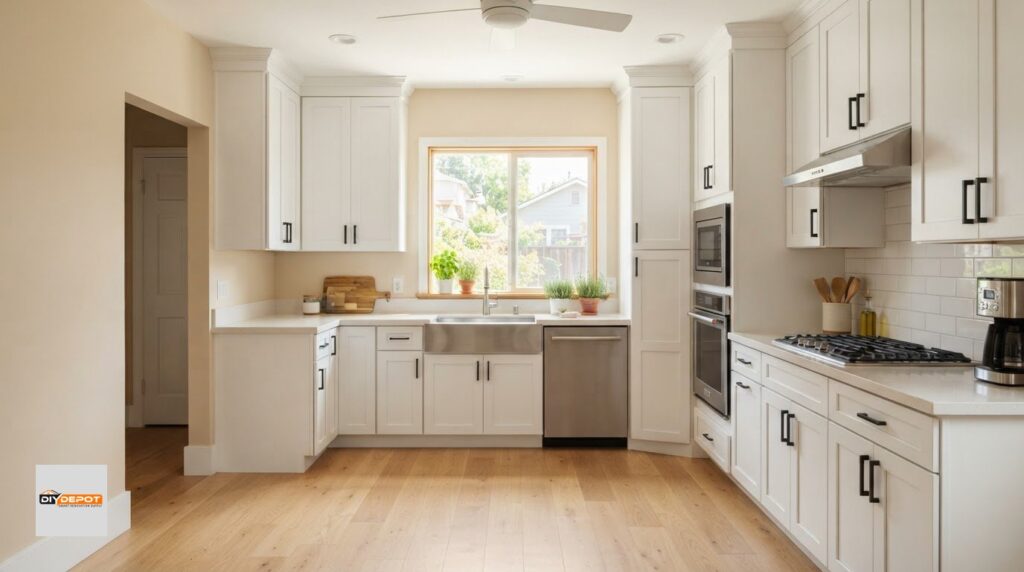
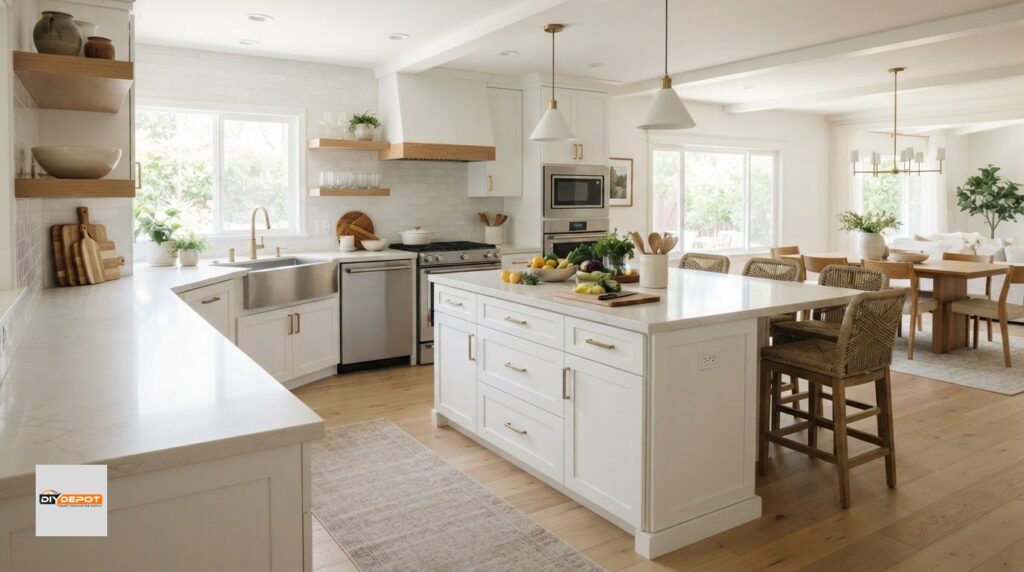
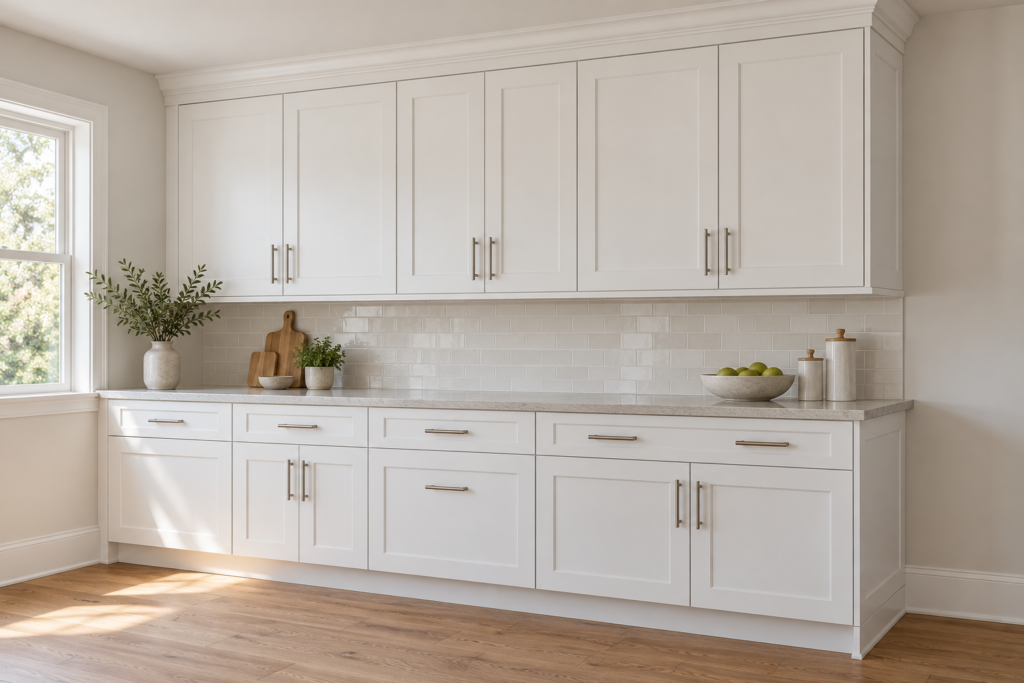
White Shaker cabinets are a practical flip choice because their clean lines suit many buyer preferences. Neutral colors such as white, gray, and beige can appeal to a broad range of homebuyers. The simple frame-and-panel detail also photographs clearly, giving listing images a tidy, familiar look without competing with countertops or flooring.
Cabinet color can shape a listing photo before buyers notice the hardware or storage. White Shaker cabinets can brighten a room and contrast with darker countertops. Gray creates a softer distinction against white walls, while beige can complement warm wood floors. Photograph the kitchen in natural light, clear countertop clutter, and close the cabinet doors for consistent images.
White finishes need thoughtful care, especially in kitchens exposed to cooking residue, sunlight, and frequent handling. Wipe spills and fingerprints with a soft cloth and a gentle cleaner suited to the finish. Avoid abrasive pads, which can dull the surface. Before taking listing photos, inspect areas near handles, the sink, and the range, where grease and wear are often most visible.
Finish quality matters too. Low-cost cabinets with water-based topcoats can yellow noticeably within 3-5 years, which may affect the appearance of a flip if the finish is already aging. Paint offers a broad color choice and a smooth, consistent look, but scratches can expose the underlying surface. Stain highlights wood grain, so sample variation and grain pattern become visible details rather than imperfections.
Thermofoil is a low-maintenance finish available in various colors and patterns. Its smooth surface can suit a modern listing, while painted finishes can add visible character to a traditional kitchen. UV-protected finishes are intended to limit sun-related changes, but the material and finish construction still affect the cabinet’s overall look. Compare samples beside the actual countertop, backsplash, and flooring, not just under showroom lighting.
Do Shaker cabinets increase resale value or buyer appeal? Their neutral appearance can help a kitchen feel move-in ready and appeal to a broader range of buyers. A cabinet update alone does not determine a home’s sale price, so consider finish quality, condition, and how well the kitchen fits the rest of the home.
For a coordinated finish, choose the cabinet color after selecting countertop and flooring samples. Review the combination in daylight and warm indoor lighting. If white suits the home, compare White Shaker cabinet options with the room’s existing finishes before settling on a palette.
Which Types of Cabinetry Work Best in Flips?
Choose a cabinet package that fits the home’s layout, renovation scope, and likely buyer expectations. Coordinate the hardware with the faucet, then compare countertop and backsplash samples beside the cabinet finish.
Matching Cabinets to the Flip
Choosing shaker cabinets for house flipping starts with the property, not a trend. A compact starter home may suit standard-size cabinets, while a larger kitchen may need more storage or a revised layout. Compare nearby homes and the renovation scope, then check whether stock sizes fit the room. Custom cabinets can meet specific requirements, but they generally cost more than other options.
Budget Cabinet Options
Stock and ready-to-assemble cabinets can suit budget-conscious flips, especially starter homes where buyers value a clean, classic kitchen. Keep the layout practical and prioritize useful details, such as a drawer near the cooking area or storage beside the sink. Before choosing a budget line, review its written warranty, including what it covers, exclusions, and remedies for covered defects.
Balancing Budget and Buyer Appeal
Cabinet spending can shape the renovation plan: cabinets account for 28-55% of the cost in worked cabinet-replacement budgets. A market estimate places the perceived home-value return from durable white Shaker cabinets at 60-75%, but that estimate isn’t a guaranteed resale result. Selecting shaker cabinets for house flipping means weighing finish, construction, and buyer appeal against the rest of the project.
Keep the kitchen finishes working together. Pair simple cabinet hardware with a countertop that complements the cabinet color, then choose a backsplash that connects the surfaces. A restrained palette can create a coordinated room without relying on decorative upgrades. Solid wood doors have a distinct material and appearance, but the complete cabinet package should still suit the property and renovation scope.
Before deciding, compare the cabinet layout, construction, finish, warranty terms, and assembly or installation needs. A standard package may work when the existing layout is practical. If the plan needs special dimensions or a change in kitchen function, greater design flexibility may justify a larger cabinet budget. Select cabinets before finalizing countertop and backsplash materials so those finishes can be matched to the actual cabinet color.
Use this sequence to keep the choices aligned:
- Set a cabinet budget within the full renovation plan.
- Match the package to the home’s layout and likely buyers.
- Compare construction details and written warranty terms.
- Review hardware, countertop, and backsplash samples together.
Material Matters: What Are Your Cabinets Made Of?
Cabinet construction affects how a kitchen handles daily use, moisture, and repeated opening. Compare the cabinet box, door components, and finish separately before choosing a package.
Cabinet Materials and Construction
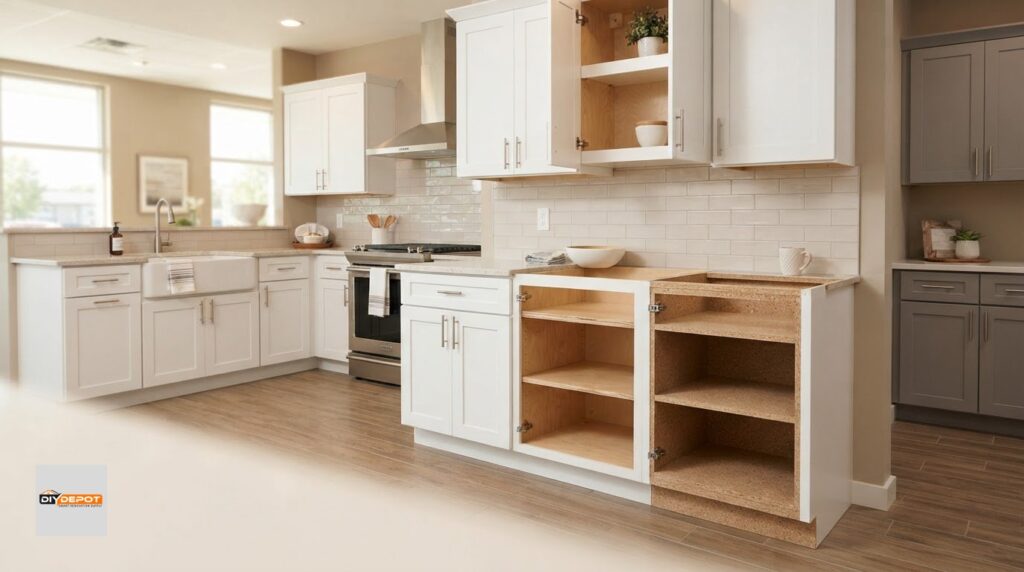
Start by identifying the cabinet box material, then examine the doors and finish. Plywood is a strong, moisture-resistant alternative to solid wood that usually costs less. MDF has a smooth, paint-friendly surface and is budget-conscious, but it is less strong than plywood or solid wood. Particleboard is often the most budget-friendly option, though moisture and heavy use can damage it.
Construction details matter as much as the material name. Inspect the box panels, joints, shelves, and hinge attachment points. A plywood box can provide a sturdy foundation, while door rails and stiles affect the cabinet’s appearance and construction. When comparing wholesale listings, check box material and door construction, not just the Shaker profile.
Solid wood can be expensive, so decide where its appearance or strength matters most. A high-use kitchen may justify stronger box construction, while a rental-style or starter-home renovation may call for a restrained budget. MDF can work well for a smooth painted surface, but it should not be treated as equivalent to plywood in strength.
Material Durability
Expected service life varies by material and conditions. Plywood cabinets are described as lasting 15-20 years in high-traffic kitchens, while particleboard cabinets typically last 7-10 years. Solid birch hardwood is listed at 10+ years, and plywood box durability is listed at 8-10 years. These figures refer to different material descriptions, so compare like with like rather than treating them as one universal ranking.
Moisture exposure affects how cabinet materials perform. Plywood offers good moisture resistance, while particleboard can be damaged by moisture and heavy use. In a flip, pay particular attention to areas near the sink and dishwasher, where splashes or leaks can reach the cabinet box. Check exposed edges and the underside of sink cabinets before reusing existing units.
Finish life is another factor, separate from the cabinet box. Oil-based UV lacquer durability is listed at 5-7 years. Ask how the finish suits the room’s light and expected use, then inspect a sample for even coverage and edge protection.
Use this quick comparison during selection:
- Choose plywood when box strength and moisture resistance matter.
- Consider MDF for smooth painted surfaces and budget control.
- Reserve particleboard for areas with less moisture and wear.
- Compare finish quality separately from box construction.
Measuring, ordering, and installation timelines
Accurate measurements and a planned delivery window help keep cabinet work on schedule. Measure the kitchen before ordering, then coordinate delivery, preparation, and installation with the renovation plan.
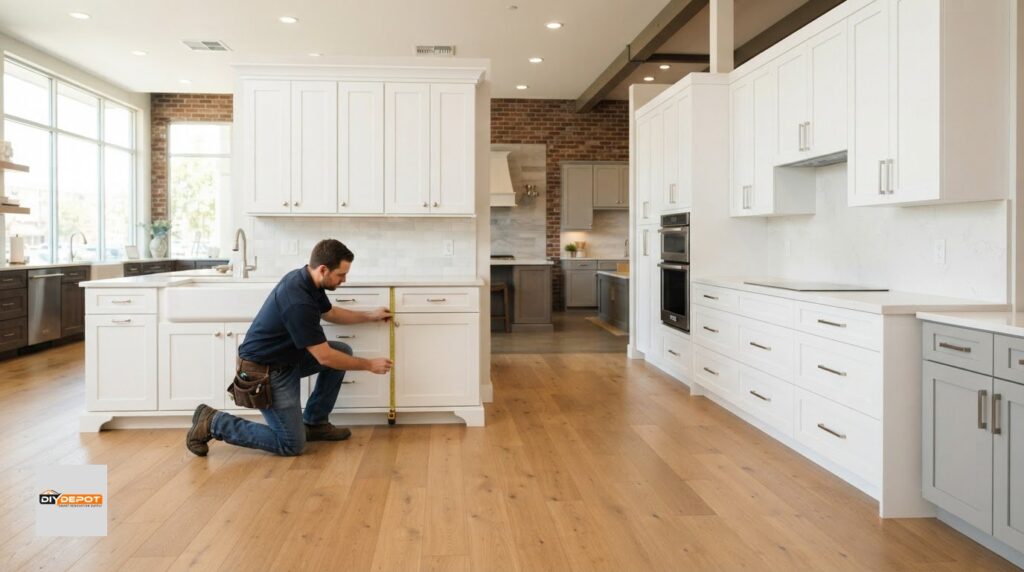
Start with a room sketch that records each wall, opening, and obstacle. Measure wall lengths, ceiling height, window and door locations, and the positions of plumbing and appliances. Mark corners, outlets, and uneven walls so the cabinet layout reflects the actual room. Measure each section twice and compare the figures before finalizing the order. For example, allow enough space for a refrigerator and nearby cabinet doors to open.
- Record each wall length and note where the measurement begins and ends.
- Mark sink, range, refrigerator, windows, doors, and fixed utilities on the sketch.
- Note where fillers or trim may be needed to handle gaps or wall irregularities.
- Compare the cabinet plan with the measurements before submitting the order.
Ordering decisions affect both the budget and schedule. Cabinet orders are final, and a cancellation before production may incur a manufacturer restocking fee typically of 20-25%. Resolve the layout and cabinet selections before ordering, rather than relying on later changes to fix a measurement error. Keep the approved plan and order details together so the installer can compare delivered pieces against the intended locations.
Delivery planning needs a clear receiving window. The carrier calls 24-48 hours ahead to schedule cabinet delivery, and freight transit typically takes 1-7 business days in the continental United States. Plan room access and staging space around the delivery date. Keep the path from the entry to the kitchen clear, and organize cabinets by installation location so the contractor can find each unit efficiently.
Prepare the kitchen before installation. Remove old cabinets, clear the work area, and make sure the walls are ready for the new layout. Complete any plumbing and electrical work that affects cabinet placement. Keep the cabinet plan, hardware, and installation instructions accessible. A professional installer can help improve the kitchen’s appearance and function while ensuring cabinets are securely anchored to the walls.
Common mistakes include measuring only one wall, overlooking appliance clearances, and ordering before the layout is final. Another is treating delivery transit as the entire schedule. Assembly, installation preparation, and coordination with other renovation work also take time. Allow for those tasks in the project sequence and align the installation start with the cabinets’ arrival.
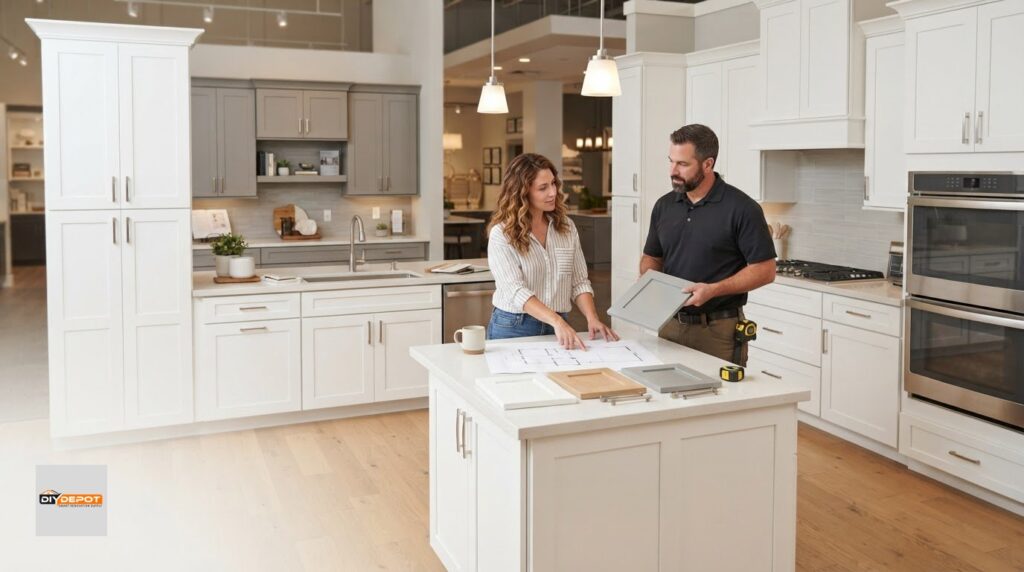
For a smoother plan, book a cabinet project-planning appointment before confirming measurements and installation details.
DIY Depot: Base Shaker Cabinets
DIY Depot offers Base Shaker Cabinets for flip projects that need a clean, practical kitchen foundation. Vanity Shaker Cabinets and Wall Shaker Cabinets can carry a coordinated Shaker look into bathroom storage and upper kitchen spaces. Professional kitchen design support can help you plan room dimensions, cabinet placement, and the overall layout.
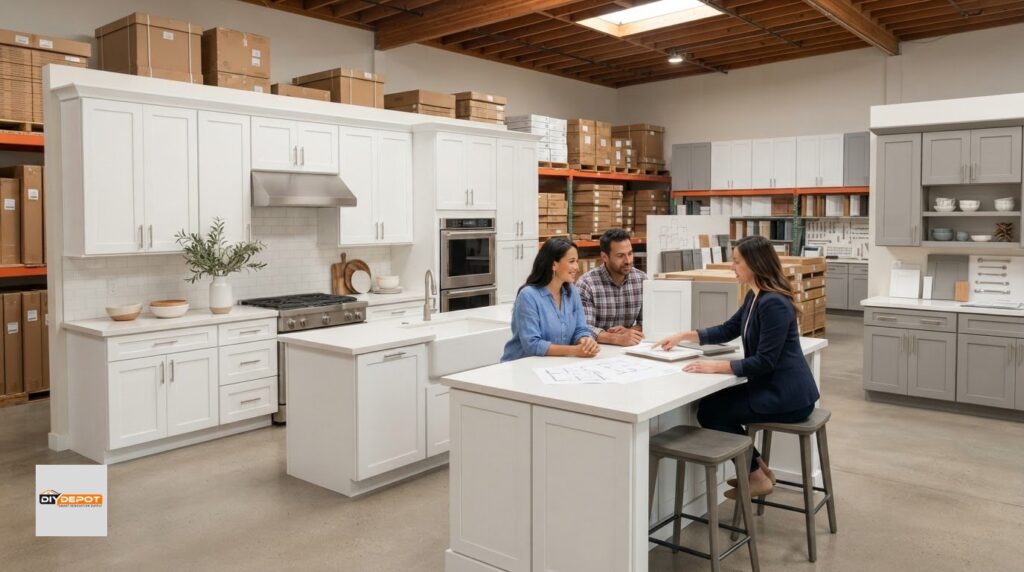
Consider DIY Depot when you’ve settled on Shaker styling and want cabinet options suited to your renovation scope. Bring your measurements and layout decisions into the planning process so the selection fits the space and project priorities. Explore the cabinet range online or visit the Bakersfield warehouse and showroom for design support.
Move Your Flip Toward a Clear Cabinet Plan
The next step is to turn your design decisions into an order-ready plan. Confirm the cabinet layout against the room, then coordinate the chosen finish with the countertop, backsplash, and hardware. This keeps the kitchen details aligned before purchasing and installation begin.
For shaker cabinets for house flipping, a coordinated selection can extend beyond the kitchen. DIY Depot USA offers Base Shaker Cabinets, Vanity Shaker Cabinets, and Wall Shaker Cabinets for key areas of the home. Choose pieces that suit the property and keep the renovation direction consistent.
If you’re ready to discuss cabinet options for your project, contact DIY Depot about cabinets. A thoughtful plan gives you a practical starting point and helps move the flip forward with confidence.
Frequently Asked Questions
Replace, Reface, or Repaint?
Replace cabinets when the boxes are damaged, poorly arranged, or unsuitable for the kitchen’s needs. Reface them when the existing boxes are sound but the doors or visible surfaces look dated. Repaint when the cabinet structure and door style work and the main issue is color or worn paint. Repainting, for example, will not fix a cramped layout or a sagging cabinet box.
Are shaker cabinets a good choice for a house flip?
Yes, Shaker cabinets can suit a flip when their straightforward design fits the home’s character and likely buyers. Their simple door profile works with traditional or contemporary details, and finishes and hardware can suit the room. In a California starter home, for example, a restrained cabinet design leaves buyers room to personalize lighting or décor later.
How much do shaker kitchen cabinets cost in 2026?
The total depends on the cabinet run, construction, finish, and whether the project includes assembly or installation. A short run with standard-size units differs from a larger kitchen with specialty cabinets or layout changes. To build a useful budget, list the cabinet pieces first, then account separately for related work such as removal, delivery, installation, countertops, and appliances.
Which shaker cabinet colors and finishes are most popular with homebuyers?
White, gray, and beige are neutral choices that can appeal to a broad range of buyers. Choose based on the home’s natural light and fixed finishes, not on a standalone sample. Place a cabinet sample beside the actual floor and countertop, then compare them in daylight and evening lighting. This can reveal undertones that are less obvious under showroom lighting.
What cabinet materials and construction are best for a flip on a budget?
Choose construction suited to the kitchen’s expected use and moisture exposure, while keeping the budget focused on the entire renovation. Plywood offers strength and moisture resistance; MDF provides a smooth surface for painted doors, while particleboard costs less but is more vulnerable to moisture and heavy use. Check cabinet edges, joints, and finish coverage, especially around the sink and dishwasher.
How long does it take to order and install shaker cabinets?
The schedule depends on product availability, freight transit, site readiness, and whether cabinets need assembly. Keep the project moving by finalizing the layout before ordering, preparing the kitchen while delivery is in transit, and scheduling installation after the units arrive. For a flip in Las Vegas or Phoenix, coordinate the cabinet schedule with countertop templating and other trades to avoid idle gaps.
What common mistakes or quality issues should I avoid when buying shaker cabinets?
Do not judge a cabinet package by door appearance alone. Compare the written order with the planned layout, including cabinet widths, door direction, drawer locations, fillers, and trim. Check for finish inconsistencies, chipped edges, loose joints, and hardware that does not operate smoothly. Keep samples and product details together so the delivered cabinets can be compared with the project selections.