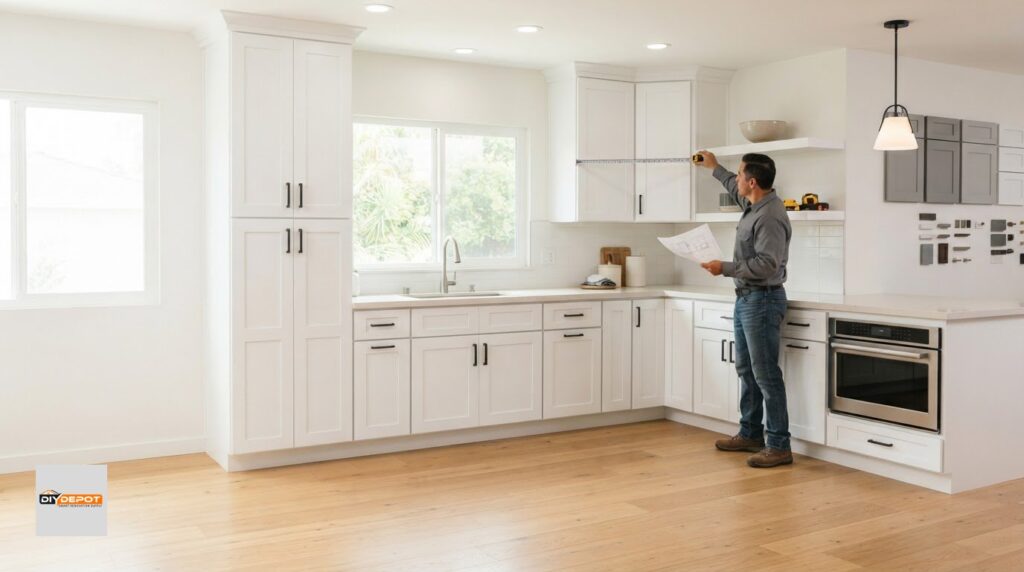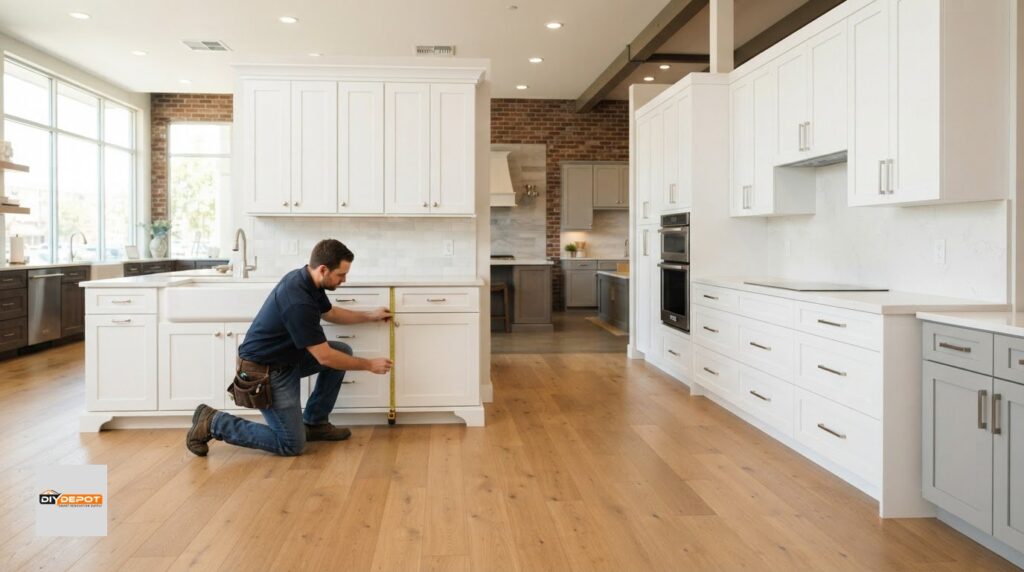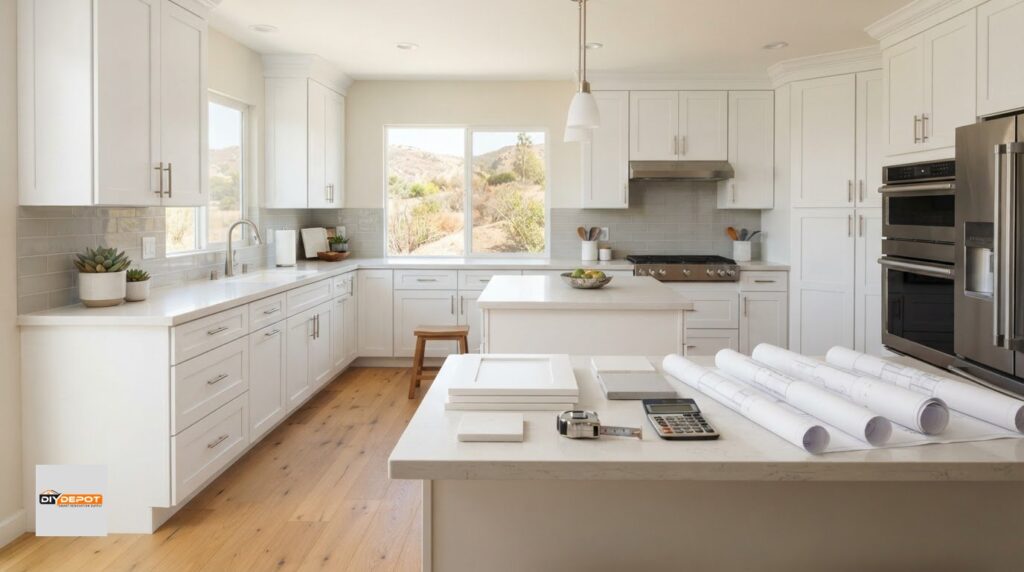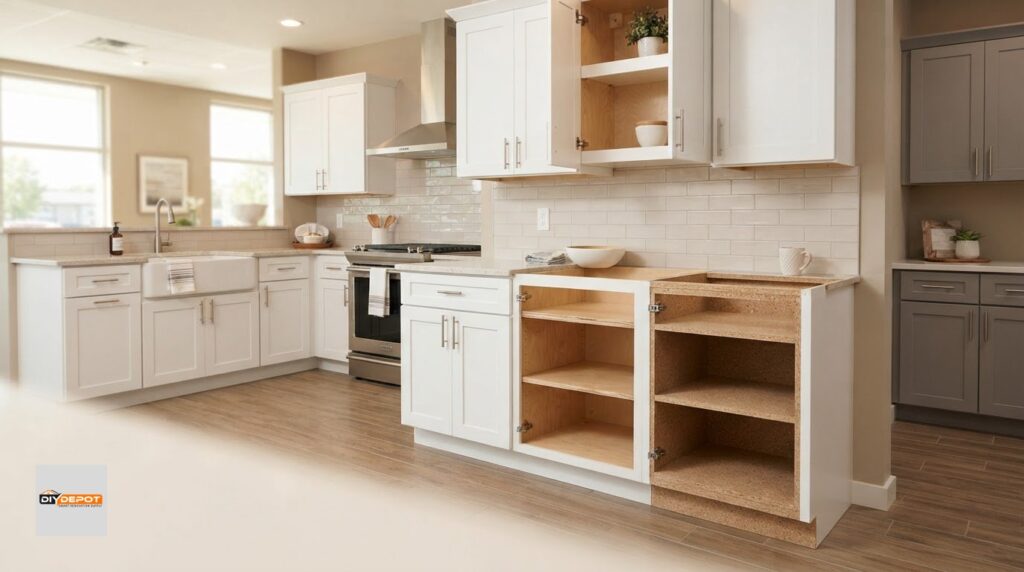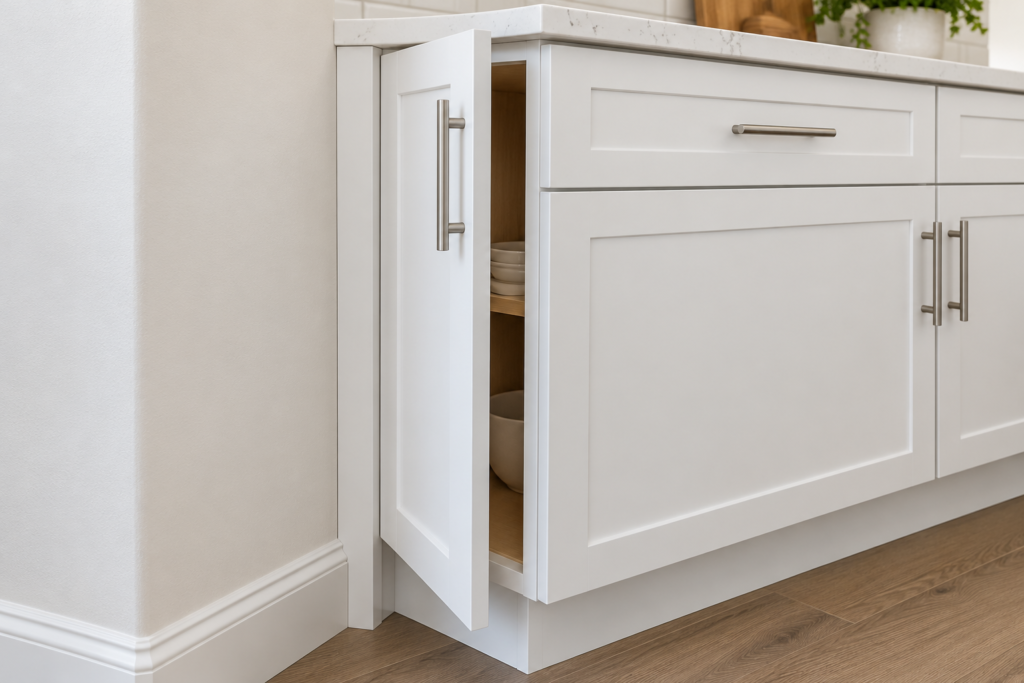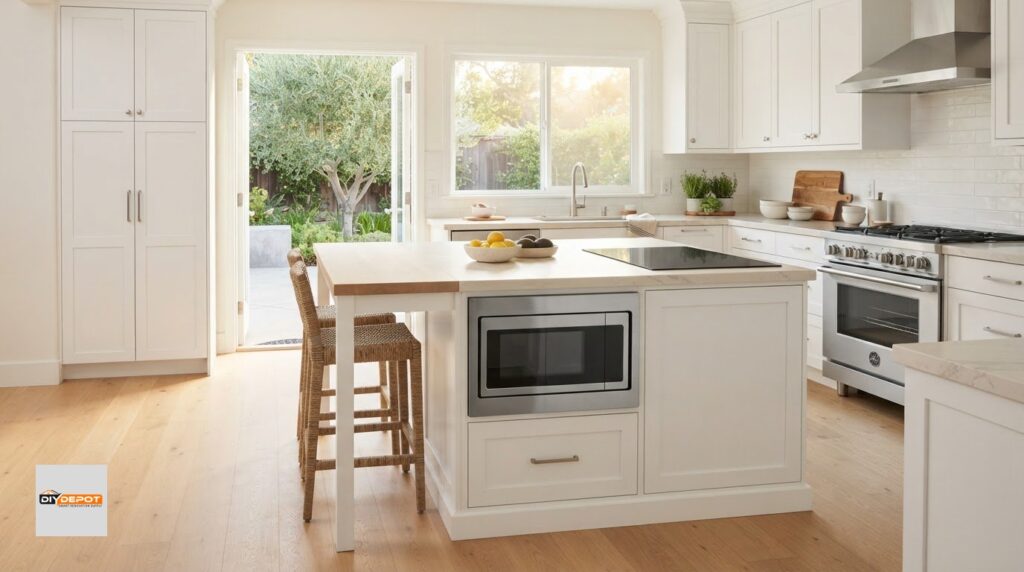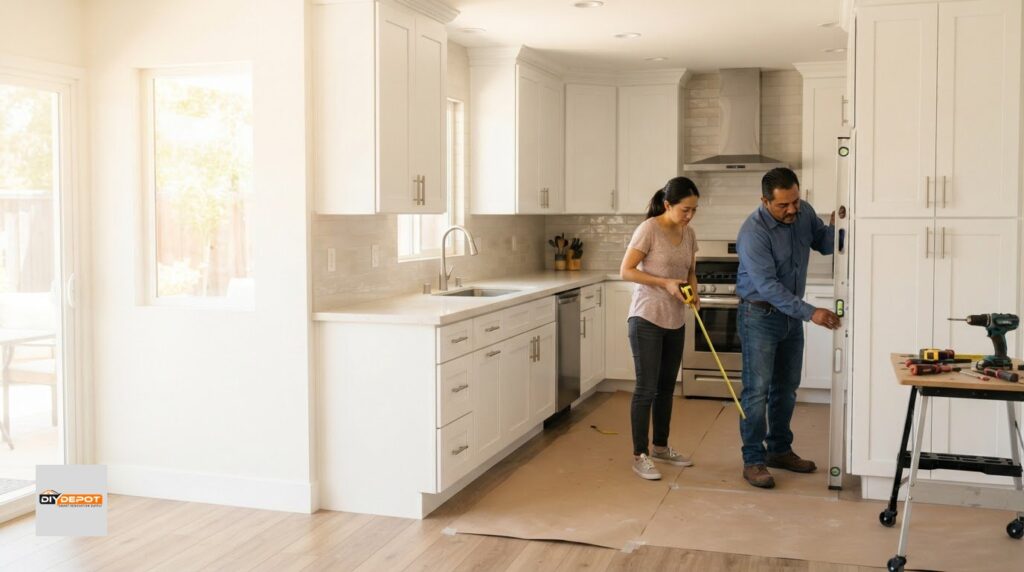


The remodel starts before the first cabinet comes out. To plan a kitchen remodel step by step, set your budget, finalize the layout and major choices, measure the space, and order materials with delivery time in mind. A 15 to 20 percent reserve can help cover unexpected renovation issues.
It’s easy to focus on the finished kitchen and overlook the disruption along the way. Set up a temporary kitchen elsewhere in the house with essentials such as a microwave, coffee maker, and mini-fridge. Prepare meals ahead when you can to make the construction period easier to manage.
This guide explains how to plan a kitchen remodel step by step, from defining the scope and measuring the room to comparing cabinet samples and setting up a temporary kitchen. You’ll also learn how to coordinate material orders with the project schedule, so decisions are organized before construction begins.
Key Takeaways
- Keeping the existing kitchen layout can help control remodeling costs, so weigh the value of changes against the work they add.
- Build delivery time into the schedule; ordering and logistics typically take 1-2 months.
- Plan the installation sequence: flooring is typically laid before cabinetry, and countertop templates are made after the cabinets are set.
- After demolition, have exposed wiring and pipes inspected while they’re accessible, and leave electrical, plumbing, lighting, and HVAC work to licensed professionals.
- Organize the remodel in stages, and set up a practical temporary kitchen that supports your household’s everyday routine.
What Should I Do Before Starting a Kitchen Remodel?
Start by listing the kitchen’s current problems, then define the layout, scope, budget, and timeline. Record major decisions before demolition, especially cabinet and appliance selections.
Choose a remodeling contractor by comparing detailed written proposals, relevant experience, licensing, and insurance. Confirm each proposal covers the same work, materials, schedule, and payment terms before comparing totals.
-
Set Remodeling Goals
List what the kitchen needs to do better, such as adding storage, improving prep space, or replacing worn cabinets. Rank each goal as essential, helpful, or optional. This gives you a clear basis for evaluating layouts and design choices.
Consider who uses the kitchen and how. A household that cooks daily may prioritize counter space, while a small kitchen may need more efficient storage. Focus on problems the remodel can solve, rather than features that don’t support your routine.
-
Define the Remodel Scope
Decide what will change: cabinets, appliances, flooring, lighting, plumbing, or the room’s layout. Separate cosmetic updates from work that affects utilities or structure. This defines the project and clarifies which decisions must be made before construction.
Write a clear scope list with specific choices, such as “replace base cabinets” or “keep the sink in its current location.” Keeping the existing layout may help control costs. Avoid adding work after setting the scope without reviewing its effect on materials, labor, and schedule.
-
Set a Realistic Budget and Reserve
Set a maximum project budget, then divide it among the work and materials in your scope. A commonly suggested reserve for unforeseen renovation issues is 15 to 20 percent. Keep that reserve separate from planned spending, so an unexpected repair doesn’t immediately force you to cut a necessary item.
Compare your priorities with the available budget before choosing finishes. If the figures don’t fit, consider retaining the existing layout or postponing optional upgrades. Cabinets can account for a substantial share of a kitchen renovation budget, so make cabinet selections with the overall plan in mind.
-
Compare Contractor Quotes
Request written proposals based on the same scope, then compare what each includes: demolition, plumbing or electrical work, materials, installation, cleanup, and schedule. A lower total may cover less work, so review exclusions and unclear allowances before deciding.
Review each contractor’s licensing and insurance, and look for a detailed contract that describes the work, costs, and timeline. Ask how changes and material delays are handled. Choose the proposal that clearly addresses your priorities, not just the one with the lowest headline total.
How Long Does it Take to Order Kitchen Cabinets and Materials?
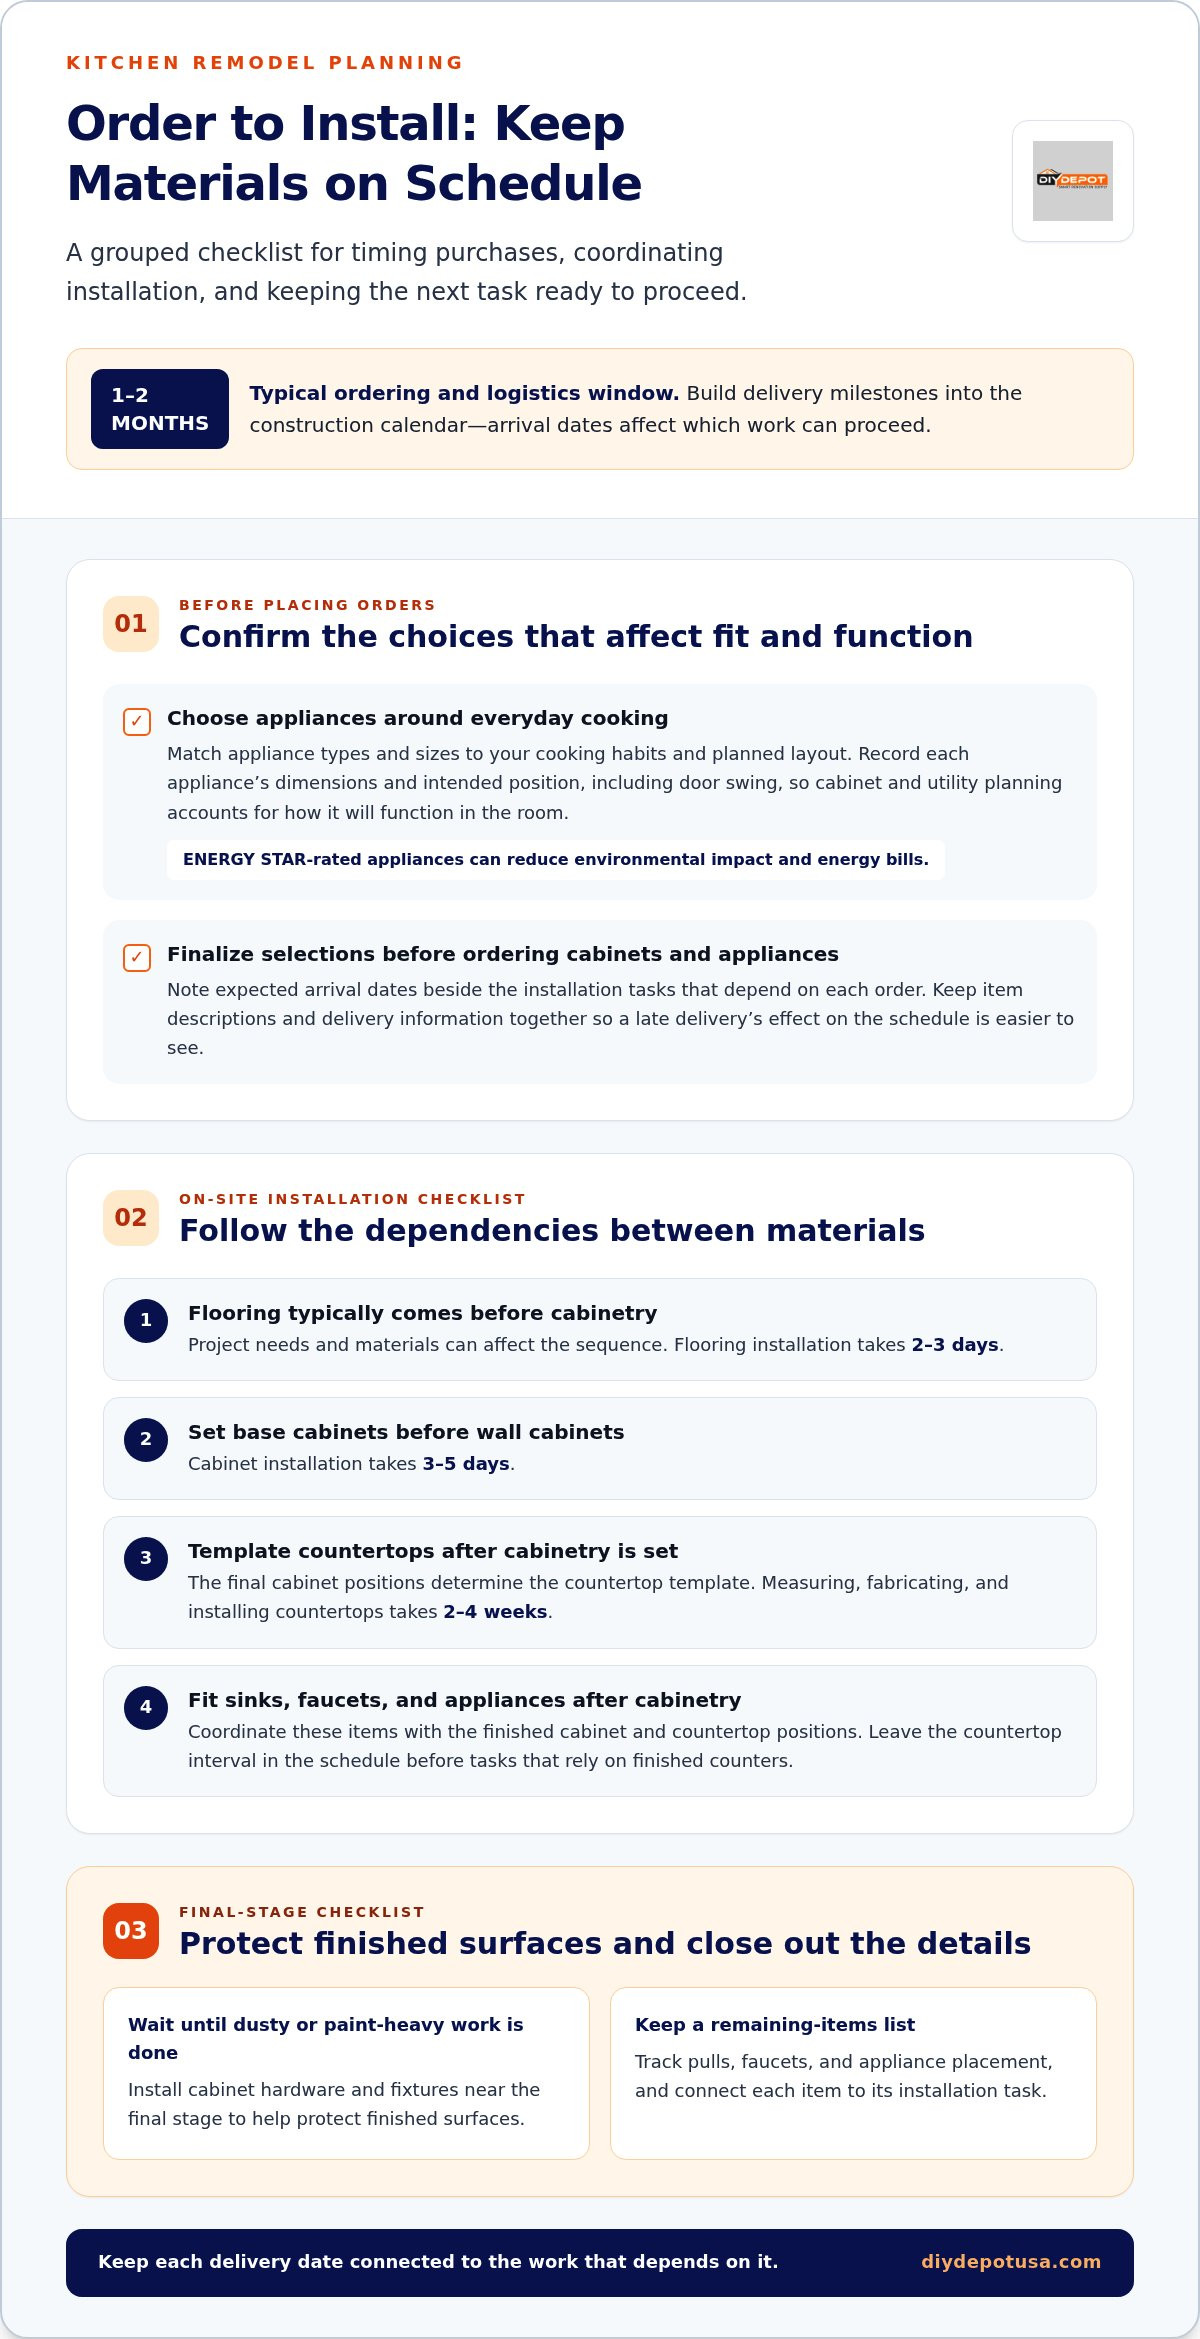
Ordering and logistics for a kitchen remodel typically take 1-2 months. Add delivery milestones to your construction calendar, because cabinet, appliance, and countertop arrival dates affect which work can proceed. A clear way to understand how to plan a kitchen remodel step by step is to connect each purchase to the installation stage that depends on it.
- Choose appliances around your cooking habits. List the meals and tasks your kitchen handles most, from weekday breakfasts to daily cooking or occasional baking. Choose appliance types and sizes that suit those routines and fit the planned layout. Look for ENERGY STAR-rated appliances to reduce environmental impact and energy bills. Record each appliance’s dimensions and intended position, including door swing, so cabinet and utility planning accounts for how it will function in the room.
- Order cabinets and appliances with delivery time in mind. Kitchen cabinet and appliance lead times can be several weeks, according to Frey Construction. Finalize selections before placing orders, then note expected arrival dates beside the related installation tasks. Keep order details together, including item descriptions and delivery information. For anyone learning how to plan a kitchen remodel step by step, this timeline helps reveal whether a late delivery could affect other scheduled work.
- Coordinate countertop timing after cabinetry. Countertop measurements happen after cabinets are installed, because the final cabinet positions determine the template. Measuring, fabricating, and installing countertops takes 2-4 weeks. Leave that interval between cabinet installation and tasks that rely on finished counters, such as fitting a sink or faucet. The template stage also gives the project a clear point for coordinating countertop fabrication with the planned finish and fixture choices.
- Follow a practical installation order. Flooring is typically installed before cabinetry, though project needs and materials can affect the sequence. Install base cabinets before wall cabinets, then make countertop templates once the cabinetry is set. Cabinet installation takes 3-5 days, while flooring installation takes 2-3 days. Install cabinetry before sinks, faucets, and appliances, so those items can align with the finished cabinet and counter positions.
- Save hardware and decorative finishes for the end. Install cabinet hardware and fixtures near the final stage, after dusty or paint-heavy work. This helps protect finished surfaces during construction. Make a remaining-items list, such as pulls, faucets, and appliance placement, and connect each item to its installation task. To compare cabinet options for your layout, browse shaker cabinet selections.
Final Steps: How Long Does Finishing a Kitchen Renovation Take?
Remodeling without a contractor can make trade coordination and work sequencing harder. Electrical, plumbing, lighting, and HVAC work should be completed by licensed professionals to support safety and code compliance.
Costs depend on project scope, materials, and local labor, while permit rules vary by location. Structural work and utility rough-ins often require local permits and inspections, so include those steps in your schedule.
- Inspect wiring and pipes after demolition. Arrange for qualified professionals to examine exposed electrical wiring and plumbing while they’re accessible. Demolition typically takes about 1 week, creating a useful point to assess hidden conditions before walls close again. Record needed repairs and confirm how they affect the planned work. Addressing issues at this stage helps prevent finished drywall or cabinetry from concealing problems that still need attention.
- Schedule construction in a workable sequence. Structural changes can take 2-4 weeks, and plumbing, mechanical, and electrical rough-ins take 3-5 days. Drywall and painting take about 1 week. Flooring begins only when the subfloor is clean, level, and ready. A cosmetic refresh may need 4-8 weeks of construction, while a mid-range renovation with new cabinetry and appliances typically takes 8-12 weeks.
- Plan permits and inspections around the work. Identify which project stages involve structural changes or utility rough-ins, then add applicable local inspections to the timeline. Permit reviews and inspection processes vary by jurisdiction, so account for them before setting construction dates. Skipping a required approval can cause delays or require work to be revisited. Keep permit documents, inspection notes, and the work schedule together.
- Inspect and store materials before installation. Compare delivered items with your order, noting visible damage, missing pieces, or mismatched finishes before installation day. Store cabinet parts and flooring in a dry, secure area, grouped by room or installation stage. Check that appliances, fixtures, and finishing materials match your plan. A clear inventory can reveal missing items before they interrupt the next task.
- Complete the finish work and final walkthrough. After major installations, review cabinet doors, drawers, flooring edges, appliance placement, and visible paintwork. Install hardware and fixtures near the end, protecting them from dust and paint during earlier work. Compare the finished kitchen with the agreed scope and list any incomplete details. A thorough closeout checks each item, not just the room’s overall appearance.
Measuring the space and choosing cabinet samples
Measure the full kitchen footprint before choosing cabinets, countertops, flooring, or appliances. Compare options for fit, function, finish, and how each material works with the rest of the room.
-
Measure the Kitchen Space
Record every wall, window, doorway, and the ceiling height. Note where each opening begins and ends, along with the locations of existing plumbing and appliances. Measure full wall lengths, not just cabinet runs, so your plan reflects the entire room. Mark and label each wall on a simple sketch, then recheck measurements before planning cabinet or appliance placement.
-
Plan Cabinetry and Storage
Use your measurements to map cabinet runs, work areas, and storage needs. Mark the sink, range, refrigerator, and door swings on the same drawing, then check how movement flows between them. For example, note whether an open dishwasher would block a doorway or access to a cabinet. Identify which items need everyday access and which can go in less prominent storage.
- Compare cabinet samples in the kitchen. View each sample beside the existing floor, wall color, and nearby surfaces. Check it in daylight and under evening lighting, since light can change how a finish appears. Compare samples with planned countertops and flooring rather than choosing each material in isolation. Keep the selected sample and its details with your layout notes.
- Match countertops, flooring, and appliances to the plan. Compare countertop samples against cabinet finishes, then consider how flooring will connect with adjoining rooms. Select appliances using their actual dimensions and intended positions in the drawing. A refrigerator that fits one wall may still affect a doorway or cabinet access when its doors open. Put the chosen materials and appliance locations into one detailed plan for the contractor.
- Coordinate preparation and installation. Confirm the sequence in the project plan. Flooring is often installed before cabinetry, though material and project needs can change the order. Paint walls after demolition and before new cabinetry, backsplashes, or appliances are installed. Cabinet installers typically set base cabinets before wall cabinets. Countertop templates are made after cabinetry is installed, so coordinate sink and faucet decisions with that stage.
Setting up a temporary kitchen during renovation
A temporary kitchen gives you a place to prepare simple meals while construction affects the main room. Set it up elsewhere in the house before demolition, and plan for changing access, lighting, and work areas as the renovation progresses.
- Choose a practical location. Select a spot away from demolition and construction, such as a dining area or utility room. Make sure the route stays usable as workers move materials and complete structural work. If convenient, set up near a water source, and choose a surface suitable for everyday meal preparation.
- Gather a small set of essentials. A microwave, coffee maker, and mini-fridge can support basic meals and drinks. Add plates, cups, utensils, a cutting board, and a few cooking tools you use regularly. Keep only what you need so the temporary space stays clear and functional.
- Plan meals around available equipment. Make a short list of meals suited to your temporary setup, such as reheated dishes or simple breakfasts. Prepare meals ahead to reduce cooking during construction. Store shelf-stable food and snacks in a separate, accessible spot so you won’t have to search through moving boxes each day.
- Organize food, dishes, and cleanup. Use labeled containers or a dedicated cabinet for pantry items, cookware, and cleaning supplies. Keep related essentials together, such as coffee supplies beside the coffee maker. Choose a place for dirty dishes and food waste, and clear the prep surface after meals. A simple routine keeps the temporary kitchen from spreading across the room.
- Account for lighting and daily routines. Check the temporary space at the times you’ll use it, including early mornings and evenings. Make sure you can see the work surface and stored food easily. If construction changes access to a hallway or dining area, adjust the setup so household routines can continue without crossing active work zones.
- Coordinate the setup with project stages. Find out which spaces will remain accessible during demolition, electrical work, and finishing. Keep temporary kitchen supplies together so you can move them if construction boundaries shift. As flooring, cabinetry, or appliances are installed, adjust the setup to keep work areas clear.
- Make a transition plan for reopening. Before the finished kitchen is ready for regular use, decide where temporary appliances and supplies will go. Keep essentials available until the main cooking area, cabinets, and appliances are ready to use. For help planning the kitchen layout around your needs, book a kitchen design appointment.
DIY Depot: Base Shaker Cabinets
DIY Depot can help turn your measurements and cabinet plan into practical next steps. If you’re choosing kitchen cabinetry, explore Base Shaker Cabinets and consider how they fit your room’s footprint, storage needs, and finish selections.
For help matching cabinet choices to your layout, DIY Depot offers Professional Kitchen Design. The company also assembles and installs its shaker cabinets, supporting the cabinet stage of your remodel. Vanity Shaker Cabinets and Wall Shaker Cabinets are available for other rooms and storage needs.
If your measurements and plans are ready, contact DIY Depot to discuss your kitchen project.
Turn Your Remodel Plan Into a Confident Next Step
Knowing how to plan a kitchen remodel step by step gives you a strong foundation. The next step is choosing options that fit how you use your home. Keep measurements, cabinet preferences, and layout notes together as you decide what to do next.
DIY Depot offers Base Shaker Cabinets, Vanity Shaker Cabinets, and Wall Shaker Cabinets. If you’re refining your kitchen cabinet choices, these options can help connect your design direction with the spaces you plan to update.
Explore your options or start a conversation about your project with DIY Depot. Take the next step at your own pace, with your plan and priorities in hand.
Frequently Asked Questions
What is Involved in the Kitchen Rough Construction Phase?
Rough construction prepares the room and its systems for finished surfaces and fixtures. After demolition, the work may include structural changes, framing, electrical and plumbing rough-ins, insulation, and drywall. Demolition and rough construction typically take 2-4 weeks, though the project scope affects scheduling. For example, moving a sink can add plumbing work before walls close. Keep a written sequence so inspections and follow-up trades fit the plan.
What is a realistic kitchen renovation price?
A typical market range for kitchen remodeling is $18,000 to $44,000, with a median around $34,000. Treat this as a broad planning reference, not a quote for your home. The final figure depends on the project’s scope, material selections, and labor needs. A refresh that keeps the existing layout differs from a renovation involving structural work, new utilities, cabinetry, and appliances.
What are the steps to plan a kitchen remodel from start to finish?
Begin by listing the problems you want the new kitchen to solve, then define the scope and spending limit. Measure the room, map the layout, and settle major cabinet and appliance choices before demolition. Schedule material orders and required local approvals, then prepare a temporary kitchen. During construction, coordinate inspections and installation stages. Finish by comparing the completed work with the agreed scope and noting any remaining details.
How much does a kitchen remodel cost in the United States in 2026?
Most homeowners invest between $20,000 and $50,000 for a standard project when working with suppliers like DIY Depot. That figure is a national reference, not a guaranteed cost for a specific home or a cabinet price. Room size, changes to plumbing or electrical systems, and material selections all affect the budget. Define the project scope clearly and compare estimates for equivalent work, not just the totals.
How should I set a kitchen remodel budget and contingency fund?
Start with your spending limit, then assign planned costs to the work, materials, appliances, and installation in your scope. Keep a separate reserve for unexpected conditions uncovered during demolition, such as wiring or pipe repairs. Don’t spend the reserve on optional upgrades while essential work remains unfunded. If the plan exceeds your limit, revise the scope before ordering materials.
How do I measure and plan a kitchen layout for workflow and storage?
Draw the room and label each wall, doorway, window, and ceiling height. Add plumbing, appliance, and utility locations, then sketch cabinet runs and storage zones. Check how doors and drawers open and whether people can move between the refrigerator, sink, and cooking area without blocking one another. View cabinet samples beside existing finishes to judge color and texture in your own lighting.
Which kitchen remodel projects require permits or inspections?
Structural changes and utility rough-ins often involve local permits and inspections. Requirements depend on the project and jurisdiction, so include the relevant local process in your schedule before construction. This applies to projects in Bakersfield, Fresno, Santa Maria, San Luis Obispo, Santa Barbara, Ventura, Visalia, Oxnard, Kern County, Kings County, Las Vegas, and Phoenix. Keep approval records with your project documents.
What is the typical timeline for a kitchen remodel, step by step?
A complete kitchen remodel, from the first conversation to the finished project, typically takes six to twelve months. Planning, design, ordering, construction, and finishing happen in sequence, though some tasks can overlap. The scope, material delivery dates, local approvals, and repairs discovered after demolition all affect the schedule. Set target dates for key decisions and deliveries, then update the timeline as each stage is completed.