
What if a cabinet problem you notice after installation began with a measurement you could have checked before the first cabinet went up? Common cabinet installation mistakes often start with small oversights, then show up as uneven gaps, misaligned doors, or cabinets that don’t fit the planned layout.
It’s reasonable to feel unsure before fastening anything in place. Walls can be out of plumb, floors can slope, and a layout that looks right on paper may not account for appliances or clearances. A few deliberate checks at the right time can help you catch issues while changes are still manageable.
This checklist explains what to inspect before, during, and after installation, why common errors happen, and what practical next step makes sense if you find one. You’ll review measurements, wall and floor conditions, cabinet placement, fastening, and final alignment. You’ll also get a clearer sense of which tasks may suit a careful DIY approach and when design support, cabinet assembly, or installation help can make the project easier to manage.
Key Takeaways
- Common cabinet installation mistakes often begin with planning oversights. Record wall lengths, ceiling heights, and clear openings separately, then recheck them before installation.
- Map obstacles and appliance locations before finalizing cabinet positions. Account for door swings and access, not just the appliance’s footprint.
- A crooked cabinet, visible gap, or sticking door can have several possible causes. Check level and alignment before fastening additional units.
- Inspect cabinet surfaces and parts before assembly or installation, and document any visible damage before work continues.
- Use careful DIY checks where you feel confident. DIY Depot also provides kitchen design support, cabinet assembly, and installation for its shaker cabinets.
Common Cabinet Installation Mistakes: Why Small Errors Become Visible Problems
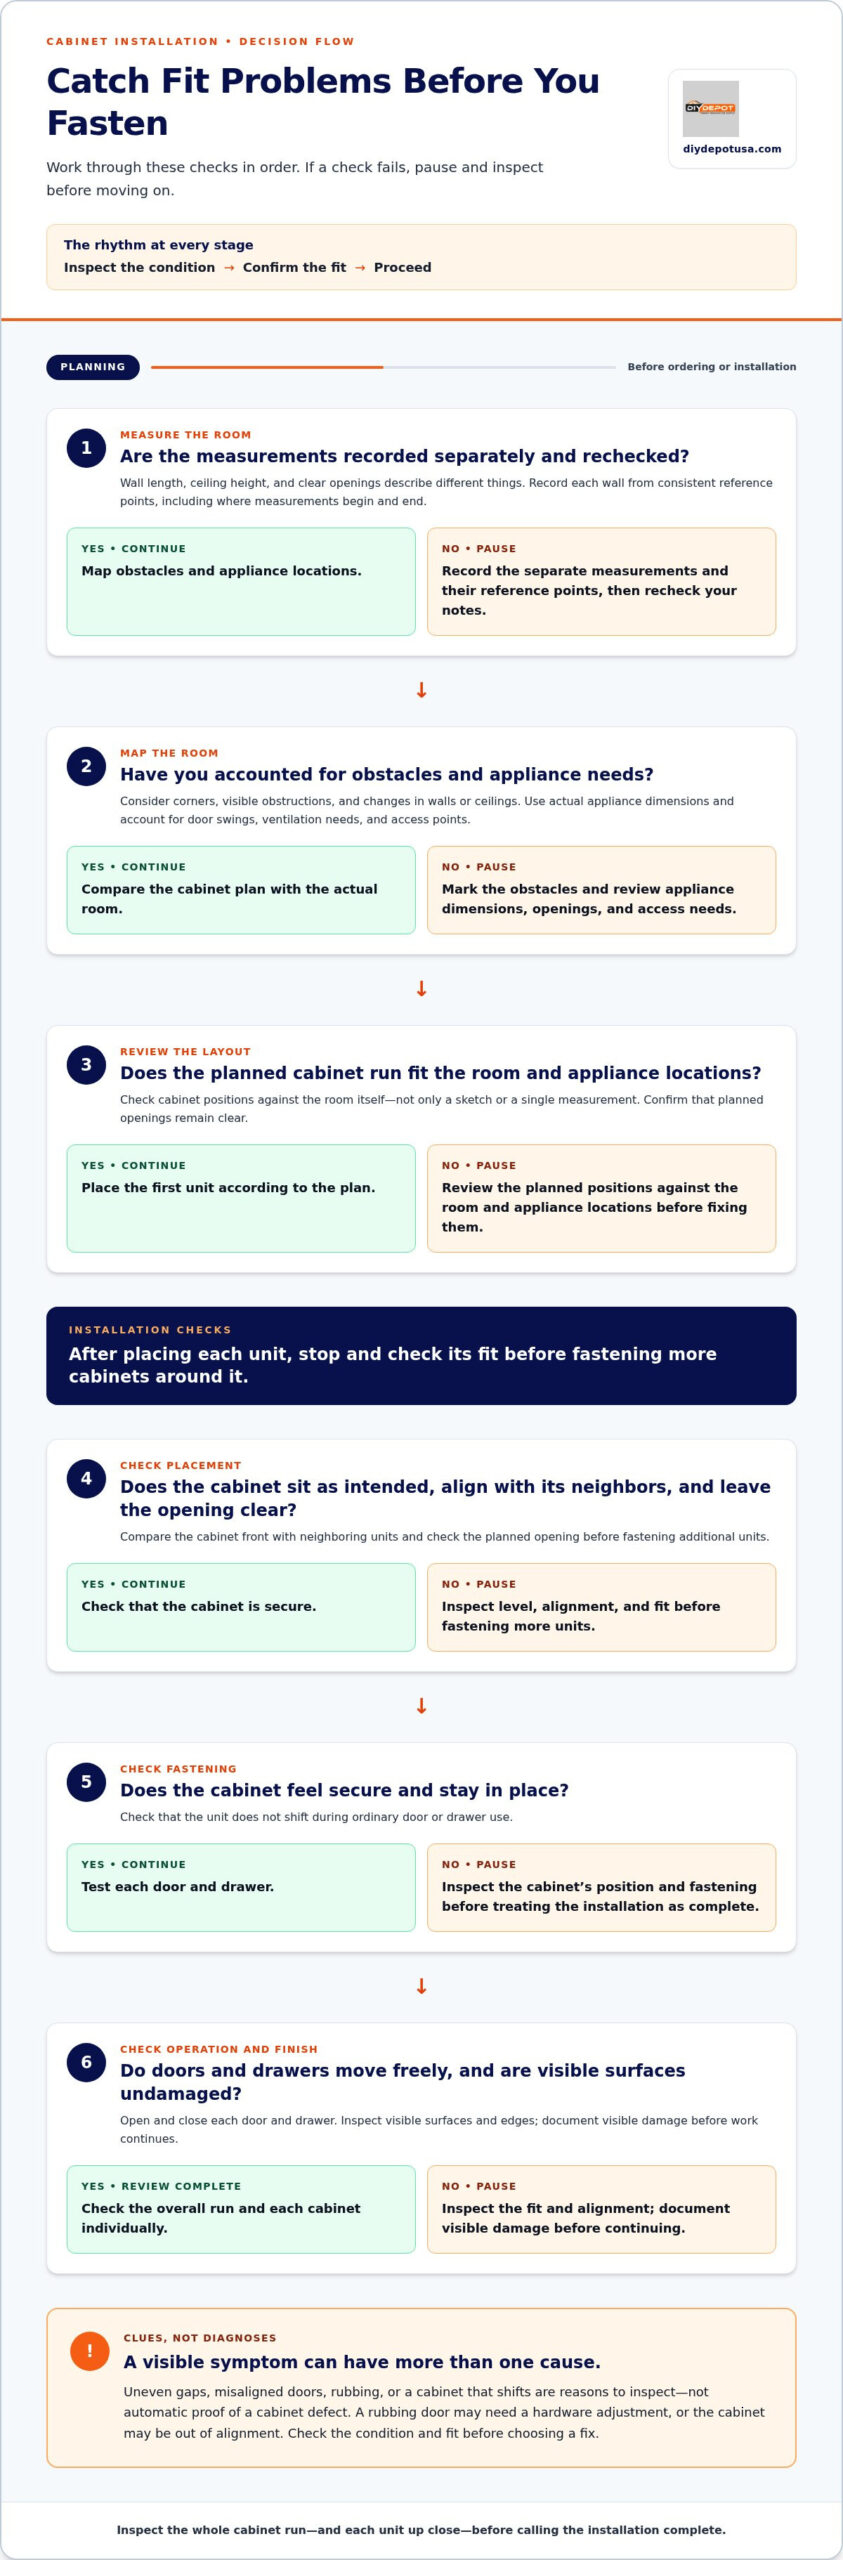
A check before moving on can catch many fit and function problems while they’re still manageable. A door that rubs, a cabinet that shifts, or a gap that stands out may look like a cabinet defect, but the cause can also be planning, fit, fastening, or finishing. Inspect the installation before deciding what the symptom means.
Use a simple rhythm throughout the job: inspect the condition, confirm the fit, then proceed. Pause after placing each unit and again before fastening more cabinets around it. Check that the cabinet sits as intended, that its front is aligned with neighboring units, and that the planned opening remains clear. A Kitchen cabinet can be a base, wall, or tall unit, and each has a different place in the overall arrangement.
A cosmetic adjustment changes how a cabinet looks; a fit problem means the cabinet doesn’t sit or operate properly in its planned space. The distinction matters. Don’t force a door or cover a gap before checking whether the unit is positioned correctly.
Which cabinet installation problems are easiest to spot?
Look for uneven reveals, the narrow gaps between doors or drawer fronts; gaps between cabinets or between a cabinet and the wall; doors that rub; and units that move when gently checked. These signs are clues, not automatic diagnoses. A rubbing door, for example, could need a hardware adjustment, or the cabinet itself may be out of alignment. Inspect before choosing a fix.
Check early, while you can still assess the unit and its neighbors directly. Once surrounding cabinets, trim, or other finish work is complete, access may be harder, and a correction can affect work that already looks finished.
What should you check before calling the installation complete?
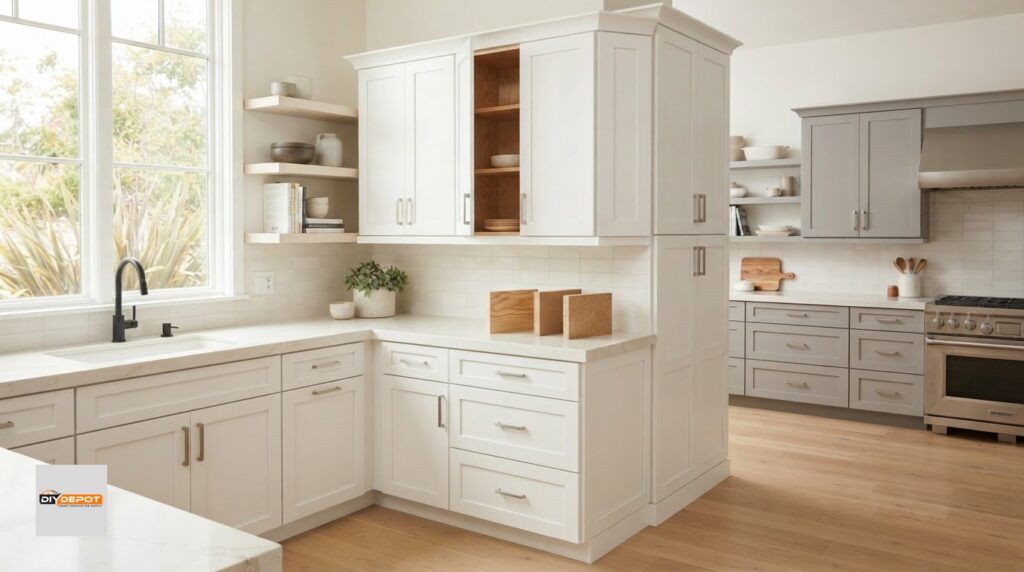
Review the kitchen as a whole, then inspect each cabinet individually. Base cabinets sit along the floor and help establish the working surface and layout, so their position can affect how the rest of the kitchen comes together. The essential kitchen base cabinet guide offers more context on their role in a kitchen plan.
- Layout: Check that the cabinet run follows the intended plan and leaves the planned openings clear.
- Level and alignment: Compare adjacent units and look along the run for a consistent line.
- Fastening: Check that cabinets feel secure and don’t shift during ordinary door or drawer use.
- Finish: Inspect visible surfaces and edges for marks or damage.
- Operation: Open and close each door and drawer, watching for rubbing or interference.
Check the overall run and the individual units. A line can appear consistent from across the room while one door still catches up close. If something seems off, pause and inspect the condition and fit before treating the installation as complete. That steady stop-and-check habit makes common cabinet installation mistakes easier to identify and address.
Planning Mistakes: Measurements, Layout, Appliances, and Room Conditions
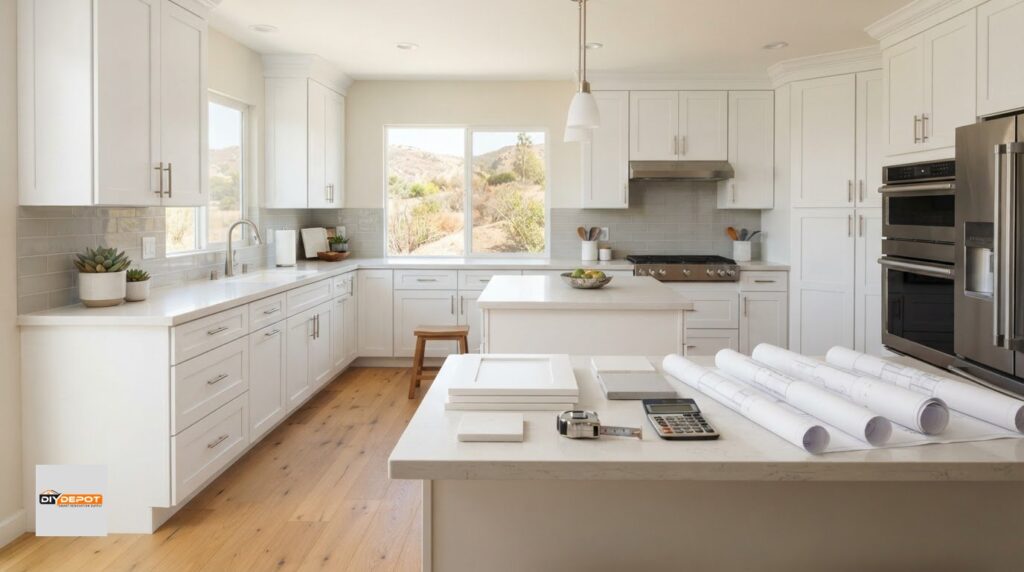
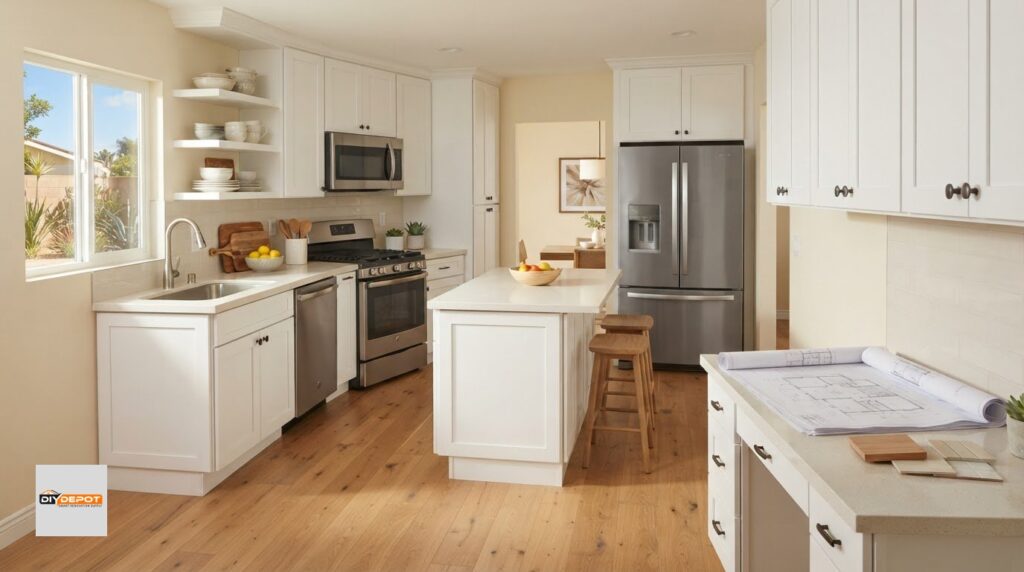
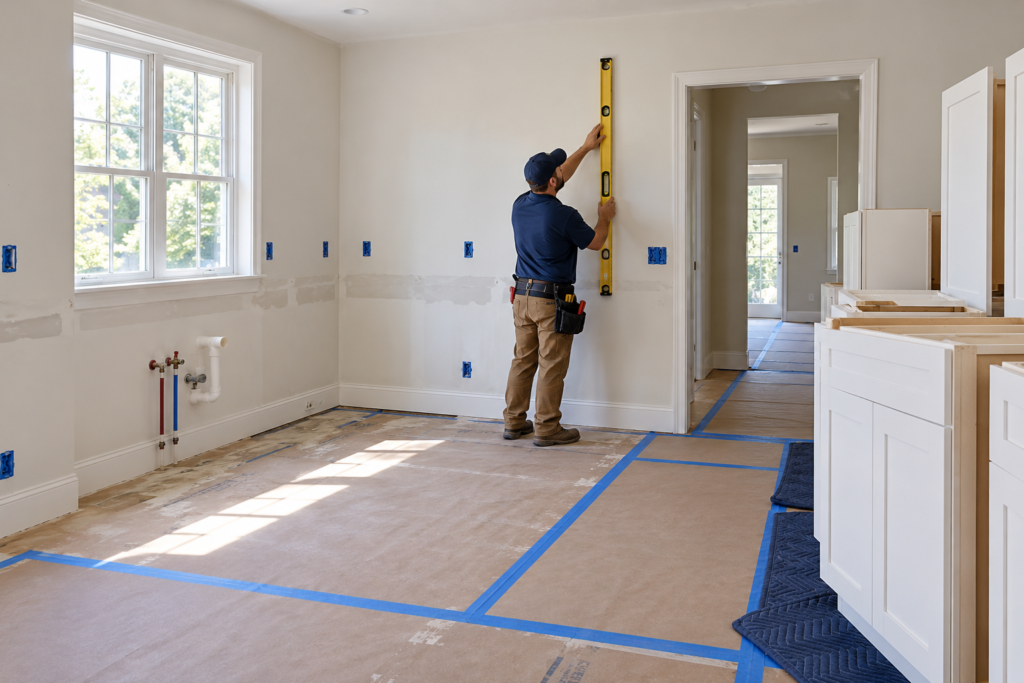
A cabinet plan needs more than one room measurement. Wall length, ceiling height, and clear openings each describe something different, so record them separately. Measure each wall from consistent reference points, note where measurements begin and end, and recheck the figures before ordering or starting installation. Then map obstacles, place appliances, and review cabinet positions against the actual room.
- Measure the room: Record each wall length and ceiling height separately. Note the width and location of doorways and other clear openings.
- Map obstacles: Mark corners, visible obstructions, and changes in the ceiling or walls that could affect cabinet placement.
- Place appliances: Use the actual appliance dimensions and consider door swings, ventilation needs, and access points.
- Review cabinet positions: Compare the planned cabinet run with the room and appliance locations before fixing positions.
Check the cabinet layout against the actual room and appliances, not just a sketch or a single measurement. This gives you a chance to resolve planning questions before they become common cabinet installation mistakes.
How can inaccurate measurements create cabinet fit problems?
Measurements can conflict if they use different reference points. For instance, measuring one wall from a corner and another from the edge of a doorway can make the plan difficult to compare consistently. That confusion may lead to a gap or a cabinet run that doesn’t fit as intended. Write down where each measurement starts and ends, then recheck your notes before ordering cabinets or beginning installation.
Clear records also make it easier to review the plan with someone helping on the project. Compare your measurements with the kitchen base cabinet sizes guide when planning base cabinets.
Why do appliances, walls, and floors need a place in the plan?
Appliances can affect cabinet positions even before they’re brought into the room. Account for their actual dimensions and consider how doors open and where access is needed. An opening that looks wide enough on a drawing may not work well once the appliance is in place. Check clearances against the appliance specifications and your intended layout before fixing cabinet positions.
Include corners, ceiling changes, visible obstructions, and uneven walls or floors in your review. Don’t assume the cabinet run should follow every irregularity in a room. Mark the intended run on the wall or project layout, then compare it with the actual space before installation. For additional kitchen planning resources, consult the National Kitchen & Bath Association (NKBA).
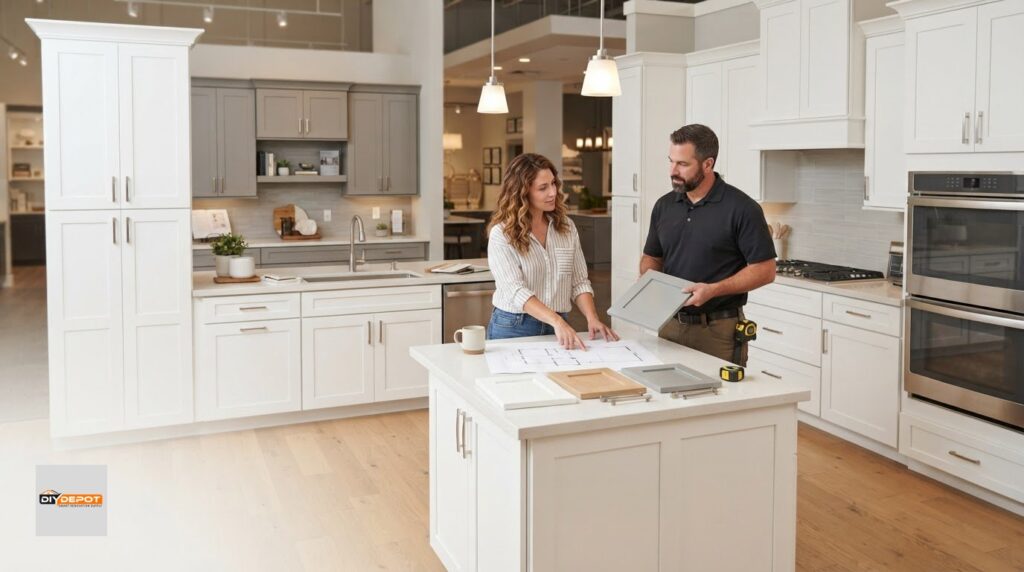
If you’d like help working through measurements, cabinet selection, or positions in the room, book an appointment for kitchen design support before installation.
Installation Mistakes That Cause Crooked Cabinets, Gaps, or Sticking Doors
A crooked-looking cabinet, an unexpected gap, or a sticking door can be frustrating, but one symptom rarely tells the whole story. The cause might be the unit’s position, the room surface, the original layout, or hardware that needs adjustment. Treat what you see as a reason to inspect, not proof that a cabinet is damaged.
Use this quick comparison to choose a sensible next check before making changes:
| What you notice | Possible causes | What to check next |
|---|---|---|
| Uneven line across cabinets | Unit alignment, room surfaces, or layout | Compare the run with the intended layout and check level before proceeding. |
| Gap between units or at a wall | Positioning, spacing, or an irregular surface | Recheck the cabinet run and surrounding conditions before covering the gap. |
| Door rubs or won’t move freely | Cabinet position or hardware adjustment | Observe the door’s movement and inspect its adjustment without forcing it. |
| Cabinet shifts | Attachment or support concerns | Pause and assess whether the unit is securely attached to appropriate wall structure. |
What causes cabinet runs to look uneven or leave gaps?
A visible gap or uneven line may relate to cabinet alignment, the shape of the wall or floor, or how the original layout was marked. Check the run from more than one viewpoint and compare it with the planned positions. If the issue appears between two units, inspect their relationship to each other as well as their position in the room.
Pause before covering or finishing a gap. Trim or other finishing work can hide a visible opening, but it won’t correct a cabinet run that’s out of position. Recheck the fit and surrounding conditions first. Avoid choosing a correction based on appearance alone, since the right response depends on what’s causing the gap.
Why do cabinet doors or drawers rub after installation?
Start with the cabinet’s position and the hardware adjustment before assuming a door or drawer is damaged. Open and close the component through its full range of motion, paying attention to where it catches. Don’t force it; resistance can make it harder to see where the problem begins. If an adjustment doesn’t resolve the issue, return to the unit’s alignment and fit.
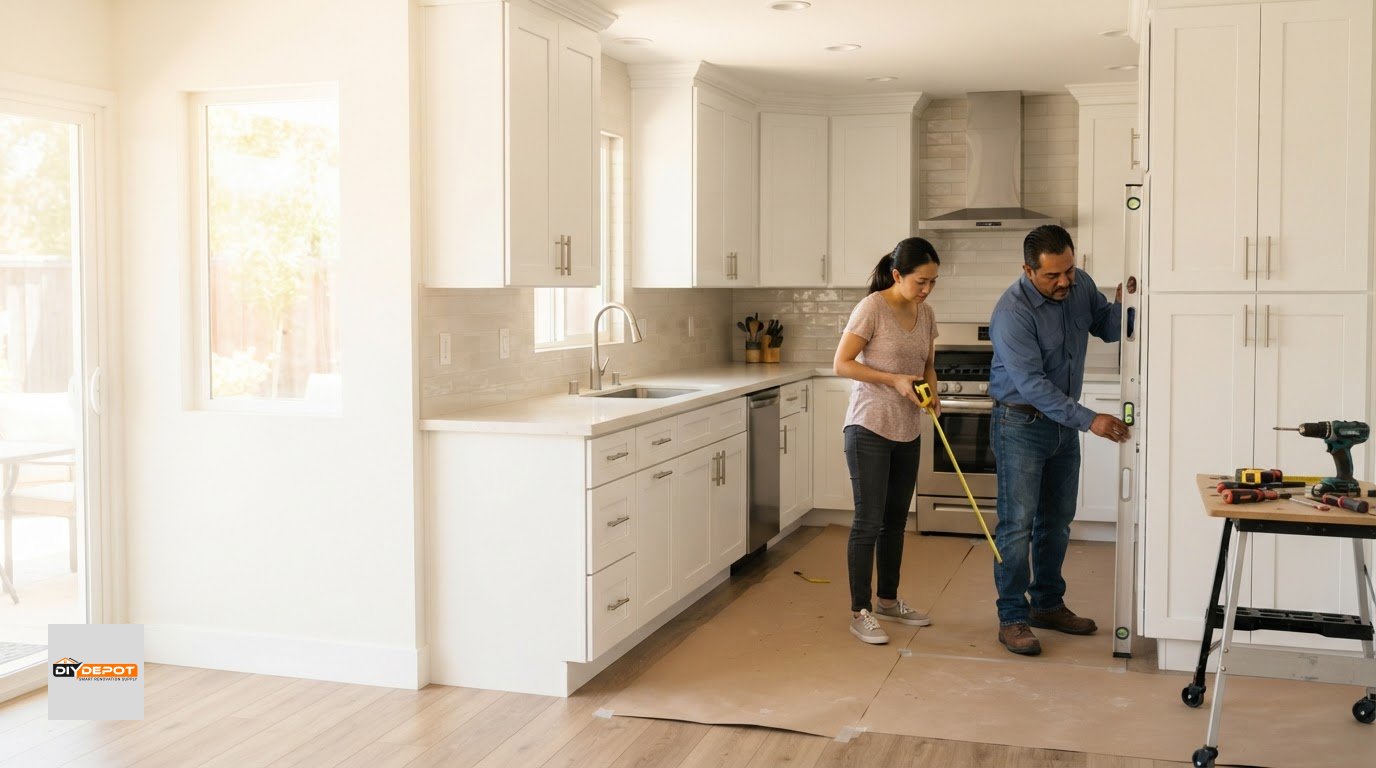
Check level and alignment before fastening further units. A small error can carry into the next cabinet, making the whole run look increasingly uneven. Check each unit as you go, and make sure adjacent cabinets line up before joining them. Joining units and fitting hardware require careful alignment, not a last-minute cosmetic touch.
Cabinets also need secure attachment to appropriate wall structure. The right approach depends on the installation conditions, so don’t assume one fastening method suits every wall. Resources from the Kitchen Cabinet Manufacturers Association (KCMA) provide broader context on cabinet performance, but a visible installation symptom still needs to be assessed on site. Common cabinet installation mistakes may call for a simple adjustment or a closer look at the overall fit.
Cabinet Installation Checklist: Protect Finishes and Inspect the Finished Work
A little organization helps protect cabinet finishes and makes missing parts easier to catch before they interrupt the work. Divide your checks into three stages: before work begins, during installation, and the final walkthrough. Keep a written record of anything that needs attention, so a small concern doesn’t get lost as the project moves forward.
How can you reduce scratches, chips, and missing-part delays?
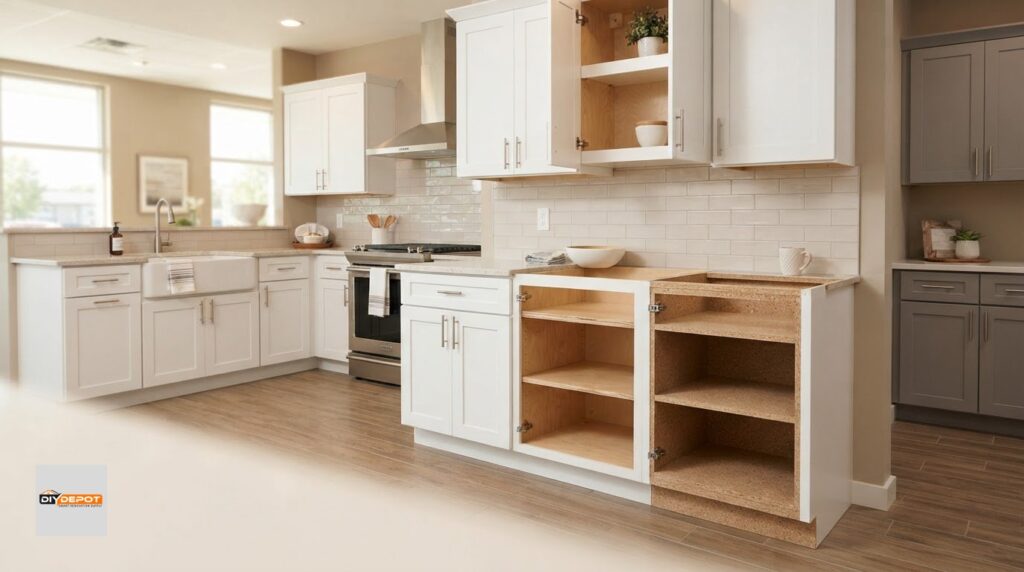
Start with a clear work area. Keep cabinet components on a clean, protected surface and handle them carefully as you unpack and move them. Before assembly or installation, inspect visible surfaces, edges, and parts for damage. If you find a mark or chip, take a clear photo and note which component it affects before work continues.
Keep hardware and cabinet parts organized, and compare what you have with the project instructions. This makes it easier to spot a missing item before it holds up later steps. If a component is visibly damaged or doesn’t fit as expected, pause rather than forcing it into place or covering the issue. Record what you found and where it occurred.
What belongs on a final cabinet installation walkthrough?
At the end, take a fresh look at both the full cabinet run and each individual unit. Use the walkthrough to identify issues that need adjustment, and record unresolved concerns before moving on to related finishing work.
- Before work: Inspect cabinet surfaces and parts, document visible damage, and organize components and hardware.
- During installation: Keep finished surfaces protected, notice changes in fit as the work progresses, and pause if a part is damaged or doesn’t fit as expected.
- Final walkthrough: Review consistent alignment, stable placement, door and drawer movement, and visible finish condition. Check that adjacent cabinets and planned openings appear consistent with the approved layout.
Open and close doors and drawers through their normal range of motion without forcing them. Look for rubbing, uneven spacing, or movement, then note where the issue appears. A smooth test matters, but so does checking the surrounding cabinet: an adjustment to one component shouldn’t leave the neighboring unit looking out of line.
Sign-off check: The cabinets are aligned, stable, undamaged, and operating smoothly, with any unresolved issues recorded before finishing work continues. If the walkthrough reveals concerns you don’t feel comfortable addressing, DIY Depot USA provides cabinet assembly and installation for its shaker cabinets. Book an appointment to discuss your project and kitchen design needs.
Avoid Common Cabinet Installation Mistakes with the Right Project Support
Not every installation concern means you need to hand over the whole project. If your measurements, layout, and fit checks are clear, and you’re comfortable assembling and securing the cabinets, continuing carefully may make sense. If the layout still feels uncertain, units don’t fit as expected, or you’re unsure about secure attachment, pause before proceeding. Sorting out the right kind of help early can make the next steps easier to manage.
When can kitchen design support prevent installation problems?
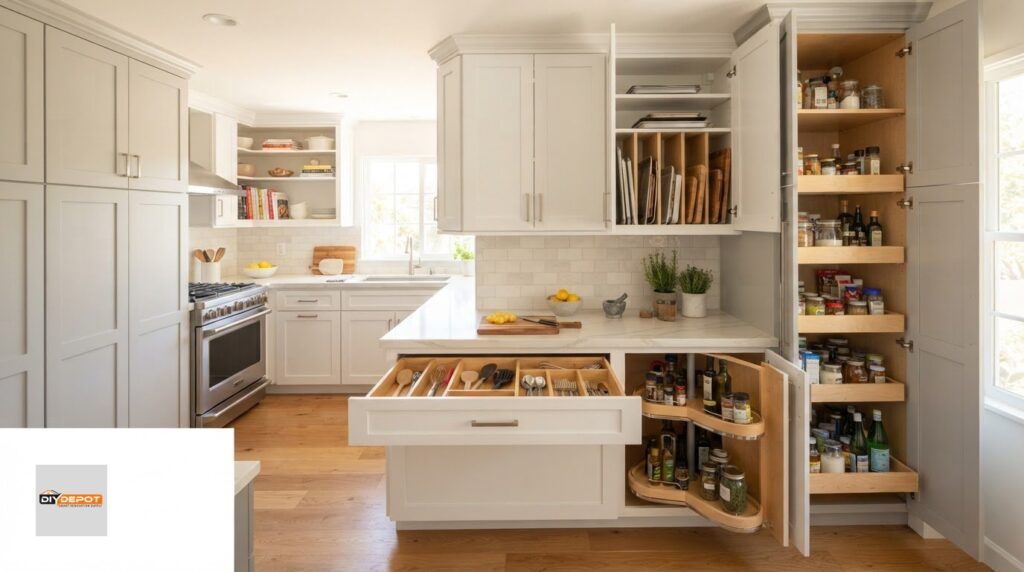
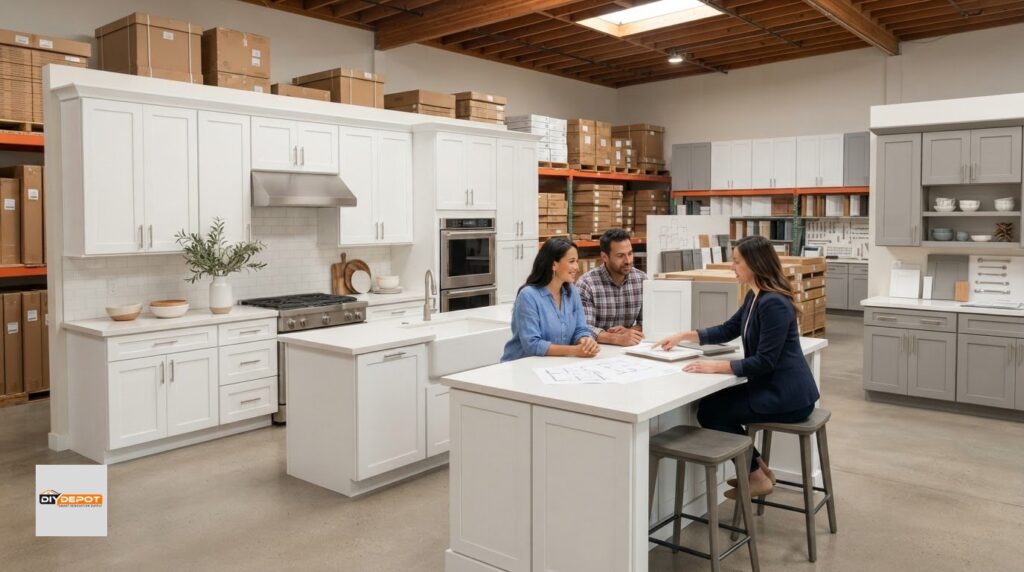
A design review can help bring room measurements, cabinet selection, layout, and appliance fit together before installation. That’s useful for homeowners planning a renovation, as well as renovators, contractors, and property professionals coordinating a project. DIY Depot USA provides professional kitchen design support, along with cabinet assembly and installation for its shaker cabinets. Its core collections include White Shaker and Grey Shaker cabinets, with base, wall, and vanity options.
DIY Depot USA is based in Bakersfield and serves customers across California, including Bakersfield, Fresno, Santa Maria, San Luis Obispo, Santa Barbara, Ventura, Visalia, Oxnard, Kern County, and Kings County, as well as Las Vegas and northwest Phoenix.
How can homeowners choose their next step with confidence?
Choose the level of support that matches the question in front of you. If the layout is settled and the cabinets fit, keep working through your checks. If positions or measurements need another look, kitchen design support can help with planning. If you’d rather not take on assembly or installation, DIY Depot USA provides those services for its shaker cabinets.
A useful decision point is whether you can explain what you’ve checked and what remains uncertain. A clear plan and a straightforward adjustment may be manageable on your own. Unresolved layout, fit, or fastening concerns are good reasons to pause and get project support before continuing.
Conclusion
The common cabinet installation mistakes in this guide are easier to manage when you stop at the right moments. Review the plan before work begins, check cabinet fit as installation progresses, and finish with a deliberate walkthrough. If you notice a gap, uneven alignment, or a door that catches, treat it as a clue to investigate rather than proof of a single cause. Check the cabinet, its position, and the surrounding conditions before deciding what to change.
You don’t have to choose between doing everything yourself and stepping away from the project. Keep handling the tasks you’re comfortable with, and use design, assembly, or installation support where it would help you move forward. DIY Depot USA provides kitchen design support, cabinet assembly, and cabinet installation for its shaker cabinets. Whether you’re planning a new layout or deciding how to complete the one you have, explore cabinet options and project support.
Make Your Next Cabinet Project Step a Confident One
Good installation decisions often come down to knowing when to pause. If a detail feels uncertain, give yourself room to review the plan before moving forward. That measured approach can help keep common cabinet installation mistakes from shaping the finished space, and it lets you decide which parts of the project you’re ready to handle yourself.
You don’t need to solve every question at once. Choose one useful next step: revisit the layout, clarify a measurement, or consider the kind of project support that would make the work feel more manageable. A clear direction can turn uncertainty into progress without rushing the decisions that matter.
DIY Depot USA offers kitchen design support, cabinet assembly, and installation for its shaker cabinets. Based in Bakersfield, the business serves customers across California, including Bakersfield, Fresno, Santa Maria, San Luis Obispo, Santa Barbara, Ventura, Visalia, Oxnard, Kern County, and Kings County, as well as Las Vegas and northwest Phoenix. Explore the available options at your own pace, then choose what fits your project.
Explore cabinet options and project support, and move ahead with a plan that feels right for you.
Frequently Asked Questions
Should kitchen cabinets acclimate before installation?
Acclimation guidance depends on the cabinet product and the conditions where it’s stored, so there isn’t one waiting period that suits every project. Follow the cabinet maker’s instructions and keep components protected from conditions that could damage them while they’re stored. For example, avoid leaving cabinet parts exposed in a work area where they could be bumped or affected by moisture. Check the product guidance before scheduling assembly or installation.
Can cabinets be installed before new flooring?
It depends on the flooring choice, cabinet layout, and overall project plan. Some projects install cabinets before flooring, while others coordinate the sequence differently. Decide the order before work begins so cabinet placement and the finished floor transitions are considered together. For instance, map where flooring will meet cabinet edges and note that plan alongside your cabinet layout. There isn’t a single sequence that applies to every kitchen.
Should doors and drawers be removed before cabinet installation?
Removing doors or drawers can make some cabinets easier to handle or provide better access, but it isn’t necessary for every unit. Follow the cabinet maker’s installation instructions to decide what suits your cabinets. If you remove any pieces, label them and keep them protected so they can be matched to the correct cabinet later. Reinstall them for adjustment and function checks, and don’t force a component that doesn’t move freely.
What should I do if a cabinet is damaged before installation?
Pause work on the affected cabinet, keep its parts together, and make a clear record of the damage with notes or photos. Don’t install it to hide the damage or assume it can be repaired before the issue has been assessed. Recording the condition before assembly helps distinguish pre-existing damage from handling marks later and gives you a clear record of the concern.
Can cabinets be installed around existing plumbing?
Yes, but the plumbing’s actual location and access needs should be included in the room measurements and cabinet layout before installation. Don’t rely on an assumed pipe position based on another kitchen or a rough sketch. If the planned cabinet doesn’t fit around the existing plumbing, pause and revisit the layout rather than forcing the unit into place. This is especially useful when replacing cabinets without relocating existing services.
How do I know whether an installation issue needs professional help?
Pause and consider support if a cabinet keeps moving, won’t align with the planned run, or still doesn’t fit after careful rechecking. Don’t force parts together or conceal a fit problem with finishing work. These common cabinet installation mistakes can point to a layout or installation concern that needs a closer look. DIY Depot USA provides kitchen design support for planning questions and cabinet installation for hands-on project help.