

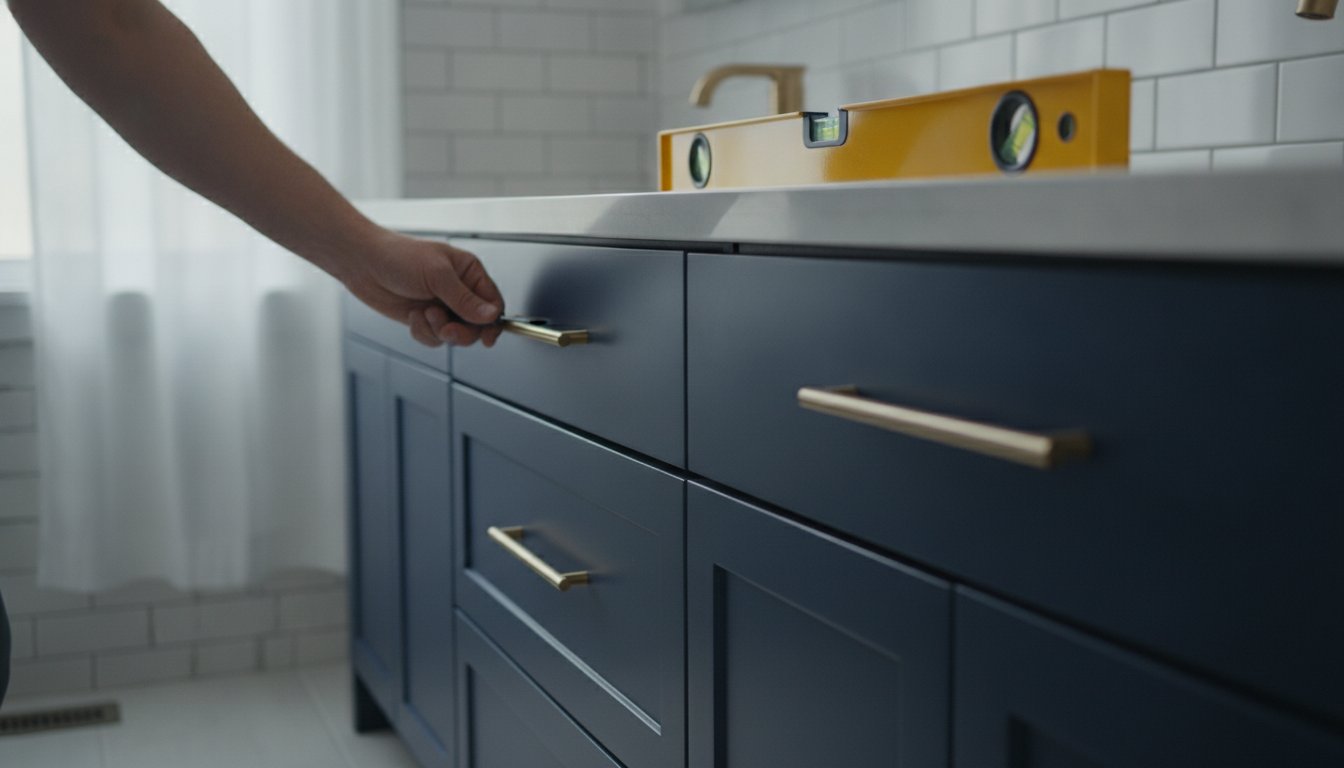
Did you know that nearly 80% of DIY home projects involve at least one significant error? It’s a daunting statistic, especially when you’re staring at expensive new cabinets and worrying about a single wrong move. If you’re part of the 50% of homeowners planning a renovation in 2026, you probably share the common fear of damaging your investment or struggling with plumbing that just won’t align. We understand that getting a cabinet perfectly level on an uneven bathroom floor can feel like an impossible task.
Our guide empowers you to master the art of professional-grade diy shaker vanity installation with confidence and ease. We promise to provide the expert steps needed for a secure, level finish and those perfectly aligned shaker doors you’ve been dreaming of. This walkthrough covers everything from initial placement to leak-free plumbing integration. You’ll move from feeling overwhelmed to enjoying a polished, professional result that transforms your bathroom into a functional masterpiece.
Key Takeaways
- Prepare your space by checking for plumb walls and level floors to ensure your vanity sits perfectly flush without unsightly gaps.
- Navigate the diy shaker vanity installation process with confidence by learning the best practices for assembling RTA units while protecting the cabinetry’s finish.
- Master the “Shim and Level” technique to secure your vanity firmly to wall studs and compensate for uneven bathroom flooring.
- Learn how to coordinate and install hardware that enhances the clean, minimalist lines of shaker-style recessed panels.
- Maintain your vanity’s professional appearance with expert tips on cleaning recessed panels and adjusting European-style hinges for long-term alignment.
Setting the Foundation: Planning Your Shaker Vanity Project
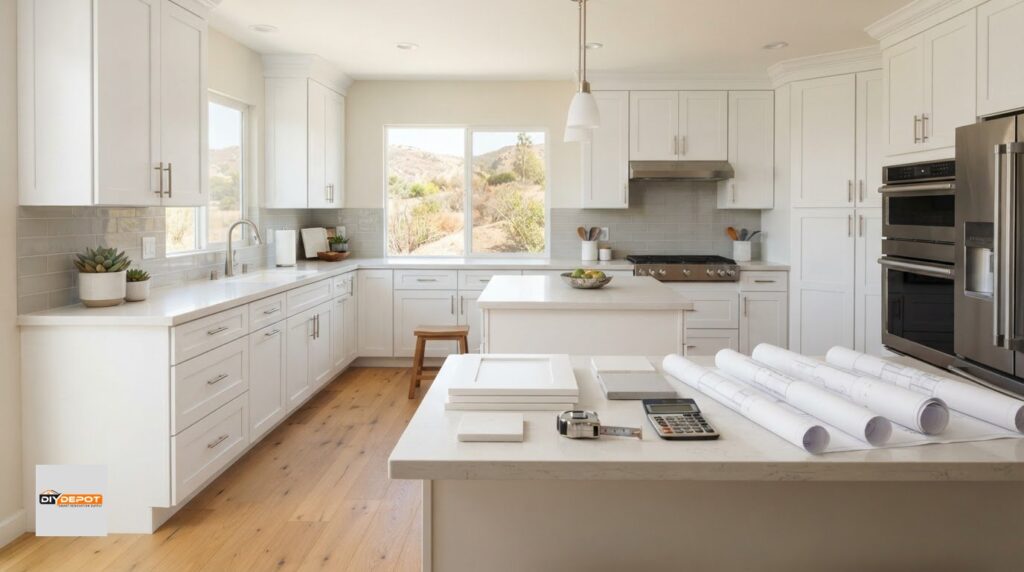
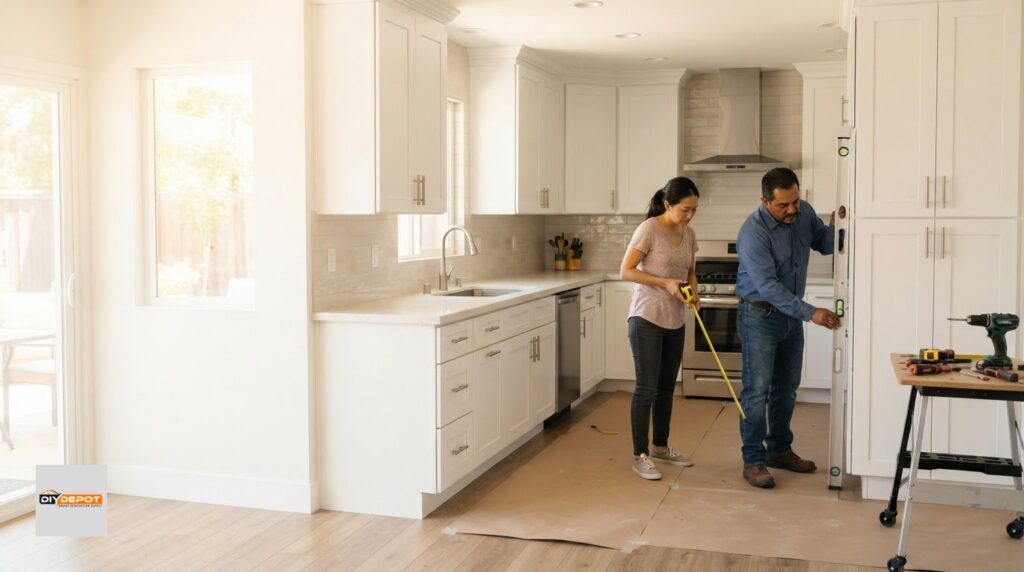
Planning a diy shaker vanity installation requires more than just picking a style you love. Since 50% of U.S. homeowners have plans to renovate in 2026, you aren’t alone in wanting a fresh look for your home. Shaker cabinetry is famous for its clean, minimalist lines and recessed panels. While this look is timeless, those straight edges are very unforgiving. If your walls aren’t plumb or your floors are slightly slanted, the gap between the cabinet and the wall will be obvious. Checking these surfaces before you even unbox your unit is the first step toward a professional result.
You’ll also need to coordinate the vanity’s dimensions with your existing setup. Check where your water lines and drain pipe sit. If the vanity’s internal shelves or drawers hit the plumbing, you’ll face a frustrating delay and potentially have to cut into your brand-new cabinet. Similarly, ensure electrical outlets are high enough to clear the backsplash but low enough to remain accessible. Taking these measurements early prevents the stress of discovering a conflict mid-install.
Measuring Your Space for a Shaker Aesthetic
When a shaker vanity sits against a side wall, you’ll likely need a filler strip. This small piece of matching wood closes the gap between the cabinet frame and an uneven wall. Without it, your recessed panel doors might rub against the drywall when opened. Always ensure there is enough clearance for the doors to swing at least 90 degrees. For more details on standard dimensions and local availability, you can reference our bathroom vanities Bakersfield guide. It helps you visualize how different sizes fit into common bathroom layouts.
The DIY Shop Essentials Checklist
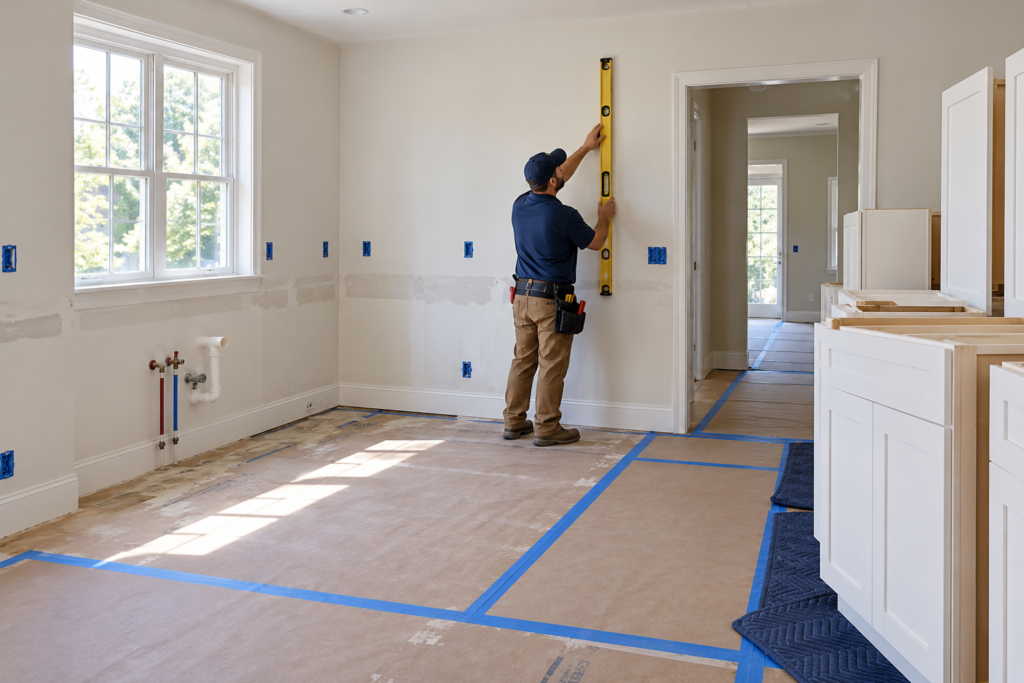
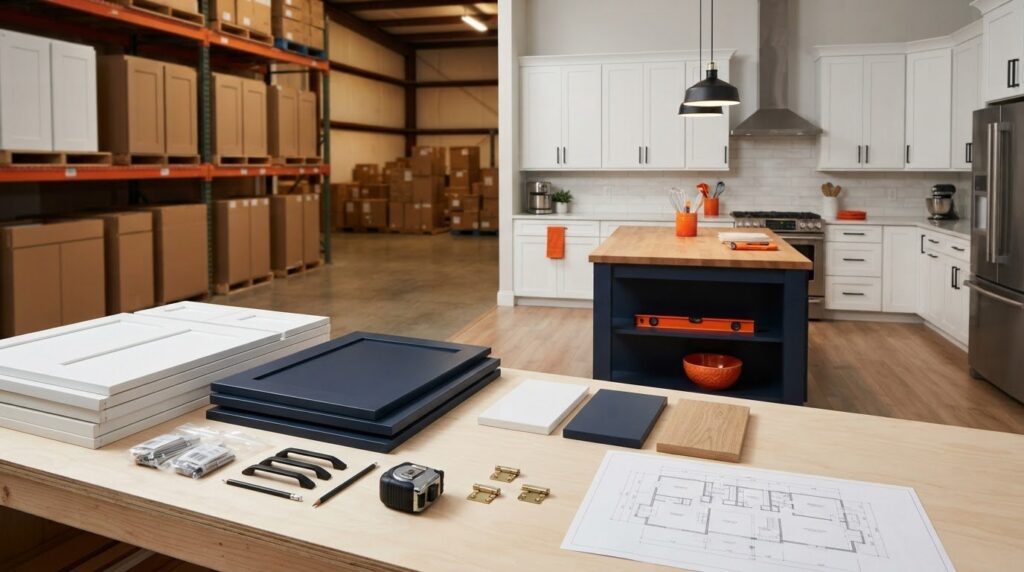
Success depends on having the right gear ready for your diy shaker vanity installation. Don’t rely on a small torpedo level for this job. A 4-foot level provides the accuracy you need to ensure the entire run of the vanity is flat. This prevents your countertop from cracking later or your sink from draining poorly. It’s a small investment that makes a huge difference in the final look of your bathroom.
Gather these items before starting:
- Stud Finder: This is essential for a secure mount that won’t pull away from the wall over time.
- Wood Shims: These are your best friends for leveling the cabinet on tile, laminate, or uneven subfloors.
- Drill Bits: Use high-quality bits designed for cabinet-grade plywood to avoid splintering the shaker finish.
- Silicone Sealant: Choose a clear or color-matched mold-resistant version specifically for bathroom backsplashes.
- Safety Gear: Wear gloves and eye protection, especially when you’re working near old plumbing lines or using power tools.
Mastering Assembly: Building Your RTA Shaker Cabinet
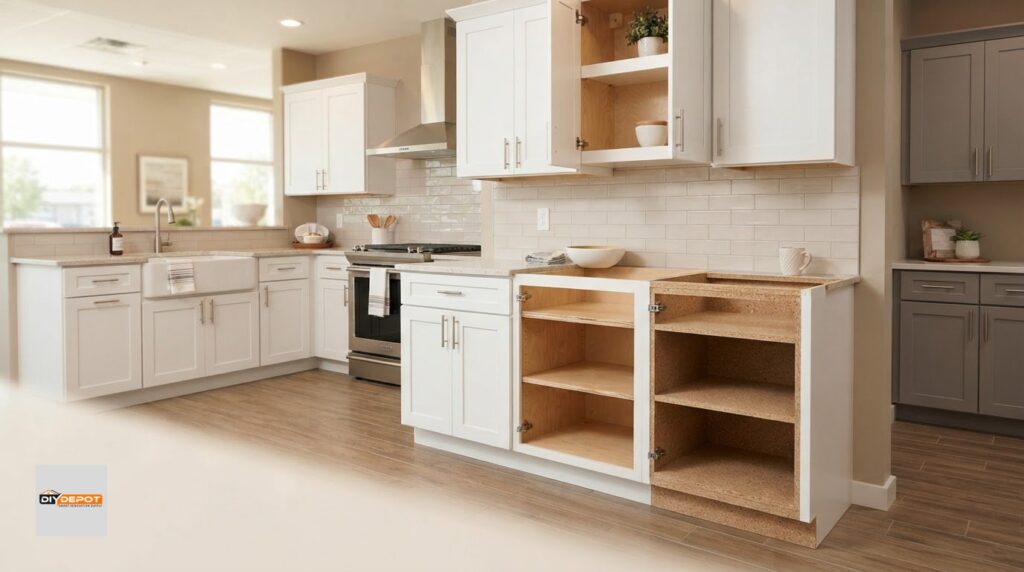
Choosing RTA (Ready-to-Assemble) units is a smart move for your diy shaker vanity installation. These units offer the same high-quality materials as pre-assembled options but are much easier to transport into tight bathroom spaces. The logic behind using ready to assemble kitchen cabinets for a vanity project is simple; they provide a durable, professional-grade foundation at a warehouse-direct price point. If you’re still deciding on the perfect style, browse our collection of shaker vanities to find the right fit for your home.
Unboxing your new cabinet requires a gentle touch. Shaker finishes, while durable, can be scratched by staples or debris on the floor. A helpful trick is to flatten the shipping box and use it as a clean, padded workspace. This protects the recessed panels and sharp edges while you organize your hardware. While the provided fasteners are strong, adding a bead of wood glue to the joints before assembly creates a bond that lasts for decades. This extra step prevents the cabinet from shifting or squeaking as the house settles over time.
Squaring the cabinet box is the most critical part of the assembly process. If the box is even slightly “racked” or leaning, your shaker doors will never hang straight. You’ll spend hours fighting with hinges later if you don’t get this right now. Take your time during this phase to ensure every corner is a perfect 90-degree angle before the glue sets.
Step-by-Step RTA Vanity Assembly
Start by connecting the side panels to the bottom shelf using the pre-drilled holes. These holes act as a guide to ensure everything aligns perfectly. Once the base is stable, install the back support rail. This rail is the primary anchor point that will eventually hold the cabinet to your wall studs. Finally, attach the toe kick to the bottom front. It should sit flush with the side frames to create that seamless, built-in look that defines quality cabinetry.
Ensuring Structural Integrity
Pocket hole joinery creates a tight, flush fit by angling screws directly into the frame for maximum holding power. This technique is especially useful for shaker styles where clean transitions between the stiles and rails are essential. Before the glue dries, measure the cabinet diagonally from corner to corner in both directions. If the measurements are identical, your cabinet is square. This structural rigidity is vital if you plan to install heavy stone or quartz countertops, which require a perfectly flat and stable base to prevent cracking.
Precision Installation: Securing Your Shaker Vanity
Once your cabinet is assembled and square, it’s time for the most critical phase of your diy shaker vanity installation: securing it to the bathroom wall. Start by using a stud finder to locate and mark the vertical framing members behind your drywall. You’ll also need to measure the exact location of your wall-mounted plumbing. Transfer these measurements to the back of your vanity and use a hole saw to create clean cutouts. For homeowners seeking professional help with these critical steps, services like American Handyman can provide the expertise needed to ensure a perfect, secure fit for your new cabinetry. Precision here ensures the cabinet slides into place without needing frustrating last-minute adjustments or extra cuts that weaken the frame.
While aesthetics and alignment matter, your family’s health is a top priority. Many generic guides overlook the importance of indoor air quality, but it’s a vital consideration for any home project. We recommend choosing cabinets that are california 93120 compliant for formaldehyde. This standard ensures that the engineered wood used in your vanity meets strict emission limits, providing peace of mind alongside your new bathroom look. It’s a small detail that makes a big difference in the long-term safety of your home environment.
The Leveling and Scribing Process
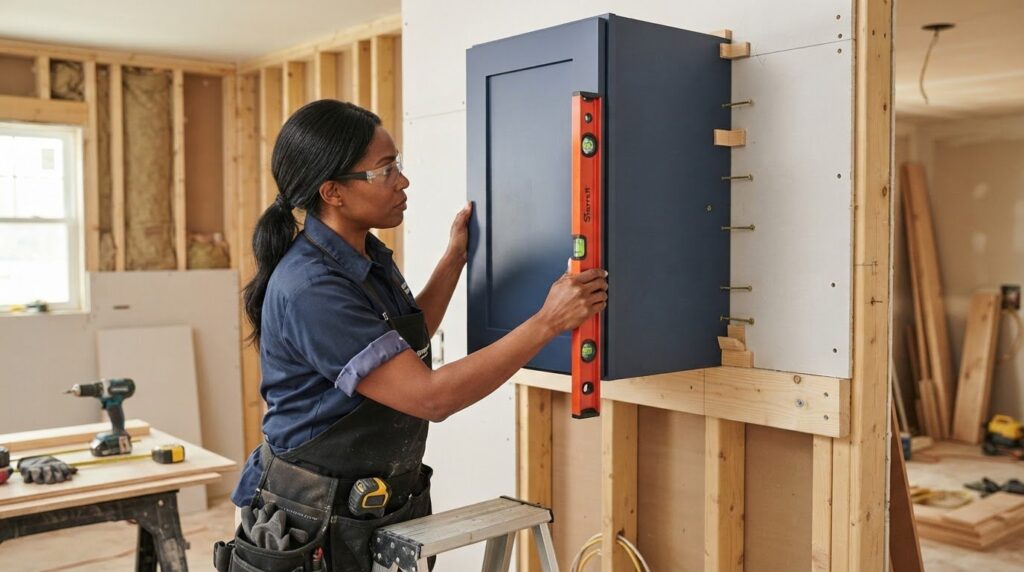
Bathroom floors are rarely perfectly flat, especially in older homes. Use plastic shims to eliminate any wobbling and lift the cabinet until it’s perfectly level. You must verify the level across both the width and the depth of the unit. If your wall has a significant bow, you may need to “scribe” the side of the vanity. This involves tracing the wall’s contour onto the cabinet’s side panel or filler strip, then sanding to that line for a seamless fit. This extra effort prevents unsightly gaps that caulk can’t easily hide.
Mounting and Final Adjustments
Now you’re ready to lock everything in. Always pre-drill through the mounting rail on the back of the cabinet before driving your 3-inch cabinet screws into the studs. This prevents the wood from splitting and ensures a tight draw against the wall. If you’re installing multiple units together, use cabinet-to-cabinet screws to pull the face frames tight before anchoring them to the wall. The vanity must be rock-solid and immobile before you move on to countertop installation. A secure diy shaker vanity installation is the only way to support the weight of heavy stone or quartz tops without future shifting or cracking.

Finishing Touches: Hardware and Plumbing Integration
The final phase of your diy shaker vanity installation brings the project together with functionality and style. While the heavy lifting is done, these details determine if your bathroom looks like a professional job or a rushed weekend task. You’ll need to coordinate your plumbing and hardware to complement the clean, recessed lines of the shaker doors. Don’t worry if you aren’t a master plumber. We’ll help you get those connections right. If you’re ready to start your project, you can browse our vanity shaker cabinets to find the perfect style for your home.
Connecting the P-trap and supply lines is where many DIYers get nervous. The secret is to avoid over-tightening. Modern plastic fittings only need to be hand-tight plus a quarter-turn with a wrench. Over-tightening can crack the nuts or crush the seals, leading to slow leaks that damage your new cabinetry over time. Always use plumber’s tape on threaded metal connections to ensure a watertight bond. This simple step prevents moisture from ruining your hard work and protects your investment for years to come.
Shaker Hardware Placement Strategy
The recessed panel of a shaker door creates a specific challenge for hardware placement. You have two main options: centering the knob in the corner of the shaker frame or centering it within the recessed panel itself. Most modern designs favor placing knobs or handles on the flat frame for a balanced, symmetrical look. Using a hardware jig is non-negotiable here. It ensures every handle is perfectly consistent. The clean lines of shaker cabinets make even a tiny misalignment look obvious. For more inspiration on how hardware impacts the look of compact spaces, check out our guide on small bathroom shaker vanities.
Countertop and Sink Sealing
Before you finalize the plumbing, you must secure the vanity top. Apply a continuous bead of high-quality silicone sealant along the top edge of the cabinet. This creates a waterproof barrier that prevents moisture from seeping into the wood. Align the sink bowl precisely with the center of the vanity cabinet to ensure the plumbing lines up correctly. Once the top is set, install the backsplash using the same silicone. Wipe away any excess immediately with a damp cloth for a clean finish. Finally, turn on the water and test for leaks. Watch the connections for at least ten minutes to catch any slow drips before you pack away your tools.
Ensuring Longevity: Maintenance and Professional Support
Completing your diy shaker vanity installation is a rewarding milestone for any homeowner. Now that the cabinet is secure and the plumbing is leak-free, the focus shifts to protecting your investment. Shaker cabinetry is celebrated for its durability, but those iconic recessed panels require specific care to stay pristine over the years. Dust and soap residue often settle in the sharp internal corners of the door frames. A soft microfiber cloth or a gentle vacuum brush attachment is the best way to remove this buildup without scratching the finish.
Humidity is the most significant long-term threat to bathroom cabinetry. Even high-quality wood can swell or warp if exposed to constant moisture. Always run your bathroom exhaust fan during and after showers to maintain a stable environment. If you notice any water pooling inside the cabinet base from a slow plumbing drip, dry it immediately. Protecting the base from standing water prevents the wood from delaminating or developing mold, ensuring your vanity remains a centerpiece of your home for decades.
Maintaining the Shaker Finish
Avoid using harsh chemical cleaners or abrasive pads on your cabinet surfaces. For painted shaker wood, a mild mixture of warm water and a drop of dish soap is usually sufficient. Stained finishes benefit from wood-specific cleaners that help maintain the wood’s natural oils. If you happen to nick the frame during daily use, apply a matching touch-up pen right away. This seals the wood and prevents moisture from getting under the finish. Additionally, check your European-style hinges every few months. These hinges are easy to adjust with a simple screwdriver, allowing you to keep your doors perfectly level and aligned as the house naturally settles.
The DIY Depot USA Advantage
Our warehouse-direct model is designed to save you money while providing premium materials that rival custom builds. We take pride in being your partner throughout the entire renovation process. While this guide empowers you to handle a diy shaker vanity installation, we understand that every project is unique. Sometimes, complex plumbing or a tight timeline requires an extra set of hands. If you feel overwhelmed or want a guaranteed professional fit, contact DIY Depot USA for expert assembly and installation help. We also provide professional design support to help you optimize your bathroom layout, ensuring your new shaker cabinets look and function exactly as you envisioned.
Transform Your Bathroom with Professional Results
Achieving a high-end look through a diy shaker vanity installation is entirely within your reach. By focusing on precision leveling and careful assembly, you’ve learned how to turn a standard renovation into a professional-grade masterpiece. The foundation of a great bathroom starts with quality materials. Our vanities are California 93120 Formaldehyde Compliant, ensuring your new space is as safe as it is beautiful. Whether you’re navigating a tight layout or a spacious master suite, the clean lines of shaker cabinetry provide a timeless appeal that increases your home’s value.
If you’re ready to take the next step, we’re here to help with Direct FREE Delivery across our Western US service regions. While this guide provides the tools for success, we also offer expert assembly and installation services if you prefer a helping hand. Don’t let the complexity of plumbing or alignment hold you back from the home you deserve.
Browse our warehouse-direct Shaker Vanities and start your project today! You’ve got the plan and we’ve got the tools. We can’t wait to see your vision come to life.
Frequently Asked Questions
Do I need to remove my baseboards before installing a shaker vanity?
You should remove the baseboards behind the vanity to ensure the cabinet sits perfectly flush against the wall. Leaving the trim creates a gap that is difficult to caulk and often looks unprofessional. If you prefer not to remove the trim, you can carefully notch the vanity’s side panels to fit around it. However, most experts recommend a clean wall for the best results.
Can I install a shaker vanity by myself or do I need a partner?
You can complete a diy shaker vanity installation alone, but having a partner makes the process much safer and more accurate. Vanity cabinets are heavy and awkward to move into tight bathroom spaces. A second person can hold the unit perfectly level while you drive the mounting screws into the wall studs. This partnership reduces the risk of dropping the cabinet or damaging your flooring.
How do I align shaker doors if they are crooked after installation?
Adjust the built-in European-style hinges to fix crooked or misaligned doors. These hinges feature three adjustment screws that control the height, depth, and side-to-side positioning of each door. Turn the screws in small increments and check the alignment frequently. This simple calibration allows you to achieve the perfectly straight lines that define the shaker aesthetic without needing to remove the doors entirely.
What is the best height for a bathroom vanity in 2026?
The most popular height for a bathroom vanity in 2026 is 36 inches, often called comfort height. This standard matches typical kitchen countertops and reduces the need to bend over while washing your hands. While older homes may have 30 or 32-inch vanities, the taller option is now the preferred choice for primary bathrooms and provides better resale value for your home.
How do I make plumbing cutouts in the back of a new vanity cabinet?
Use a hole saw and a power drill to create clean, circular cutouts for your plumbing lines. Measure the distance from the floor and the nearest side wall to the center of each pipe. Transfer these marks to the back panel of your cabinet. Cutting from the inside of the cabinet toward the back helps prevent the wood from splintering on the visible interior surface.
Should I seal the shaker vanity doors against moisture?
You don’t need to apply additional sealant to the doors of a high-quality diy shaker vanity installation. These units come with factory-applied finishes designed to withstand bathroom humidity. Focus your sealing efforts on the areas where the vanity meets the wall and where the countertop sits on the cabinet. Use a mold-resistant silicone to prevent water from seeping into the wood or behind the unit.
What type of screws should I use to mount my vanity to the wall?
Use 3-inch heavy-duty cabinet screws with a large washer head for a secure mount. These screws provide superior holding power compared to standard drywall screws, which can snap or pull through the wood under the weight of a stone countertop. Ensure you drive these screws directly into the wall studs to create a rock-solid foundation that won’t shift or sag over time.




One thought on “DIY Shaker Vanity Installation: A Comprehensive 2026 Step-by-Step Guide”