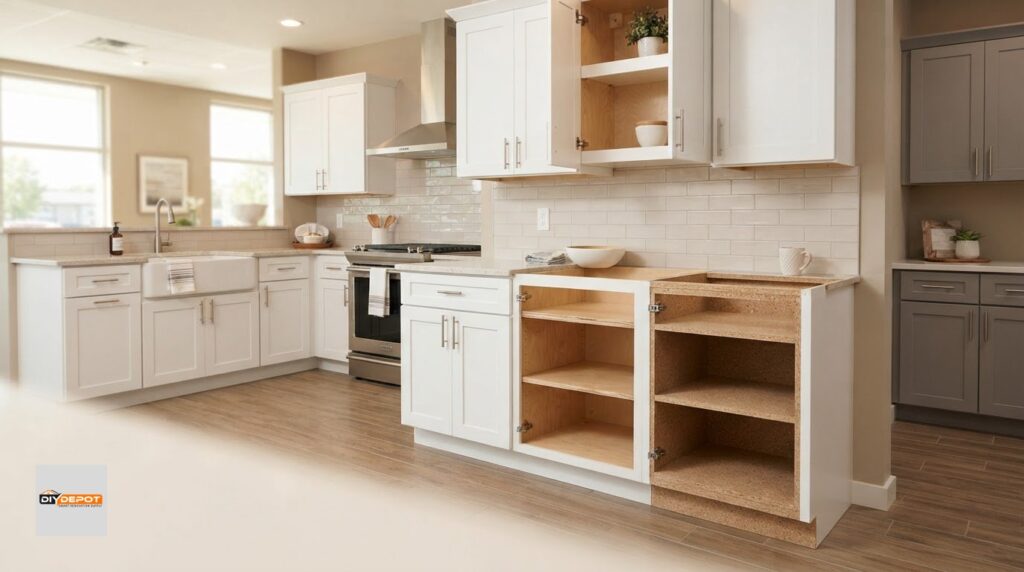


The hidden costs of a kitchen renovation often come from what the work uncovers or adds, not just the finishes you choose.
A detailed plan helps, but it cannot reveal everything behind a wall or beneath a floor. Permits, inspections, structural changes, electrical or plumbing updates, and debris removal can all affect the final budget. Planning for these expenses early helps you weigh priorities and avoid surprises.
This guide explains how renovation scope, permits, layout changes, and a contingency fund shape your budget. It also covers how choices such as lighting, appliances, and finishes can add to the total, helping you set realistic expectations before work begins.
Key Takeaways
- Include permits and inspections in your early budget, especially when plans involve electrical, plumbing, or structural work.
- Set aside a 10-20% contingency fund to help absorb unexpected repairs discovered during renovation.
- Compare costs by project scope: keeping the existing layout can have a different budget impact from a full gut renovation.
- Plan for demolition and debris disposal as separate line items, and get removal costs in writing before work begins.
2. Permitting and inspection costs
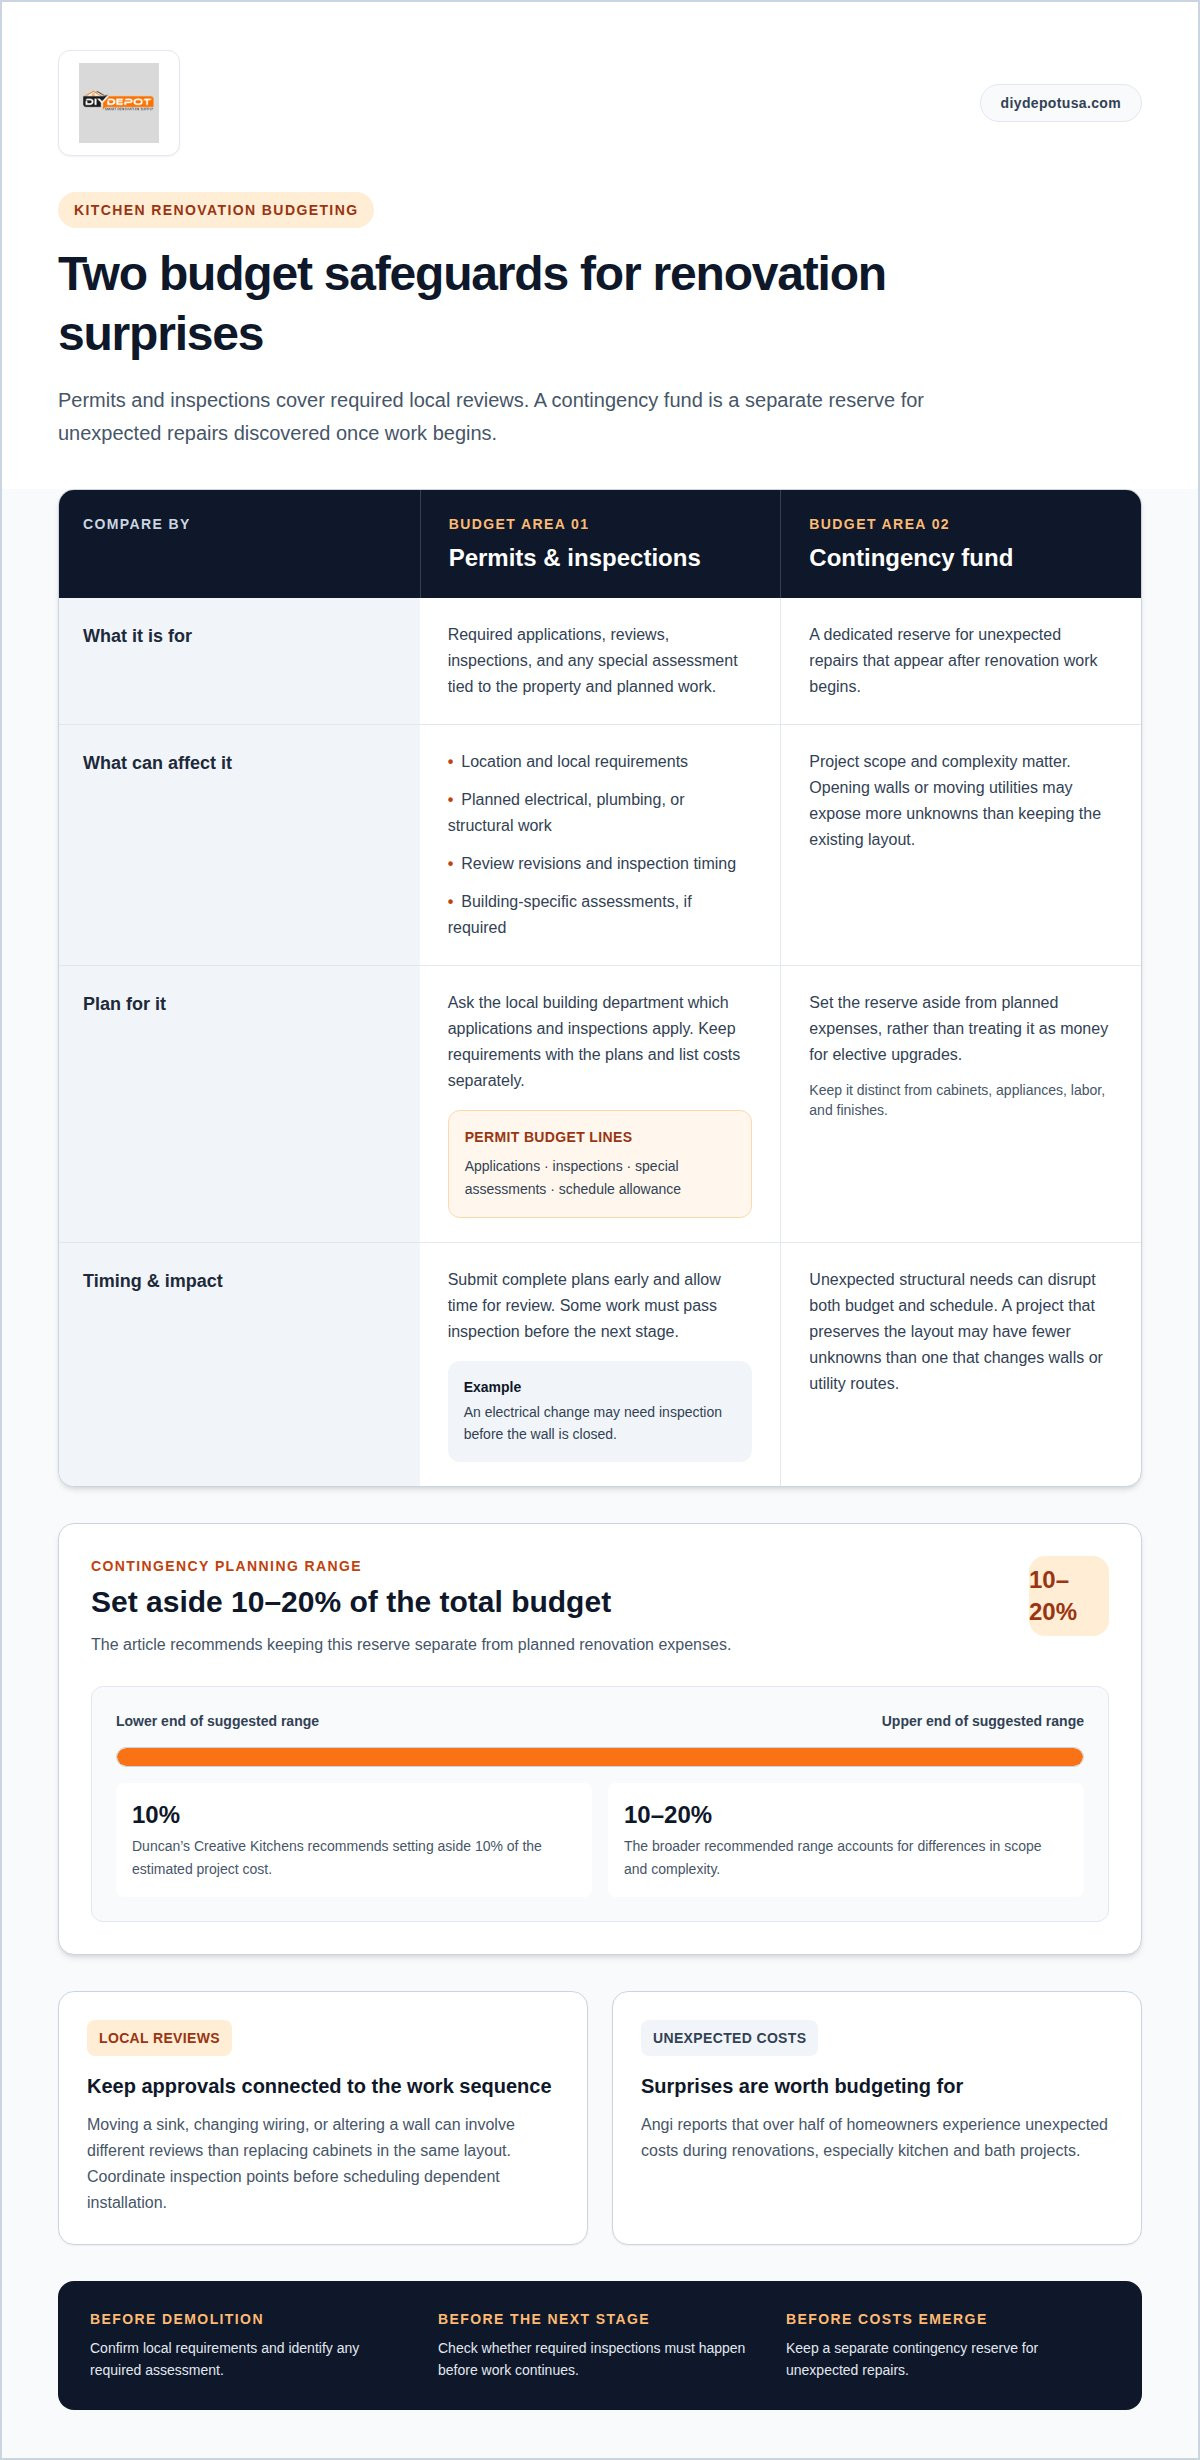
Match the planned work to the local review process. Moving a sink, changing wiring, or altering a wall can involve different permits and inspections than replacing cabinets in the same layout. Ask the local building department which applications and inspections apply to your project. Keep its requirements with the plans so the homeowner and project team can work from the same information.
Include inspection timing in the schedule as well as the budget. Some work must be inspected before construction can move to the next stage. For example, an electrical change may need inspection before the wall is closed. Coordinate inspection points with the work sequence, and do not schedule dependent installation before the required review.
Review delays can affect other scheduled work, even if construction itself does not change. An application may need revisions or more information before review can proceed. Submit complete plans early, keep project documents together, and allow time for review. If approval timing changes, adjust dependent work so crews do not arrive before the area is ready.
Building conditions can also lead to assessment expenses. In a multi-unit dwelling, the building type and renovation conditions may call for specialized testing before demolition. Budget for that assessment separately from ordinary permit expenses. Whether it applies depends on the property and planned work, so list any required evaluation as its own budget item.
Organize permitting costs by listing expected expenses separately instead of using one broad allowance:
- Applications and permits: estimate these based on the property’s jurisdiction and planned work.
- Inspections: identify the review stages connected to the proposed project.
- Special assessments: account for any building-specific evaluation required before work.
- Schedule allowance: plan for review, revisions, and inspection timing.
These steps connect local review requirements to the renovation plan. Before demolition, keep the approved scope, permit documents, and inspection schedule together. This makes it easier to track completed reviews and identify what must happen before the next stage.
3. Structural work and layout changes
Moving walls, expanding a kitchen, or relocating major fixtures changes more than the floor plan. The work may involve structural repairs, revised utility routes, and new finishes across affected areas. Assessing the existing room early helps reveal what the project could involve.
Before demolition, arrange an inspection focused on the kitchen’s structure and utilities. It can help identify conditions that may affect the design, such as hidden damage or complications with existing plumbing and wiring. For example, adding an island may require different walkway and utility arrangements than keeping the sink and cooking area where they are.
Structural surprises can disrupt both budget and schedule. In one whole-house renovation, unexpected structural issues contributed to a two-year project as work repeatedly paused while the homeowner saved for repairs. This illustrates how unresolved structural needs can stall progress when they emerge after demolition. Identifying concerns beforehand gives the project team a chance to plan repairs and account for their effect on the design.
Mid-project design changes can seem minor at first. Shifting a sink can affect plumbing routes and countertop measurements; changing cabinet placement can alter appliance clearances and finishing work. Before deciding, compare the new option with the approved drawings and identify which connected tasks must change. The more trades or finished surfaces a revision affects, the broader its impact may be.
Settle key layout decisions before demolition. Mark appliance locations, cabinet runs, sink placement, and main walkways on the plan. Review these choices together rather than approving each detail in isolation. This can reveal conflicts early, such as an appliance door hitting an island or a new opening reducing cabinet space.
Establish a written process for unexpected discoveries and design revisions. Before authorizing a change, record the issue, proposed solution, affected work, and schedule implications. If structural problems arise, compare the repair with the original layout and confirm the revised plan still supports how you intend to use the kitchen.
Thoughtful planning makes complex layouts easier to assess before construction. DIY Depot offers professional kitchen design support to help plan cabinet and room arrangements.
4. Contingency budgeting
A contingency fund gives a kitchen remodel a dedicated reserve for surprises that appear after work begins. A common recommendation is to set aside 10-20% of the total budget. Keep this reserve separate from planned expenses, such as cabinets, appliances, labor, and finishes. Separating the funds helps show how much is available for unexpected repairs rather than elective upgrades.
Duncan’s Creative Kitchens recommends setting aside 10% of the total estimated project cost. The broader 10-20% range provides room to account for differences in scope and complexity. A project that opens walls or moves utilities may expose more unknowns than one that preserves the existing layout.
Unexpected expenses are common enough to include in a renovation budget. Angi reports that over half of homeowners experience unexpected costs during renovations, especially kitchen and bath projects. This does not mean every homeowner will use the full reserve. It does show why an initial estimate should allow for conditions that may become visible only after work starts.
Individual cases show how a reserve can help cover newly discovered work. These are examples, not standard charges. They illustrate how a concealed condition may require work beyond the original plan.
Set aside the reserve when preparing your budget, then track every approved use. Record the amount, reason, and affected work. If an unexpected repair draws on the fund, update the remaining balance before considering optional upgrades. This helps you see how much flexibility remains for the rest of the project.
Use contingency funds for unforeseen conditions, not planned design choices. Choosing a different faucet or backsplash is an elective change, not an unexpected repair. Give these choices separate budget lines. For example, list a newly discovered plumbing repair as contingency spending and a selected fixture upgrade under planned choices.
Review the reserve at key project stages, including before demolition and after concealed areas are opened. Compare the remaining amount with unfinished work and newly identified issues.
Before construction, record the estimated project total, contingency percentage, and approval process for spending the reserve. Update the record whenever an unforeseen repair is authorized. This separates planned expenses from discoveries and helps you follow budget changes throughout the renovation.
5. Costs by renovation scope
The hidden costs of a kitchen renovation become easier to understand when estimates distinguish between project scopes.
Cabinet, countertop, appliance, delivery, and installation expenses depend on your selections and project details. Cabinet costs vary by configuration and finish, while delivery and installation depend on the order and work involved. List these categories separately to see how each contributes to the total.
Square footage offers another point of comparison. Use these figures as scope benchmarks, then compare what each estimate includes instead of relying on square footage alone.
A full-gut project involves more than replacing cabinets and counters. Updating finishes while keeping utility locations differs from moving a sink or changing appliance locations, which can add work to the renovation.
Appliance selection may affect both budget and schedule. Panel-ready refrigerators and French ranges can also have lead times of 3 to 6 months. Coordinate selections with cabinet plans so dimensions and installation timing align.
To anticipate the hidden costs of a kitchen renovation, compare estimates using the same categories: cabinetry, counters, appliances, flooring, lighting, utility work, and installation. Note which items stay, move, or get replaced. Updating finishes in the existing layout is a different project from relocating plumbing and completing a full gut.
5. How much do kitchen demolition and debris disposal typically cost?
The amount depends on what the project removes and how debris leaves the property. Removing cabinets and counters is different from stripping flooring, tile, and wall finishes. Define the demolition scope before comparing estimates.
Get demolition and debris removal costs in writing before remodeling begins. The estimate should explain which materials will be removed, how debris will be handled, and whether cleanup is included. For example, an estimate for cabinet removal may not cover flooring disposal. Clear descriptions help prevent gaps between the planned work and final cleanup.
Budget for removal and disposal separately. Demolition means taking out existing materials; disposal means getting the resulting debris off-site. A kitchen with old cabinets, countertops, tile, and flooring may produce more debris than one receiving a limited cabinet update. Ask for both tasks to appear in the written scope.
Access can affect the removal plan. A kitchen on an upper floor, a narrow exit route, or limited staging space may require a different sequence from a ground-floor room. Include these conditions when the work is priced. A walkthrough can identify obstacles before removal begins.
Material type also affects the work involved. Tile and attached flooring require a different removal approach from freestanding appliances or cabinet boxes. If the project includes several surfaces, list each separately in the scope. This makes it easier to see whether the estimate covers all demolition or only selected items.
Before approving the work, compare the written scope with the planned renovation. Check whether it lists cabinets, countertops, backsplash, flooring, appliances, and debris removal where applicable. Clearly mark anything that will stay in place. A specific list helps prevent assumptions about what the demolition crew will remove.
Schedule demolition around the next construction stages. Removed cabinets, for example, may need to be cleared before new materials can be installed. Confirm the cleanup and handoff point in the schedule so debris does not obstruct the next phase. Keep the agreed removal scope with the project documents.
Request a written breakdown before work begins, then compare estimates for the same rooms, materials, removal tasks, and disposal responsibilities. This helps you spot exclusions before demolition starts.
DIY Depot: Base Shaker Cabinets
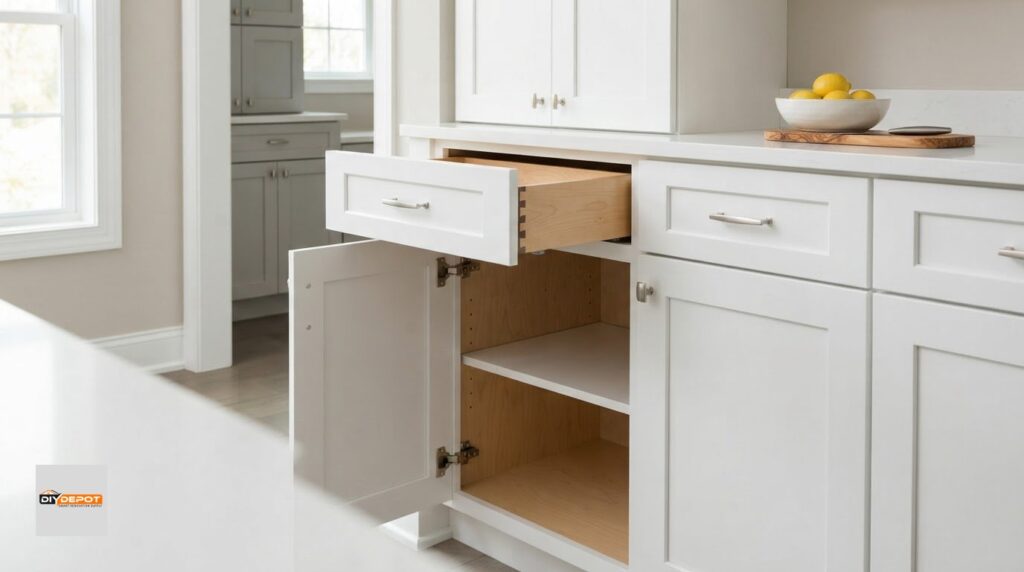
DIY Depot USA helps homeowners planning a kitchen refresh with Base Shaker Cabinets and related cabinet options. If you are replacing cabinetry while keeping the room’s layout, choosing cabinet types and placements early can clarify the project scope. Wall Shaker Cabinets can complement base units, and professional kitchen design support can help organize the plan before installation.
For projects that include new cabinetry, DIY Depot USA also offers assembly and installation of its shaker cabinets. These services suit cabinet updates, not structural repairs or broader construction work. Review the layout and cabinet needs together to make choices that support the renovation plan.
Explore DIY Depot’s cabinet selection, or contact DIY Depot to discuss your project.
Turn Your Budget Into a Clear Plan
If you’re planning a cabinet-focused update, DIY Depot offers Base Shaker Cabinets, Vanity Shaker Cabinets, and Wall Shaker Cabinets. Contact DIY Depot about your renovation plans and take the next step toward a kitchen that works for your home.
Frequently Asked Questions
How much is a high end kitchen remodel?
Compare estimates by the work included, not just the final total, because these scopes describe very different projects.
What costs the most in a high end kitchen renovation?
Cabinetry, appliances, and countertops can each account for a substantial share of a luxury kitchen budget. Which category leads depends on the materials, appliance selections, and cabinet design you choose.
What hidden costs are commonly overlooked in a kitchen renovation?
Homeowners often overlook ventilation, upgraded lighting, and finishes beyond the main work area. Include these choices in the scope early, especially if the design changes appliance locations or expands tiled surfaces.
How much should homeowners budget for unexpected kitchen renovation costs?
A common contingency recommendation is 10-20% of the total project budget. Duncan’s Creative Kitchens recommends a 10% contingency reserve. Keep that reserve separate from planned upgrades, and record each repair charged against it. This helps homeowners see what remains available if another concealed issue appears during construction.
What are typical costs for electrical, plumbing, and HVAC upgrades during a kitchen remodel?
How much can permits and inspections add to a kitchen renovation, and what rules apply locally?
In Louisville, permits and inspections are often mandatory for remodels involving electrical, plumbing, or structural work. Rules vary by jurisdiction, so identify the city or county governing the property and include its review steps in the project schedule before setting construction dates.
What hidden costs arise from water damage, mold, asbestos, or outdated wiring discovered during renovation?
These discoveries may require investigation, remediation, replacement, and follow-up work. The cost depends on the affected area and the work needed. For example, water damage behind a sink may affect more than the visible cabinet. If demolition reveals a concern, document its location and proposed corrective work before changing the scope or resuming related installation.
How do contractor change orders and project delays increase kitchen renovation costs?
A change order can add labor or materials when a decision changes approved work, such as moving a sink after plumbing plans are set. Delays can also disrupt the sequence of scheduled tasks, especially when later work depends on a completed installation. Document each revision, including its scope and schedule effects, and resolve design choices before construction whenever possible to limit rework and disruption.