

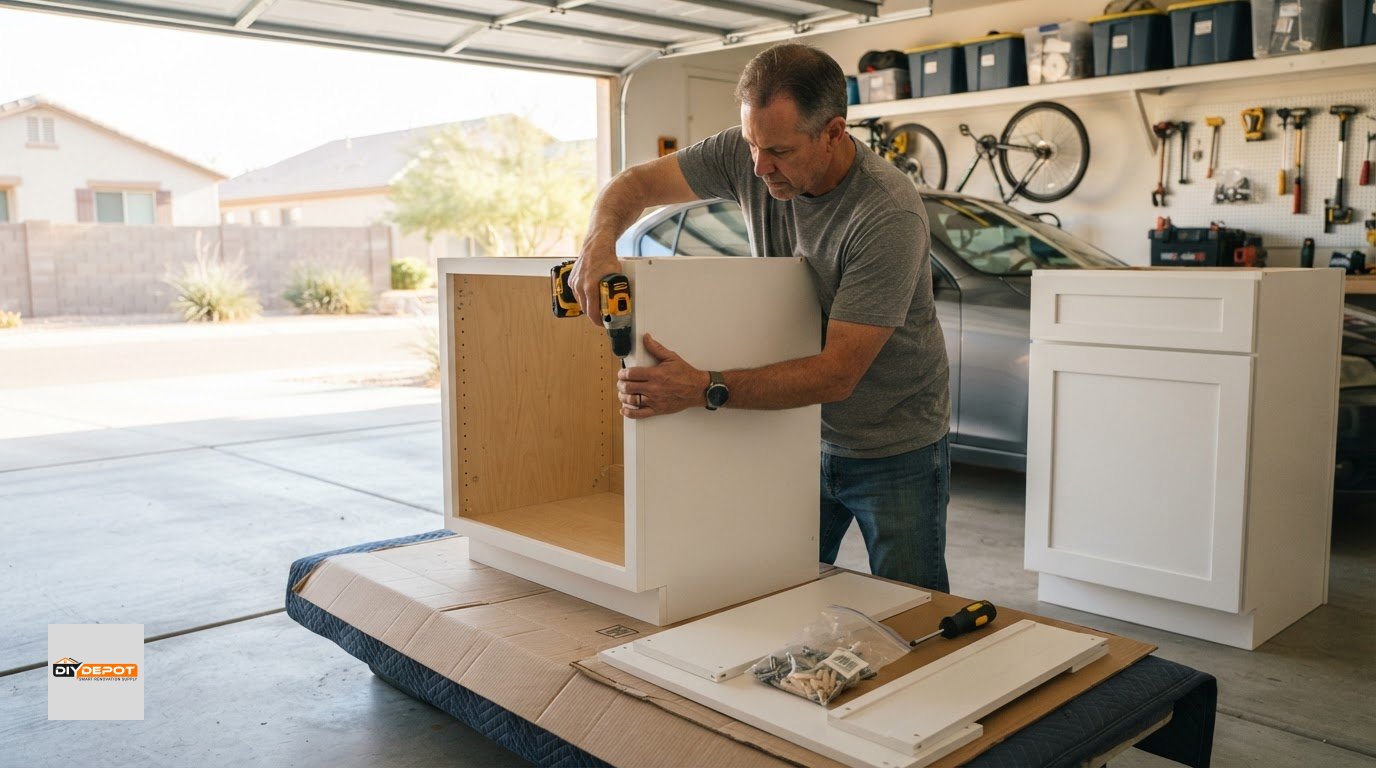
Ready-to-assemble cabinets don’t mean you have to handle every step yourself. RTA cabinets arrive unassembled, but assembly can be arranged separately from how the cabinets are supplied.
It’s reasonable to wonder whether choosing RTA means compromising on quality or taking on more work than you planned. The right choice depends on the cabinet materials and construction, your project needs, and how you’ll manage delivery and storage before installation.
This guide explains what to expect from ready-to-assemble and assembled cabinets, how to compare construction, and what to consider when choosing doors and materials. It also covers cost factors, delivery, and storage for Phoenix and California projects, so you can choose a format that fits your renovation and comfort with assembly.
Key Takeaways
- Ready-to-assemble cabinets arrive unassembled, but assembly support can make them a practical option even if you don’t plan to build them yourself.
- Compare construction and materials, not just assembly status, when weighing cabinet quality.
- Plan measurements and kitchen layout before ordering to help reduce fit issues and organize delivery and storage.
- Look at how cabinet doors and drawer fronts affect the style and overall look of your kitchen.
- Understand which project choices influence the total cost, including cabinet selections, shipping, and assembly needs.
Are RTA cabinets lower quality than pre-assembled cabinets?
Assembly status alone doesn’t determine cabinet quality. Compare construction, fit, hardware, and assembly requirements for your kitchen.
RTA and Pre-Assembled Options
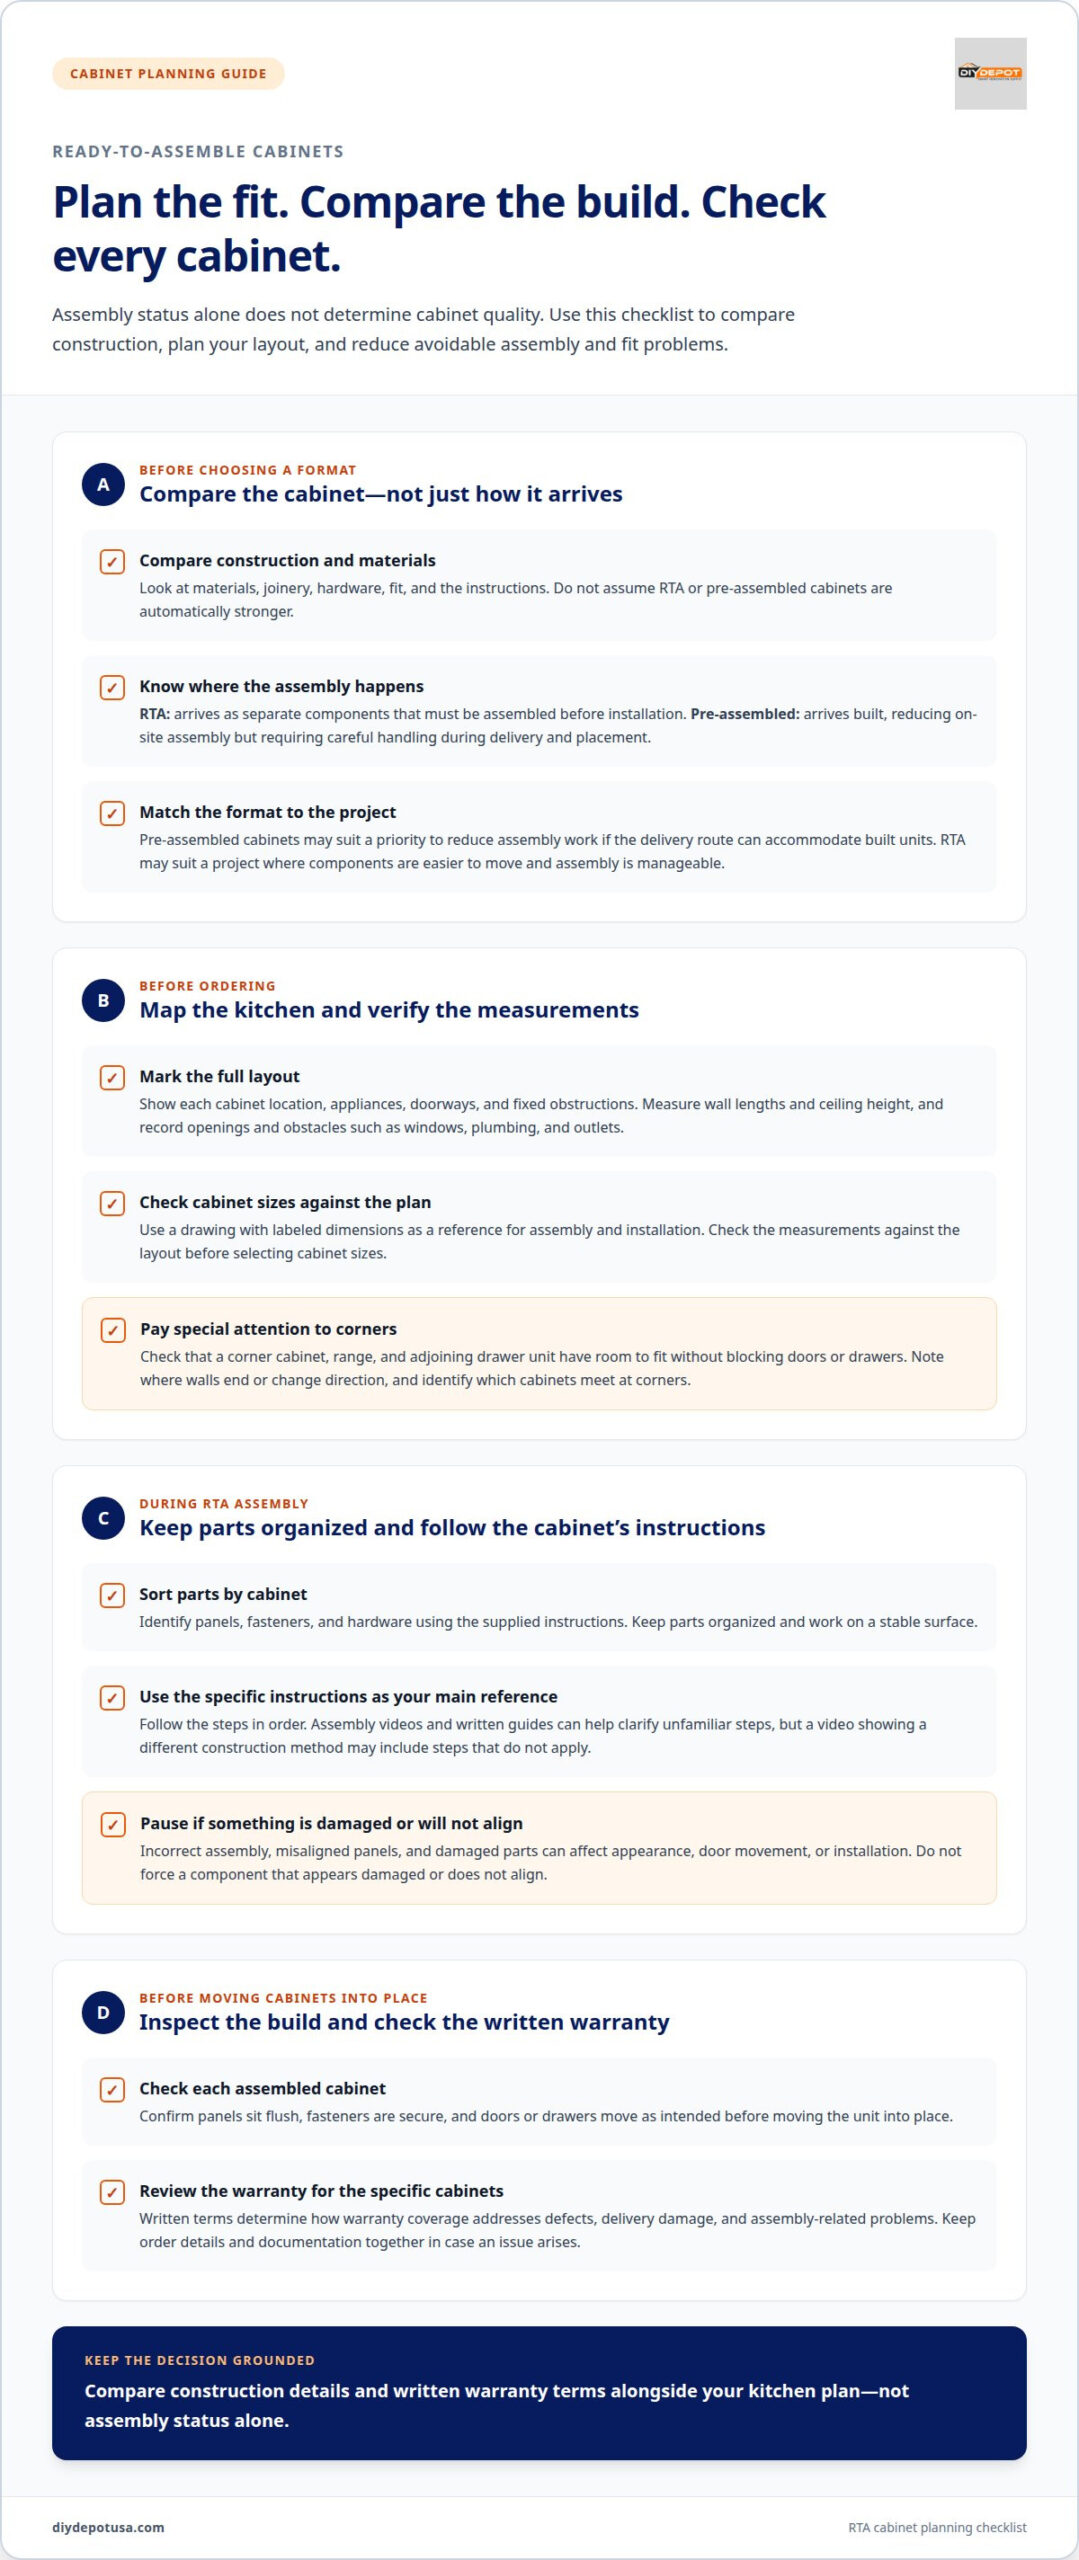
Ready-to-assemble cabinets arrive as separate components that must be assembled before installation. Pre-assembled cabinets arrive built, reducing on-site assembly but requiring careful handling during delivery and placement. Either format can work for a kitchen project. The key difference is where assembly happens and who handles it. Compare materials, joinery, hardware, and instructions instead of assuming one format is automatically stronger.
RTA Risks and Warranty Issues
Common risks include incorrect assembly, misaligned panels, damaged parts, and cabinets that don’t fit the planned layout. These issues can affect appearance, door movement, or installation. Warranty coverage depends on the written terms for the specific cabinets. Review how those terms address defects, delivery damage, and assembly-related problems, and keep your order details and documentation together in case an issue arises.
Good planning reduces avoidable fit and assembly problems. Start with a kitchen plan that marks each cabinet location, appliance, doorway, and fixed obstruction. Measure wall lengths and ceiling height, then record openings and obstacles such as windows, plumbing, and outlets. Check the measurements against your layout before selecting cabinet sizes. A drawing with labeled dimensions gives assembly and installation a clear reference.
Cabinet measurements must account for the full layout, not just open wall space. For example, a corner cabinet, range, and adjoining drawer unit need enough room to fit without blocking doors or drawers. Note where a wall ends or changes direction, and identify which cabinets meet at corners. These details can reveal conflicts before the components arrive.
Before assembly, sort components by cabinet and identify panels, fasteners, and hardware using the supplied instructions. Follow the steps in order, keep parts organized, and use a stable work surface. Assembly videos and written guides can clarify unfamiliar steps, but the instructions for the specific cabinet should remain your main reference. A video showing a different construction method may include steps that don’t apply.
Check each cabinet as you assemble it. Confirm that panels sit flush, fasteners are secure, and doors or drawers move as intended before moving the unit into place. If a component appears damaged or doesn’t align, pause rather than forcing it. This can prevent a small assembly issue from becoming a fit problem across the kitchen.
Choose pre-assembled cabinets if reducing assembly work is a priority and the delivery route can accommodate built units. Ready-to-assemble cabinets suit projects where components are easier to move and assembly is manageable. Either way, compare written warranty terms and construction details alongside your kitchen plan, rather than treating assembly status as a shortcut for judging quality.
Do you sell assembled or ready-to-assemble cabinets?
Ready-to-assemble cabinets arrive as components that must be assembled before installation. Pre-assembled cabinets arrive built, while assembly support separates the cabinet purchase from the work of putting each unit together. For your kitchen project, clarify which format you’re choosing and who will handle assembly before planning delivery.
Cabinet style and finish are separate choices from assembly format. A Shaker door, for example, has a simple frame-and-panel look that suits many kitchen designs. White or grey finishes can keep a room feeling light, while a darker finish can create contrast with pale counters or walls. Choose the look first, then confirm how the cabinets are supplied.
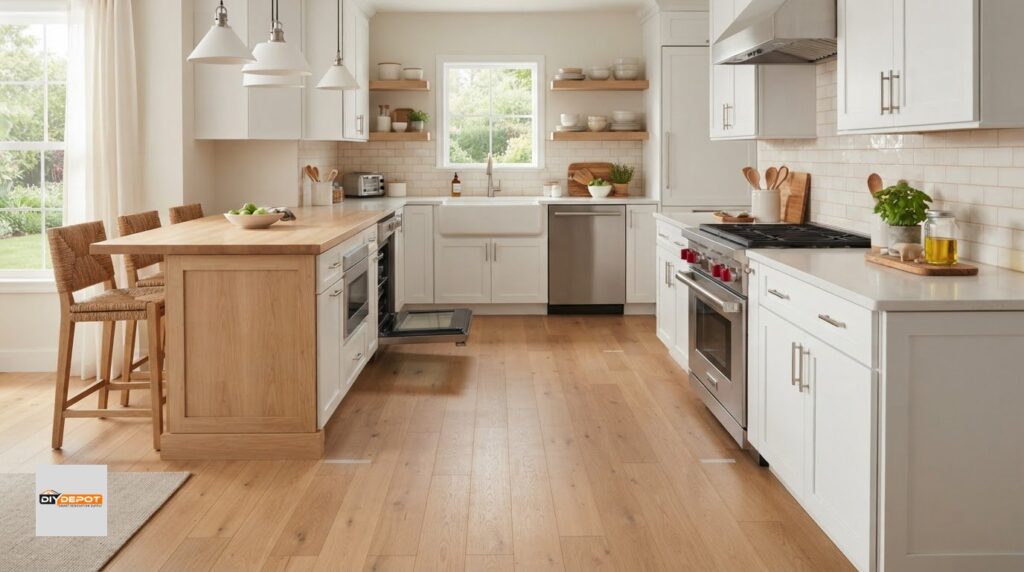
Compare styles across the whole kitchen, not just from a single door sample. White Shaker cabinets beside a light countertop create a quiet, coordinated look. The same door style in grey can add contrast against white walls. If your kitchen already has strong patterns in its flooring or backsplash, a simpler finish can help the cabinetry sit comfortably in the room.
Door style changes the visual effect, even when the cabinet layout stays the same. A Shaker door has a framed center panel; a flat-front door creates a smoother, more minimal appearance. Finish also affects how prominent the door details look. A light finish, for example, can make frame lines less pronounced, while a darker finish may emphasize them.
Use this sequence to narrow the options:
- Set the look: Choose a door style that suits the kitchen’s overall design.
- Compare finishes: Consider how white, grey, or another chosen color works with counters, flooring, and walls.
- Choose the format: Decide whether the cabinets will arrive ready to assemble or already assembled.
- Plan the work: Include assembly in the project plan if the cabinets arrive as separate components.
“Custom” can describe a kitchen planned around its available space, but it doesn’t automatically mean every cabinet is handcrafted or built from scratch. A thoughtful layout can still use standard cabinet styles and finishes. The key question is whether the chosen sizes and arrangement fit the room, not whether the door color alone feels unique.
Before choosing a finish, view it alongside the kitchen’s fixed elements, such as flooring and counters. Even a small color difference can change the room’s overall balance. Then match the cabinet format to the project: pre-assembled units reduce on-site assembly, while ready-to-assemble units require assembly before installation. This makes the choice practical as well as visual.
Shipping, storage, and cost considerations
Delivery planning affects when cabinets can enter the project and where they’ll be stored before installation. Include shipping, storage, and assembly in your kitchen or bathroom schedule.
Shipping and Delivery Timing
Delivery timing depends on factors such as order processing, product availability, destination, and the carrier’s route. A Phoenix kitchen renovation and a California bathroom project may have different delivery schedules because their destinations and routes differ. Plan arrival around site access and renovation stages instead of assuming the cabinets will arrive on a particular day.
Before ordering, map out where the shipment can be received and unloaded. Note whether the delivery point has stairs, narrow access, or limited room for a vehicle. Confirm the delivery coverage, including the destination and any limits. These details affect how the cabinets move from the delivery point into your home.
Samples and Pricing
A sample door can help you judge color, surface, and finish beside your own countertop or flooring. Comparing a sample in natural and evening light can show how its color changes throughout the day.
The total for a cabinet order depends on the selected units, layout, finish, delivery terms, and assembly needs. A basic kitchen and a larger layout require different cabinet mixes. Separate cabinet selection from delivery and installation planning to keep each part of the project clear.
Storage Considerations
Plan a dry, protected storage area before the delivery date. Keep cabinet packages away from plumbing work, paint, and demolition debris. A bathroom renovation may have less spare floor space than a kitchen, so map the storage spot and the route to it. Keep packages organized by room or cabinet location to make sorting easier later.
Storage also affects the renovation sequence. If flooring or wall work is unfinished, schedule cabinet arrival so packages don’t block those tasks. Avoid stacking items on cabinet boxes, and keep the assembly area separate from household traffic. This reduces handling and keeps components together until installation.
Use a simple project sequence: finalize the cabinet layout, choose finishes, arrange delivery, then prepare receiving and storage areas. For a Phoenix or California renovation, account for access constraints and the distance from the unloading point to the kitchen. The same planning applies to bathroom cabinetry, where limited space can make delivery and storage more demanding.
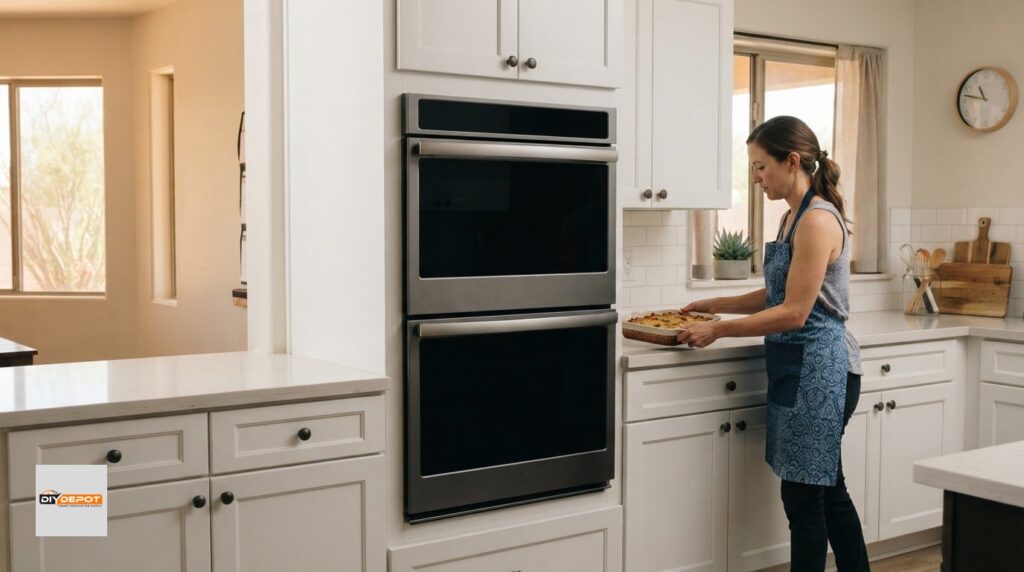
Cabinet doors and drawer fronts
Door and drawer-front choices shape a kitchen’s appearance and daily use. Compare their profile, finish, and hardware as a coordinated set. A Shaker door paired with matching drawer fronts creates a consistent look, while different profiles can add contrast between upper and lower cabinets.
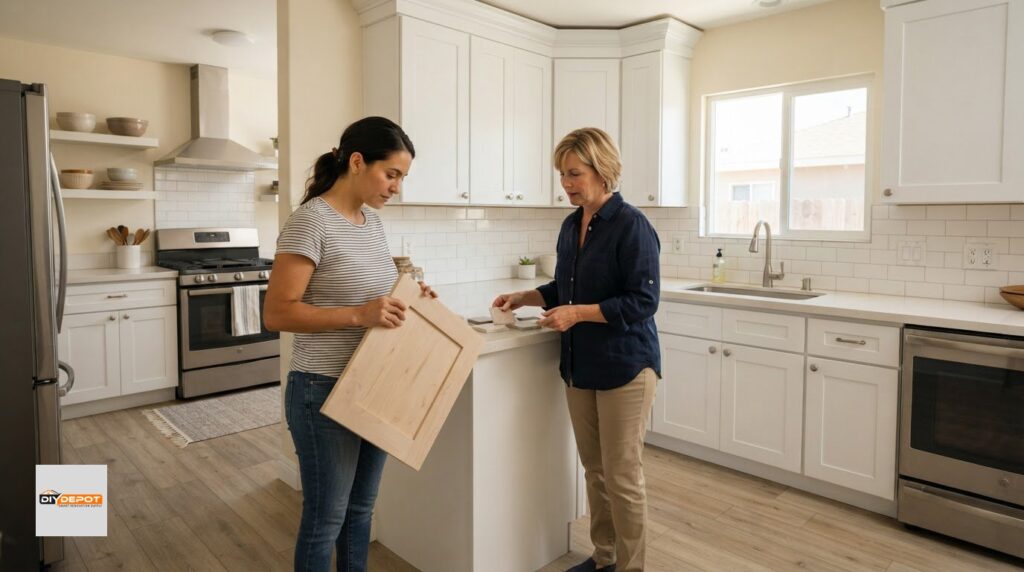
A sample door helps you judge a finish in the room where it will be installed. View it beside the countertop, flooring, and backsplash, then check it in daylight and evening light. A white finish, for example, may look warmer beside wood flooring and cooler against a grey countertop. This side-by-side comparison is more useful than relying on a screen image alone.
Full-overlay doors cover most of the cabinet face frame when closed, leaving less of the frame visible. This creates a more continuous front across adjoining cabinets. Consider the spacing between doors and drawer fronts in your planned layout, especially near corners or appliances. The final look depends on the cabinet design and how the fronts align across the row.
Hardware changes how a door or drawer works and looks. Choose knobs or pulls that feel comfortable to grasp, then consider how their shape complements the door profile. A simple pull, for example, can keep a Shaker front visually clean, while a more decorative knob can add detail. Choose a hardware finish that also relates to nearby fixtures, such as a kitchen faucet.
- Check the profile: Compare the center panel and frame details against the kitchen’s overall style.
- Review alignment: Look at how doors and drawer fronts meet across neighboring cabinets.
- Test the finish: View a sample beside fixed surfaces and under different lighting.
- Plan hardware: Match the size and placement of pulls or knobs to each front.
For a mixed layout, keep a visual link between cabinet doors and drawer fronts. Shaker doors across the base cabinets can pair with matching fronts on wide drawers, avoiding a disconnected look. If upper cabinets use a different finish, repeat a detail such as the hardware or door profile to bring the kitchen together.
Before finalizing your selection, review the sample, profile, overlay, and hardware together. A full-overlay style can emphasize a smooth run of cabinet fronts, while visible frame details create more separation. Considering these choices as a set helps you select doors and drawer fronts that suit the room’s design and how you use the cabinets.
Cabinet materials and construction
Cabinet materials affect appearance, weight, upkeep, and assembly. Compare the cabinet box, door, drawer, and finish separately, because one material description may not cover every component. A wood door, for example, doesn’t automatically mean the cabinet box uses the same material. Clear details for each component make product comparisons more useful.
Common cabinet materials include solid wood, plywood, medium-density fiberboard, and particleboard. Each has different characteristics, and the right choice depends on the component and kitchen conditions. Solid wood shows natural grain, while engineered panels provide a consistent manufactured surface. Don’t treat one material name as a complete measure of quality. Construction and finish matter, too.
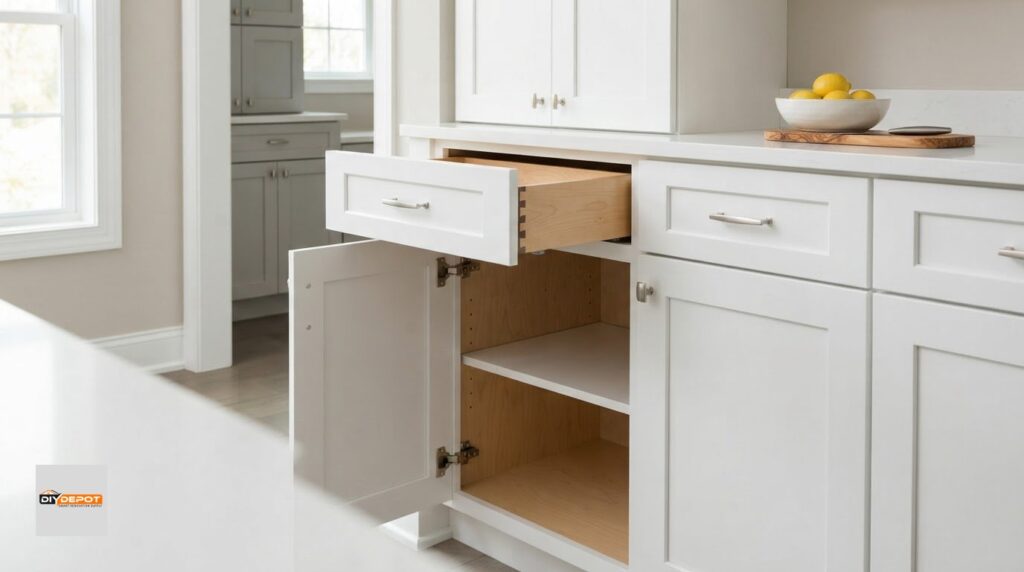
Look at how cabinet parts meet. Check whether joints align, edges appear even, and corners sit square. On a drawer, examine the connection between the sides and front. On a cabinet box, look for clean joins between panels. These visual checks can help identify workmanship differences, but they don’t replace product construction details.
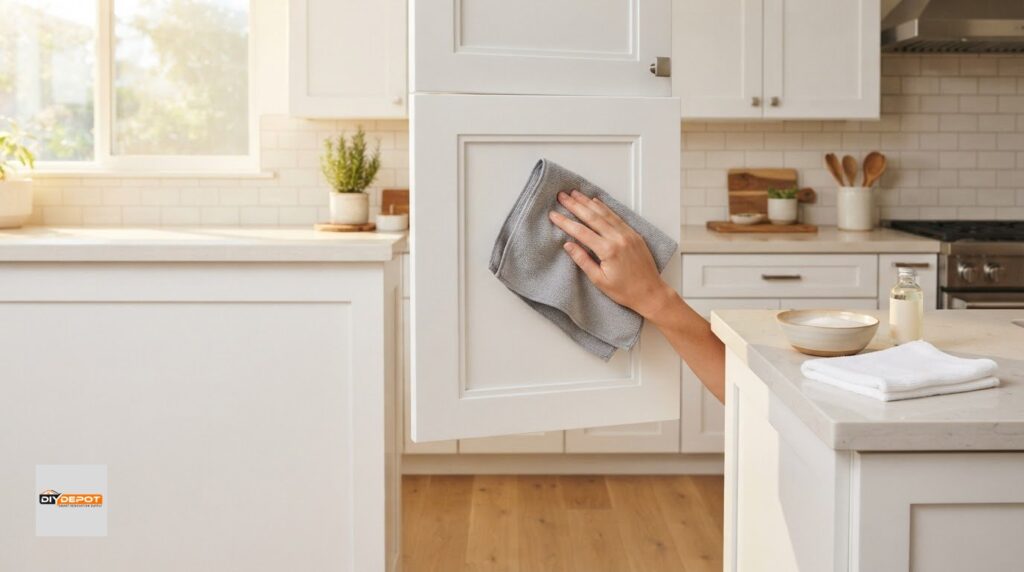
Pay attention to the finish, too. A smooth, consistently coated surface can make color and texture look even across doors and exposed cabinet sides. Check a sample beside the kitchen’s countertop and flooring. Inspect edges and corners, where uneven coverage is easier to spot. For a white finish, compare the sample with nearby surfaces in daylight and room lighting.
Use this component-by-component review before placing an order:
- Cabinet box: Identify the material used for sides, top, bottom, and back.
- Doors and drawer fronts: Compare their material and finish with the visible cabinet box.
- Joinery: Look at how panels connect and whether assembled corners align.
- Hardware: Review hinges and drawer hardware as part of the complete construction.
- Finish: Check consistency across a door, an edge, and an exposed side.
Construction details matter during assembly, too. Before putting a cabinet together, identify each panel and fastener using its instructions. Align adjoining pieces before tightening connections, then inspect the completed unit for square corners and smooth door movement. A door that rubs against its frame, for example, can indicate an alignment issue rather than a material flaw.
DIY Depot
DIY Depot can help connect cabinet choices with a kitchen plan. Its professional kitchen design support can help organize the layout, while Base Shaker Cabinets and Wall Shaker Cabinets offer options for kitchen storage. Vanity Shaker Cabinets are designed for bathroom projects. This is a useful next step when you’re weighing cabinet styles and how they fit your renovation, rather than choosing each unit in isolation.
Bring your room dimensions, preferred finishes, and project priorities into the planning conversation. Those details help narrow the options and make the next decisions clearer. If you’re ready to discuss your cabinet project, contact DIY Depot.
Move Your Cabinet Plan Forward
Your next step is to turn room measurements and design preferences into a cabinet plan for your renovation. Decide which areas need storage, what style suits your space, and whether you want help shaping the kitchen layout. These decisions can help you move from exploring rta cabinets to selecting options for your home.
DIY Depot offers Base Shaker Cabinets, Vanity Shaker Cabinets, and Wall Shaker Cabinets for kitchen and bathroom projects. If you’re considering how the pieces could work together, professional kitchen design can help organize the layout around your goals.
Bring your priorities into the conversation and take the next step at a pace that feels right. Contact DIY Depot about your cabinet project, and move forward with a plan that feels clear and manageable.
Frequently Asked Questions
What are ready-to-assemble kitchen cabinets?
RTA cabinets arrive as components that must be assembled before installation. The term describes the delivery format, not a specific material or quality level. A kitchen order might include separate base and wall units, each assembled for its planned location. Check the product details for individual cabinet types, since materials and features can vary across collections and product lines.
Are ready-to-assemble cabinets good quality compared to big-box or builder-grade cabinets?
Quality depends on construction and materials, not on whether cabinets arrive assembled. Compare the cabinet-box material, door construction, finish, hinges, and drawer hardware for the specific products you’re considering. Some collections feature real wood construction, soft-close doors, and soft-close drawers. Big-box and builder-grade labels alone don’t establish how a particular cabinet is built, so compare product specifications instead of relying on category names.
Can ready-to-assemble cabinets support heavy countertops like granite or quartz?
Countertop support depends on cabinet design, installation, and how weight is distributed across the layout. Granite and quartz are heavy materials, so don’t assume every cabinet configuration is suitable based only on its assembly format. Plan support alongside cabinet placement, especially around seams, overhangs, and appliances. Coordinate the requirements for the specific countertop and cabinet combination during installation planning.
What is the lead time for ready-to-assemble cabinets?
A lead time is the period between placing an order and having the cabinets ready for the project. It depends on order processing, product availability, shipping arrangements, and destination. For a Phoenix renovation or a California project, include receiving and site preparation in the schedule. Plan later work around the expected arrival rather than booking installers or countertop work for an assumed delivery date.
What should you know about ready-to-assemble cabinets?
Understand what the order includes, which parts require assembly, and how the written terms address defects or damage. Consider whether the selected cabinets suit the room’s layout and intended use. Bathroom vanity cabinets, for instance, serve a different purpose from kitchen base cabinets. Keep order records and product instructions organized so you have the right details during assembly, installation, or a warranty question.
What are ready-to-assemble cabinets and how do they work?
These cabinets arrive as components that are assembled before installation in the room. Product instructions identify the parts and assembly sequence for each unit. After assembly, each cabinet is positioned within the planned layout and secured during installation. An order may include several cabinet types, so matching each package to its intended location helps keep the project organized from delivery through fitting.
What are the pros and cons of RTA cabinets?
RTA cabinets can be easier to move through tight access points because their components arrive unassembled. The tradeoff is more work before installation, requiring organization and careful attention to instructions. Consider the route from the delivery point to the room, the available workspace, and who will assemble the units. DIY Depot provides assembly support for its shaker cabinets if building them yourself doesn’t fit your project plan.
How much do ready-to-assemble cabinets cost per linear foot or for a full kitchen?
The total depends on the cabinet layout and selections. A kitchen with more drawers, corner units, or specialty cabinets requires a different mix than a simple run of base and wall units. Finish, cabinet sizes, delivery eligibility, and assembly choices also shape project planning. Build the cabinet list around measured dimensions, then account separately for countertop and installation work.





One thought on “RTA Cabinets: Phoenix & CA Buyer’s Guide”