

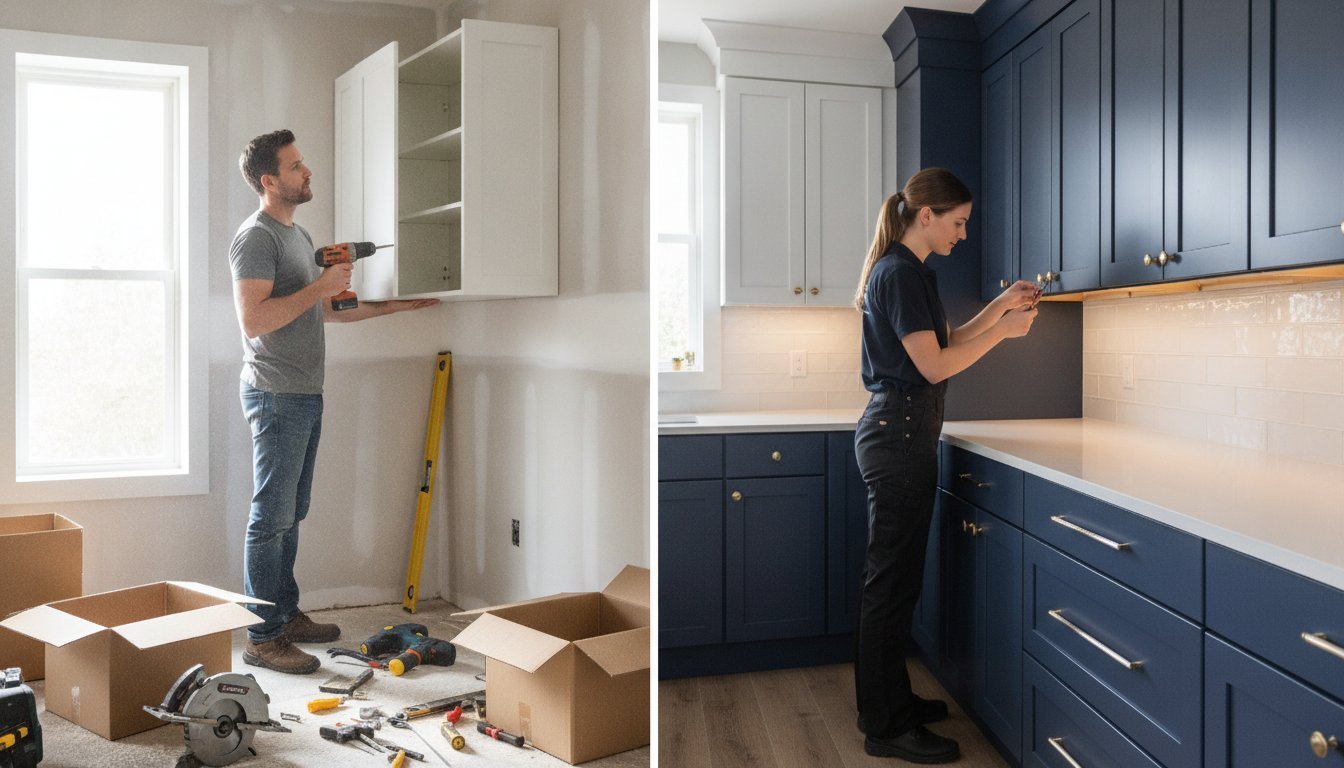
You might think that choosing the DIY path is the only way to keep your kitchen remodel under budget, but the math is changing in 2026. Many homeowners assume that sweat equity is the best way to save, yet the hidden costs of specialized tools and the risk of a single irreversible mistake can quickly bridge the price gap. When you weigh diy vs professional cabinet installation, the decision isn’t just about the money in your wallet. It’s about the value of your time and the peace of mind that comes with a perfectly level, gap-free finish.
We understand that staring at a pile of expensive Shaker cabinets can feel a bit overwhelming. You want a professional look without the high-end showroom price tag, and you’re likely wondering if you have the patience for a multi-week project. This guide will help you navigate that choice with confidence. We’ll break down the realistic timelines for both paths, the essential tools you’ll need if you go it alone, and how warehouse-direct pricing can actually make expert installation more accessible than you think. By the end, you’ll know exactly how to achieve the kitchen of your dreams while staying firmly within your budget.
Key Takeaways
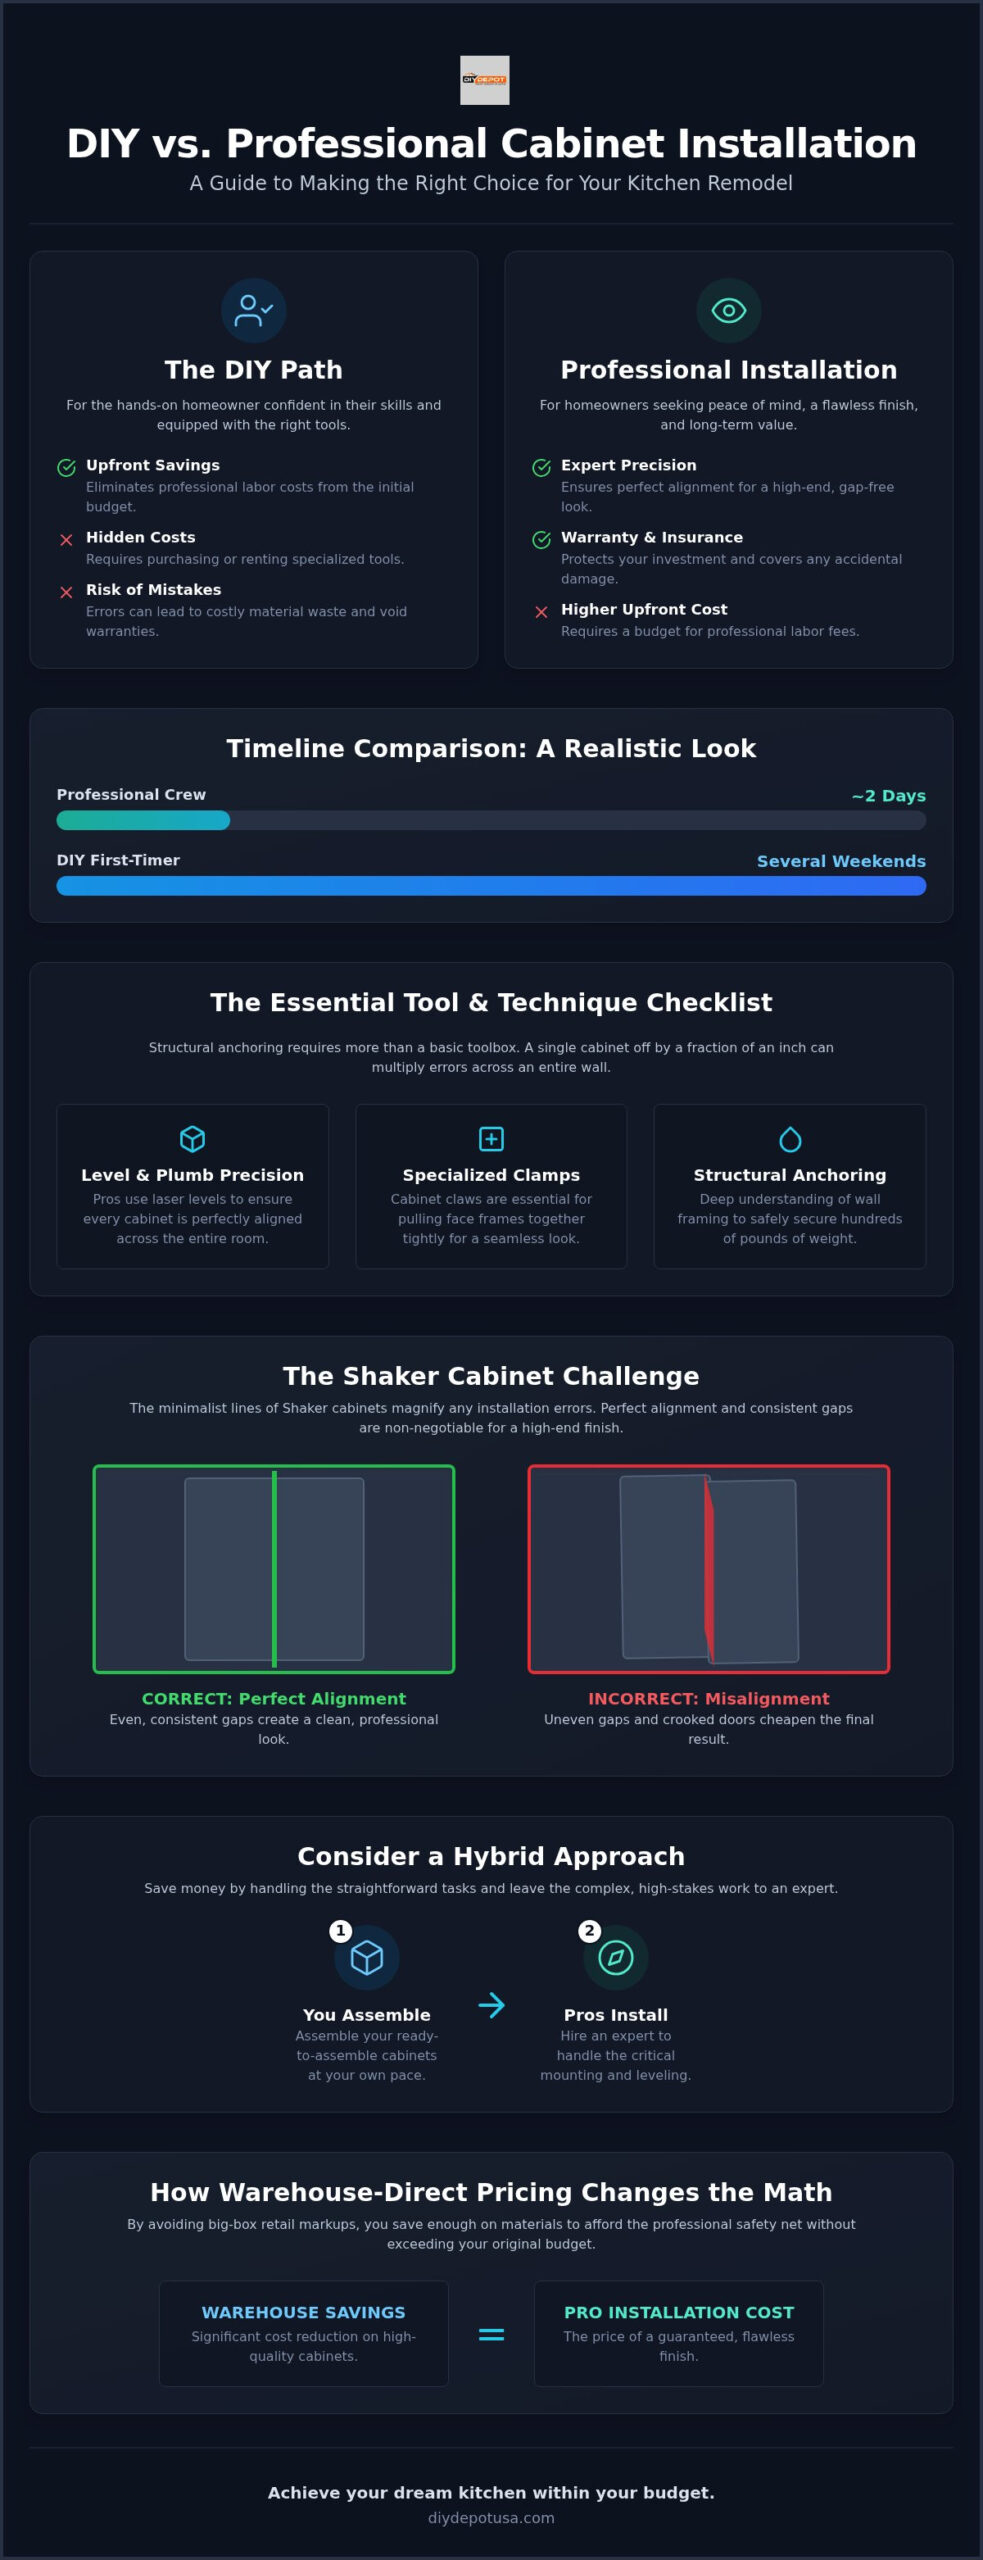
- Balance upfront labor savings against the long-term ROI of expert precision, while accounting for hidden costs like specialized tool rentals.
- Assess your technical comfort level by distinguishing between simple wall-hanging and the structural anchoring needed for heavy cabinetry.
- Learn why the minimalist lines of Shaker cabinets require perfect alignment and consistent door gaps to achieve a high-end look.
- Consider a hybrid approach where you assemble your own ready to assemble kitchen cabinets but hire a pro to handle the complex leveling and mounting.
- Determine whether diy vs professional cabinet installation is right for you by seeing how warehouse-direct pricing makes professional results more affordable.
Comparing the Real Costs: Labor Savings vs. Expert Value
When you start a kitchen remodel, the labor quote is often the first thing homeowners look to cut. It feels like an easy way to keep thousands of dollars in your pocket. However, evaluating diy vs professional cabinet installation requires looking beyond the initial price tag. While doing the work yourself eliminates a labor bill, it introduces a series of smaller, often overlooked expenses. By moving away from the standard big-box retail model and choosing warehouse-direct products, you can often save enough on the cabinets themselves to pay for professional help.
The Math of a DIY Installation
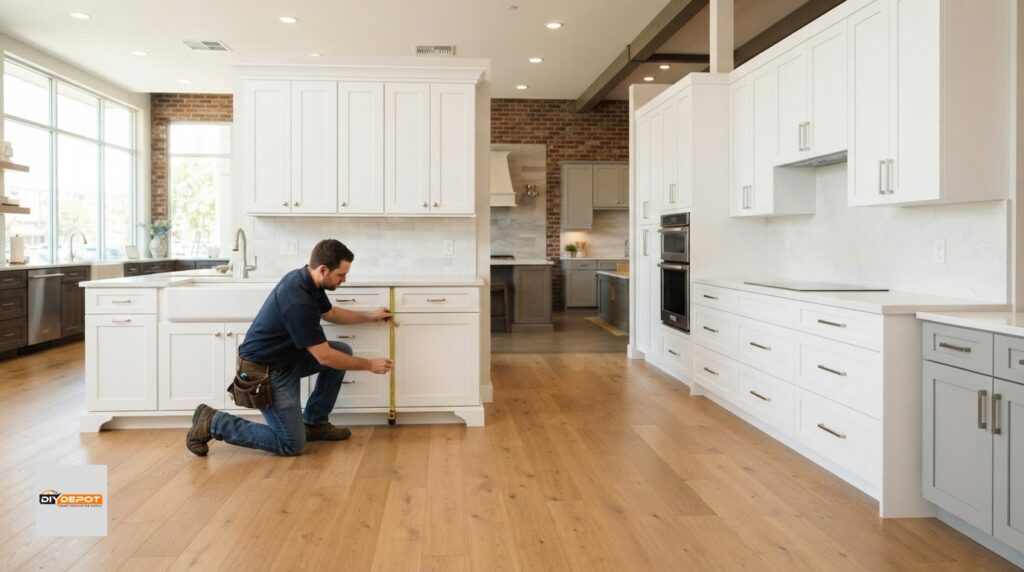
The true cost of a DIY project starts with your time. A professional crew might finish a standard kitchen in two days; a first-timer often spends several weekends battling renovation fatigue. You also need to account for the specialized gear required for a flush finish. You’ll likely need long levels, cabinet claws, and specific drill bits. Buying or renting these tools for a one-time project adds up quickly.
Beyond the hardware, there’s the risk of material waste. If you miscalculate a cut or strip a screw hole in your new base shaker cabinets, you’re responsible for the replacement cost. Unlike the retail experience at a local big-box store, warehouse-direct pricing gives you more financial breathing room. Professionals, by contrast, bring their own shims, fasteners, and expertise, which drastically reduces the chance of expensive errors. Gaining a better foundation by understanding cabinet construction can help you see why these small parts are so critical to a stable, long-lasting setup.
The Value Proposition of Professional Labor
Choosing a pro isn’t just about avoiding hard work; it’s about protecting your investment. Most high-quality shaker cabinets come with manufacturer warranties that stay valid only if the units are installed according to specific standards. A DIY mistake could inadvertently void these protections, leaving you stuck with the bill for future repairs.
Expert installers also provide a layer of insurance and liability that you don’t have as a solo builder. When deciding between diy vs professional cabinet installation, remember that if a pipe is nicked or a wall is damaged during the process, a professional’s coverage handles the repair. Additionally, the speed of an expert team means your kitchen is back in service faster. This reduces the hidden cost of eating out or ordering delivery while your home is a construction zone. By utilizing warehouse-direct pricing on the cabinets themselves, many homeowners find they can afford the professional safety net without exceeding their original budget.
Evaluating Your Skill Level: The Essential Tool and Technique Checklist
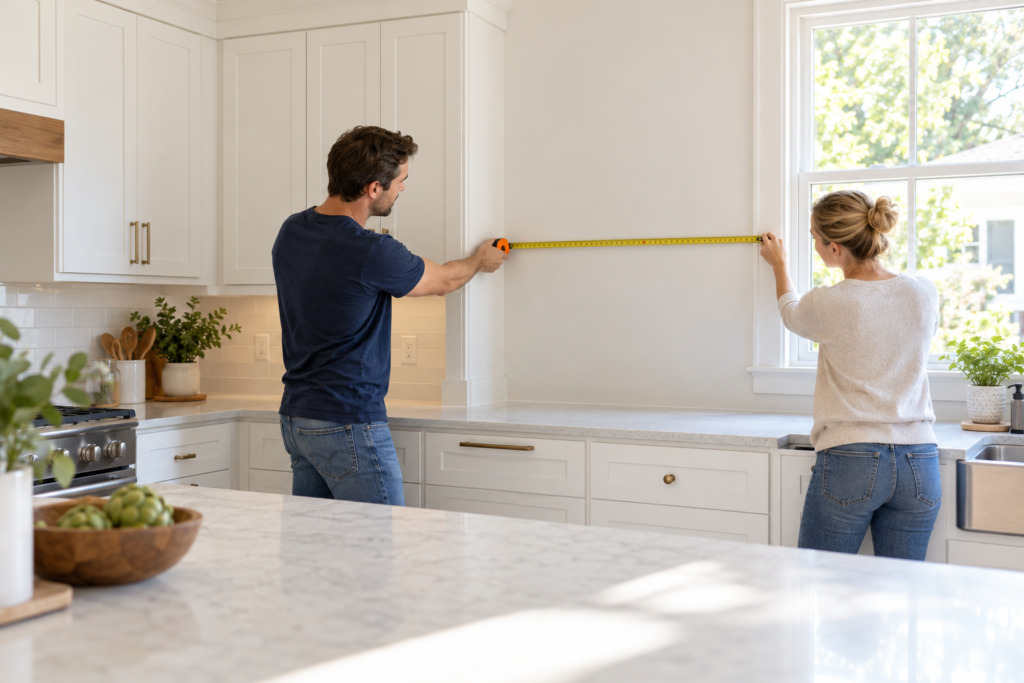
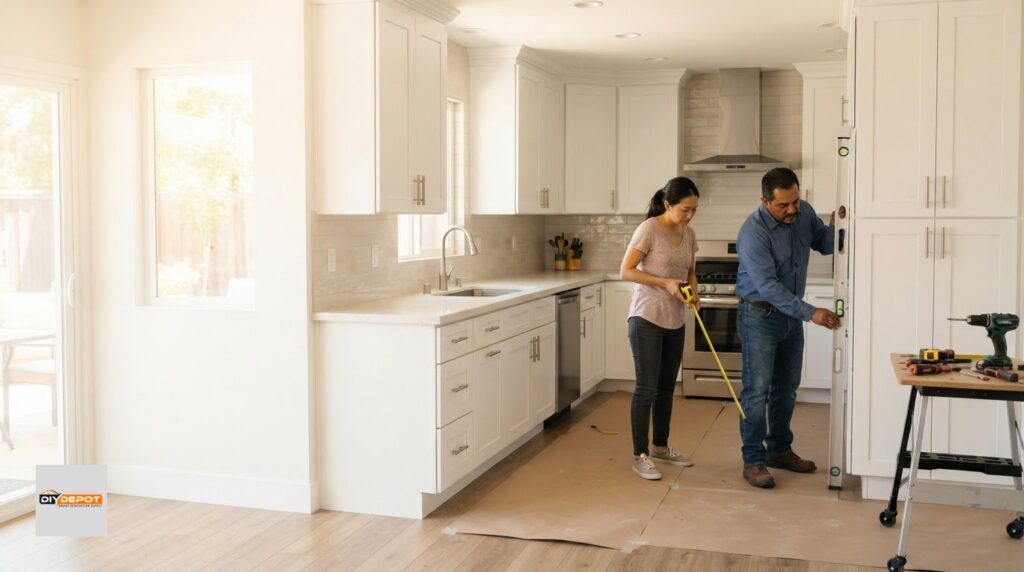
Deciding on diy vs professional cabinet installation often comes down to an honest assessment of your toolbox and your comfort with structural work. Hanging a simple picture frame or a floating shelf is one thing, but structural cabinet anchoring is a different beast entirely. You aren’t just mounting a box; you’re securing hundreds of pounds of wood and stone to your home’s framing. This requires a deep understanding of wall construction, including how to locate studs accurately and how to avoid hidden plumbing or electrical lines that often live right behind your backsplash.
Achieving a “level and plumb” result is the golden rule of cabinetry, but it’s harder than it sounds. If your first cabinet is off by even a fraction of an inch, that error will multiply as you move down the wall. By the time you reach the end of the run, you might find yourself with massive gaps or doors that won’t close. This precision is the main reason homeowners weigh diy vs professional cabinet installation so carefully before starting.
The Professional Tool Kit
A standard bubble level usually isn’t enough for a kitchen-wide project. Professionals rely on laser levels and 6-foot straightedges to ensure every box is perfectly aligned across the entire room. Without these tools, you risk “racking” the cabinets, which means the boxes become slightly twisted, preventing the doors from ever hanging straight. Consider if you have access to these essentials:
- Cabinet Claws: These specialized clamps pull face frames together tightly while you fasten them.
- Cabinet Jacks: These help pros handle heavy wall shaker cabinets safely without needing a three-person crew.
- Miter Saw: A high-quality saw is non-negotiable for cutting crown molding and trim with professional-grade corners.
Technical Hurdles to Consider
Rarely is a house perfectly square. In older homes especially, you’ll likely face uneven floors and “wavy” walls that make a straight installation difficult. This is where scribing comes in. You might need to shave down the back of a cabinet or the bottom of your kitchen base cabinets to match the slope of your floor. This ensures a seamless, gap-free look that won’t leave your countertops slanted.
Installing units around appliances adds another layer of complexity. You must account for precise clearances and ventilation requirements to ensure your dishwasher and stove fit perfectly into their designated spots. If these technical hurdles feel a bit daunting, remember that our team at DIY Depot USA can step in with professional installation services to handle the heavy lifting for you, ensuring your project stays on track and looks flawless.
The Shaker Cabinet Precision Challenge: Why Alignment is Everything
Shaker cabinets are a timeless choice for any home, but their minimalist design leaves nowhere for errors to hide. When you compare diy vs professional cabinet installation, the “precision factor” is often the deciding point. The recessed center panel and crisp, right-angled frames create long, straight shadows. If a cabinet is tilted by even a tiny fraction, those shadows will look jagged and uneven. Unlike more ornate styles that use decorative molding to mask slight gaps, the clean lines of a Shaker door act like a level, showing every flaw in the room’s construction.
Achieving a professional finish requires more than just screwing boxes to the wall. It involves a high degree of patience and a steady hand. Many homeowners find that the stress of trying to align multiple units is the most difficult part of the job. It’s not just about the first box; it’s about how the tenth box relates to the first one across the room.
The Geometry of Shaker Doors
Vertical and horizontal lines must be perfectly parallel to your floor and walls. A 1/16th inch error at the top of a wall cabinet can result in a noticeable, wedge-shaped gap at the bottom. This is especially true for kitchen shaker cabinets, where the visual “reveal” (the space between doors) needs to be uniform across the entire run. Modern soft-close hardware offers some adjustment, but it can’t fix a box that was installed out of square. Professionals spend a significant amount of time fine-tuning these hinges to ensure every door sits flush and closes silently without rubbing against the frame.
Finishing Touches That Make a Difference
The final steps of the project often carry the highest risk for a DIYer. Installing handles and pulls requires drilling directly into your new doors. One slipped drill bit or a slightly crooked hole can ruin a cabinet face, forcing you to order an expensive replacement. Professionals use custom jigs and high-speed bits to ensure every piece of hardware is perfectly centered and level.
Filler pieces are another area where expert hands shine. These strips of wood bridge the gap between your cabinets and the wall. A pro will scribe these pieces to match the exact contour of your drywall, making your shaker cabinets for sale online look like a custom-built installation. When you weigh the visual impact of these details, the choice between diy vs professional cabinet installation becomes about more than just labor; it’s about the final aesthetic of your home.
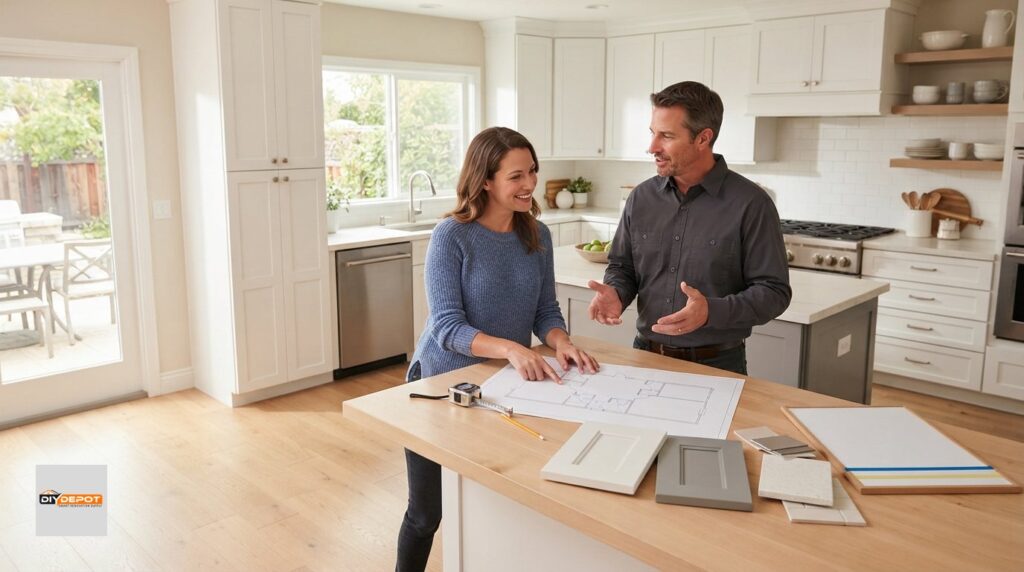
The Hybrid Renovation Model: Assembly vs. Installation
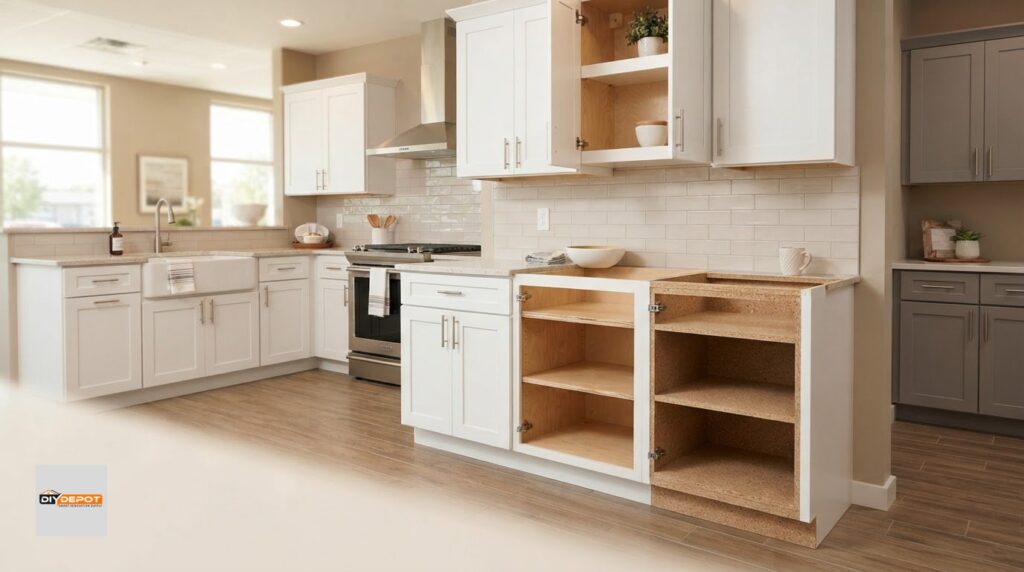
Many homeowners feel stuck between two extremes, but there’s a middle ground that often provides the best of both worlds. By choosing ready to assemble kitchen cabinets, you can take control of the box building phase while leaving the high-stakes mounting to the experts. This hybrid model allows you to tackle the time-consuming assembly in your garage or living room, which can significantly lower your labor costs. It shifts the debate of diy vs professional cabinet installation from an all or nothing choice to a strategic partnership. Choosing a hybrid path helps prevent out-of-square issues that plague many solo projects. If a box isn’t built perfectly straight from the start, it becomes impossible to hang properly later. A pro can often spot these minor assembly errors before the cabinet is bolted to your studs, saving you from a lopsided kitchen.
When to DIY the Assembly
Building the boxes is a manageable task for anyone comfortable with a screwdriver and wood glue. You don’t need a full workshop, but a rubber mallet and a high-quality wood glue are essential. You’ll need a large, clean workspace to ensure you don’t scratch the finish during the process. The key is making sure every box is perfectly square before the back panel is secured. If you build them yourself, you save on the initial assembly fee and get to know your cabinets inside and out. It’s a rewarding process that doesn’t require the same level of structural expertise as the final mounting. Take your time with the first few units to master the cam-lock or bracket system. By handling the assembly, you can spend that saved money on higher-end hardware or upgraded finishes.
When to Hand Over the Installation
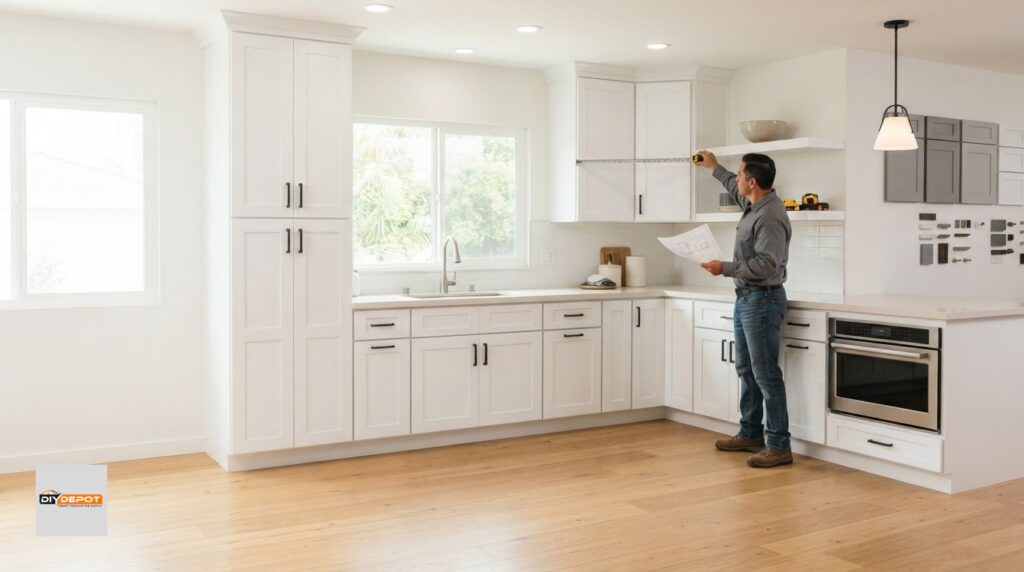
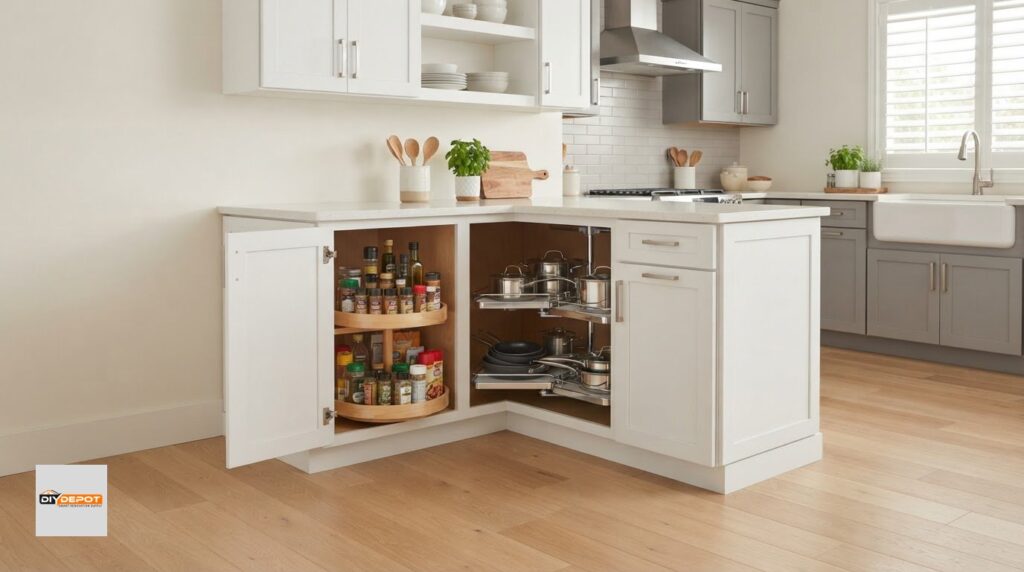
The moment those boxes need to go on the wall, the stakes rise. Hanging heavy wall cabinets requires a level of physical strength and mechanical precision that can be exhausting for a solo DIYer. Professionals use a two-person team to ensure safety and speed. They have the specialized jacks and clamps needed to hold everything in place while the screws are driven home. This is especially vital for sink bases, which often require custom cutouts for plumbing that can weaken the cabinet structure if done incorrectly. A pro knows how to reinforce these areas so your heavy stone countertops have a rock-solid foundation. They also excel at the tricky parts, like leveling corner lazy susan cabinets into tight spots. Utilizing professional kitchen design services during the planning stage ensures that your assembled boxes will fit your layout exactly as intended.
If you want the satisfaction of building your kitchen but need the peace of mind that it’s mounted securely, we’re here to help. You can view our assembly and installation services to see how we can support your hybrid project and ensure a flawless finish.
Choosing Your Path: How DIY Depot USA Supports Your Project
Whether you’ve decided to pick up the drill yourself or prefer to let a team handle the heavy lifting, your project’s success depends on the quality of your foundation. The debate over diy vs professional cabinet installation often focuses on labor, but the products you choose are just as important. At DIY Depot USA, we built our warehouse-direct model to empower every type of homeowner. We provide the high-quality materials you need to succeed as a solo builder, alongside the professional services required for a turnkey renovation. Our goal is to make professional-grade results attainable for everyone through a supportive partnership.
Warehouse-Direct Quality for Every Budget
Choosing our Shaker cabinets means you’re getting warehouse-direct value that big-box retailers simply can’t match. We focus on durable materials that are built to withstand the rigors of professional installation while remaining accessible for the ambitious DIYer. Our selection includes base, vanity, and wall Shaker cabinets designed for long-term reliability. To ensure your project starts on the right foot, we include expert kitchen design support with every order. This helps you avoid the common layout errors that make any installation difficult, regardless of who is doing the work. By removing the middleman, we pass the savings directly to you, making it easier to afford the kitchen you’ve always wanted.
Our Professional Installation Guarantee
For those who want absolute peace of mind, our expert teams are available to handle the assembly and installation of our Shaker cabinets. Working with a single partner for both your products and your labor creates a much more efficient process. You don’t have to worry about a contractor blaming the manufacturer for a fitment issue; we take full responsibility for the final result. Our installers ensure that your kitchen matches your professional design exactly, leaving you with a level, gap-free finish that looks like a high-end showroom build. This streamlined approach reduces the stress of managing multiple vendors and keeps your timeline on track. To see how expert designers achieve this level of quality, you can visit Reality Kitchens for bespoke inspiration.
Before you make your final choice on diy vs professional cabinet installation, consider this stress-free checklist for your renovation:
- Confirm your layout: Always start with a professional kitchen design to ensure every cabinet fits.
- Check your walls: Verify your wall construction and stud locations before the cabinets arrive.
- Audit your tools: Make sure you have specialized gear like laser levels and cabinet claws if you plan to go solo.
- Evaluate your time: Be realistic about whether you can manage a kitchen being out of commission for several weeks.
Your journey to a beautiful kitchen begins with a solid plan. Reach out today to start your professional design and discover how our warehouse-direct pricing can make your dream kitchen a reality.
Transform Your Kitchen with Confidence
Deciding between diy vs professional cabinet installation doesn’t have to be a stressful choice. You now understand that while DIY assembly can save you money upfront, professional installation provides the precision and structural integrity that high-quality Shaker cabinets deserve. By leveraging warehouse-direct pricing, you can often afford expert help without stretching your budget beyond its limits. This approach ensures your renovation is both financially sensible and aesthetically flawless.
Whether you choose the hands-on path or the peace of mind that comes with our expert team, starting with a solid plan is the most important step. We’re here to support you with free professional design support to ensure every cabinet fits your space perfectly. Our expert assembly and installation services are designed to take the weight off your shoulders, letting you focus on the excitement of your new home. Your kitchen is the heart of your home, and it’s worth the extra care to get it right. Ready to take the first step? Get a Free Professional Kitchen Design and Installation Quote Today. We can’t wait to help you bring your vision to life.
Frequently Asked Questions
Is it hard to install kitchen cabinets yourself?
Installing cabinets yourself is a complex task that requires more than basic handy skills. You need to manage heavy lifting while maintaining sub-millimeter precision. When weighing diy vs professional cabinet installation, consider your ability to find studs behind thick drywall and your comfort using shims to fix wonky walls. A small error at the start of a cabinet run can lead to massive gaps by the time you reach the corner.
How much does professional cabinet installation usually cost?
The cost of hiring a pro depends on your kitchen’s square footage and the total number of boxes. Factors like crown molding, decorative end panels, and integrated lighting also influence the final labor bill. It’s best to request a specific quote based on your professional design. This ensures that the labor estimate accounts for every detail of your unique layout, from corner lazy susans to tall pantry units.
Can I install RTA cabinets without any carpentry experience?
You can certainly assemble RTA cabinets with little experience, but installation is much more difficult. Assembly involves following clear instructions and using basic fasteners. Installation, however, requires you to understand structural loads and wall plumbing. If you don’t have carpentry experience, we recommend a hybrid approach. You build the boxes at home to save money, then hire our team to mount them securely and level them perfectly.
What are the most common mistakes in DIY cabinet installation?
The most frequent errors involve improper leveling and failing to anchor boxes into the wall studs. Many homeowners also forget to account for the thickness of their flooring or the clearance needed for appliance doors to open fully. These mistakes are the primary drivers in the diy vs professional cabinet installation debate. Correcting a lopsided base cabinet after the countertop is installed is an expensive and stressful mistake to fix.
How long does it take for a professional to install a standard kitchen?
A professional crew can typically finish a standard 10×10 kitchen installation in one to three days. This timeline includes the assembly of the boxes, the mounting process, and the fine-tuning of the doors and drawers. A DIY project of the same size often stretches across several weekends. Pros work faster because they use specialized jigs and work in coordinated teams, which minimizes the time your kitchen is out of commission.
Do I need special tools to install shaker cabinets?
Yes, achieving a high-end look requires tools that aren’t found in a standard home toolkit. You will need a 6-foot level or a laser level to ensure long runs stay straight. Cabinet claws are also essential for pulling Shaker face frames together without damaging the wood. Using the wrong fasteners or a standard bubble level often results in visible gaps that ruin the clean aesthetic of your new cabinets.
Can I hire a pro just for the wall cabinets and do the base cabinets myself?
Many pros are open to partial installations, but it’s important to discuss this during the quoting phase. Hanging wall cabinets is the most physically demanding part of a remodel and carries the highest risk if they aren’t anchored correctly. You might choose to handle the base units if your floors are perfectly level. However, a single partner handling the full project usually provides better continuity and a more cohesive final look for your kitchen.
Does professional installation include the countertops?
Cabinet installation and countertop installation are typically handled by different specialists. Our team focuses on the precise assembly and mounting of your Shaker cabinets to create a rock-solid foundation. Once the cabinets are perfectly level and secured, a countertop fabricator will come to template the space. This separation ensures that each part of your kitchen is handled by an expert who specializes in that specific material and technique.

12 thoughts on “DIY vs. Professional Cabinet Installation: The 2026 Homeowner’s Guide”