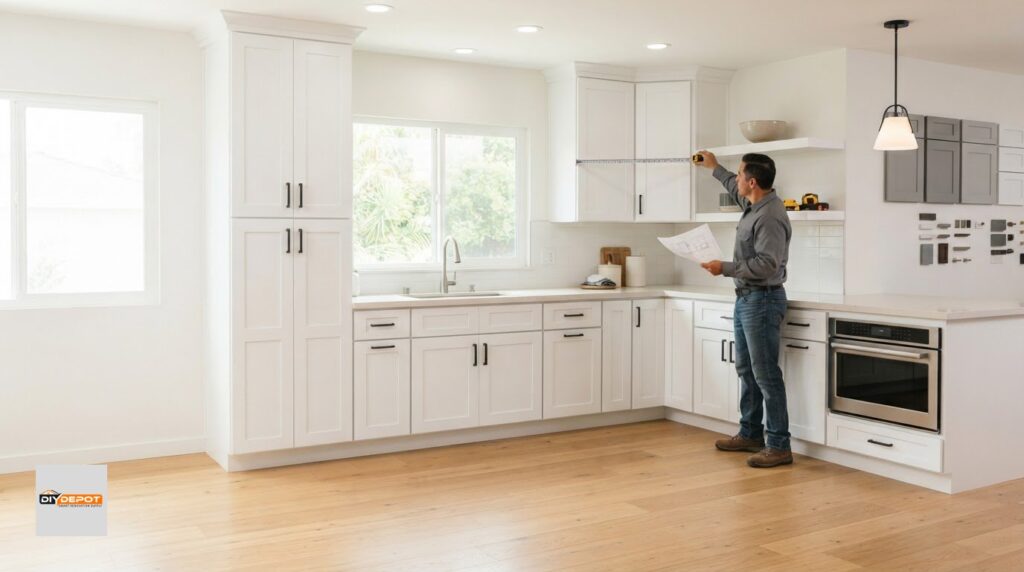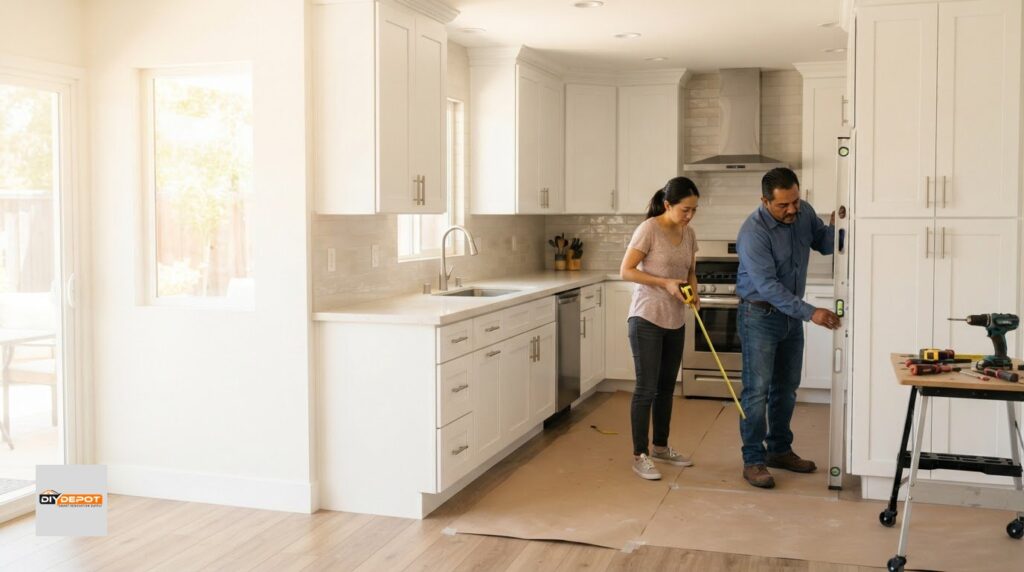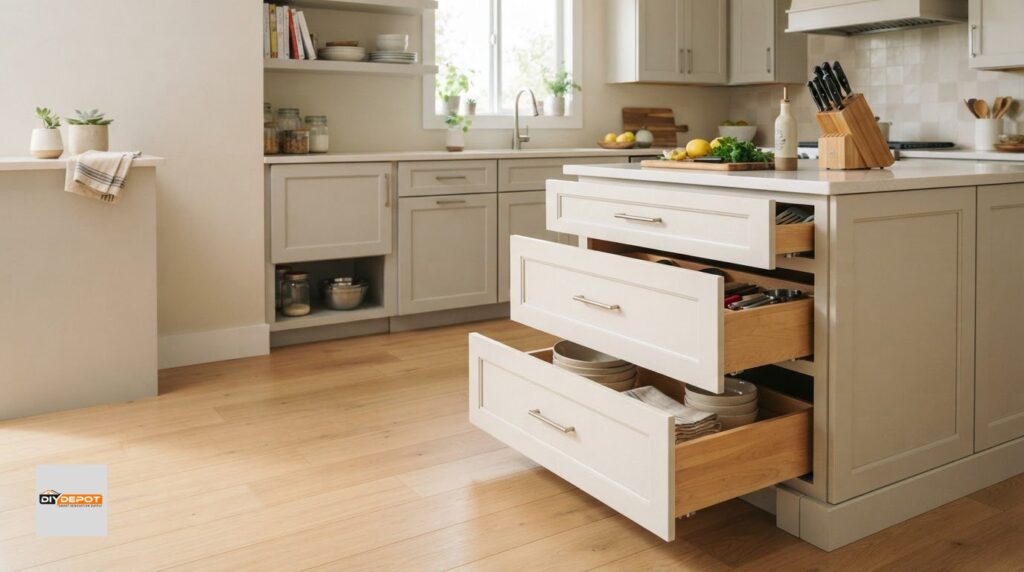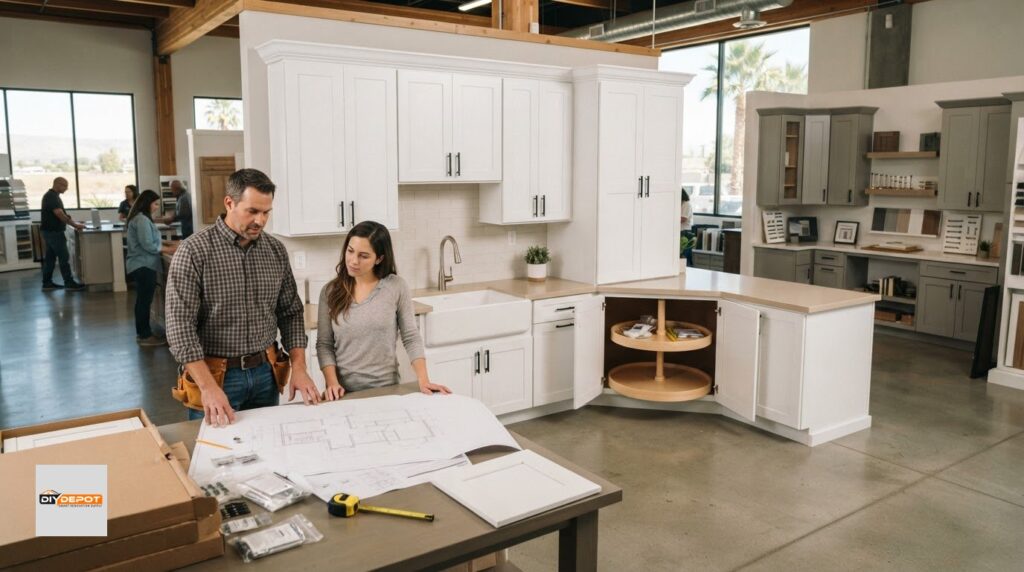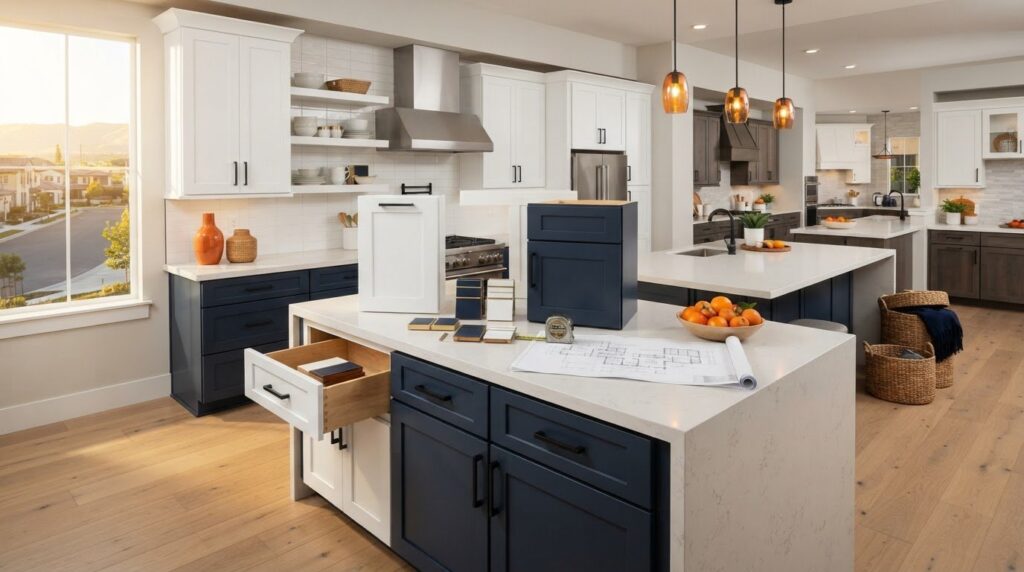

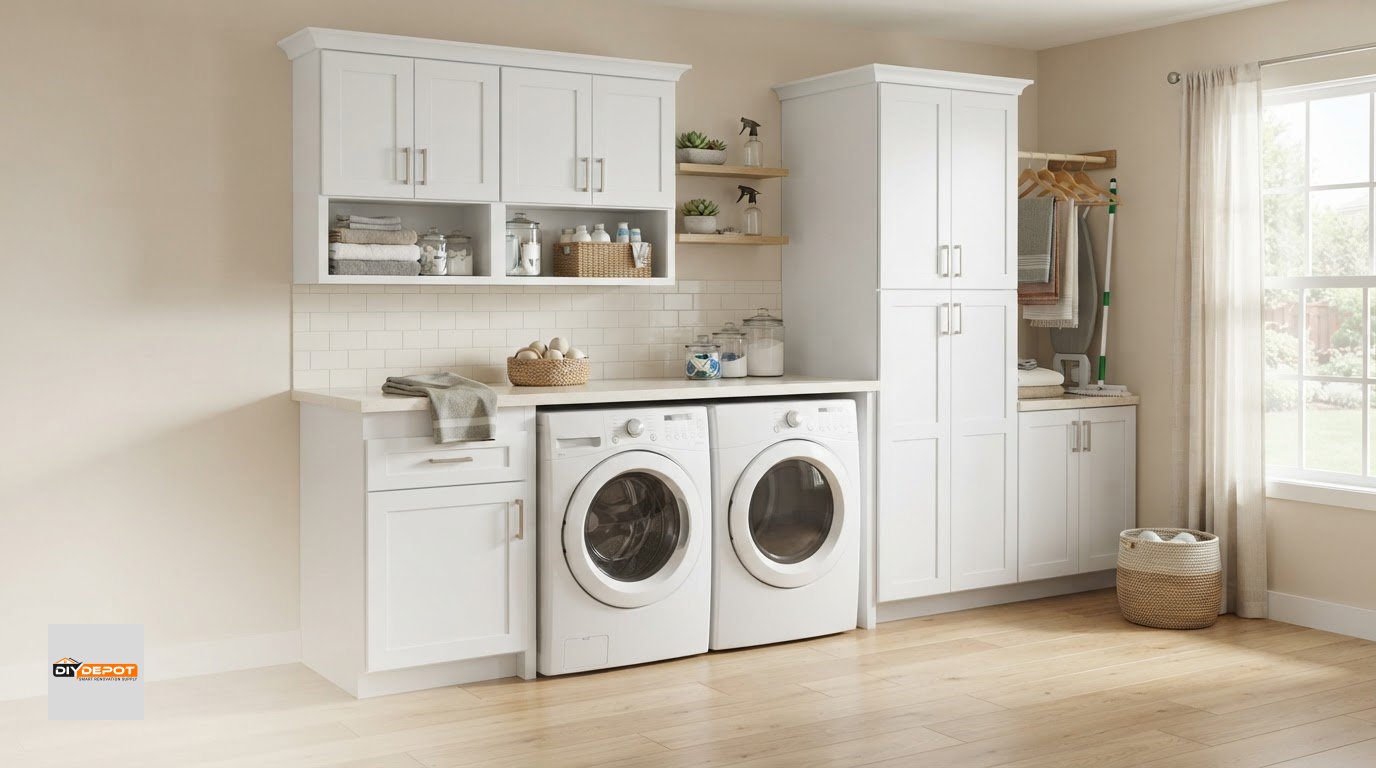
A laundry room works better when storage uses the walls as well as the floor. Laundry room shaker cabinets can combine base cabinets for lower storage, wall cabinets for supplies, and tall cabinets to use vertical space where the layout allows. Simple Shaker fronts give this hardworking room a clean, familiar look.
It’s easy to focus on the washer and dryer and overlook the surrounding space. A well-planned cabinet layout keeps everyday items close, clears surfaces for folding, and leaves room to move and work.
This guide explains how to choose ready-to-assemble Shaker cabinets for a laundry room and plan storage across walls and taller areas. You’ll find practical tips for sizing and positioning cabinets around appliances, so storage suits your room without crowding the setup.
Key Takeaways
- Match ready-to-assemble cabinet styles to the room’s tasks, using lower storage for bulky items and wall cabinets for supplies you reach often.
- Plan storage around the washer and dryer, leaving useful working space instead of fitting cabinets tightly to the appliances.
- Use wall space for drying and everyday items, and consider tall cabinets for longer cleaning tools and equipment.
- Choose cabinet widths and configurations that fit the available layout; alternate cabinet combinations can help make awkward gaps more useful.
- Cabinet and installation costs depend on the layout, cabinet choices, and installation scope, so define the project before comparing options.
Ready-to-assemble laundry room cabinet styles
Ready-to-assemble Shaker cabinets suit laundry rooms that need organized storage and a simple, consistent look. Plan cabinet materials, colors, and placement around your appliances, available wall space, and daily tasks.
Shaker Materials and Color Choices
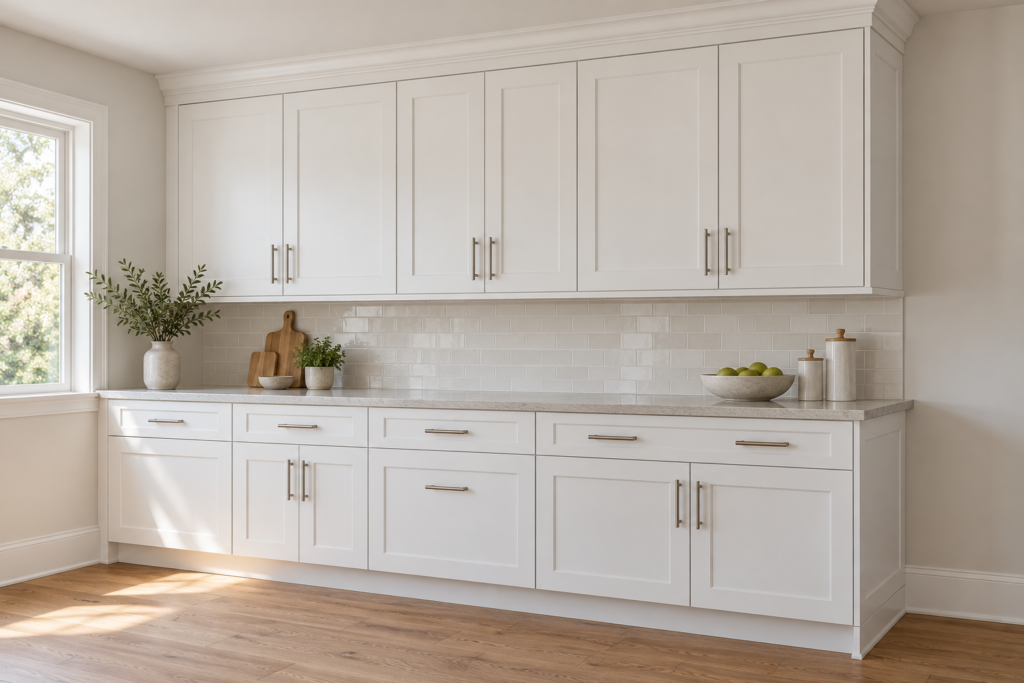
Compare the cabinet box, door, and finish as separate parts of your selection. Common materials include solid wood, plywood, and particleboard, and construction and finish affect appearance and care. Shaker doors have a simple frame around a flat center panel, creating a defined look without ornate details. White or gray can keep the room feeling visually calm, while a darker shade adds contrast. Choose a finish that works with the room’s lighting, flooring, and nearby surfaces.
Cabinet Options and Panel Comparisons
Stock cabinets come in set sizes and configurations, while semi-custom options allow more adjustments. Custom cabinetry is made for a particular space, which can suit unusual layouts but calls for a more tailored design. For a ready-to-assemble project, check how available cabinet sizes fit the room before planning the full arrangement. Shaker fronts add a framed detail; flat-panel fronts have a smooth face for a more streamlined look. Choose based on the style and level of detail you prefer.
Laundry rooms can lean traditional, farmhouse, or contemporary with Shaker fronts. For a farmhouse look, pair framed doors with simple hardware and light finishes. A contemporary room can use gray fronts, restrained hardware, and clean-lined surfaces. Shaker cabinets trace their roots to the Shakers, who settled in North America in the 18th century. Their practical, uncomplicated design still fits rooms where function matters as much as appearance.
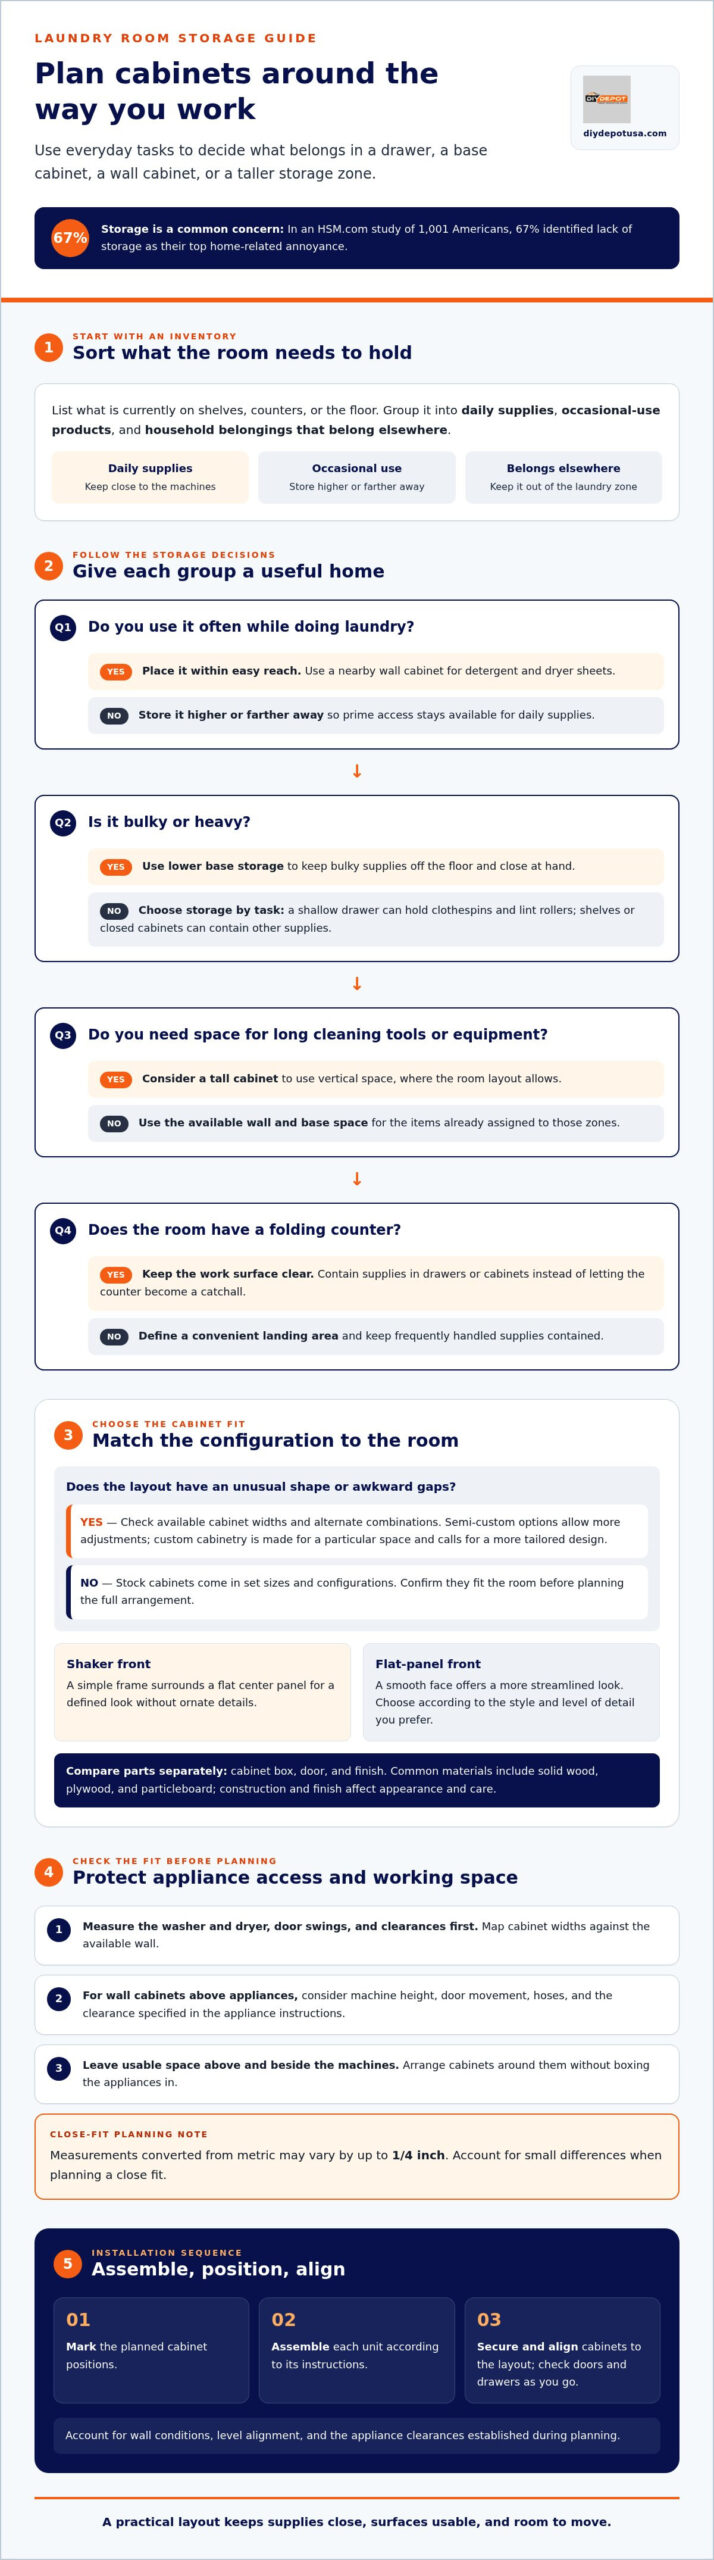
Arrange cabinets around the washer and dryer without boxing the appliances in. Place frequently used supplies in an easy-to-reach cabinet, and use nearby base storage for heavier items. Leave workable space above and beside the machines. Measure the appliances, door swings, and clearances first; then map cabinet widths against the available wall. Measurements converted from metric may vary by up to 1/4 inch, so account for small differences when planning a close fit.
To install ready-to-assemble cabinets, mark their planned positions, assemble each unit according to its instructions, then secure and align the cabinets. Fit base and wall units to the layout, checking doors and drawers as you go. Account for wall conditions, level alignment, and the appliance clearances established during planning. DIY Depot offers assembly and installation of its Shaker cabinets if you want help with those steps.
Clean painted Shaker cabinets with a soft, damp cloth, and dry them promptly after spills. Wipe detergent splashes rather than letting residue build up around the frame and panel. Avoid scrubbing that could mark the finish, and follow the cabinet maker’s care instructions for cleaning products. Gentle, regular cleaning helps keep the painted surface and recessed panel edges tidy.
Benefits of laundry room cabinets
Cabinets give laundry supplies a designated place, separating detergent, stain remover, and spare linens from the folding surface. In an HSM.com study of 1,001 Americans, 67% identified lack of storage as their top home-related annoyance. A planned cabinet layout can address that everyday problem by assigning specific items to shelves, drawers, or enclosed spaces.
Organized storage makes routine tasks easier. Keep detergent and dryer sheets near the washer and dryer, and store less-used items higher or farther away. A shallow drawer can hold clothespins and lint rollers, while a lower cabinet keeps bulky supplies off the floor. Group items by task so household members know where to return them.
Cabinet storage can keep the work surface from becoming a catchall. Use a drawer for stain-treatment tools and reserve a clear countertop for sorting or folding. If the room has no folding counter, arrange storage to keep frequently handled supplies contained and define a convenient landing area. Plan each zone around a task you actually do.
Closed cabinets conceal detergent containers, cleaning cloths, and spare household products for a calmer visual effect. Matching Shaker fronts across base and wall units can make separate storage areas feel connected. Choose a cabinet color that relates to the flooring or wall paint, then use consistent hardware to bring the doors together visually.
Laundry-room storage can serve other household needs, too. A cabinet near the entrance might hold reusable shopping bags, pet towels, or cleaning products used elsewhere. Store chemicals separately from linens and personal items, and keep frequently used products within easy reach for adults. A labeled shelf or divided drawer helps keep supplies organized.
Some homeowners also plan a cabinet interior around charging a cordless vacuum. A laundry room cabinet can be fitted with a power outlet for recharging vacuums, keeping the appliance and its cord out of the main walkway. Set aside space that accommodates the vacuum and its charging setup, and keep the area accessible for routine use. This turns otherwise unused cabinet space into a practical storage zone.
Before choosing cabinets, list what is currently stored on shelves, counters, or the floor. Sort items into daily supplies, occasional-use products, and household belongings that belong elsewhere. This inventory helps you decide whether drawers, shelves, or closed cabinets will be most useful. It also makes it easier to keep the folding area clear after installation.
Using walls and tall cabinets for storage
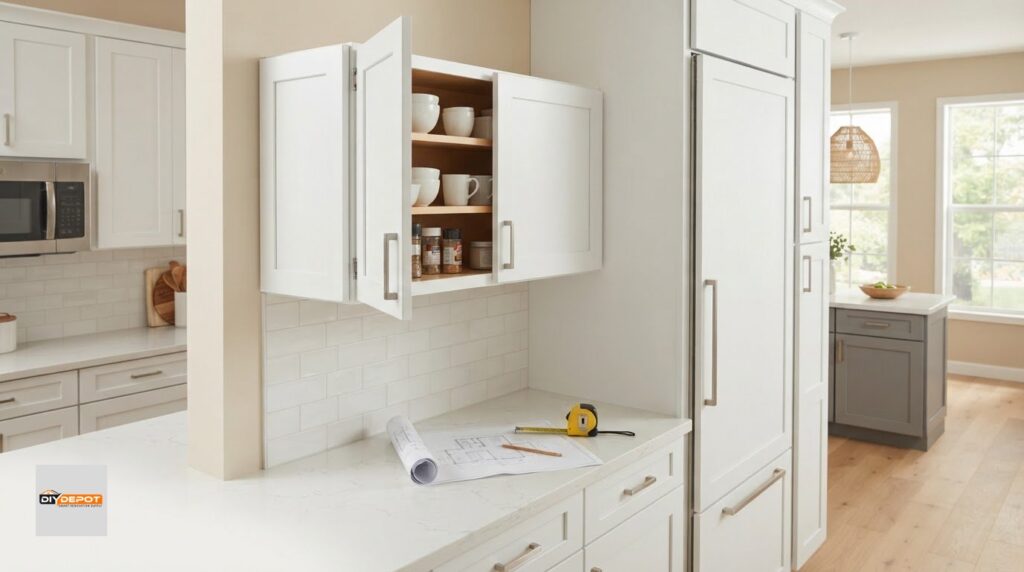
Yes, Shaker wall cabinets can fit above a washer and dryer. Position them based on the machines’ height, door movement, hoses, and the clearance specified in each appliance’s instructions. Leave usable space around the appliances instead of fitting cabinets tightly against them.
Start with a wall plan, not a cabinet order. Mark the washer and dryer widths, full door swings, and space needed to load laundry. Then note windows, outlets, and wall-mounted fixtures. This shows which sections can hold cabinets and which need to stay open. With side-by-side machines, a continuous run of wall cabinets can keep detergent and laundry baskets within reach without taking up floor space.
Use wall cabinets for frequently reached items such as detergent, dryer sheets, and stain-treatment supplies. Keep them on an accessible shelf and reserve higher shelves for less-used products. A cabinet above a folding surface can also hold clothespins or spare linens close to the task. Store heavy containers at a comfortable height, not on the highest shelf.
Open wall space can serve other purposes. A wall-mounted drying rack saves floor space and gives damp garments room to air-dry without blocking the walkway. Position it so dripping items won’t interfere with appliances, cabinet doors, or a folding area. If it folds away, make sure it can open fully without hitting a cabinet handle or nearby fixture.
Tall cabinets make vertical storage useful in a larger laundry room. Set aside sections for long-handled items such as a mop, broom, or ironing board, with enough room to remove each one easily. A vacuum can occupy another tall compartment. Before assigning storage, compare the cabinet’s interior layout with each item’s shape, height, and handle length.
In a narrow room, keep the route between the doorway and appliances clear. A tall cabinet at one end can hold cleaning tools, while wall cabinets above a work surface organize smaller supplies. In a wider room, place tall storage away from appliance doors and use the remaining wall for a drying rack or shelves. Sketch the zones before installation to see how doors, drawers, and equipment interact.
Finish by testing the plan with actual measurements. Open each appliance door, account for hoses, and confirm that cabinet doors and drying racks can operate without collision. Compare the available wall height with the appliance instructions and intended cabinet placement. This practical check helps turn unused wall and upper space into storage while preserving room to load, unload, and move around the laundry area.
In a larger laundry room, tall cabinets can bring ironing boards, vacuums, mops, and brooms together in one vertical storage area.
What sizes and configurations work best for laundry room shaker cabinets?
The best configuration depends on appliance placement, wall length, and the tasks the room needs to support. Compare cabinet widths with the measured space, then use combinations such as a 27-inch cabinet with a 3-inch filler where a single wider unit won’t fit.
For a 30-inch drawer base opening, one option is two 15-inch base cabinets. If drawer storage matters, two 15-inch drawer base cabinets can replace a 30-inch drawer base cabinet. These combinations can divide storage into separate zones, such as one cabinet for laundry tools and another for household supplies. Draw the cabinet widths beside doors, appliances, and corners before choosing a layout.
Wall cabinet height can also be handled with combinations. A 42-inch-high wall cabinet can be replaced by 36-inch-high wall cabinets with stacked crown molding on top. Another option is 30-inch-high wall cabinets with 12-inch-high stacker cabinets above, if available. These arrangements make use of higher wall space, but the ceiling and any obstructions determine which configuration fits the room.
Use appliance and sink locations to guide base cabinet choices. A 36-inch sink base can be replaced with a 36-inch base cabinet when its drawer boxes and glides are uninstalled. That arrangement can suit a laundry sink plan where the cabinet opening needs to remain clear. Map plumbing and the sink position first, then compare the cabinet footprint with the surrounding layout.
A 36-inch vanity measures 21 inches deep, so instructions call for pulling it forward 3 inches when used as a sink-base replacement. That depth difference affects how the cabinet aligns with nearby units and the room’s working area. Treat it as a specific layout adjustment, not a universal fit. Check the position against the sink, wall, and available floor space.
Corner configurations also affect the usable run. If a 36-inch lazy Susan corner cabinet is out of stock, a 36-inch stationary shelf corner cabinet or a 36-inch corner sink base cabinet can serve as alternatives. Choose based on whether the corner needs shelves or a sink. Confirm how the selected unit meets adjoining cabinets before finalizing the sequence.
Measure each wall and note appliance positions before making a cabinet list. Then total the planned widths, including fillers, and check that doors and drawers can open without blocking one another. For example, a 27-inch base cabinet plus a 3-inch filler occupies the same width as a 30-inch opening. This kind of calculation helps turn a room sketch into a workable cabinet plan.
How much do laundry room shaker cabinets cost, including installation?
The project scope depends on the cabinets selected and the work needed to fit them. Ready-to-assemble cabinets, assembly, installation, and finishing details all affect the plan. Start with measured dimensions, not room area alone: list the base and wall units, record their widths, and note any tall cabinets or fillers. A layout with a few cabinets differs from one covering several walls.
Cabinet type and configuration shape the materials portion of the estimate. A 30-inch drawer base, for example, has a different storage arrangement from two 15-inch base cabinets. Wall cabinet height and corner units also affect the cabinet list. Write down each planned unit, its intended location, and whether it needs drawers, shelves, or space for a sink. This cabinet schedule gives the project a clear scope for comparing options.
Installation work depends on the assembly and fitting required. Ready-to-assemble units need to be assembled before placement, then positioned and secured in the room. Wall conditions, appliance locations, and plumbing can affect the work. A straightforward cabinet installation differs from a layout that needs adjustments around a sink or uneven wall. List assembly and installation separately in your project plan so the scope is clear.
Finishing components can also affect the complete project. Fillers may close a gap between a cabinet and a wall, while crown molding can finish the top of wall cabinets. For example, a 27-inch base cabinet with a 3-inch filler fills a 30-inch span. Include hardware and any selected trim in the written cabinet schedule, so the estimate accounts for the planned finish rather than only the cabinet boxes.
Prepare a clear estimate request with these details:
- Room measurements and a simple cabinet layout.
- Appliance, sink, and plumbing locations.
- Cabinet widths, heights, and storage types.
- Assembly, installation, fillers, and trim in scope.
Compare estimates using the same cabinet list and installation scope. If one plan includes assembly and another does not, the totals cover different work. Also separate cabinet purchases from labor and finishing components. This makes it easier to understand differences between plans without relying on room size alone or a broad cost range.
To start planning, use your measurements and cabinet schedule to review available Shaker cabinets. A defined list of units connects the room layout with assembly and installation needs and helps clarify the full project scope.
DIY Depot: Base Shaker Cabinets
DIY Depot USA offers Base Shaker Cabinets for lower laundry-room storage and Wall Shaker Cabinets for space above a work area. Vanity Shaker Cabinets can also suit a layout planned around a sink. Choose the combination based on your room measurements, appliance positions, and storage priorities.
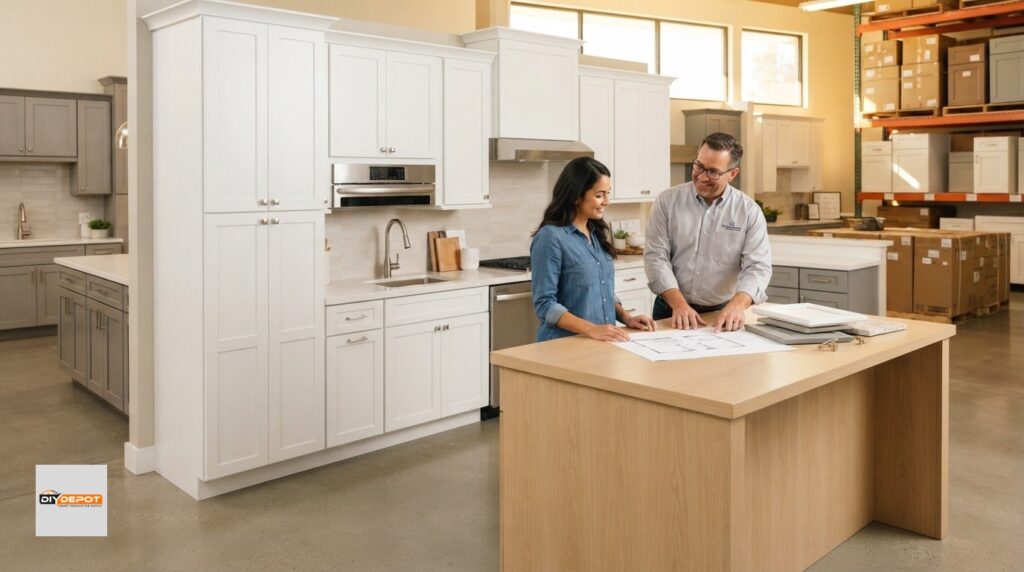
If you’re still mapping the layout, Professional Kitchen Design can help you think through cabinet placement and configuration. Bring your measurements and planned cabinet list into the process so the design reflects how you use the room. For help with your cabinet project, contact DIY Depot.
Make Your Laundry Room Plan Work for You
Turn your room measurements into a cabinet plan that reflects your routine. Decide what needs to stay within easy reach, what can go higher, and where you need clear space for sorting or folding. This makes laundry room Shaker cabinets part of a room that works for your household, not just a row of doors.
DIY Depot USA offers Base Shaker Cabinets, Vanity Shaker Cabinets, and Wall Shaker Cabinets for different storage areas. Use your measurements and priorities to decide which cabinet types fit the plan. A clear starting point makes it easier to move from ideas to a workable project.
Contact DIY Depot about laundry cabinets to take the next step. With a considered layout and the right storage choices, you can shape a laundry room that feels more organized and ready for everyday use.
Frequently Asked Questions
What are shaker cabinets, and are they a good choice for a laundry room?
Shaker cabinets have a simple framed door with a flat center panel, making them a practical option for laundry rooms. Their straightforward design works with traditional, farmhouse, and contemporary interiors. White fronts can blend with light walls, while gray fronts add contrast. Their usefulness ultimately depends on how well the layout supports sorting, folding, and storing laundry supplies.
What materials and finishes are best for shaker cabinets in a humid laundry room?
Choose cabinet materials and finishes with the room’s moisture conditions in mind. Humidity, ventilation, and splashes affect how surfaces perform over time. A cabinet near a utility sink may need different care from one on a dry wall. Review the cabinet’s material and finish details, dry surfaces after spills, and maintain ventilation to limit lingering moisture.
Where can you buy shaker cabinets for a laundry room in the United States?
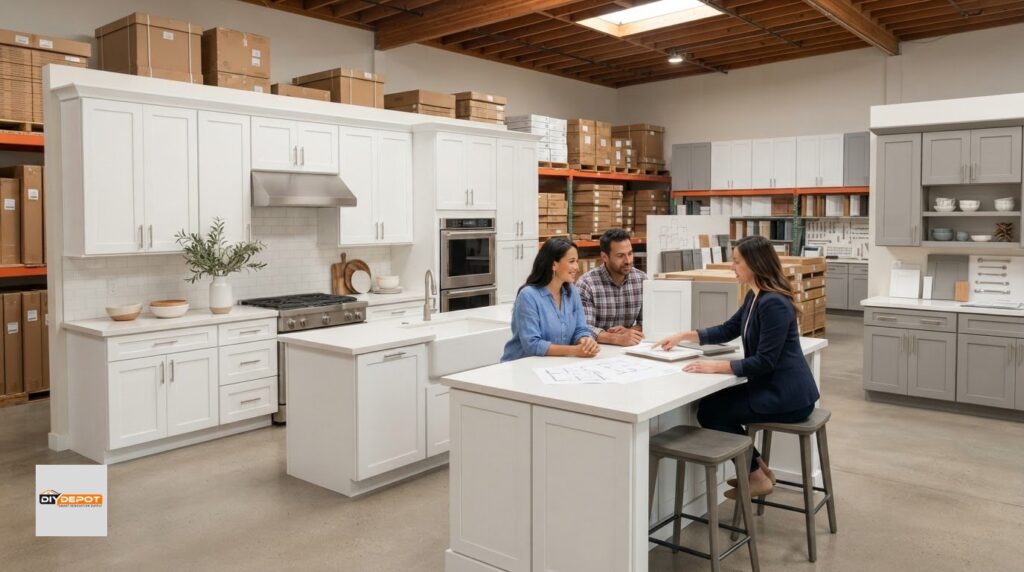
You can buy shaker cabinets from DIY Depot online or visit its warehouse showroom in Bakersfield, California. Its regional service includes most of California and Las Vegas, with customers across areas such as Fresno, Santa Barbara, and Kern County. The company sells base and wall shaker cabinets, which can suit different laundry-room storage plans. Its regional focus does not mean every U.S. address has the same delivery options.
What are the pros and cons of shaker cabinets compared with flat-panel laundry cabinets?
Shaker cabinets add a simple framed detail and give base and wall units a consistent look. Flat-panel cabinets have a smooth face for a more streamlined appearance. The choice comes down to how much detail you want.