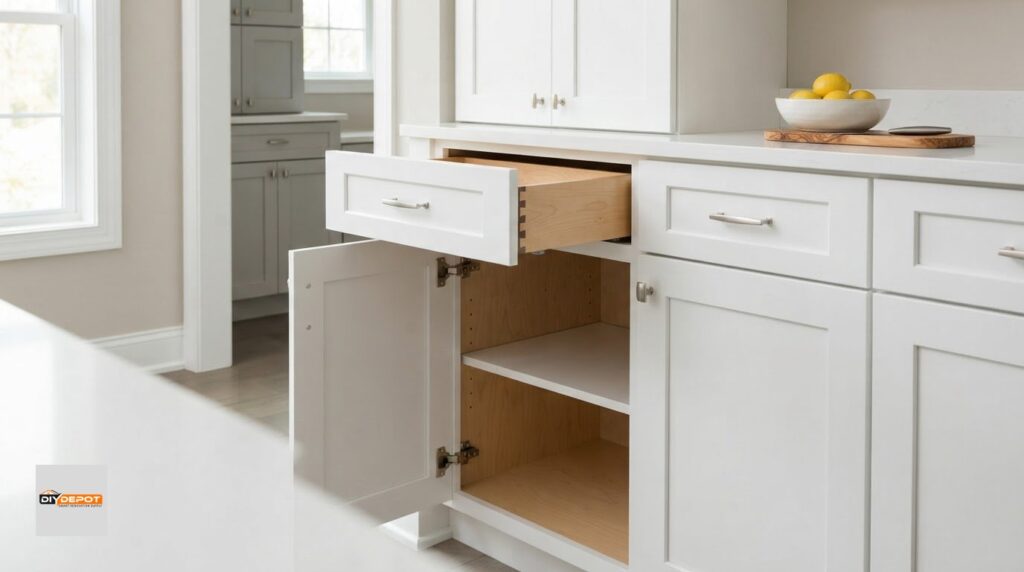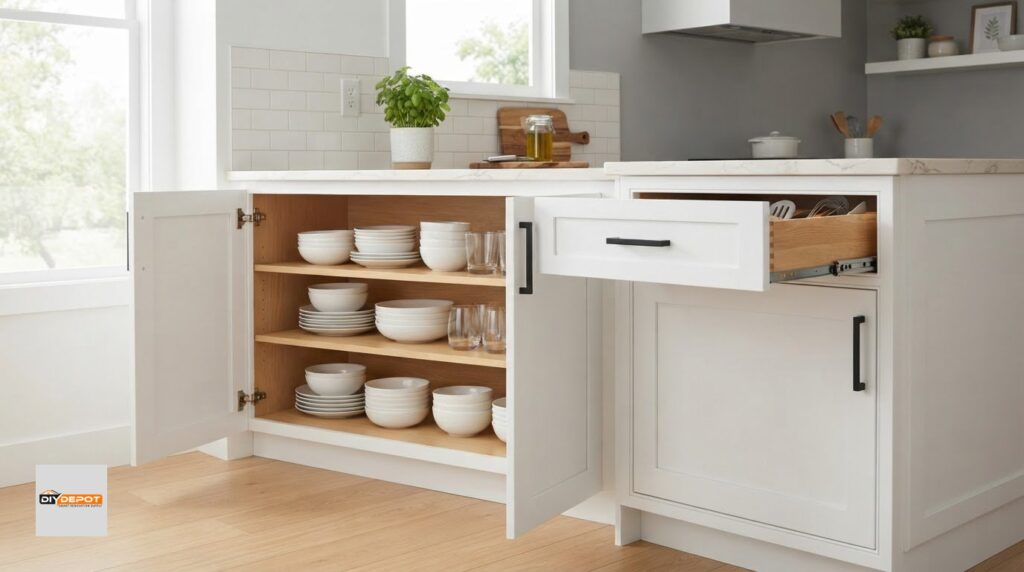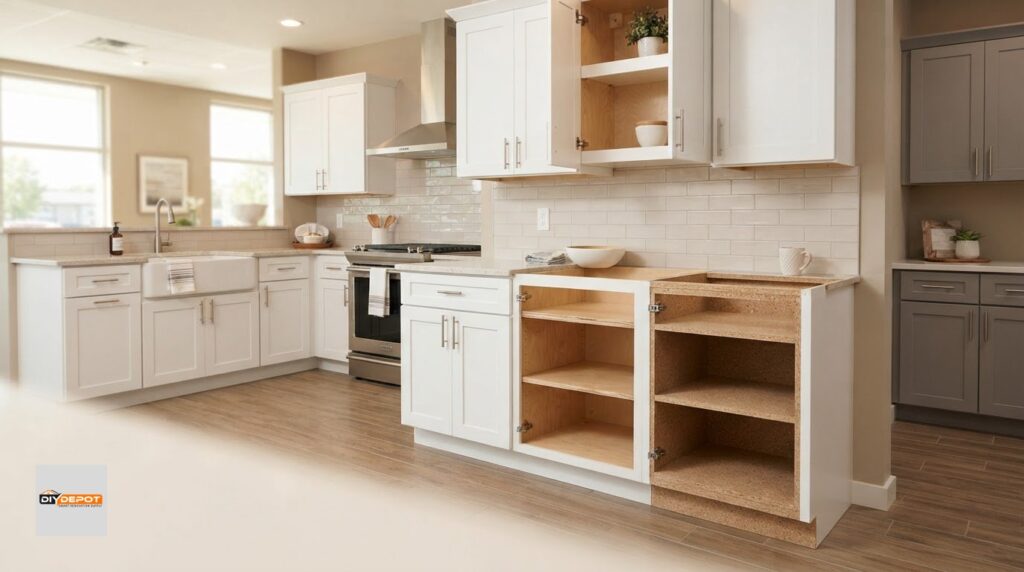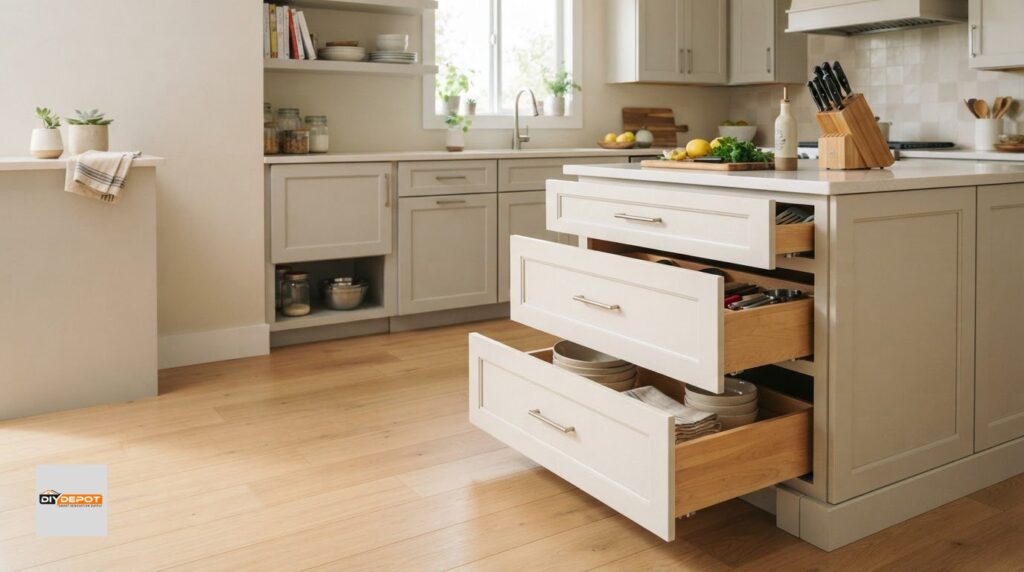

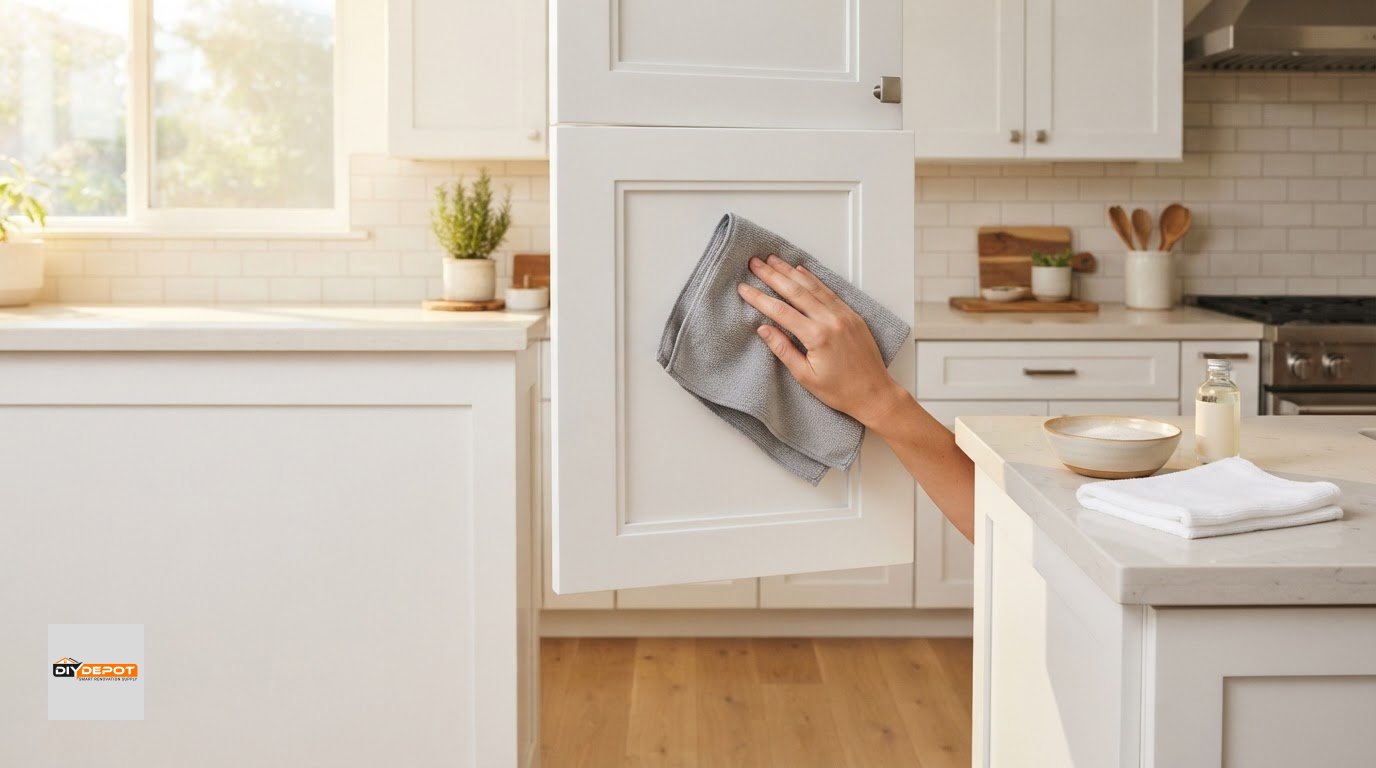
The safest cabinet-cleaning routine is usually the simplest. To learn how to clean and maintain Shaker cabinets, wipe them weekly with a soft cloth and mild dish soap diluted in warm water. Rinse with a clean, damp cloth, then dry. Clean spills promptly, especially around door frames and panel grooves, where grime can collect.
It’s easy to worry that the wrong cleaner or trapped moisture could dull a cabinet finish. A gentle routine removes dirt without harsh chemicals or abrasive tools. Use mild products for everyday cleaning, tackle stubborn spots carefully, and dry each surface to help limit moisture damage.
Follow a practical sequence: dust the Shaker door grooves, clean the handles, then check for signs of wear. This manageable routine helps protect the finish and keep cabinets looking cared for.
Key Takeaways
- Loosen dust from Shaker door grooves with compressed air before cleaning the cabinet surface.
- Skip bleach, abrasive scouring pads, and forceful Magic Eraser use to help protect the finish.
- Apply cleaner to a cloth rather than directly to the cabinets, and work from the top downward.
- Deep-clean cabinet interiors every six months, and look for wear or damage during an annual inspection.
- For stubborn grease, use a mild baking-soda paste and scrub gently instead of reaching for a harsh cleaner.
Hard to keep Shaker cabinets clean?
Grease, fingerprints, and dust can collect in a Shaker door’s recessed frame. For minor scratches or chips, apply touch-up paint that matches the original finish with a fine brush. Peeling paint may require more than a surface touch-up.
-
Remove Dust from Cabinet Surfaces
Lift dust from the cabinet face with a soft microfiber cloth, then use compressed air gently to clear narrow grooves around the center panel. Direct the air so dust comes out of the corners rather than spreading across the kitchen. Check the frame edges for loose particles, and avoid pushing dust into joints with repeated, forceful wiping.
-
Clean Grease and Tougher Stains
Wipe fingerprints and light grease with a soft cloth dampened with mild dish soap and warm water. For stubborn grease buildup, apply a baking-soda-and-water paste to the spot, leave it for 15-20 minutes, then scrub gently. A non-abrasive cleaner or degreaser can also address tougher residue. Dab ink marks with rubbing alcohol on a microfiber cloth, rather than rubbing hard.
- When grease has settled along a door frame, clean one area at a time. Apply cleaner to the cloth, not directly to the cabinet, to prevent liquid from pooling in the Shaker grooves. Wipe with light pressure and inspect the finish in good light. If residue remains, repeat gently instead of scrubbing with a rough pad.
- Choose the gentlest method that works for the mark. A baking-soda paste can help lift grime, while a non-abrasive degreaser can suit broader greasy areas. Avoid using a Magic Eraser forcefully, as it can remove paint. Test a cleaner on a hidden area first and stop if the color or sheen changes.
- Wipe away cleaner or paste with a clean, damp cloth, then dry the area. Check panel grooves, corners, and handles for remaining fingerprints or grease. Use a fine brush to apply matching touch-up paint to minor scratches or chips. If paint is peeling, prepare the damaged surface appropriately before repainting rather than dabbing over loose edges.
Avoiding abrasive tools and harsh chemicals
Care for painted Shaker cabinets with a soft cloth, mild cleaner, and gentle pressure. Wipe spills promptly, handle doors carefully, and avoid harsh chemicals and abrasive pads to help prevent chips and finish damage.
- Use a mild cleaner on painted surfaces. Mix a few drops of dish soap with warm water, dampen a soft cloth, and wring it out well. Wipe doors and frames gently rather than scrubbing. Keep bleach and harsh chemicals away from white Shaker cabinets because they can damage the finish.
- Keep scouring pads, steel wool, and rough brushes out of your cleaning supplies. These abrasive tools can scratch paint or wear through the surface, especially near frequently touched handles and door edges. For stuck-on residue, hold a damp cloth against the spot briefly, then wipe with light pressure instead of scraping.
- Control moisture as you clean. Don’t soak a sponge or let water sit in the joints between the center panel and frame. Excess moisture can affect painted surfaces and collect in creases. Use a well-wrung cloth, then dry each area with a separate soft cloth, including around handles and hardware.
- Protect painted cabinets when cleaning the hardware. Apply a gentle solution to a cloth instead of spraying it directly on knobs or pulls. Citrus-based cleaners can harm brushed metal and matte black hardware, so avoid them on these finishes. Wipe carefully and keep cleaning liquid from running onto the cabinet door.
- Use light, even strokes across each cabinet door rather than repeatedly rubbing one small area. Edges around the raised frame and recessed center panel can chip if caught by a rough tool. Open and close doors gently, too, since banging them against the frame can wear painted edges.
- Check the finish as you clean. If paint transfers to the cloth or you see a fresh chip, stop rubbing that spot and let it dry. A fine brush can apply matching touch-up paint to minor chips. Peeling paint needs careful surface preparation before repainting, not a harsh cleaner or abrasive pad.
- Keep a small cleaning kit nearby: a soft cloth, mild dish soap, and a clean drying cloth. After cooking, wipe fingerprints from handles and grease near the range before residue builds up. This simple routine limits moisture and reduces the temptation to reach for harsh chemicals or scrubbers.
Drying cabinets to prevent moisture damage
Water can collect around Shaker cabinet panel joints, drawer edges, and interiors. After cleaning or spills, follow these steps to limit lingering moisture and help protect the finish.
- As soon as you finish rinsing, dry each washed surface with a separate clean cloth. Use a soft, absorbent towel on the door face, then press it into frame joints and corners. Don’t leave a damp sponge on a cabinet or let water air-dry in the grooves. Recessed areas can hold droplets even after the flat surface looks dry.
- Check cabinet door edges and undersides before moving on. Water can run down from the center panel’s frame and collect along the lower edge, especially after wiping with warm water. Dry the seam and the area around the handles. Open the door and wipe any dampness from its inside edge, too.
- Wipe spills as soon as you notice them. A splash beside the sink or liquid from a glass inside a drawer can seep into joints if left sitting. Blot it with a clean cloth rather than spreading it over a wider area. Dry the surrounding surface and check the drawer bottom for dampness.
- Use kitchen ventilation while cooking and after tasks that produce steam. Moist air can settle on nearby cabinet fronts, particularly around a range or dishwasher. Run the exhaust fan and air out the room, then check adjacent doors for condensation. Wipe away visible moisture instead of letting droplets linger.
- Protect white cabinets near heat sources from residue and discoloration. Yellowing near an oven or dishwasher may be treated carefully with diluted hydrogen peroxide, but test it first in an inconspicuous spot. Dry the area fully after testing. Don’t mix chemicals or apply peroxide broadly without checking how the finish responds.
- Check the cabinet interior for moisture after cleaning, not just the front. Remove damp liners if a spill has reached them, then dry the cabinet floor, corners, and shelf edges. Return stored items only when those surfaces feel dry. This helps prevent moisture from becoming trapped beneath containers or inside a closed drawer.
- After cleaning, check the room and cabinets for signs of recurring moisture. Repeated condensation near a dishwasher, water marks below a sink, or dampness along a drawer edge can point to a continuing source. Wipe the cabinet, improve ventilation, and address the spill or steam source before the next cleaning.

Why is it Important to Maintain and Clean Kitchen Cabinets?
Regular care removes dust, grease, and everyday residue before they build up. A simple routine of wiping, rinsing, and drying also helps preserve the finish and the kitchen’s appearance.
-
Dust and Wipe Cabinets Regularly
Dust cabinet faces with a soft, dry cloth, then wipe visible marks with a well-wrung cloth or sponge. Give handles and knobs extra attention because frequent use leaves fingerprints. Wipe these high-touch areas daily or weekly, depending on kitchen use. Remove grease near the cooking area before it spreads to nearby doors.
-
Rinse and Dry Cabinet Surfaces
After washing a surface with soapy water, wipe it with a clean cloth dampened with warm water to remove soap residue that could leave a film. Dry the area thoroughly with a clean cloth or towel, including door edges and panel joints. Don’t leave droplets in corners or grooves.
- For routine wiping, use a well-wrung sponge rather than one dripping with water. Work from one door to the next, rinsing the sponge when it picks up visible grease or grime. If a spot remains, clean it gently instead of scrubbing the whole cabinet front. This focused approach helps keep residue from spreading.
- Make a quick cabinet check part of your regular kitchen reset. Look for grease on doors beside the stove, fingerprints on handles, and splashes on fronts beside the sink. Wiping these specific areas helps prevent cooking residue and water marks from lingering. Use a dry cloth to lift loose dust before damp cleaning.
- Deep-clean cabinet interiors every six months. Remove stored items, wipe shelves and drawer bottoms, then remove soap residue with a clean, damp cloth. Dry the interior before returning dishes, food containers, or cookware. This routine also helps you spot crumbs, spills, or marks hidden behind stored items.
- Use a separate clean cloth for rinsing and drying so you don’t spread soapy residue from the washing step. Replace the rinse water if it looks cloudy or greasy. Check the cabinet under the sink and the drawer beside the range, where spills can go unnoticed. Dry shelf edges and corners thoroughly before returning items.
- Finish each cleaning session by checking the doors in good light. A faint streak may be soap residue, while a dull, sticky patch may need another gentle wipe. Rinse the spot with clean warm water and dry it. Regularly removing visible grease and marks helps keep cabinets clean without harsh scrubbing.
Routine cleaning of Shaker cabinets
A consistent schedule keeps kitchen cabinets from becoming a bigger cleaning job. Match the frequency of wipe-downs to your cooking activity and the marks you see.
- Wipe cabinet fronts throughout the kitchen weekly with a microfiber cloth and mild dish-soap solution, working from upper doors down to lower drawers. Cabinets beside the range may need attention more often because cooking leaves grease on nearby surfaces. Add those doors to your cleanup after cooking instead of waiting for buildup.
- Give white Shaker cabinets a quick daily dusting with a dry microfiber cloth. This removes loose particles before they settle into recessed panels and frame joints. After meals, check doors near the table and handles for fresh fingerprints. A light pass over those marks keeps the routine short and avoids unnecessary wet cleaning.
- Between weekly cleanings, use a gentle, damp-cloth wipe for visible spots. For example, clean a fingerprint near a handle or a splash beside the sink as soon as you notice it. Don’t saturate the cloth. Focused spot cleaning helps prevent residue from spreading while limiting moisture on the finish.
- Start at the top of the cabinet run and work downward. Dust or droplets from an upper door can fall onto lower fronts, and this order avoids cleaning the same surface twice. Wipe one door at a time, including its frame edges, then check the corresponding drawer front for fingerprints.
- Before wiping, use a soft brush to loosen dust in the narrow corners of a Shaker door. A paintbrush can reach the joint between the frame and panel without pushing debris deeper into the groove. Follow with a microfiber cloth across the door face. This helps prevent loose grit from dragging across the finish.
- Check your cloth as you move between doors. If it looks gray or feels greasy, rinse it before continuing, since a dirty cloth can spread residue onto clean surfaces. Keep a second dry cloth nearby for the final pass. For routine work, avoid harsh chemicals and abrasive pads that can wear the cabinet finish.
- Adjust your schedule based on where marks return. If grease quickly reappears beside the stove, wipe those doors more often; if a less-used cabinet stays clean, keep it on the weekly schedule. Give high-touch spots gentle daily attention and clean the full kitchen weekly.
DIY Depot: Base Shaker Cabinets
If your kitchen plans include replacing or adding Shaker cabinets, DIY Depot offers Base Shaker Cabinets for lower kitchen cabinetry, along with Vanity Shaker Cabinets for bathrooms and Wall Shaker Cabinets. Professional Kitchen Design can help you plan a kitchen layout around your needs.
Turn to DIY Depot when choosing cabinets for a renovation and you want product options alongside design support. The cleaning steps in this guide can help you care for your cabinets once they’re in place. For a new project, start by choosing cabinetry that suits your space and storage needs.
Explore the options or contact DIY Depot to discuss your cabinet plans.
Plan Your Next Cabinet Project
A steady care routine can help keep Shaker cabinets in good shape, while a renovation is an opportunity to plan cabinetry around how you use each room. Consider which areas need storage, what layout feels practical, and how the cabinet style will suit your daily routine. Knowing how to clean and maintain Shaker cabinets gives you a useful foundation for caring for the finished space.
DIY Depot offers Base Shaker Cabinets, Vanity Shaker Cabinets, and Wall Shaker Cabinets for different areas of your home. If you’re planning an update, explore the options and choose what fits your project. Thoughtful planning can make your space easier to use and care for over time.
Contact DIY Depot for cabinet help and take the next step toward a kitchen that works for you.
Frequently Asked Questions
Are there specific cleaning products recommended for shaker cupboard?
For routine cleaning, mix a few drops of mild dish soap with warm water. A pH-neutral cleaner made for painted surfaces is another suitable option for painted wood. Dampen a soft cloth with the solution rather than soaking the cabinet door. Keep a separate clean cloth ready to remove residue, then dry the surface.
What is the best way to clean shaker cabinet doors?
Clean each door in manageable sections, starting with the frame and then the center panel. A soft, well-wrung cloth reaches flat surfaces without leaving excess water in the joints. Pay attention to the lower rail, where drips can gather, and to the edges around handles. Check for streaks in good light before moving to the next door.
Which cleaners are safe for painted shaker cabinets?
Mild dish soap mixed with warm water and a pH-neutral cleaner designed for painted wood are suitable options. When trying a cleaner for the first time, test it on a hidden area, such as an inside edge, and look for changes in color or sheen. Don’t combine cleaning products. Use a separate cloth to rinse away any remaining cleaner.
How do you clean shaker cabinets without damaging the finish?
Use a soft cloth, light pressure, and a cleaner suited to the cabinet surface. Before wiping, check the cloth for grit that could scratch the paint. Soften dried residue with a damp cloth instead of scraping it. Clean a small area, inspect the finish, and continue only if it looks unchanged. These habits help you clean and maintain Shaker cabinets carefully.
How often should kitchen cabinets be cleaned?
Wipe handles and frequently touched areas daily or weekly, depending on use. A weekly wipe-down suits many kitchens, while doors beside cooking areas may need more frequent attention. Dust and spot-clean cabinet surfaces monthly, and deep-clean interiors every six months. Include shelves and drawer bottoms, especially where stored containers can hide crumbs or spills.
How do you remove grease and stains from shaker cabinets?
For stubborn grease, place a baking-soda-and-water paste on the spot for 15-20 minutes, then scrub gently. Dab ink marks with rubbing alcohol on a microfiber cloth rather than rubbing across the finish. For other difficult residue, choose a non-abrasive cleaner or degreaser. Work only on the affected area, then wipe away product residue and dry the surface.
How should you clean cabinet grooves and recessed panels?
Loosen dust in the grooves with a soft paintbrush, using short strokes to guide particles out of the corners. A hand vacuum with a dusting or crevice tool can collect loosened debris. Avoid repeatedly scrubbing one joint, since friction can wear the finish. Once the dust is removed, gently wipe the surrounding door frame with a clean cloth.
What products should you avoid on shaker cabinets?
Avoid bleach, harsh chemicals, abrasive scouring pads, and forceful use of a Magic Eraser, which can damage or remove paint. Citrus-based cleaners can also harm brushed metal and matte black hardware. Choose a cleaner with the handle’s material in mind, and use a mild product with a soft cloth to reduce the risk of scratches or finish damage.