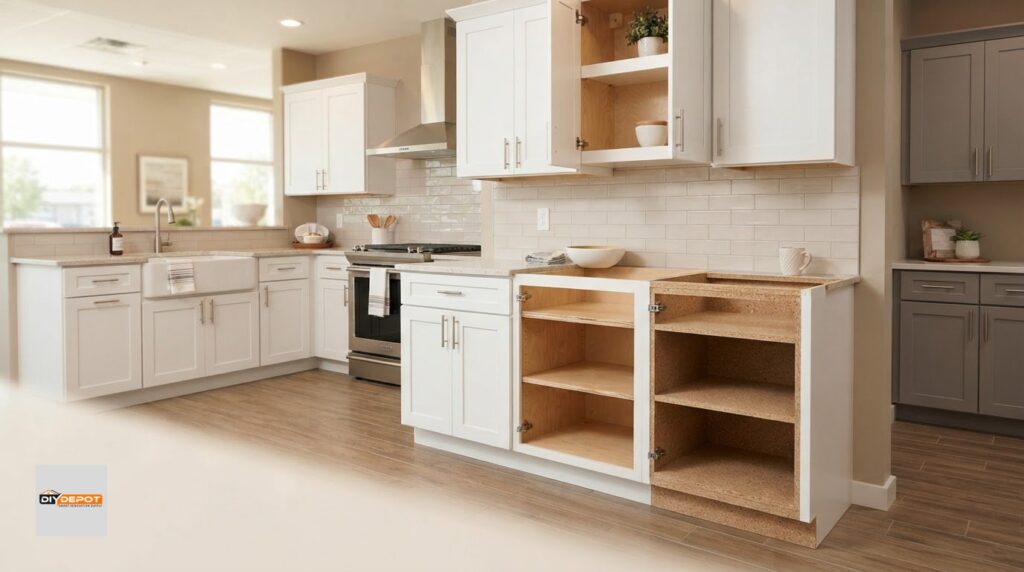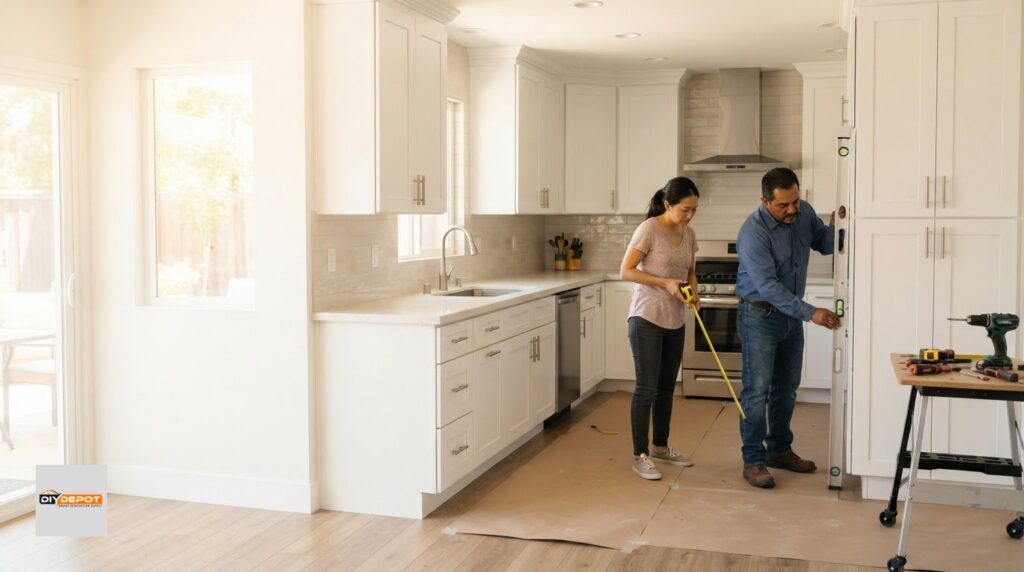

Your kitchen cabinets should be a source of pride, not a daily reminder of crooked lines and unexpected slamming noises. Even high-quality hardware designed to meet the ANSI/BHMA 100,000-cycle durability standard can fall out of alignment over time. If you’ve been staring at a sagging Shaker door or flinching when a “soft-close” hinge fails to catch, you aren’t alone. Many homeowners worry that adjusting soft close cabinet hinges will lead to stripped screws or permanent damage to the cabinet frame.
We believe that professional-grade results should be accessible to everyone without the need for an expensive contractor. You can perfectly calibrate your doors in minutes once you understand the logic behind those silver adjustment screws. This 2026 guide provides a clear, 3-way adjustment framework to fix vertical, lateral, and depth issues. You’ll learn how to identify the correct Pozidriv #2 driver for the job and how to reset your damping tension for a whisper-quiet close. By the end of this article, you’ll have the knowledge to maintain your cabinetry for a lifetime of silent, seamless operation.
Key Takeaways
- Learn how to prevent frame fatigue and keep your Shaker doors perfectly aligned using a professional 3-way adjustment framework.
- Identify the specific functions of each screw to simplify the process of adjusting soft close cabinet hinges without damaging the wood or hardware.
- Follow a methodical 3-step calibration sequence to ensure doors sit flush, level, and maintain the ideal industry-standard reveal.
- Discover how to troubleshoot common performance issues like “ghost openings” or doors that fail to decelerate properly.
- Maintain your kitchen’s professional-grade longevity by performing bi-annual check-ups and using the correct dry silicone lubricants.
Understanding the Soft-Close Mechanism and Why Alignment Matters
A soft-close hinge is essentially a high-tech shock absorber for your kitchen. These mechanisms use a hydraulic or spring-based dampener integrated directly into European concealed hinges. While they feel like a luxury, they serve a vital structural purpose. Modern kitchen standards prioritize these adjustable components because they protect the long-term value of your cabinetry. High-quality Shaker cabinets, like the ones we offer at DIY Depot USA, are built for durability, but they require proper calibration to stay in peak condition over the years.
When doors are misaligned, they often cause what professionals call “frame fatigue.” This happens when the door’s weight is distributed unevenly across the hinges, putting constant tension on the mounting screws and the cabinet box itself. Over time, this can warp the wood or strip the mounting holes. You can perform a simple “Slam Test” to see where you stand. Gently push your door shut. If it glides toward the frame but stops or slows down just before impact, your hardware is working. If it hits the frame with a thud or hangs at an angle, you likely need to spend a few minutes adjusting soft close cabinet hinges to restore that silent, factory-fresh operation.
The Anatomy of a European Hinge
To adjust your cabinets effectively, you need to understand the three main parts of the hardware. The mounting plate is the flat piece screwed into the cabinet’s interior frame. The hinge arm is the metal bridge that connects the frame to the door. Finally, the “cup” is the circular housing that sits inside a 35mm hole bored into the Shaker door. Inside that arm or cup sits a small internal piston. This piston is the heart of the soft-close action, catching the door’s momentum and easing it into a closed position without a sound.
Why Do Hinges Fall Out of Alignment?
It’s perfectly normal for your cabinets to need a periodic tune-up. Houses naturally settle over time, which can shift the cabinet boxes just enough to throw off a door’s reveal. Seasonal humidity changes also cause wood to expand and contract, subtly moving the hardware. If you have heavy racks filled with spices or jars on the back of your doors, that extra weight can pull a hinge down. Additionally, new RTA cabinets often go through a “break-in” period. After the initial assembly, the screws and wood fibers settle into place, making adjusting soft close cabinet hinges a standard part of your home maintenance routine.
Identifying the Three Main Adjustment Screws
Before you start turning screws, you need to identify which one controls which direction. Most modern soft-close hardware relies on a 3-way adjustment system. This design allows you to move the door along three axes: lateral (side-to-side), vertical (up-and-down), and depth (in-and-out). Understanding this geometry is the difference between a five-minute fix and an hour of frustration. When adjusting soft close cabinet hinges, small turns of just a quarter-inch can make a massive visual difference in your kitchen’s alignment. Precision is more important than force in this process.
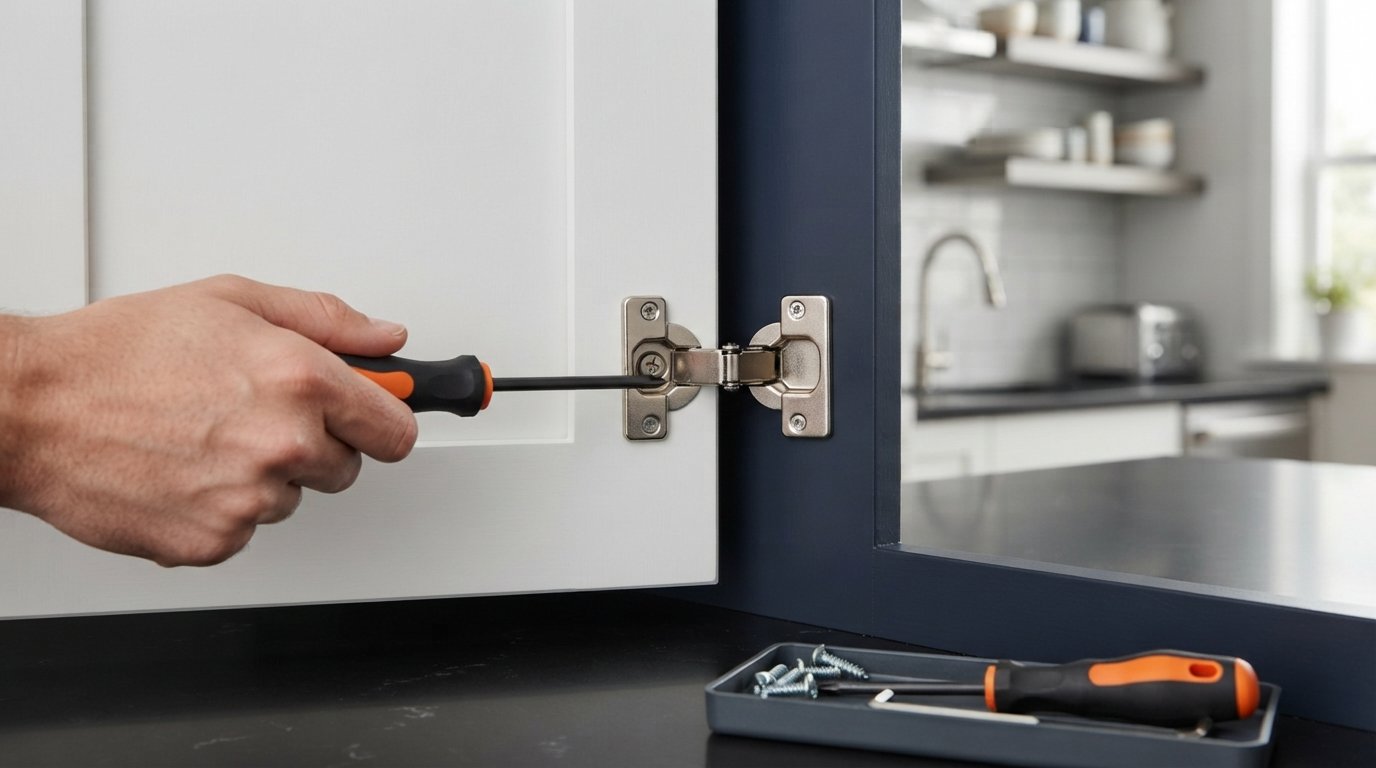
Having the right tools is just as important as knowing where to turn. While many DIYers reach for a standard Phillips #2 screwdriver, most European hinges actually use a Pozidriv #2 (PZ2) recess. Using a Phillips driver can cause “cam-out,” which strips the zinc or nickel adjustment cams. Always use a manual screwdriver for this task. Power drills and impact drivers provide too much torque and can easily ruin the fine threading on your hinges, leading to permanent damage that might require a full hardware replacement.
Lateral (Side-to-Side) Adjustment
The lateral screw is usually the one closest to the door edge on the hinge arm. Turning this screw clockwise moves the door toward the hinge side of the cabinet. Turning it counter-clockwise moves it away. This is your primary tool for correcting “door rub,” where two adjacent Shaker doors meet in the center and catch on each other. Most hinges allow for about 2mm of movement in either direction, which is plenty of room to set a perfect 1/8-inch reveal between your doors. Mastering this screw is the secret to adjusting soft close cabinet hinges for that high-end, custom look.
Vertical (Up-and-Down) Adjustment
Vertical adjustment is handled at the mounting plate attached to the cabinet wall. Unlike the other two screws, these often require you to loosen the screws on both the top and bottom hinges simultaneously. Once they’re loose, you can slide the door up or down to align it perfectly with the kitchen base cabinets line. This ensures your horizontal lines are consistent across the entire run of cabinetry. Tighten the screws back down firmly once the top edge of the door matches its neighbor.
The depth screw is located at the back of the hinge arm and often features a spiral cam. It controls the gap between the back of the door and the cabinet face frame. If your door rattles or stands “proud,” a quick turn here will pull it flush against the box. For those looking to upgrade their kitchen, you can browse our professional-grade Shaker cabinets which are designed for this exact type of easy, long-term maintenance. Learning the basics of adjusting European-style hinges ensures your kitchen stays looking brand new for years to come.
Troubleshooting Common Soft-Close Performance Issues
Even the best hardware can act up if it isn’t dialed in correctly. Many homeowners assume a door that slams or bounces open has a broken part, but the fix is often a simple tension adjustment. High-quality hinges are built to last, often meeting ANSI/KCMA A161.1 quality certification standards which require rigorous mechanical endurance tests for 25,000 cycles. If your doors aren’t performing as expected, adjusting soft close cabinet hinges for tension and clearance will usually solve the problem without needing a contractor.
Tension Control Settings
Modern hinges often feature a built-in deactivation switch or a multi-stage damping lever. If a light door bounces back instead of closing, try deactivating the soft-close feature on just one of the two hinges. This reduces the resistance and allows for a smooth, consistent close. For heavy Shaker doors, you’ll likely want both hinges set to maximum tension. Aim for a “close rate” of approximately three seconds from the moment the dampener catches the door until it sits flush against the frame. Testing this across all your cabinets creates a uniform, high-end feel throughout the kitchen.
Mechanical Obstructions
Sometimes the issue isn’t the hydraulic piston at all. A “ghost opening,” where the door creeps back open after you close it, is frequently caused by a depth screw that’s too tight, forcing the hinge arm to bind. Check that your mounting screws are tight and that the hinge cup sits perfectly flush inside the bore hole. Even a slight protrusion can prevent the arm from seating properly. Don’t forget to look inside the cabinet; sometimes a stray shelf pin or a slightly protruding drawer slide can block the door’s path, making the soft-close feature feel sticky or unresponsive.
If the mechanism feels sluggish or makes a grinding sound, inspect the hinge for dust or grease buildup. Kitchens are high-traffic areas where flour, steam, and cooking oils can create a sticky residue. Wipe the hinge arm with a clean, dry cloth to remove any debris. You should avoid using standard WD-40, as it acts as a solvent and can strip away the factory damping grease. If lubrication is necessary, a tiny amount of dry silicone spray is the professional choice. If you see oily residue leaking from the hinge cup, the hydraulic seal has likely failed. In that case, replacement is the only reliable fix to maintain the integrity of your cabinetry.

The 3-Step Process for Perfect Shaker Door Calibration
While identifying the correct screws is a great start, the order of operations is what truly separates a professional finish from a frustrating afternoon. If you adjust the height before the depth, for example, you might find that the door looks level but won’t actually close flush against the frame. We recommend a methodical approach to adjusting soft close cabinet hinges that builds a stable foundation for the door’s movement. Always work from the top hinge down; this allows the upper hardware to maintain leverage and weight distribution while you fine-tune the bottom half.
- Step 1: Set the Depth. Use the rear spiral screw to pull the door toward the cabinet box. You want it close enough to prevent rattles but with enough clearance to avoid rubbing the frame.
- Step 2: Align the Height. Loosen the mounting plate screws and slide the door up or down. Your goal is to match the top and bottom horizontal lines across your entire run of cabinetry.
- Step 3: Center the Lateral Position. Turn the front screw to shift the door left or right. This final step centers the door and creates an even vertical gap.
Achieving the Perfect “Reveal”
The “reveal” is the small gap between doors or between a door and the cabinet edge. In modern kitchen design, a consistent 1/8-inch (3 mm) gap is the gold standard for a high-end look. You can use a plastic shim or even a thick piece of cardboard as a temporary spacer to ensure this distance remains uniform. When working with ready to assemble kitchen cabinets, it’s helpful to step back and eyeball the alignment from the side. A door might look straight from the front but sit “proud” (protruding) at the top, which a quick depth adjustment will fix.
The Final Tighten
It’s tempting to crank down on every screw once the door looks straight, but over-tightening is a common mistake. This can lead to “hinge bind,” where the metal components are under so much tension that the soft-close piston can’t move freely. Follow the “Finger Tight” rule for mounting plate screws; they should be secure enough to hold weight but not so tight that they crush the wood fibers. Double-check the soft-close function after every three turns of a screwdriver. If the door suddenly stops closing softly, back off the last screw you touched by a quarter turn. If you’re ready to start your next project with hardware designed for easy maintenance, explore our full range of Shaker cabinets to find the perfect fit for your home.
Maintaining Your Kitchen Cabinets for Professional-Grade Longevity
A beautiful kitchen is an investment that requires consistent care to retain its value. While high-quality wholesale kitchen cabinets are engineered for durability, the moving parts naturally shift with daily use. We recommend a quick six-month check-up to keep your Shaker doors looking sharp. Twice a year, walk through your kitchen and test the “close rate” of every door. Proactive maintenance is much easier than fixing a door that has been sagging for months. This is the ideal time for adjusting soft close cabinet hinges to correct minor misalignments before they lead to frame fatigue or permanent wood damage.
Lubrication is another vital part of the maintenance puzzle. If you hear a squeak or notice the soft-close action feels sluggish, don’t reach for a standard can of WD-40. That formula is a solvent degreaser; it will actually wash away the factory-applied damping grease inside your hinges and attract kitchen dust. Instead, use a dry silicone spray. It provides a slick surface without the sticky residue, ensuring your pistons glide smoothly for years. Simply spray a tiny amount onto the pivot points and wipe away any excess with a clean cloth.
When DIY Adjustment Isn’t Enough
Sometimes, a simple turn of a screwdriver won’t solve the problem. If you see oily residue leaking from the hinge cup, the hydraulic seal has failed, and the unit must be replaced. You might also encounter stripped wood fibers in the cabinet box if a screw was over-tightened. A classic pro trick is the “toothpick and glue” method. Dip a few wooden toothpicks in wood glue, jam them into the stripped hole, and snap off the ends. Once dry, you’ll have a solid new foundation to redrive your mounting screws. For more complex repairs or full cabinet swaps, our DIY vs Professional Cabinet Installation guide offers deeper insights into when to call for expert help.
Upgrading Your Hardware
If your current hardware feels clunky, it might be time to transition to premium clip-on hinges. These allow you to snap the door off the mounting plate without tools, making deep cleaning or painting much easier. When measuring for replacements, check your “overlay” distance to ensure the new hinges match your frame. You can find the latest hardware options and durable Shaker styles at our DIY Depot USA. Keeping your kitchen in top shape doesn’t have to be a chore. With the right tools and a little bit of knowledge, adjusting soft close cabinet hinges becomes a simple habit that preserves your home’s beauty for the long haul.
Enjoy a Whisper-Quiet Kitchen for Years to Come
Mastering the art of adjusting soft close cabinet hinges turns a frustrating kitchen eyesore into a source of DIY pride. By following a methodical sequence, starting with depth and moving through height and lateral alignment, you ensure your Shaker doors remain perfectly level and silent. It’s a simple skill that preserves the structural integrity of your cabinetry. Remember to perform a quick check every six months to stay ahead of natural home settling and keep your hardware operating at its peak potential.
If you’re ready to upgrade your home with durable, professional-grade materials, we’re here to help. We offer warehouse-direct pricing on all Shaker styles and provide professional kitchen design support to ensure your project is a success. Plus, you can take advantage of our Direct FREE Delivery to get your renovation started sooner. Shop Premium Shaker Cabinets and Hardware today and take the first step toward the organized, high-end kitchen you deserve. You have the tools and the knowledge; now it’s time to build something great.
Frequently Asked Questions
Why did my soft-close cabinet hinge stop working?
A soft-close hinge usually stops working because of a failed hydraulic piston or excessive debris in the mechanism. If you see oily residue leaking from the hinge cup, the seal has likely blown and the unit requires replacement. In many cases, it’s actually just a misalignment issue. Before buying new hardware, try adjusting soft close cabinet hinges to ensure the door isn’t binding, which can prevent the dampener from engaging correctly.
Which screw on the hinge moves the door up and down?
You can adjust the height of your door using the screws located on the mounting plate, which is the part attached to the cabinet box. Most European hinges have two screws on this plate that allow for vertical movement. You’ll need to loosen both screws on every hinge attached to that door. Once loosened, slide the door up or down to the desired position and tighten the screws back down firmly to lock it in place.
Can I add a soft-close feature to my old cabinet hinges?
You don’t always have to replace your entire hardware set to get a quiet kitchen. If you have standard European hinges, you can often snap on a separate soft-close dampener to the existing hinge arm. Another option is to install a small plunger-style dampener into the corner of the cabinet frame. However, for the most reliable results, we recommend upgrading to modern hinges with fully integrated hydraulic systems built directly into the metal cup.
How do I fix a cabinet door that is rubbing against the frame?
Rubbing usually occurs when the lateral alignment is off. Locate the screw closest to the door edge on the hinge arm. Turning this screw clockwise will pull the door closer to the hinge side of the cabinet, creating more clearance on the opposite edge. Small, incremental turns are best. Check the door’s movement after every quarter turn to ensure you’ve created enough space to prevent friction against the face frame or adjacent doors.
Do I need to adjust both hinges at the same time?
For vertical adjustments, you must loosen the mounting plates on both hinges to allow the door to slide. If you only loosen one, the door will remain locked in place. For lateral or depth changes, you can often get away with adjusting soft close cabinet hinges individually to tilt the door’s angle. If the entire door needs to move closer to the frame, apply the same number of turns to both the top and bottom hinges for consistency.
How many soft-close hinges do I need per door?
Most standard-sized Shaker doors only require one soft-close hinge to function properly, while the second hinge can be a standard self-closing model. However, for larger pantry doors or heavy wall cabinets, using two soft-close hinges provides a smoother, more controlled deceleration. Many modern hinges also feature a deactivation switch. This allows you to turn off the soft-close feature on one hinge if the door closes too slowly with both pistons engaged.
What is the difference between full overlay and inset hinges?
Full overlay hinges are designed for doors that sit on top of the cabinet frame, covering the entire opening and most of the face frame. This is the most common style for modern kitchens. Inset hinges are for doors that sit flush within the cabinet opening, leaving the frame visible. The adjustment process is similar for both, but inset hinges require much tighter tolerances to ensure the door doesn’t hit the frame during its swing.
Why won’t my cabinet door stay closed all the way?
A door that won’t stay closed is often suffering from “hinge bind.” This happens when the depth screw is adjusted too tightly, pulling the door so close to the frame that the hinge arm can’t fully seat. Loosen the rear screw on the hinge arm by a half turn to give the door more breathing room. Also, check for loose mounting screws. If the hinge is wobbling, the self-closing spring won’t have enough leverage to pull the door shut.