
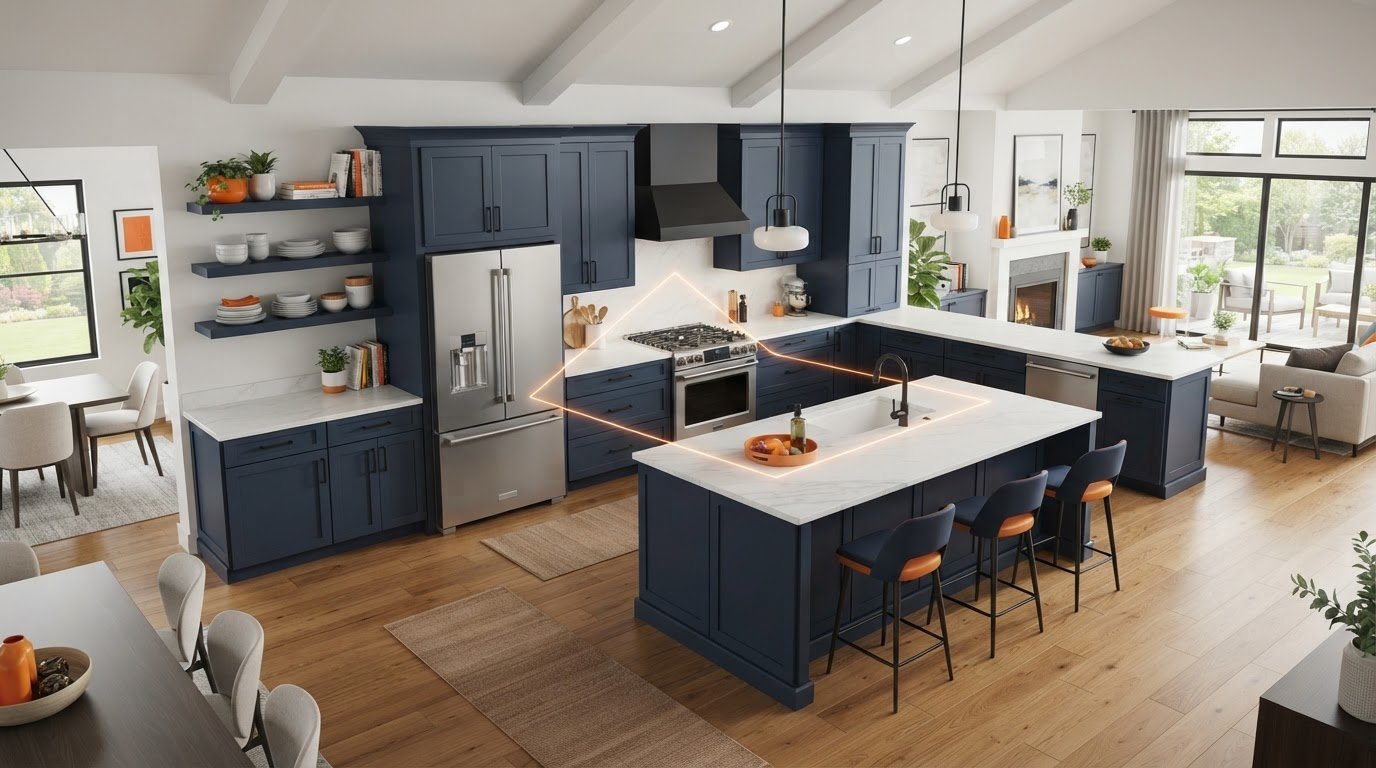
The modern kitchen work triangle isn’t an outdated relic of the 1940s; treating it as a rigid, immovable formula is why so many kitchen renovations end up feeling frustratingly cramped or awkward. If you feel caught between traditional guidelines and modern open-concept living, you aren’t alone. Trying to apply foundational kitchen work triangle rules around massive center islands, conflicting walkway clearances, and multi-cook households often leaves homeowners wondering if their floor plan will actually work when dinner prep begins.
You don’t have to second-guess your layout or worry about creating frustrating bottlenecks between your sink, stove, and refrigerator. This guide breaks down the official National Kitchen & Bath Association dimensions, perimeter standards, and counter landing zones needed to build an effortless, ergonomic workflow. You’ll discover how to map continuous geometric flow across L-shape, U-shape, and galley spaces while seamlessly adapting to modern multi-cook zones.
Key Takeaways
- Master the core kitchen work triangle rules, including the critical 4-to-9-foot leg measurements and the 26-foot maximum perimeter limit.
- Avoid common workflow bottlenecks by properly integrating kitchen islands and preserving open traffic paths between primary workstations.
- Map official landing zone requirements to base shaker cabinets to ensure safe, functional counter space beside ranges, sinks, and refrigerators.
- Discover how to adapt mid-century geometry to modern open-concept spaces using multi-cook activity zones and dedicated prep centers.
- Ensure square corners and true runs across L-shape, U-shape, or galley layouts using precision planning and professional design support.
What Is the Kitchen Work Triangle and Why Does It Matter?
At its core, the concept links your kitchen’s three heaviest operational hubs: the primary food prep sink, the main cooking surface, and the refrigerator. First developed by researchers at the University of Illinois School of Architecture in the 1940s, this layout model aimed to maximize construction efficiency and cut down on wasted movement in post-war residential homes. Today, the foundational kitchen work triangle remains a benchmark in residential architecture because it creates an intuitive, unbroken loop for everyday cooking tasks.
Ergonomic pathing directly influences both comfort and kitchen safety. When you carry a heavy pot of boiling pasta from the cooktop to the sink, you need an unobstructed line of travel. Applying proven kitchen work triangle rules prevents hazardous cross-traffic, protects your lower back from repetitive stretching, and keeps you from taking hundreds of unnecessary steps during a single meal prep routine.
The Three Primary Work Centers Explained
A balanced workspace relies on three distinct stations working together smoothly:
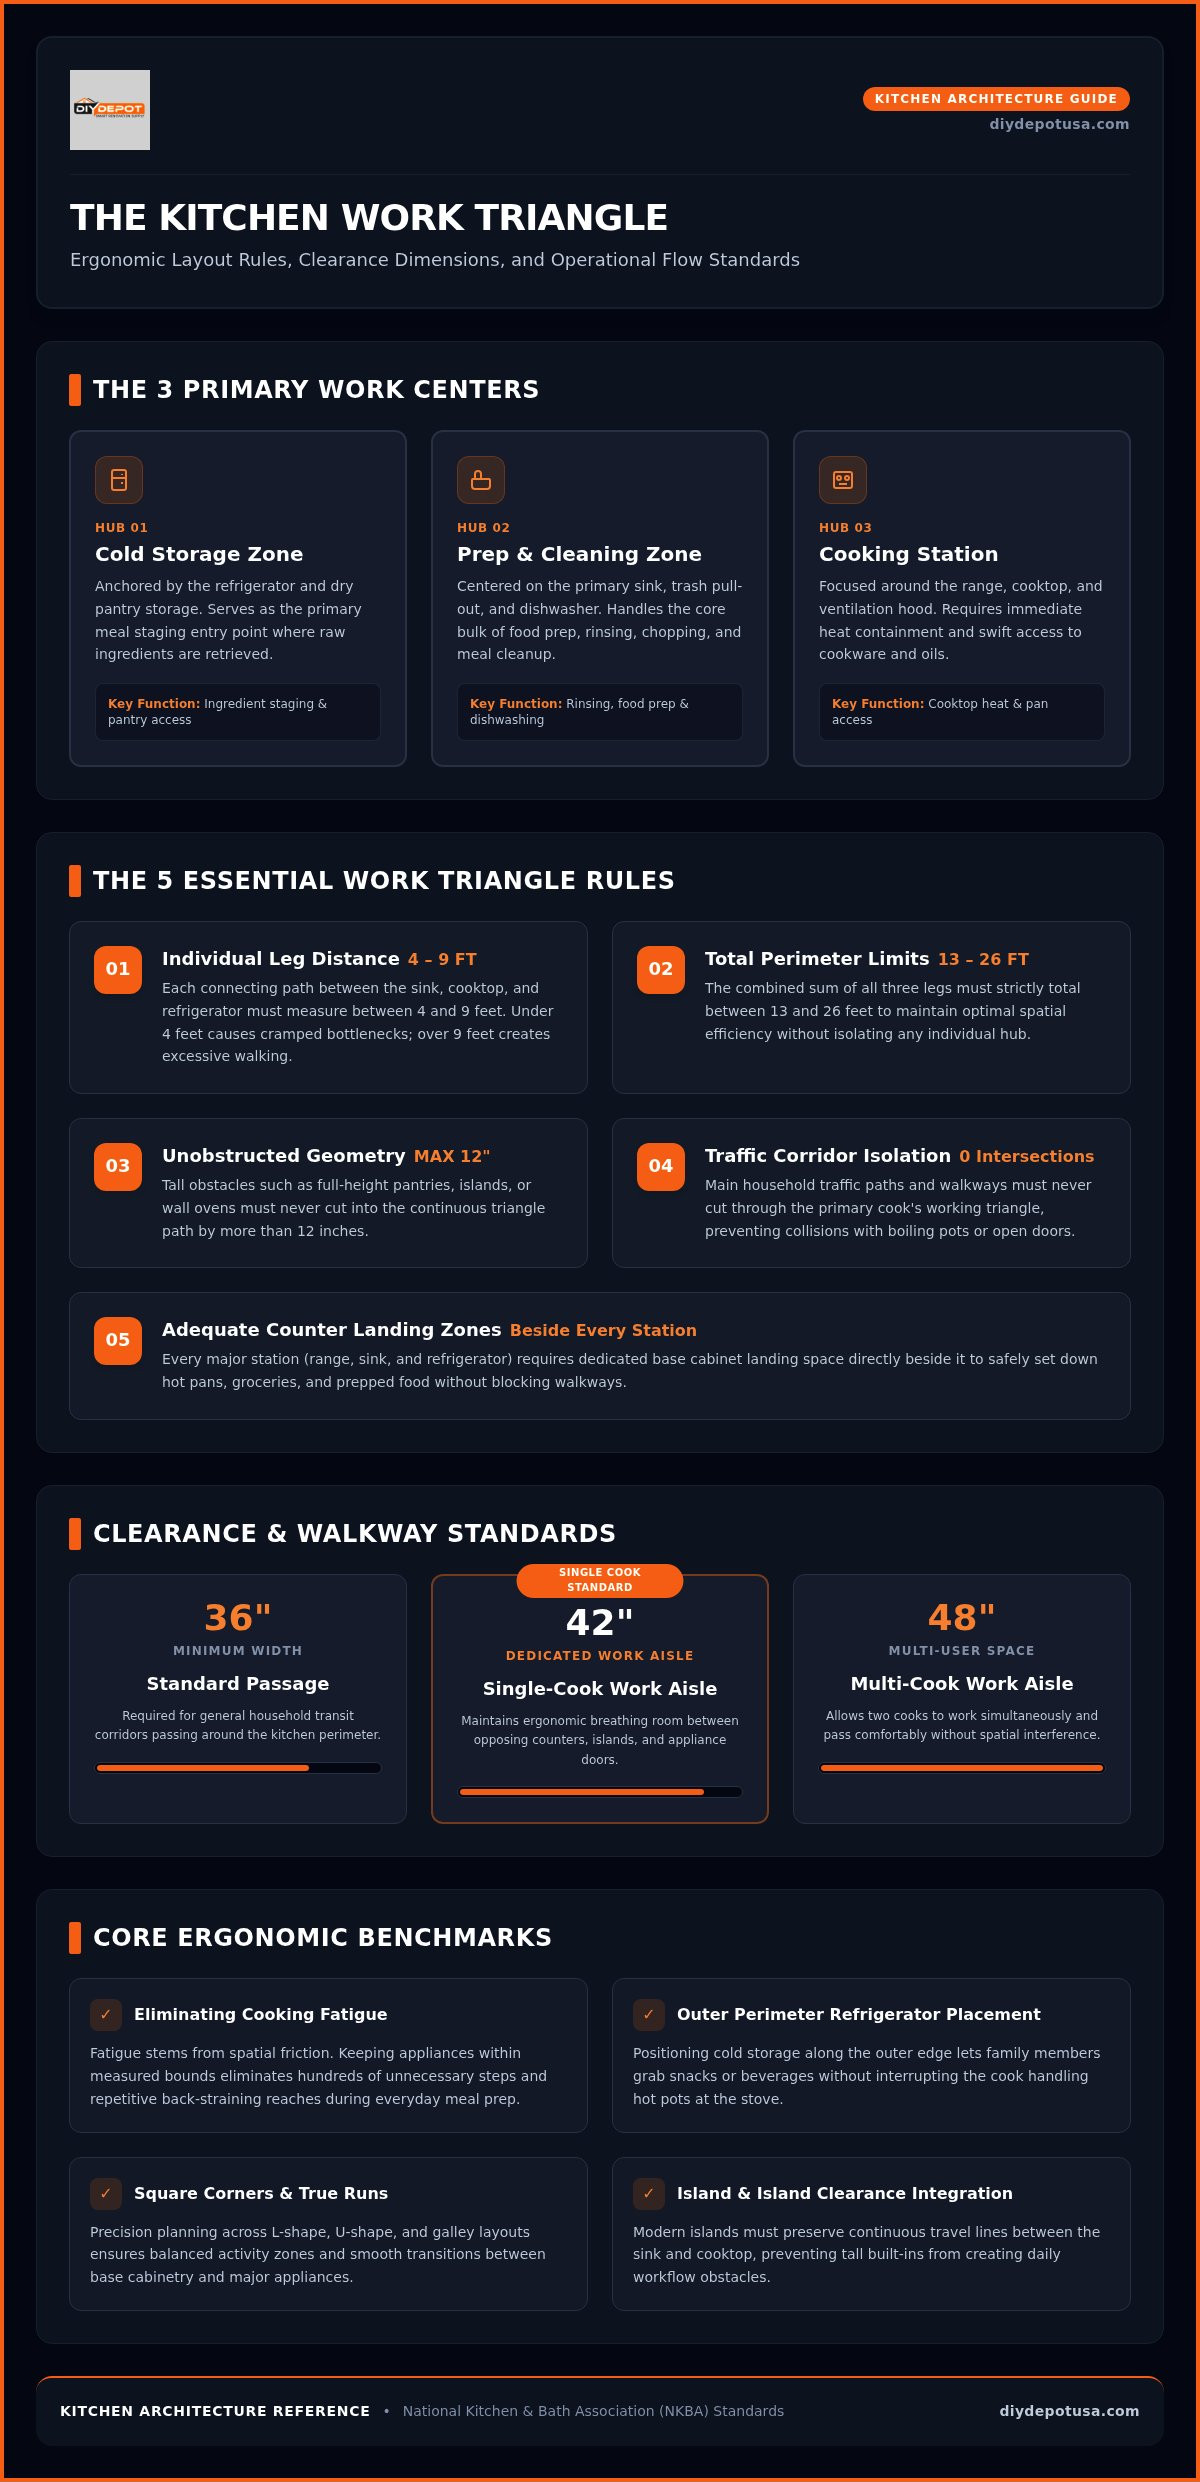
- The Cold Storage Zone: Anchored by the refrigerator and nearby dry pantry storage. It serves as your meal staging entry point where raw ingredients are retrieved and set out.
- The Preparation and Cleaning Zone: Centered on the primary sink, trash pull-out, and dishwasher. This hub handles the bulk of prep time, rinsing, chopping, and cleanup.
- The Cooking Station: Focused around the range, cooktop, and ventilation hood. This area requires immediate heat containment and quick access to pots, pans, and cooking oils.
How Proper Spacing Eliminates Daily Cooking Fatigue
Cooking fatigue rarely comes from the actual meal preparation. Instead, it stems from friction in your workspace. When appliances sit too far apart, you spend extra energy trekking across wide kitchen aisles. When they are crammed too close together, counter space vanishes, forcing you to shuffle prep items back and forth.
Adhering to practical kitchen work triangle rules establishes dedicated operational lanes for every meal. In busy households, this layout keeps family members reaching for snacks or drinks out of the primary cook’s path. The result is a calm, predictable kitchen rhythm where everything sits exactly within reach, turning meal preparation from an exhausting chore into an effortless routine.
The 5 Essential Kitchen Work Triangle Rules and Dimensions
Designing an ergonomic kitchen requires translating spatial theory into accurate measurements. Decades of ergonomic testing have produced five foundational kitchen work triangle rules that govern clearance, flow, and safety across residential spaces:
- Rule 1: Individual Leg Distance: Each leg connecting the sink, cooktop, and refrigerator must measure between 4 and 9 feet.
- Rule 2: Total Perimeter Limits: The combined sum of all three legs must measure between 13 and 26 feet.
- Rule 3: Unobstructed Geometry: Tall obstacles, such as pantry cabinets or full-height wall ovens, must not cut into the triangle path by more than 12 inches.
- Rule 4: Traffic Corridor Isolation: Main household walkways must never intersect the cook’s primary operational zone.
- Rule 5: Adequate Landing Zones: Each major appliance station requires designated counter space directly beside it for safe staging.
Official Distance and Perimeter Formulas
To evaluate your floor plan, draw three imaginary lines linking the center front of your sink, range, and refrigerator. If any leg measures less than 4 feet, the workspace becomes painfully cramped, causing bruised hips and cluttered prep surfaces. Conversely, legs stretching past 9 feet demand excessive walking during routine tasks. Keeping the total perimeter within 13 to 26 feet ensures a balanced layout where every station remains accessible without feeling isolated.
Clearance Walkways and Traffic Flow Protection
Clearance dimensions dictate whether your kitchen feels calm or chaotic. A standard passage corridor requires a minimum width of 36 inches. However, dedicated work aisles demand greater breathing room: maintain at least 42 inches for a single-cook household and 48 inches if multiple cooks share the space. When studying architectural references on Applying Triangle Rules across modern homes, positioning the refrigerator along the outer edge of your layout keeps family members grabbing drinks without disrupting hot pans at the stove.
Appliance Door Swings and Counter Landing Guidelines
Counter landing zones protect you from burns and spills. The sink requires at least 24 inches of continuous counter space on one side and 18 inches on the other. Your cooktop needs 12 to 15 inches of heat-safe clearance on both sides, while the refrigerator demands at least 15 inches on its handle side.
Door swings must also operate freely without colliding with opposing drawers or appliances. Precision-engineered base shaker cabinets provide the standardized dimensions needed to anchor these landing zones reliably. If you want to verify your clearances before ordering materials, you can book an appointment with a kitchen design specialist to validate every measurement on your floor plan.
Applying Triangle Rules Across Different Kitchen Layouts
Every floor plan presents unique geometric challenges. Translating kitchen work triangle rules into a functional space depends heavily on your architectural footprint. Whether you are maximizing a compact galley or managing an expansive open room, your layout must balance natural reach with clear travel paths.
L-Shaped and U-Shaped Kitchen Configurations
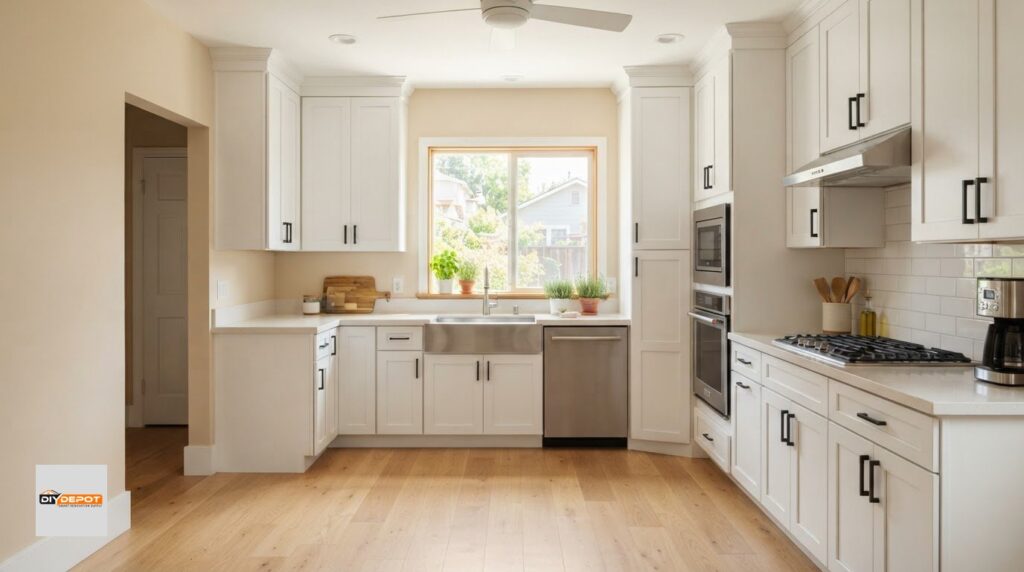
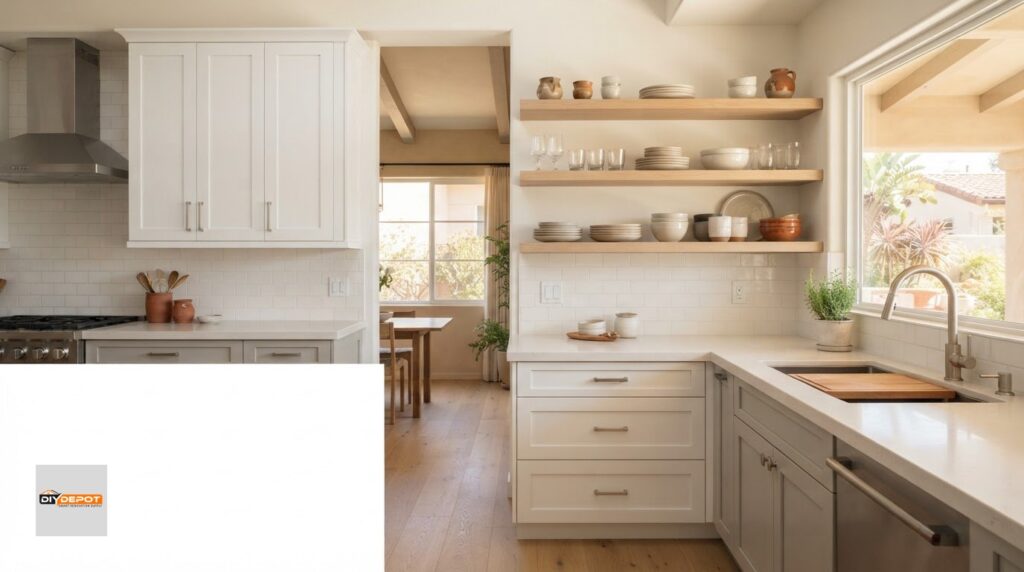
L-shaped layouts naturally accommodate an efficient triangle. The best workflow places the refrigerator at one end, the sink near the center corner turn, and the cooktop along the perpendicular run. This separation creates a protected prep zone between water and heat.
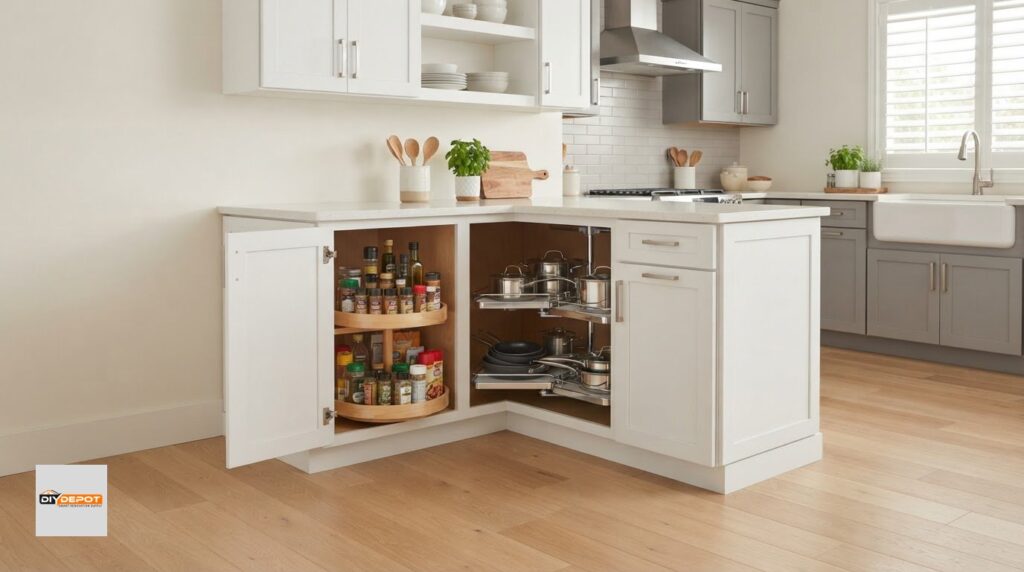
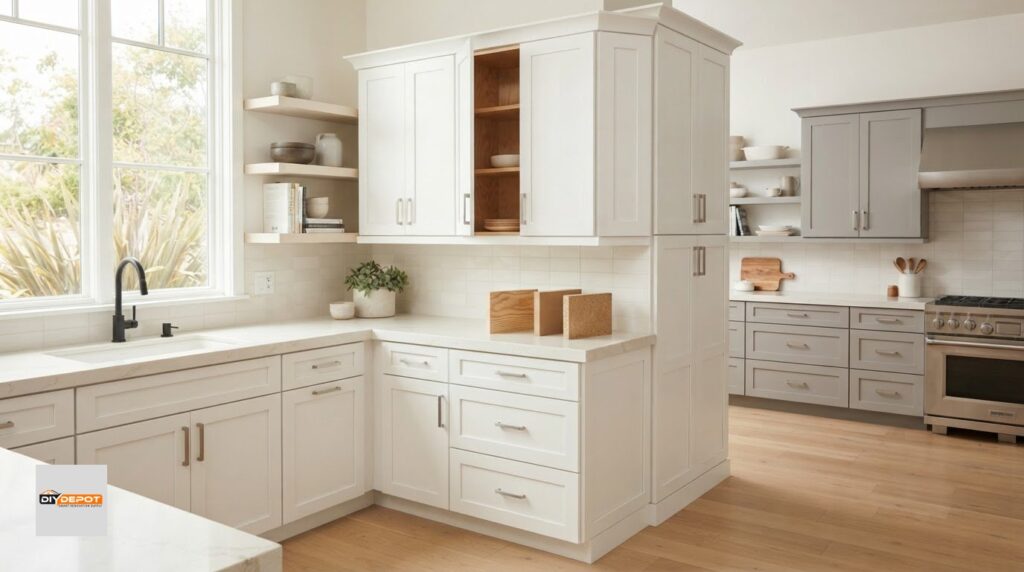
U-shaped kitchens offer the most balanced setup by dedicating one entire wall run to each primary station. You can house the refrigerator on the left wall, the sink under a rear window, and the range on the right. Because two corner joints exist, incorporating specialized corner kitchen base cabinets with rotating lazy Susans or pull-out shelves prevents dark, unreachable dead zones from eating up valuable storage.
Galley Kitchens and Narrow Footprint Solutions
Narrow galley spaces excel at workflow efficiency because everything sits just a pivot away. The challenge lies in avoiding physical bottlenecks. To keep traffic moving smoothly:
- Split Wet and Hot Stations: Place your sink and dishwasher along one wall, and position the range and refrigerator directly opposite.
- Offset Major Appliances: Stagger the cooktop and sink diagonally across the aisle rather than aligning them directly back-to-back. This prevents two people from colliding when one is washing pans and the other is sauteing.
- Maintain Aisle Spacing: Ensure at least 48 inches between opposing base cabinet runs so lower drawers and appliance doors can extend simultaneously without catching.
Single-Wall Kitchens and Linear Adaptations
True geometric triangles cannot exist on a single wall run. In compact apartments or open lofts, you must convert the three-point model into a sequential linear flow. Arrange your stations strictly in operational order: refrigerator first, followed by a base cabinet landing run, the sink, a primary prep surface, and finally the range.
When floor area allows, adding a fixed or mobile center island instantly restores a three-dimensional layout. Shifting either the primary prep sink or the main cooking surface onto the island pulls a leg off the perimeter wall. This arrangement fulfills traditional kitchen work triangle rules while keeping the chef turned outward toward the living area.
The Evolution: Modern Work Zones vs. The Traditional Triangle
Open-concept floor plans and expansive square footage have transformed the kitchen from an isolated workroom into a social hub. While classic kitchen work triangle rules were built for a single cook in an enclosed room, today’s households often have two or three people making dinner, grabbing drinks, and packing lunches at once. Rather than discarding triangle geometry, contemporary design layers task-oriented work zones over that proven framework.
Defining the Five Functional Modern Kitchen Zones
Dividing your kitchen into dedicated activity stations streamlines everyday storage and foot traffic:
- Consumables Zone: Combines the refrigerator, pantry storage, and dry goods.
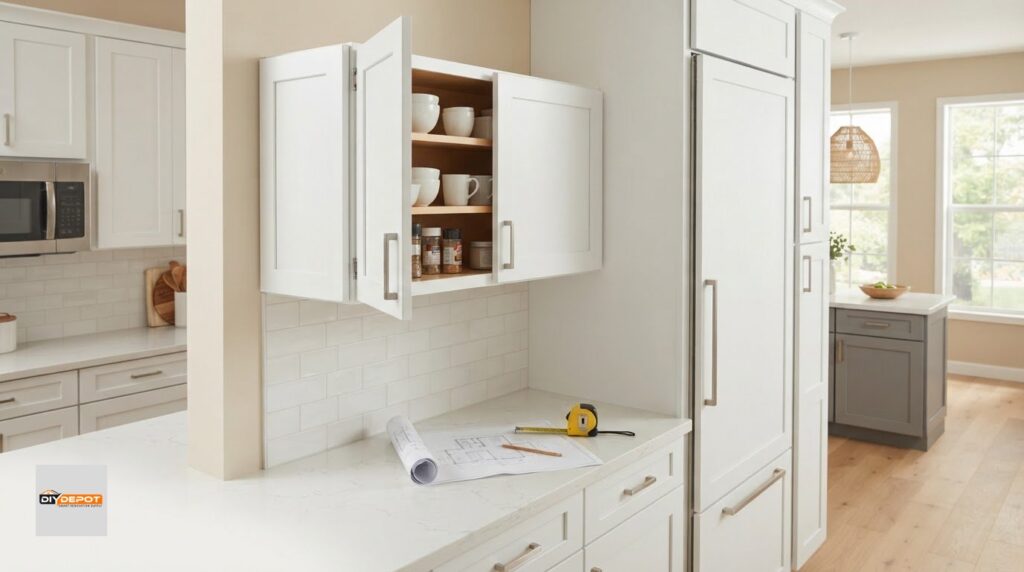
- Non-Consumables Zone: Organizes everyday dinnerware, bowls, and glassware inside durable kitchen wall cabinets.
- Cleaning Zone: Houses the main sink, dishwasher, and waste pull-outs.
- Preparation Zone: Provides a broad, uninterrupted countertop span with cutlery and mixing bowls.
- Cooking Zone: Centers around the range or cooktop, flanked by spice racks and cookware storage.
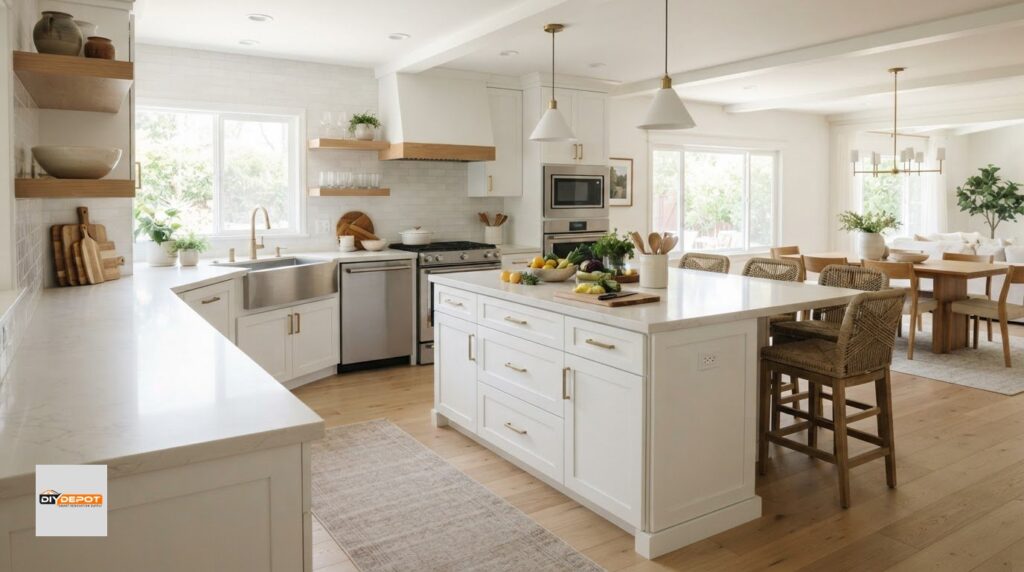
Integrating Kitchen Islands Without Breaking the Flow
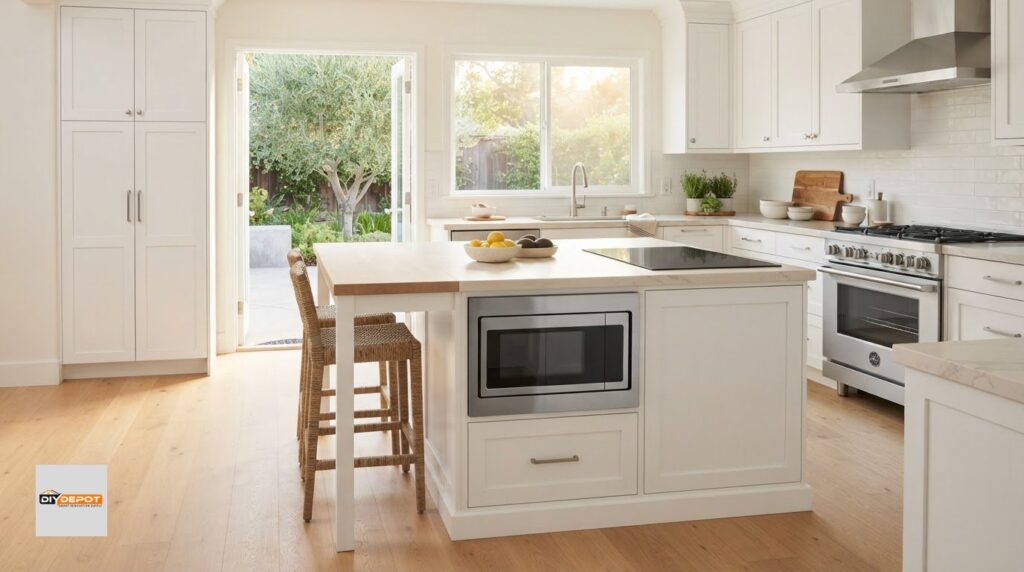
Islands often create accidental friction when placed directly along the path between the refrigerator and the sink. This mistake, called an island barrier trap, forces you to walk around cabinet corners dozens of times during a single meal. Adding a secondary prep sink to an island resolves this issue by creating an independent work loop. Always maintain at least 42 to 48 inches of open clearance around the island, factoring in seated guests so barstools don’t block active walkways.
Designing for Multiple Simultaneous Cooks
Accommodating two cooks requires separating wet prep from hot surfaces. You can establish overlapping mini-triangles that share cold food storage but provide separate counter space and water sources. Positioning secondary appliances, such as microwave drawers or under-counter beverage centers, along an outer island corner lets family members grab items without stepping into active cooking zones.
Ready to build a functional multi-zone layout for your home? Explore our selection and shop our shaker cabinets to find precision-crafted storage modules that fit your exact dimensions.
Planning Cabinets and Workstations Around Your Work Triangle
Your cabinetry forms the physical backbone that turns theoretical geometry into daily kitchen convenience. Selecting appliance cutouts is only half the battle. You also need base units sized specifically to supply the essential countertop landing zones required by standard kitchen work triangle rules. When base runs, pull-out organizers, and appliance clearances align, meal prep transitions from a chore into a seamless routine.
Optimizing Base Cabinet Storage at Key Triangle Nodes
Storage choices at each triangle workstation should reflect the exact tasks performed there:
- Beside the Cooking Station: Install wide three-drawer base cabinets directly adjacent to the range. Deep bottom drawers hold Dutch ovens and heavy skillets, while a shallow top drawer organizes spatulas and tongs within arm’s reach. Narrow 9-inch or 12-inch pull-out spice units eliminate cluttered countertops.
- Beside the Cleaning Station: Flank your sink base with a double-bin pull-out trash and recycling cabinet on one side, and the dishwasher on the other. This setup lets you scrape, rinse, and load dishes in a tight pivot without taking extra steps.
- Adjacent to Cold Storage: Position a wide base cabinet run directly next to the refrigerator latch. This provides a durable surface for unloading heavy grocery bags and setting down prep ingredients.
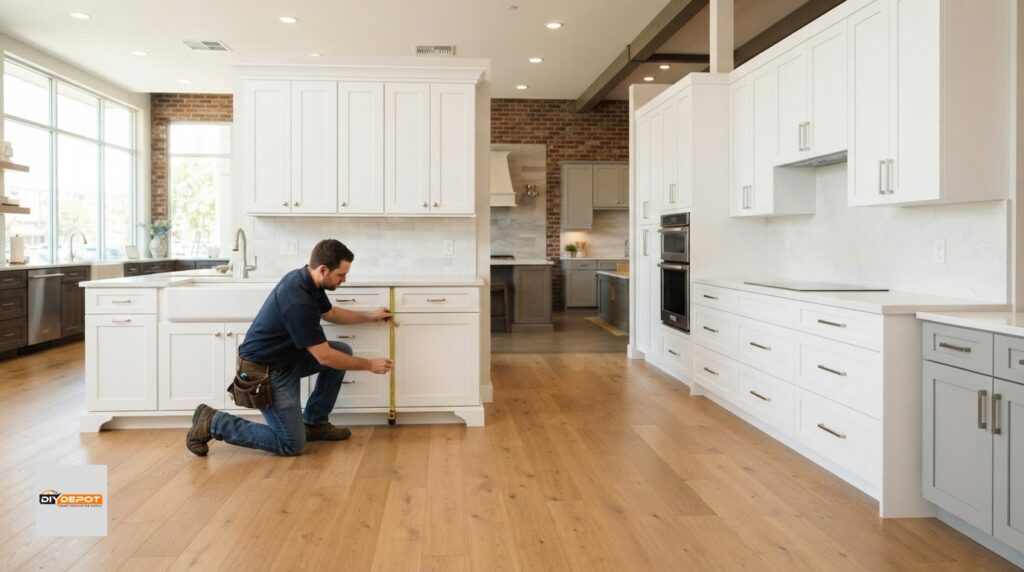
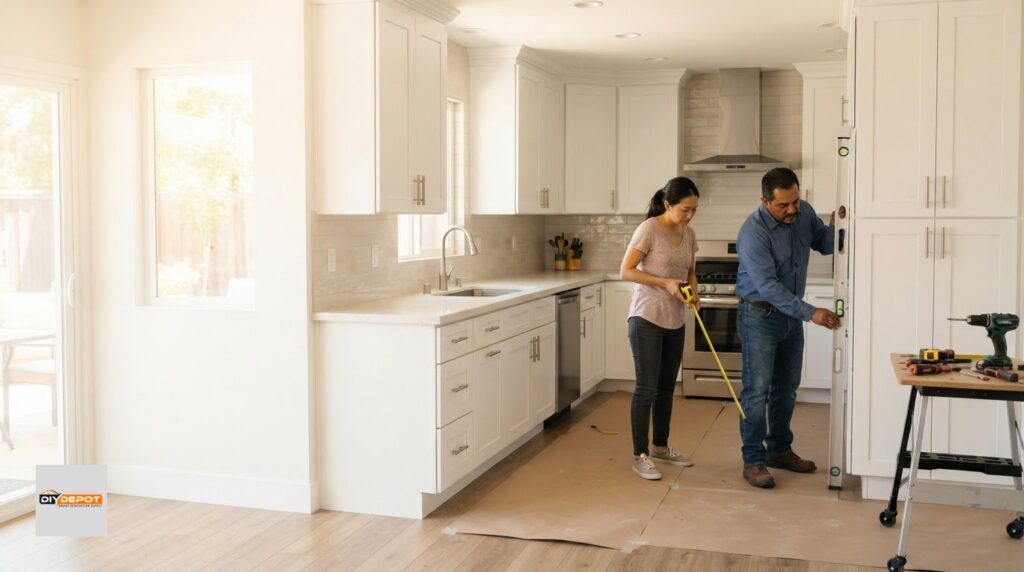
DIY Measuring and Layout Verification Best Practices
Precision on paper prevents headaches during installation. When measuring your space, mark the exact centerline of your sink plumbing rough-in, range gas connections, and dedicated 240V outlets. Check your walls for square and test your subfloor with a 4-foot level. Out-of-plumb walls cause cabinet face frames to bind, which can pinch appliance openings and throw off your work aisle calculations. Reviewing detailed guidelines on cabinet installation helps you decide whether to tackle assembly and hanging yourself or hire professional installers to secure your runs.
Bringing Your Blueprint to Life with Expert Design Support
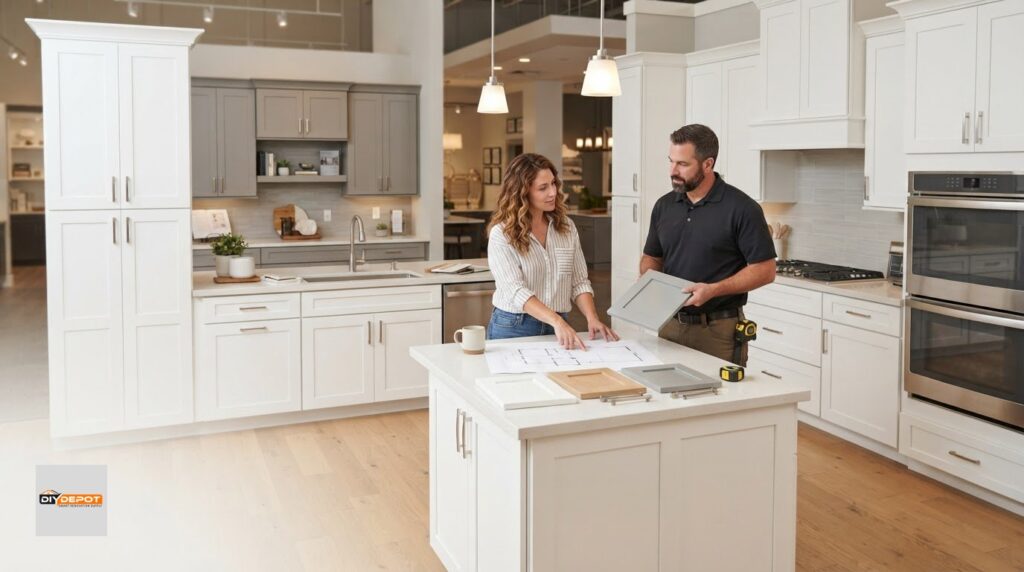
Turning rough sketches into an efficient layout requires balancing wall dimensions against strict landing rules. Precision-engineered shaker cabinets ensure square corners and true runs, but double-checking clearances before ordering is always smart. You can eliminate expensive ordering mistakes by partnering with expert design support. To verify your clearances, walkway widths, and triangle dimensions, simply book an appointment with a kitchen specialist who will review your floor plan and bring your architectural vision to life.
Build a Kitchen That Works for the Way You Live
Designing an efficient kitchen comes down to respecting spatial geometry without sacrificing your personal cooking style. By mastering core kitchen work triangle rules, you ensure that every footstep between the refrigerator, sink, and range feels natural, safe, and effortless. Pair those dimensions with dedicated landing surfaces, clear walkways, and smart zone organization, and your daily cooking routine becomes completely frictionless.
You don’t have to navigate floor plans and cabinet calculations alone. DIY Depot USA makes remodeling simple with precision-crafted, warehouse-direct shaker base and wall cabinets delivered straight to your door nationwide. Our team provides professional kitchen design support to verify your clearances and perfect your triangle dimensions before you place an order. Ready to design a perfectly balanced layout? Book an appointment with our design specialists today and take the first step toward building a high-functioning kitchen you will love for years to come.
Frequently Asked Questions
What are the official NKBA measurements for the kitchen work triangle?
Official National Kitchen & Bath Association guidelines state that each leg of the triangle must measure between 4 and 9 feet. The total perimeter sum connecting all three legs must fall between 13 and 26 feet. Additionally, no tall cabinets, full-height appliances, or major obstacles should intersect any leg of the triangle by more than 12 inches to maintain safe, unobstructed movement.
Does a kitchen island ruin the kitchen work triangle?
A kitchen island only ruins the workflow if it physically blocks the direct travel path between your sink, refrigerator, or range. Known as an island barrier trap, this layout mistake forces you to constantly detour around corners. Placing a prep sink on the island or aligning the island outside primary cooking lanes preserves smooth circulation while maintaining strict kitchen work triangle rules.
Can you have a kitchen work triangle in a galley kitchen layout?
Yes, galley kitchens naturally support a highly efficient work triangle across their two parallel walls. The key is splitting your appliances strategically, such as placing the refrigerator and range along one run and the primary sink on the other. Make sure to stagger the sink and stove diagonally rather than directly across from each other so two people can work without bumping backs.
What is the maximum allowed distance between the sink, stove, and refrigerator?
The maximum recommended distance for any individual leg of the triangle is 9 feet, and the total perimeter must not exceed 26 feet. Stretching workstations beyond 9 feet forces you to take unnecessary physical steps with hot pans or dripping produce. Keeping your layout within these boundaries reduces physical fatigue while ensuring your kitchen stays safe and highly manageable.
How wide should walkways be around the kitchen work triangle?
Dedicated work aisles inside the triangle should measure at least 42 inches wide for a single cook and 48 inches for multiple cooks. General household walkways running behind the workspace need a minimum width of 36 inches. Providing adequate clearance ensures open appliance doors, slide-out trash bins, and extended cabinet drawers don’t bottleneck primary traffic lanes during busy meal prep.
Is the kitchen work triangle still relevant for modern open layouts?
Yes, the core principles behind kitchen work triangle rules remain essential for preventing chaotic layouts in modern open spaces. While modern open floor plans often incorporate secondary task zones for baking, coffee stations, or entertaining, the basic geometric relationship between cold food storage, water, and heat still dictates how smoothly dinner gets made. It serves as an ergonomic baseline that you can customize.
How do you handle the work triangle in a single-wall kitchen?
In a single-wall kitchen, you cannot create a geometric triangle, so you must establish a linear workflow instead. Arrange your appliances in strict operational sequence: refrigerator on the end, a landing counter, the sink, a central prep surface, and then the stove. If your room dimensions permit, adding an island across from the wall instantly turns the straight run into a functional three-point triangle.
Where should the dishwasher be placed in relation to the work triangle?
The dishwasher should sit directly adjacent to the sink base cabinet, ideally within 36 inches of the basin edge. This placement keeps the cleanup zone consolidated and allows plumbing lines to connect easily. Keep the open dishwasher door outside your primary walking lane between the cooktop and refrigerator so you don’t trip over the drop-down door while moving between stations.