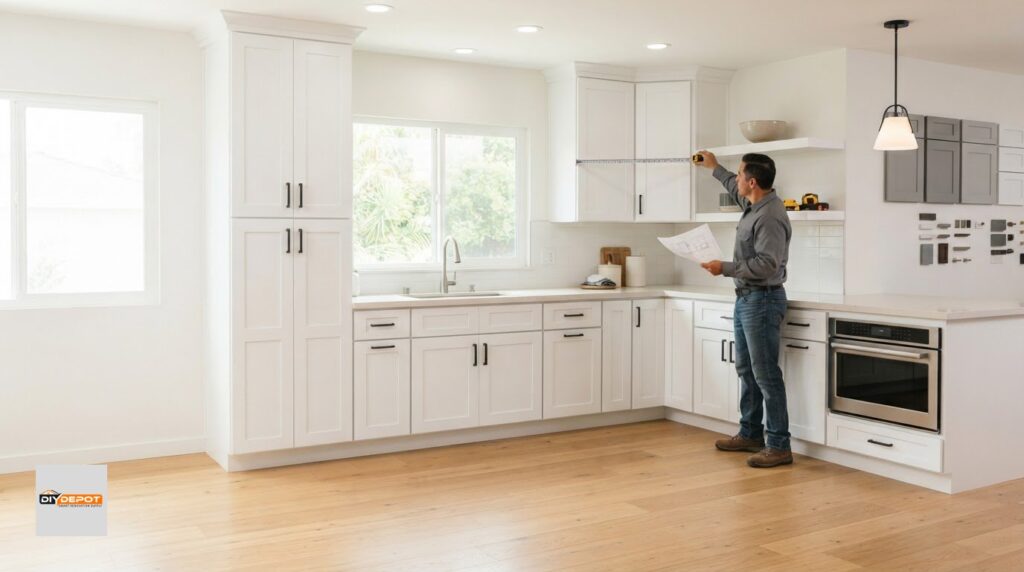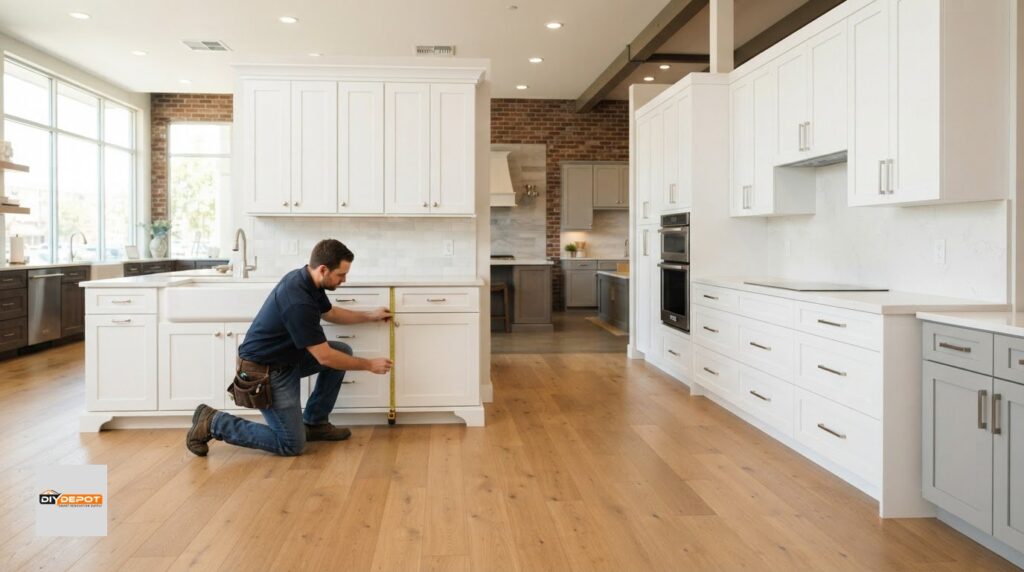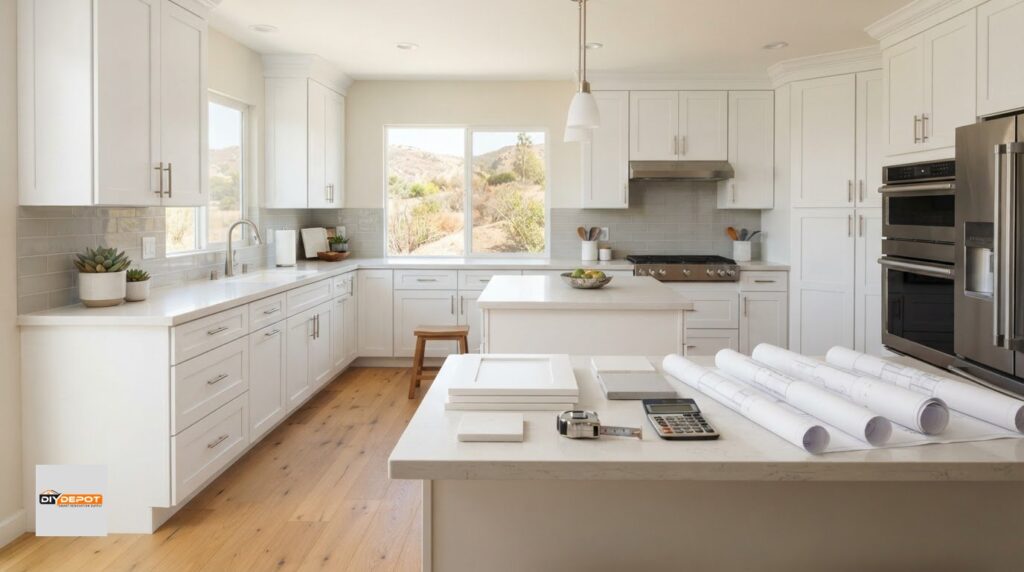

Good-quality Shaker cabinets have an even finish, sturdy doors and drawers, durable panels, and smoothly operating hardware. A shaker cabinet quality checklist should cover five-piece doors with cope-and-stick joints, furniture-grade plywood cabinet boxes, and drawers with strong joints and securely fitted bottoms. These construction details give you a clearer basis for comparison than appearance alone.
Shaker cabinets can look similar at a glance, so it’s natural to wonder what lies beneath the finish and whether the doors and drawers can handle regular use. Inspecting materials and joinery helps you compare options with greater confidence.
This guide explains how to assess finishes, door and drawer construction, center panels, and hardware before choosing cabinets. You’ll learn what to look for, which details may signal weaker construction, and how to use those checks to make an informed decision.
Key Takeaways
- Inspect cabinet interiors as carefully as visible surfaces; uneven coverage or raw areas can reveal a finish that needs closer scrutiny.
- Compare Shaker door frame proportions and construction to find a look that suits your space without overlooking sturdiness.
- Choose center panel materials with the door’s finish in mind, since painted and stained styles can call for different considerations.
- Look beyond a drawer’s appearance: how its bottom is secured and how smoothly the hardware operates affect everyday use.
- DIY Depot offers Base Shaker Cabinets and Professional Kitchen Design to help connect cabinet choices with your kitchen plans.
Cabinet finish inspection and topcoat chemistry
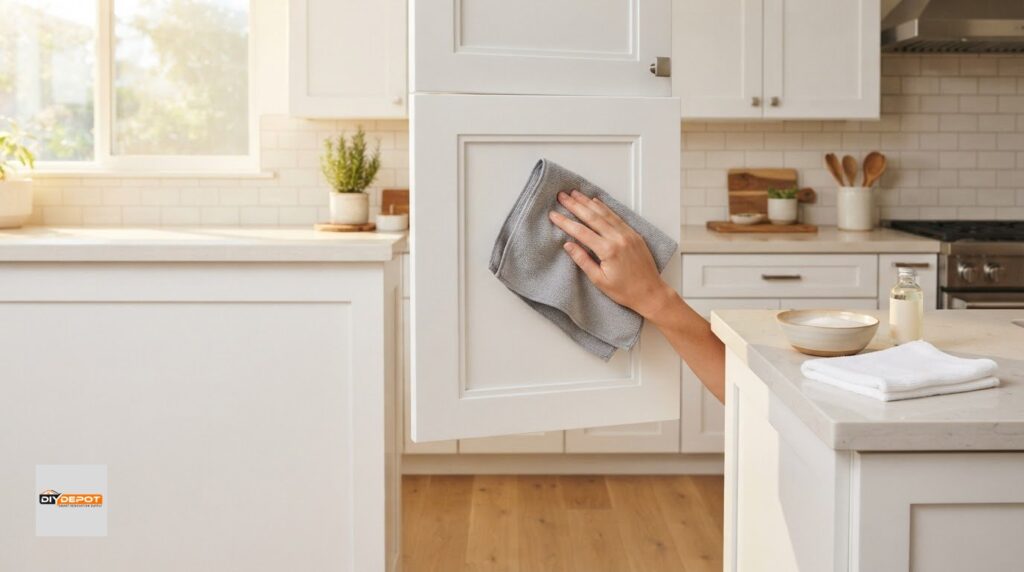
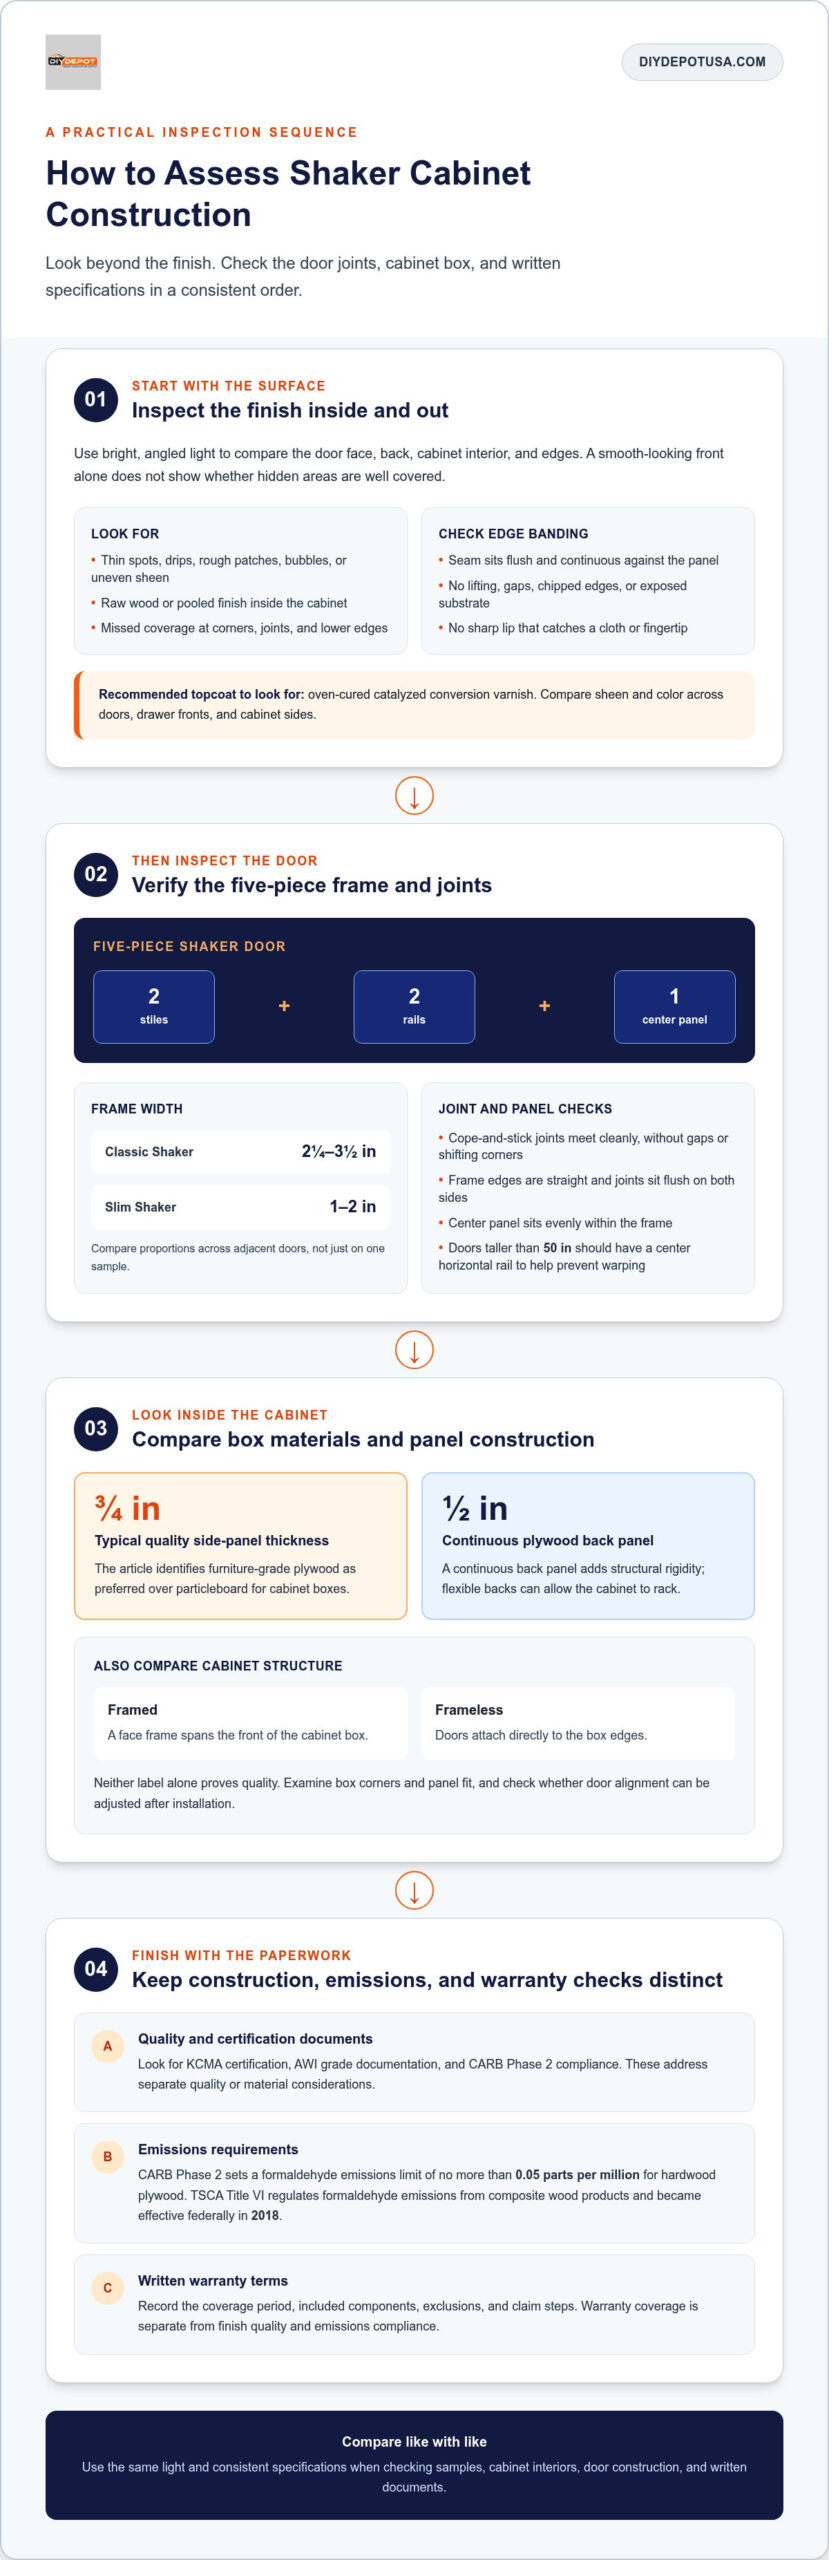
A good cabinet finish looks consistent across the door face, edges, corners, and interior. Use this part of a shaker cabinet quality checklist to inspect the coating, not just the color. Under bright, angled light, look for thin spots, drips, rough patches, bubbles, and uneven sheen. Open each door and drawer to inspect surfaces hidden from view. A smooth front can conceal raw wood or pooled finish inside the cabinet.
Inspect samples and cabinet interiors before assembly, when all surfaces are easier to see. Lightly run a clean hand across a finished edge. Roughness or a sharp, unfinished seam can indicate incomplete coverage. Check the corners where rails meet stiles, along with lower edges exposed to kitchen spills and moisture. If you find a defect, photograph it and compare it with the surrounding finish. This makes the issue easier to identify before installation.
- Look for an even coating inside and out. Interior surfaces should have consistent coverage without pooling or raw wood, which can leave vulnerable areas exposed during everyday use.
- Check the topcoat description. The recommended finish to look for is oven-cured catalyzed conversion varnish; the topcoat is a key part of the cabinet’s protective surface.
- Inspect corners and edges for complete coverage. Coating should reach the edges and joints, where missed areas can become visible as cabinets are handled and installed.
- Examine edge banding closely. Look for a flush, continuous seam without lifting, gaps, or exposed substrate, especially along shelf and cabinet edges.
- Compare sheen and color across pieces. View doors, drawer fronts, and cabinet sides together; noticeable variation may point to inconsistent application or finishing.
Edge banding covers exposed panel edges and gives them a finished appearance. Check each corner from more than one angle: a raised strip, open seam, or chipped edge can collect dirt and moisture. Inspect the transition between the banding and panel face, too. A smooth, secure fit should not have a sharp lip that catches a cloth or fingertip. These checks help you distinguish a minor cosmetic variation from a visible construction flaw.
Keep coating performance separate from emissions compliance. CARB Phase 2 sets a formaldehyde emissions limit of no more than 0.05 parts per million for hardwood plywood, while TSCA Title VI regulates formaldehyde emissions from composite wood products and became effective at the federal level in 2018. These requirements address emissions, not whether a cabinet’s finish is smooth or evenly applied. Read the stated coating and compliance information as separate details.
For a practical final check, inspect a door face and back, the cabinet interior, and a banded edge under the same light. A consistent finish across these areas gives you a better basis for comparing cabinets than color alone.
Five-piece door construction and stile-and-rail dimensions
Shaker cabinet costs in the United States depend on materials, cabinet configuration, and door construction, so compare complete specifications rather than style alone. For warranty and certification checks, read the written coverage terms and look for KCMA certification, AWI grade documentation, and CARB Phase 2 compliance.
A five-piece Shaker door has two stiles, two rails, and a center panel. Check the four joints where the rails meet the stiles; cope-and-stick joinery should meet cleanly, without visible gaps or shifting corners. Classic Shaker stiles and rails typically measure 2-1/4 to 3-1/2 inches wide, while Slim Shaker frames are described as 1-2 inches wide. Choose proportions that look balanced across adjacent doors, not just on one sample.
Inspect the door from both sides. Look for flush joints, straight frame edges, and a center panel seated evenly within the frame. Doors taller than 50 inches should have a center horizontal rail to help prevent warping. That rail adds support and divides a tall panel into more manageable sections. Check that matching doors use consistent frame widths and panel alignment.
- Confirm the five-piece build. Identify both stiles, both rails, and the center panel, then inspect each cope-and-stick joint for a tight fit.
- Compare frame widths. Check classic proportions against Slim Shaker frames and view the sample beside nearby doors.
- Review box material and thickness. Furniture-grade plywood is preferred over particleboard for cabinet boxes; quality side panels are typically 3/4 inch (18mm) thick.
- Inspect the back panel. A continuous 1/2-inch plywood back panel adds structural rigidity, while flexible backs can allow the cabinet to rack.
Cabinet construction also affects door alignment and the look of a finished run. Framed cabinets have a face frame across the front of the box; frameless cabinets attach doors directly to the box edges. Neither label alone proves quality. Examine the box corners and panel fit, and check whether you can adjust door alignment after installation. Stable, square boxes help keep the gaps between neighboring doors consistent.
For cost comparisons, account for box material, side-panel thickness, back construction, and door-frame dimensions. Keep the specification consistent between estimates; otherwise, a lower total may reflect different construction rather than better value. For warranty review, note the coverage period, included components, exclusions, and claim steps in writing. KCMA certification, AWI grade documentation, and CARB Phase 2 compliance address separate quality or material considerations, not warranty coverage.
Use these checks to compare cabinet construction before settling on a layout. Consider cabinet options alongside the dimensions and materials that suit your project.
Center panel materials for painted and stained doors
Choose a center panel that suits the door finish and the kitchen’s everyday use. For painted Shaker doors, an MDF center panel is recommended because its smooth surface supports an even painted appearance. For stained doors, compare the panel’s visible grain with the surrounding frame. The frame, panel, and finish should look cohesive.
When assessing Shaker frames and center panels, consider the finish first: MDF is recommended for painted center panels, while stained doors benefit from a panel whose visible grain complements the frame. Inspect the frame joints and panel fit together.
Paint can make uneven surfaces and edges more noticeable, so inspect the center panel under direct light. Look for a consistent surface, a snug fit inside the frame, and clean transitions where the panel meets the rails. Check several doors to see whether matching fronts look consistent across the kitchen. A sample viewed beside finished doors can reveal differences that showroom lighting may hide.
For stained doors, compare the panel’s grain and tone with the stiles and rails. Natural wood patterns vary, so look across several doors rather than judging a single front. Contrasting grain may be a deliberate design choice, but an unexpected mismatch can disrupt a continuous cabinet run. Compare doors side by side before deciding whether the overall look works.
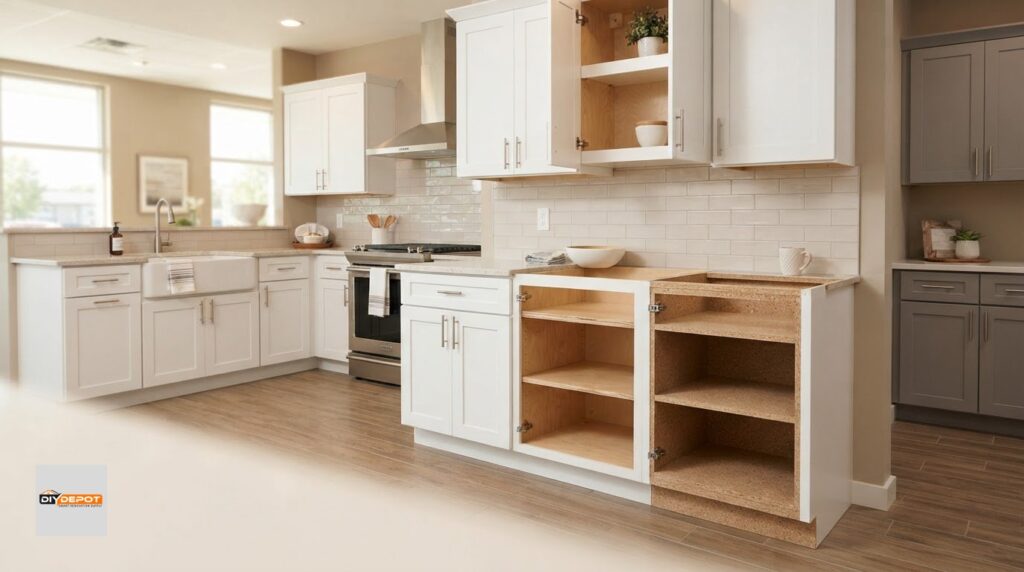
Back panels contribute to structural stability. A continuous 1/2-inch plywood back panel reduces cabinet racking by 40% compared with 1/4-inch alternatives. Racking is the cabinet box shifting out of square, which can affect door alignment. Inspect the back for broad, continuous support rather than a flexible panel that moves when the box is handled. The panel should connect securely with the cabinet sides and bottom.
Shelves carry everyday kitchen items, so material and edge construction matter. A 3/4-inch plywood shelf with front edge banding is a recommended option. Check that the shelf sits flat on its supports and that the banding covers the exposed front edge evenly. For example, a shelf holding stacked dishes should not bow or have a rough, exposed edge that catches items.
- Check the center panel fit. Look for even spacing inside the frame, with no loose corners or visible shifting.
- Review shelf support. Confirm that supports hold the shelf level and that the edge banding stays flush.
- Look for staples. Staples should not substitute for secure, well-fitted panel or shelf construction.
During a kitchen remodel, inspect panels before installation, while the backs, shelf edges, and door interiors are still accessible. Careful comparisons help protect your cabinet investment and make it easier to assess finish, panel, and support choices together.
Dovetail drawer joints and drawer-bottom installation
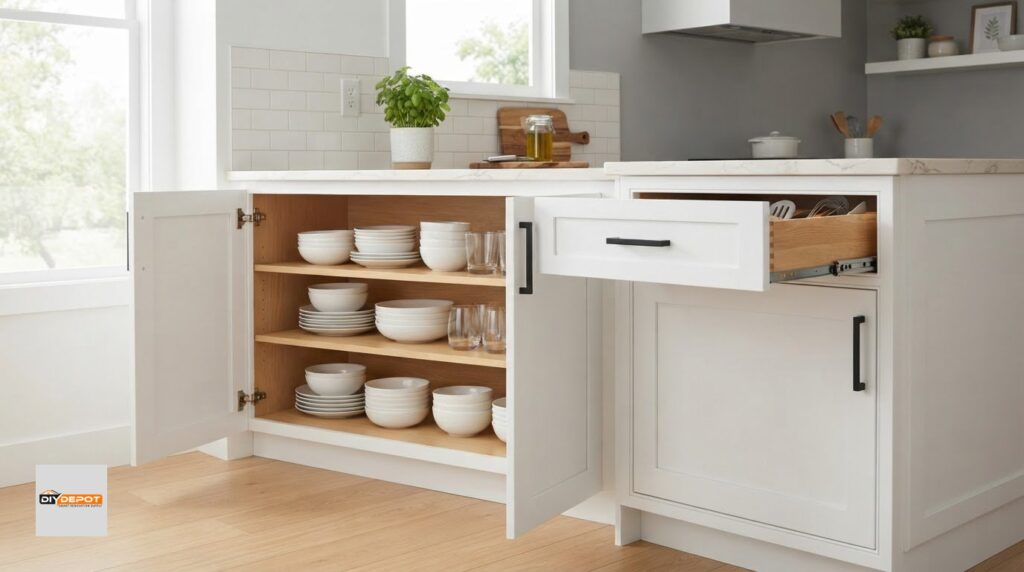
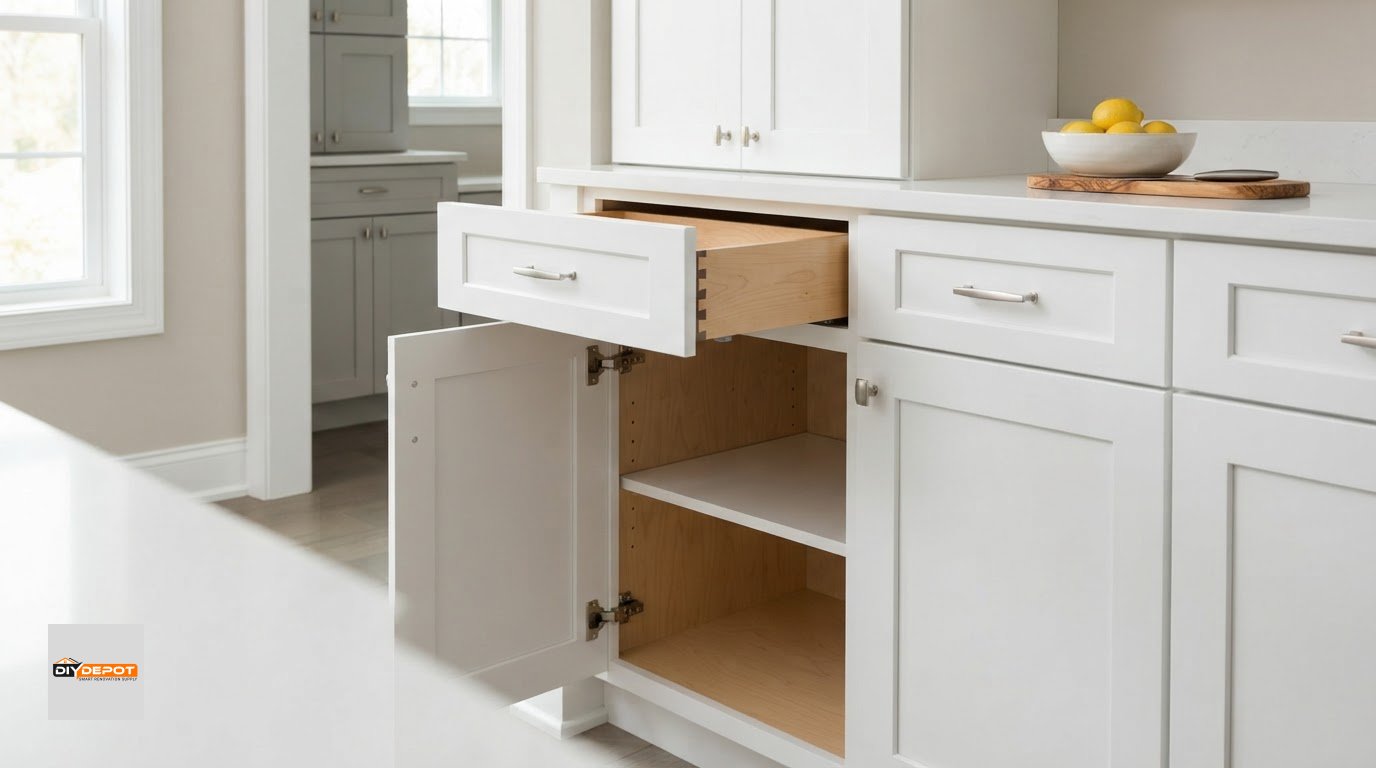
Open each drawer and inspect its corners, sides, bottom, and slide connection. A well-built drawer should feel square, with joints that meet cleanly and no visible gaps. Dovetail joints interlock at the corners, helping hold the drawer sides together during repeated opening and closing. Look for evenly formed pins and tails rather than loose joints or gaps filled with glue. Drawer sides made from 5/8-inch solid hardwood are a recommended construction choice.
Check how the bottom fits into the drawer. A recommended drawer bottom is at least 1/4 inch thick and captured in a routed dado groove. That groove holds the panel within the drawer sides instead of relying only on fasteners at the edges. Inspect underneath and inside the drawer for a continuous fit. Staples, brad nails, or hot glue should not replace a bottom held in a routed groove.
- Inspect all four dovetail corners. Look for tight, uniform joints, since uneven gaps can signal a poor fit.
- Review the drawer sides. Check for 5/8-inch solid hardwood, a recommended thickness and material for drawer sides.
- Check the bottom installation. Confirm that a bottom at least 1/4 inch thick sits securely in a routed dado groove.
- Look underneath the drawer. Reject loose edges or bottoms held only by staples, brad nails, or hot glue.
- Test the slide movement. Open and close the drawer to feel for sticking, scraping, or uneven travel.
Dovetail joints have angled pins and tails that lock together. The recommended pin angles range from 7 to 14 degrees. The angle matters less than the fit you can observe: parts should interlock evenly, without split corners or large gaps. A homeowner can compare several drawers from the same cabinet run to see whether the joinery stays consistent across sizes.
Slide capacity is another part of drawer construction. Match the slide rating to the drawer’s intended contents, such as utensils in a shallow drawer or heavier cookware in a deep one. During installation, check that the drawer sits level and moves smoothly without rubbing against the cabinet opening. A drawer that binds when empty may be harder to use once loaded.
Before accepting the finished installation, test each drawer individually. Pull it open, close it gently, and check that the front stays aligned with neighboring fronts. Then recheck the corners and bottom for movement. These simple tests connect joinery, bottom support, and slide performance, helping you assess the drawer beyond its appearance.
Full-extension slides, concealed hinges, and soft-close hardware
Hardware affects how cabinet doors and drawers feel in everyday use. Check each drawer’s extension, closing action, and alignment, then test several doors across the kitchen. Full-extension slides allow a drawer to open fully, making items at the back easier to reach. The recommended setup pairs full-extension undermount soft-close slides with concealed hinges adjustable in six ways.
Compare slide ratings with the drawer’s intended use. These rating descriptions differ, so read the slide specification carefully rather than treating them as interchangeable. A rating helps you assess capacity, but smooth movement and secure installation matter, too.
Open each drawer fully and check that it moves evenly without scraping against the cabinet sides. Close it at a normal pace to test the soft-close action. The mechanism should slow the drawer instead of letting it slam. During installation, make sure the slide stays aligned and the drawer front sits level beside neighboring fronts. Test drawers of different widths, including one intended for heavier items such as cookware.
- Test full extension. Pull the drawer out fully and check that its contents remain accessible without awkward reaching over countertops.
- Check soft-close operation. Close the drawer gently and confirm that the mechanism controls its final movement.
- Inspect concealed hinges. Look for secure attachment and smooth door movement without rubbing or sudden drops.
- Test adjustability. Six-way adjustable hinges allow alignment changes in multiple directions, helping keep door gaps consistent.
- Review hardware ratings. Compare the stated dynamic load and operational-cycle ratings with the expected cabinet use.
Concealed hinges keep the hardware hidden when doors are closed, leaving the Shaker face visible and uncluttered. The recommended hinge specification includes a 110-degree opening and six-way adjustability. Open a door beside a wall or exposed appliance to see whether its swing suits the kitchen layout. Check that it opens without striking adjacent doors, trim, or nearby surfaces.
Hardware systems described as premium are certified for more than 100,000 operational cycles. Treat that figure as a useful specification to compare, not a guarantee of performance in every installation. Look for consistent movement across doors and drawers, secure mounting, and hardware that suits the cabinet’s intended use. Solid wood drawer fronts and heavier contents make correct slide alignment especially important.
Apply the same tests to every cabinet run before accepting the installation. Next, compare cabinet options and the hardware details that suit your layout.
DIY Depot: Base Shaker Cabinets
DIY Depot USA offers Base Shaker Cabinets for homeowners planning a kitchen update, along with Vanity Shaker Cabinets and Wall Shaker Cabinets for other rooms. If you’re still deciding on dimensions or layout, the company’s professional kitchen design support can help shape those choices around your project.
Use the checks in this guide to compare cabinet materials, door details, drawer joinery, and hardware as you plan. Then connect those priorities with the cabinets and design support that suit your needs.
For help exploring your project options, contact DIY Depot.
Turn your cabinet priorities into a clear next step
Use your shaker cabinet quality checklist to identify the details that matter most in your space, then compare them with your planned layout. Kitchen storage needs differ from bathroom vanity storage, so start with the room and how you use it. DIY Depot USA offers Base Shaker Cabinets, Vanity Shaker Cabinets, and Wall Shaker Cabinets for different parts of a renovation.
If your next decision is how cabinets should fit together in the room, DIY Depot USA’s professional kitchen design service can help you plan the layout. Bring your measurements and preferred configuration to the design process, so your cabinet choices support a practical plan.
Ready to explore your options? Contact DIY Depot for cabinet advice and take the next step toward a space that works for you.
Frequently Asked Questions
How Can You Tell If Kitchen Cabinets Are Good Quality?
Judge cabinets by construction details and performance testing, not appearance alone. KCMA certification under ANSI/KCMA A161.1 includes 14 third-party tests simulating a lifetime of use. Testing includes doors and drawers through 25,000 open-close cycles, shelves loaded at 15 pounds per square foot for 7 continuous days, and 600 pounds of internal weight applied to a mounted cabinet. Certification offers a useful comparison point alongside hands-on checks.
What are the signs of a well-made Shaker cabinet door?
A well-made Shaker door should look consistent beside matching doors and stay aligned as it opens and closes. View a row of fronts straight on, then at an angle, to spot uneven gaps or edges that sit proud. Inspect corners for cracks or separation, especially where the frame meets the center panel. Compare several doors, since a single sample may not show variation across the order.
How can you check cabinet joinery, drawer boxes, and hardware quality?
Test the hardware in use rather than judging it by appearance. Open and close each drawer, then check whether it moves smoothly and stays level. Look inside for loose fasteners, separated corners, or a bottom that shifts under light hand pressure. Open doors fully and watch for rubbing, sagging, or sudden movement. Repeat these checks across different cabinet sizes, as a small drawer may behave differently from a wide one.
What cabinet construction features indicate durability, such as plywood thickness and back panels?
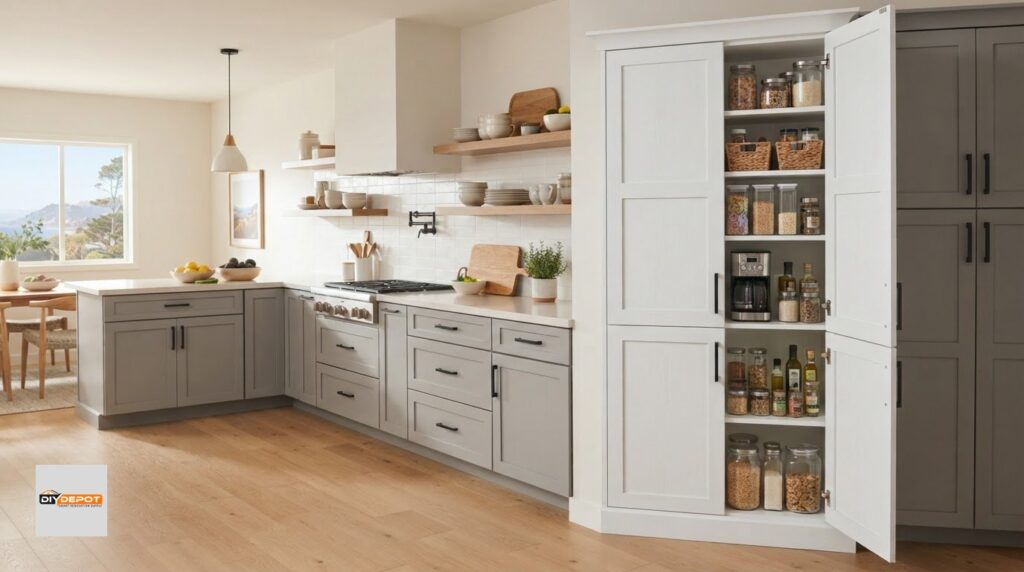
Look for a rigid cabinet box with firmly connected sides, a stable back, and shelves that sit evenly on their supports. Plywood is generally preferred to particleboard for cabinet boxes. Check the back panel and corners for flex or movement when handling the cabinet. Also consider how the box will be secured during installation: sound fastening areas and a square cabinet body help maintain alignment as doors and drawers are used.
What finish quality standards should you look for on Shaker cabinets?
Look for complete, consistent coverage across fronts, edges, corners, and interior surfaces. Check whether the coating suits the cabinet material and is clearly identified in the product details. Compare doors under lighting similar to the room where they’ll be used, since light can change how color and sheen appear. View finish samples beside cabinet surfaces rather than relying on a small swatch under different lighting.
How do you inspect Shaker cabinets for defects before delivery or installation?
Inspect each cabinet before installation, while its sides, back, and edges remain accessible. Check for shipping damage, chipped corners, loose parts, and mismatched fronts; photograph any visible issue and keep the cabinet separate until it’s reviewed. Whether a project is in Bakersfield, Fresno, Santa Maria, San Luis Obispo, Santa Barbara, Ventura, Visalia, Oxnard, Kern County, Kings County, Las Vegas, or Phoenix, compare delivered pieces against the order before assembly.
What common Shaker cabinet quality problems should buyers avoid?
Watch for flexible back panels, stapled drawer bottoms, raw cabinet interiors, and plastic shelf pins. Also look closely at vinyl-wrapped doors described as painted, since the surface material differs from a painted finish. Check corners and exposed edges for lifting or gaps, and inspect drawer bottoms for staples, brad nails, or hot glue. These visible construction details can help you identify a cabinet that needs closer evaluation.