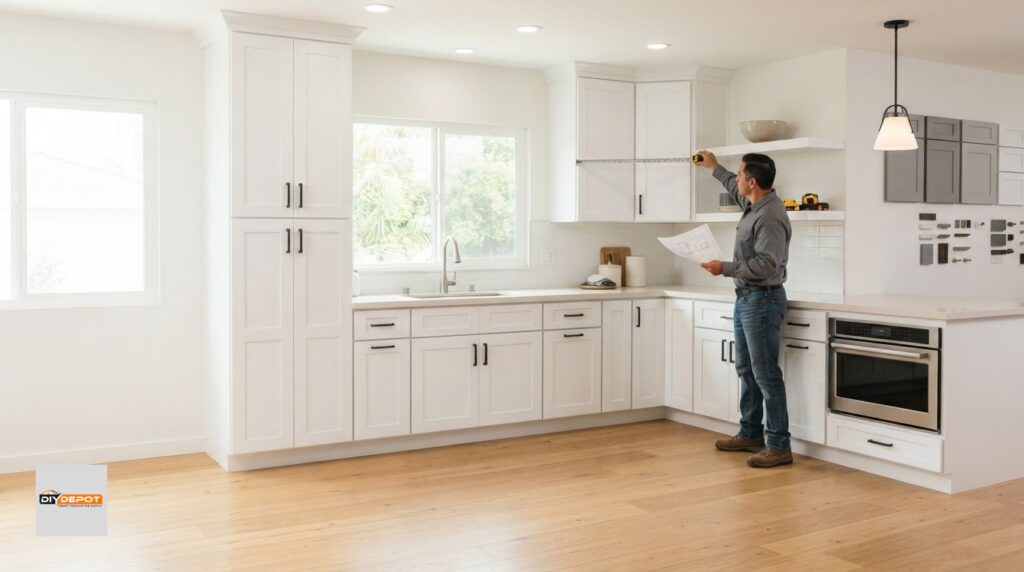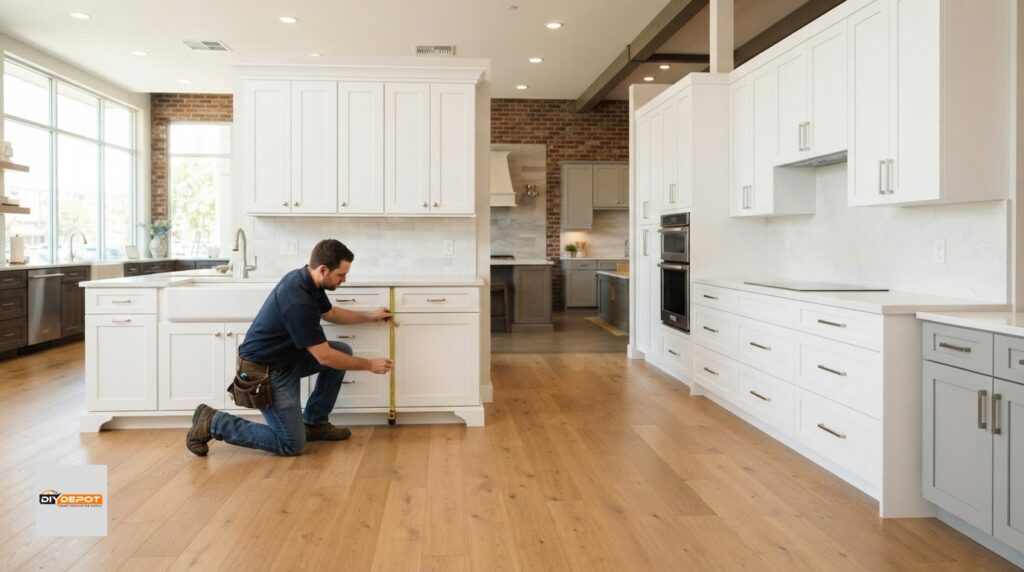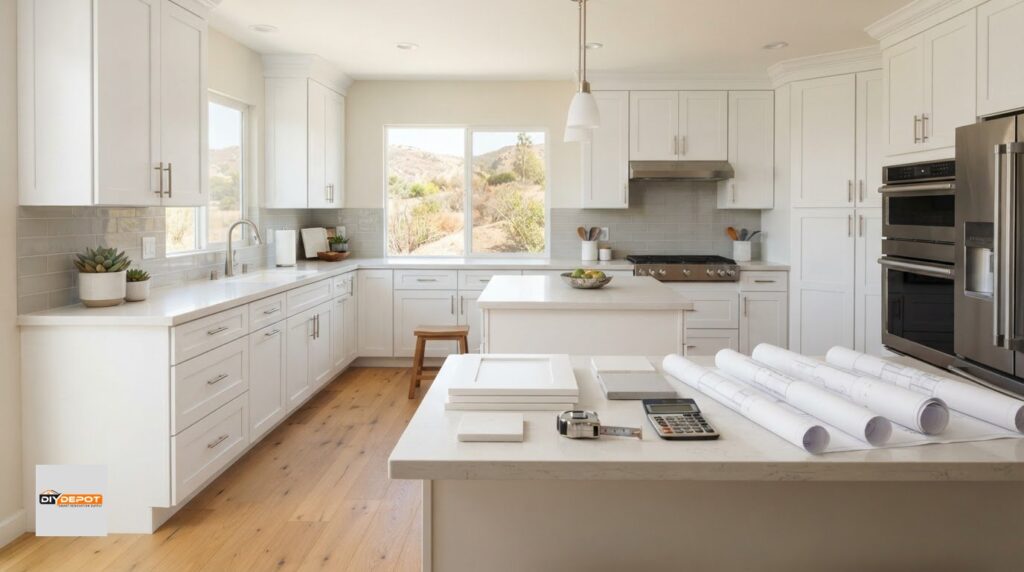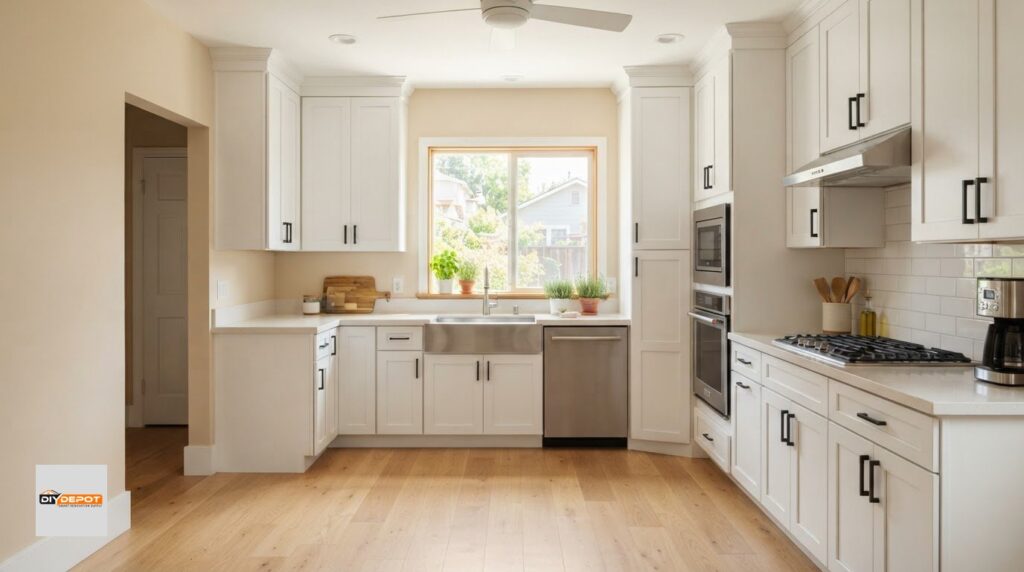

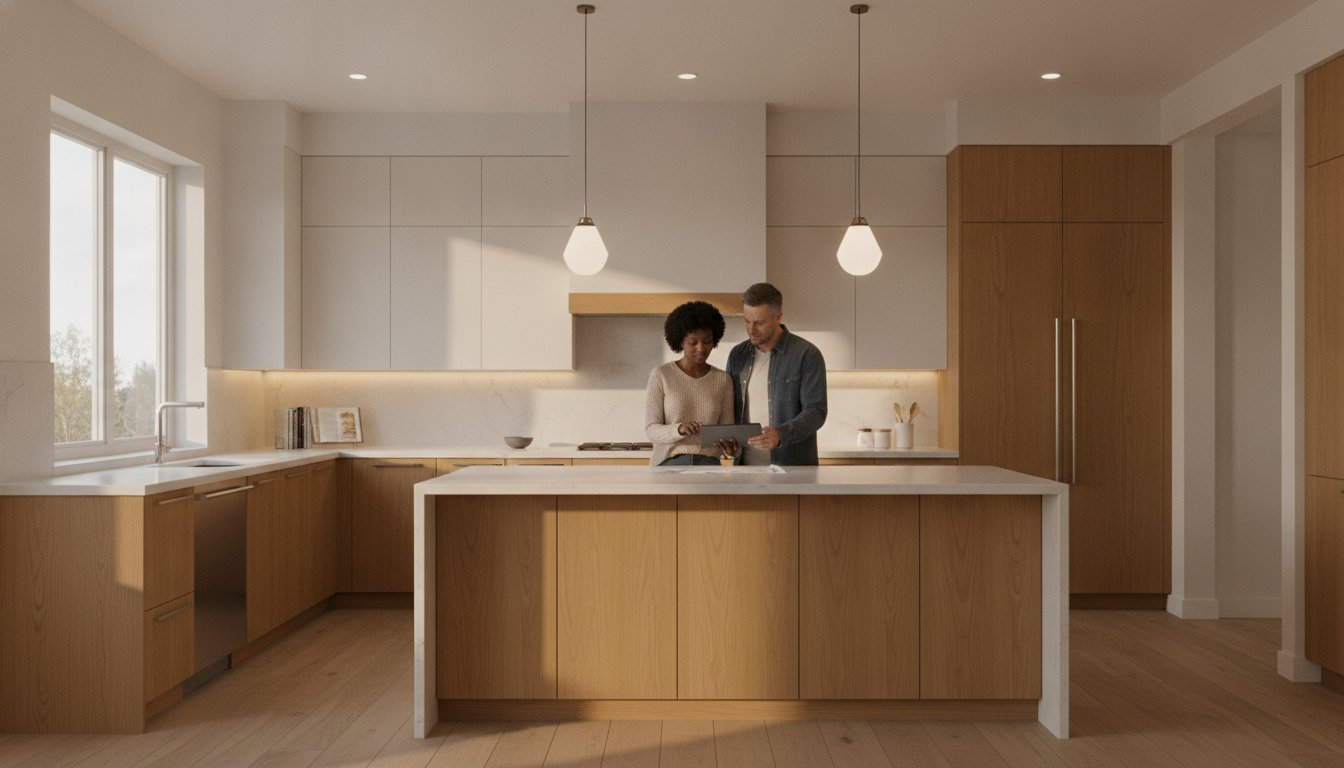
What if the secret to a perfect 2026 kitchen isn’t a flashy new trend, but a design style that’s been around for centuries? Shaker cabinets are often called the “chameleon” of the home because they fit almost any aesthetic, but the real challenge isn’t the style; it’s the strategy. Many homeowners feel overwhelmed by the technical details of kitchen layout planning with shaker cabinets, fearing that one wrong measurement could lead to an expensive mistake. You want a space that feels modern and fresh, yet you don’t want to be back here remodeling again in five years.
We understand that balancing clearance requirements with your dream vision can feel like a puzzle. This guide is designed to give you total confidence in your renovation journey. You’ll learn how to master the classic “work triangle” while incorporating the latest 2026 trends like warm wood tones and slim shaker profiles. We will walk through the essential differences between base and wall cabinets, ensuring your final plan is as functional as it is beautiful. By the time you’re finished reading, you’ll have a clear, actionable roadmap for your kitchen project.
Key Takeaways
- Learn how the minimalist design of shaker cabinets allows them to adapt to any aesthetic, from ultra-modern to classic farmhouse, providing a versatile foundation for your home.
- Master the essentials of kitchen layout planning with shaker cabinets by optimizing the “work triangle” and ensuring proper clearance for doors and drawers to fully extend.
- Discover how to eliminate “dead zones” in L-shaped kitchens and maximize efficiency in galley layouts using specialized corner and base cabinet configurations.
- Avoid expensive mistakes by learning how to account for wall irregularities and why selecting your appliances is a critical first step before finalizing any cabinetry order.
- Understand the budget-saving benefits of warehouse-direct cabinets and how professional design support acts as a supportive safety net for your DIY renovation.
Why Shaker Cabinets are the Foundation of Modern Kitchen Layout Planning
Choosing a kitchen style can feel like a high-stakes gamble. You want something that looks great now but won’t feel dated by 2030. Shaker cabinets are the industry’s reliable answer to this dilemma. Their simple geometry and recessed panels create a “chameleon effect” that adapts to almost any architectural style. Whether you’re building a modern loft or a cozy farmhouse, these cabinets provide a neutral, high-quality backdrop that lets your layout shine. For those seeking a more tailored approach, Broadway Kitchens offers bespoke shaker designs that are custom-manufactured to your specific layout needs. They act as a visual anchor, providing structure without overwhelming the senses.
The real power of this style lies in its visual weight. In smaller spaces, heavy ornamentation can make a kitchen feel claustrophobic. Shaker doors use clean, 90-degree angles to create a sense of order and openness. This minimalist approach is essential for effective kitchen layout planning with shaker cabinets, as it allows the eye to focus on the flow of the room rather than being distracted by busy details. This balance ensures your kitchen feels spacious and organized, regardless of its actual square footage.
The Anatomy of a Shaker Cabinet Door
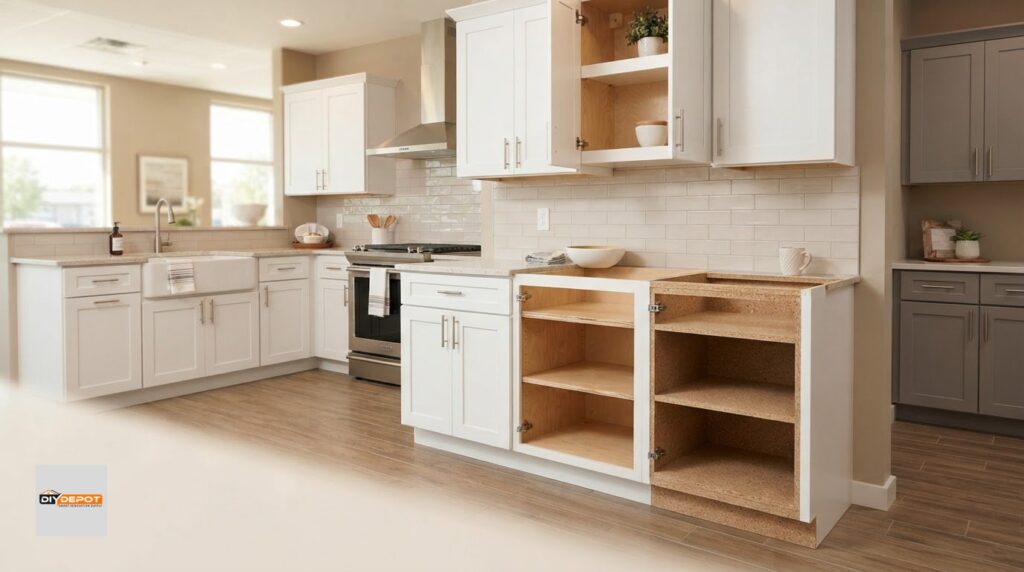
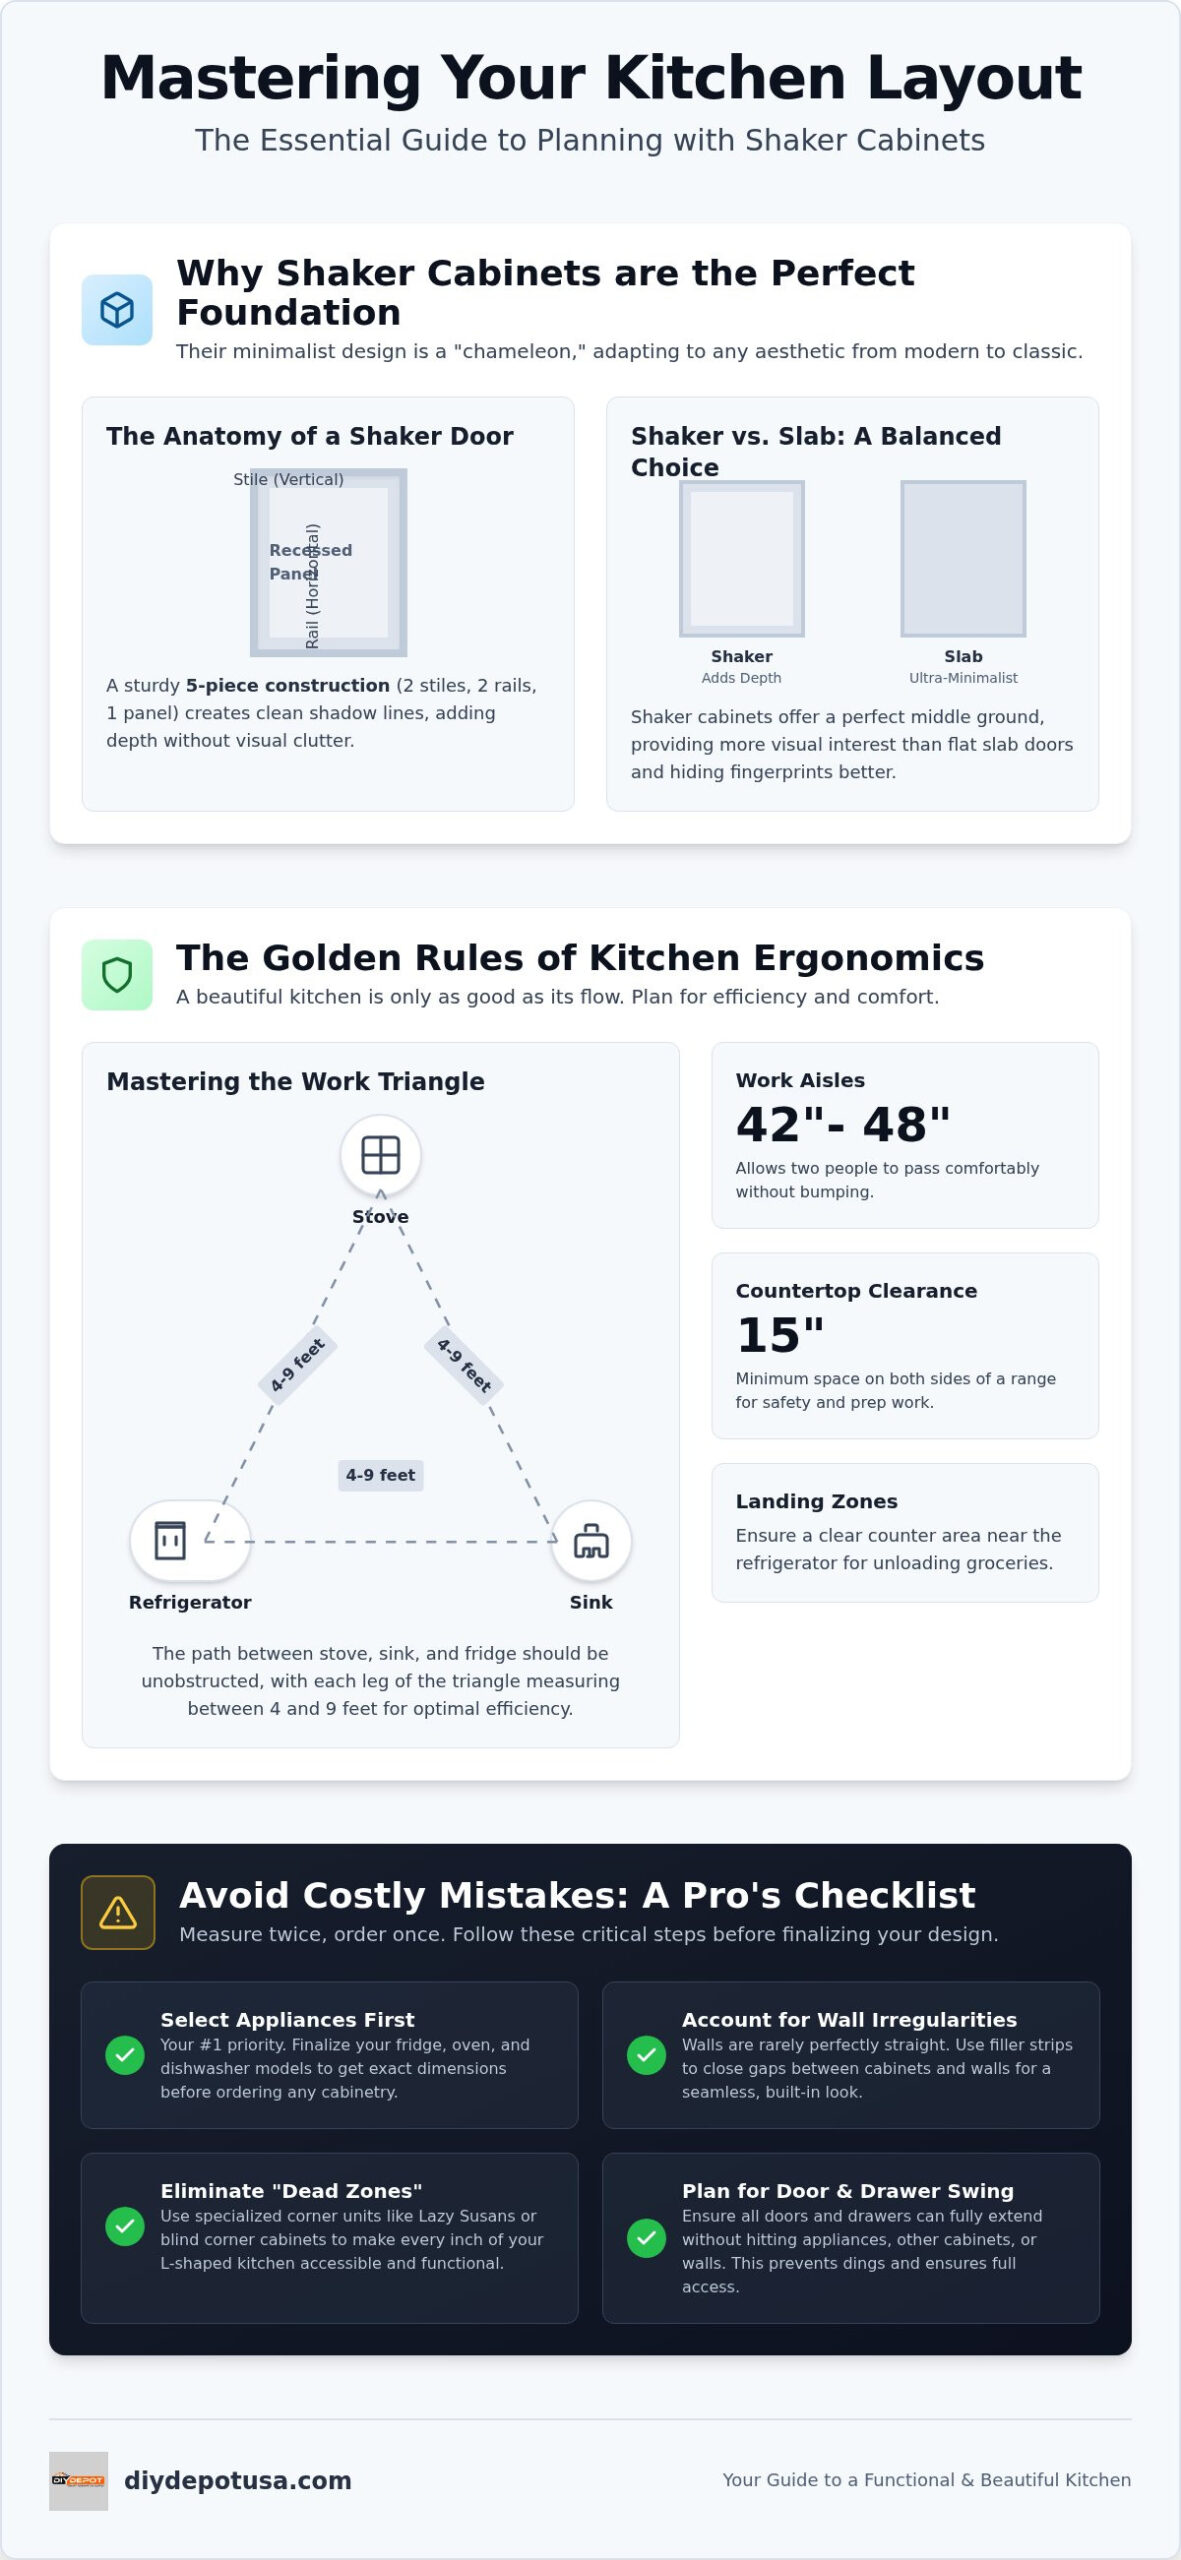
A standard shaker door relies on a sturdy five-piece construction. This includes two vertical stiles and two horizontal rails that frame a flat recessed panel. While the look is simple, the engineering is smart. Using a solid wood frame with a high-density fiberboard center panel provides the best stability against temperature changes. This construction creates distinct “shadow lines” that add visual depth to your kitchen without adding physical bulk. It’s a design choice rooted in historical Shaker design principles, where every element serves a specific purpose and avoids unnecessary waste.
Shaker vs. Slab: Choosing the Right Level of Minimalism
If you’re torn between shaker and ultra-modern slab fronts, consider the architectural interest. Slab cabinets are sleek, but they can sometimes feel “flat” in a large kitchen. Shaker cabinets offer a perfect middle ground. They provide just enough detail to hide daily wear and tear, like fingerprints or minor scuffs, much better than a completely flat surface. Some homeowners even choose to mix styles. For instance, using shaker base cabinets for a grounded, traditional feel while installing slab wall cabinets creates a unique transitional look. This flexibility ensures your layout remains relevant for decades, even as 2026 trends evolve into something new.
The Golden Rules of Kitchen Ergonomics and Shaker Cabinetry
A beautiful kitchen is only as good as its ergonomics. Even the most stunning shaker doors won’t make up for a layout that makes daily cooking difficult. Success in your renovation involves understanding how you move between tasks. This is where professional-grade planning meets home-style comfort, ensuring your kitchen is a joy to use every single day.
Mastering the Work Triangle with Shaker Units
The kitchen work triangle is the backbone of efficiency. It connects your sink, stove, and refrigerator in a logical path. For successful kitchen layout planning with shaker cabinets, each side of this triangle should stay between 4 and 9 feet. This range keeps everything within reach without making the workspace feel crowded. When you arrange your kitchen base cabinets, ensure no major obstacles like islands or tall pantry units intersect these lines. An island is a great addition, but it shouldn’t turn your cooking routine into an obstacle course.
Standard Dimensions and Clearance Requirements
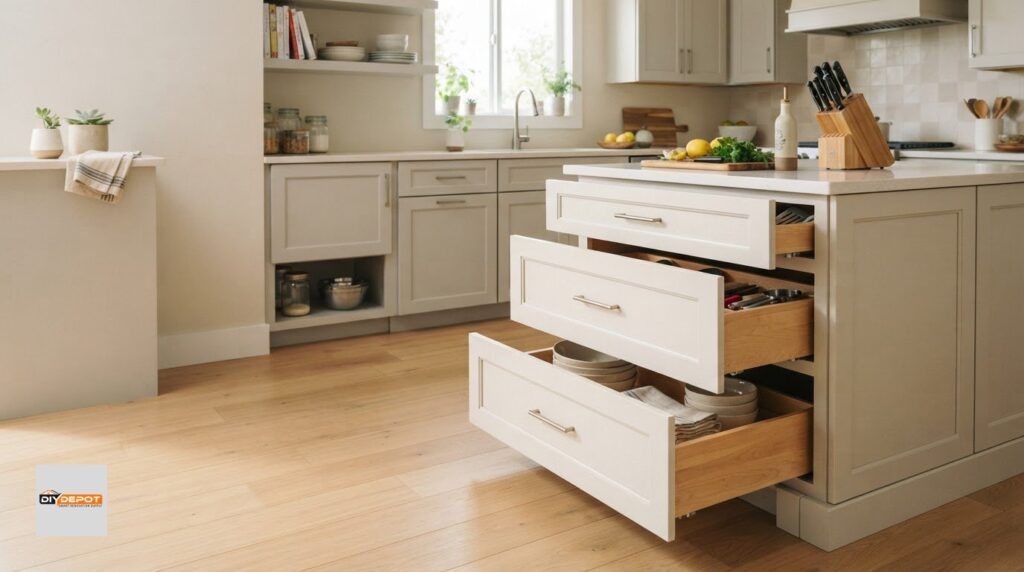
Precision is vital when setting your cabinet runs. Most layouts rely on the 24-inch deep base cabinet as a standard. However, the real secret is planning for the “swing.” You must ensure that shaker cabinet doors and drawers can fully extend without colliding with appliances or other units. This prevents frustrating dings and scratches on your new finishes.
- The 15-inch Rule: Maintain at least 15 inches of countertop space on both sides of the range for safety and prep work.
- Landing Zones: Designate a clear area near the refrigerator to set down heavy grocery bags or items being moved to the counter.
- Walkway Widths: Aim for 42 to 48 inches in work aisles to allow two people to pass comfortably without bumping into one another.
Vertical planning is another area where you can gain a major advantage. Using wall shaker cabinets that extend to the ceiling not only maximizes your storage but also draws the eye upward, making the room feel taller. This is a favorite trick for 2026 designs because it creates a seamless, built-in look that eliminates the need for dust-collecting gaps above the units. Incorporating these kitchen cabinet design details ensures your space is functional for years to come.
Small adjustments in these measurements can prevent expensive layout mistakes. If you’re feeling stuck on a specific dimension, reaching out for professional kitchen design support can provide the peace of mind you need to move forward with your project.
Adapting Shaker Cabinets to Specific Kitchen Floor Plans
Every kitchen footprint presents its own set of unique challenges. Whether you’re working with a cramped corridor or a sprawling open-concept area, kitchen layout planning with shaker cabinets allows you to maximize every square inch. The clean, rectangular lines of shaker doors help maintain a sense of order, making even the most complex floor plans feel intentional and cohesive. By choosing the right cabinet configurations, you can turn an awkward corner or a narrow walkway into a high-functioning part of your home.
Solving the Corner Cabinet Dilemma
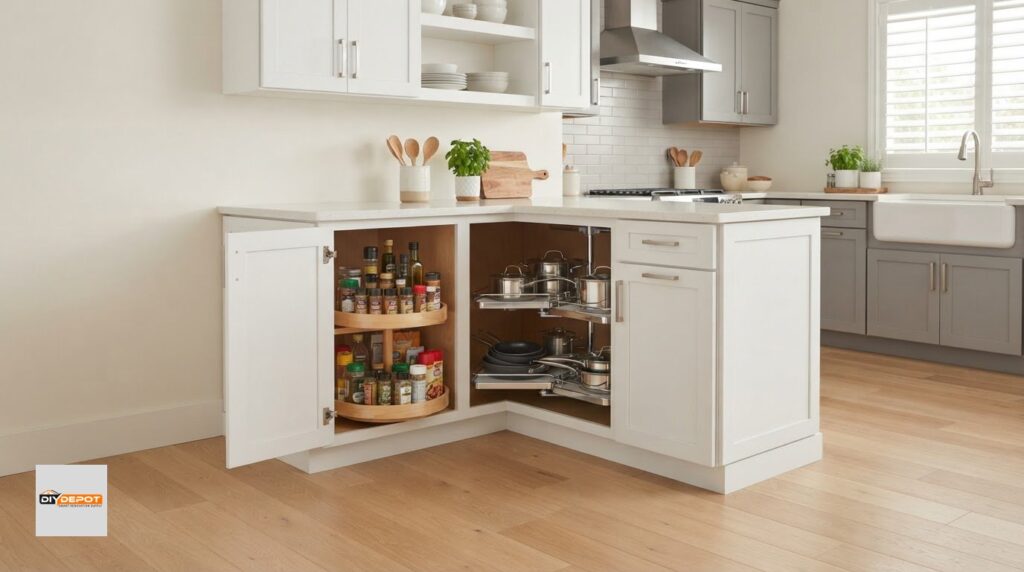
Corners are notorious for creating “dead zones” where space goes to waste. In an L-shaped kitchen, you have two primary options to solve this. Blind base cabinets offer a sleek, uninterrupted exterior look, while Lazy Susan units provide easier access to items tucked deep in the back. For your upper storage, diagonal corner wall shaker cabinets bridge the gap between two walls without cluttering the visual line. This strategy ensures you aren’t losing valuable real estate to hard-to-reach shadows.
The Galley and U-Shape Strategy
Galley kitchens are the workhorses of the culinary world, relying on parallel runs of cabinets to create a high-efficiency corridor. If you’re designing for a two-cook household, maintaining a 48-inch minimum aisle width is vital. This prevents traffic jams during busy meal prep times. In a U-shaped layout, symmetry is your best friend. Aligning shaker doors across from each other creates a balanced, architectural look that feels professionally designed. You can also integrate tall pantry cabinets into these long runs to provide a sleek, built-in appearance that hides bulkier kitchen essentials from view.
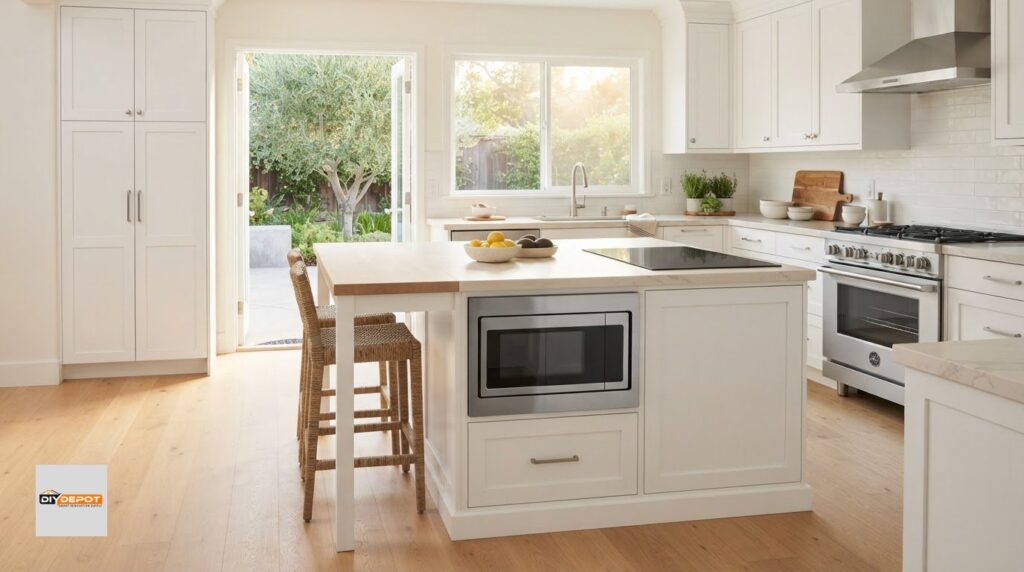
For those with enough square footage, a multi-functional island is the ultimate centerpiece for 2026. Using shaker units for the island base allows you to match your perimeter cabinets or create a subtle two-tone contrast. This centerpiece serves as a prep station, dining area, and storage hub all at once. It’s about creating a social environment where the cook isn’t isolated from the rest of the family. When your kitchen layout planning with shaker cabinets includes a well-proportioned island, you gain both extra workspace and a natural gathering spot for guests.
Measuring and Scaling: Avoiding Common Shaker Layout Pitfalls
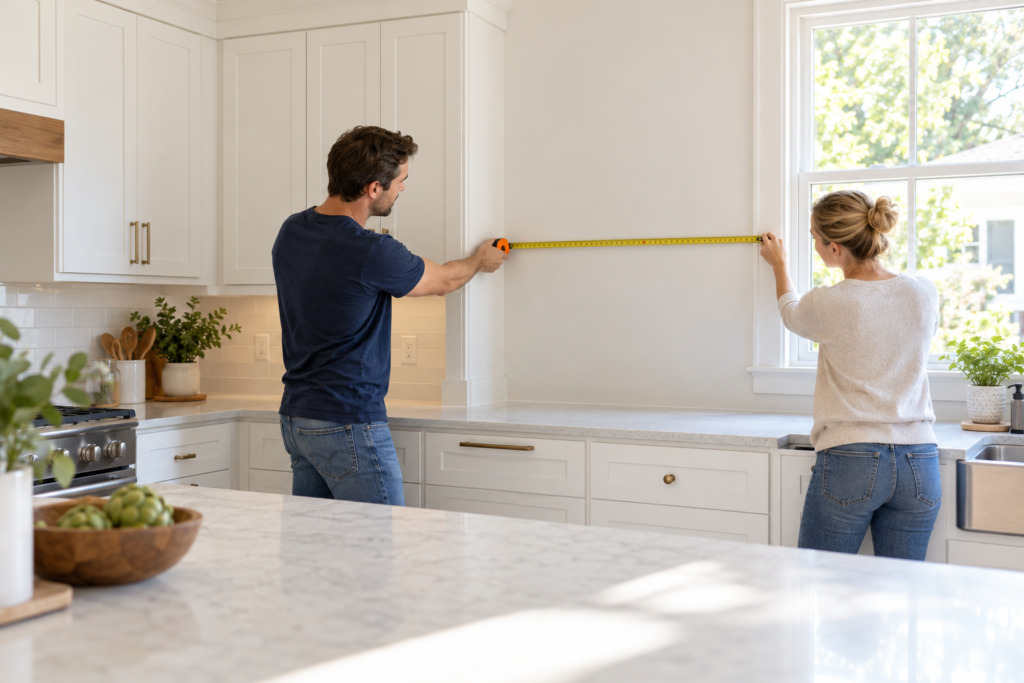
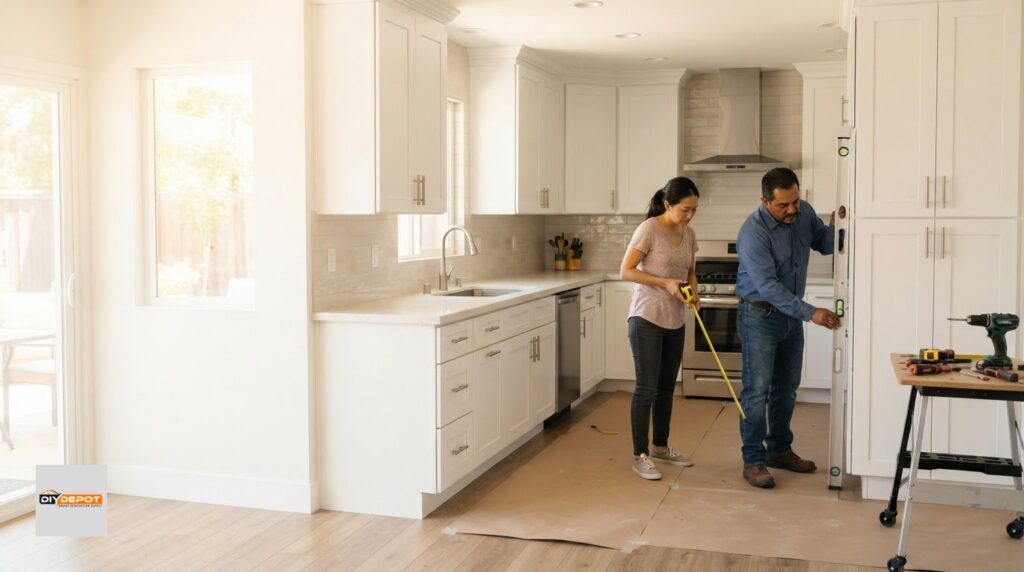
Precision is the difference between a kitchen that works and one that frustrates you every time you open a drawer. When you begin kitchen layout planning with shaker cabinets, you’ll quickly realize that your walls are rarely as straight as they look. Drywall irregularities, plumbing stacks, and electrical outlets can all throw off a measurement by half an inch, which is enough to ruin a cabinet run. Taking a “wall-to-wall” measurement means checking the distance at the floor, the middle, and the ceiling to find the smallest dimension. This ensures your cabinets actually fit into the physical space available.
One of the biggest mistakes homeowners make is finalizing their cabinet order before choosing their appliances. Modern refrigerators and ranges vary wildly in depth and width. A “standard” 36-inch refrigerator might actually require an extra inch of clearance for the doors to swing open fully against a wall. Always have your appliance spec sheets in hand before you commit to your layout. This allows you to plan for under-cabinet lighting and electrical needs, ensuring that your shaker units have the necessary wire management built into the design from day one.
Professional designers use a “filler piece” secret to make stock cabinets look like high-end custom work. These are small panels of matching shaker material used to bridge the gap between the end of a cabinet run and a wall. Fillers allow doors and drawers to open past door casings or uneven walls without hitting the trim. It’s a simple, inexpensive way to achieve a seamless, built-in look while avoiding the “drawer trap” where a handle hits a nearby appliance.
A Step-by-Step Measuring Checklist
- Floor to Window Sill: Measure this distance to ensure your base cabinets and countertops won’t block your view or hit the window trim.
- Center Points: Identify the exact center point of your sink and stove to align your plumbing and gas lines perfectly with your new units.
- Crown Molding Height: Account for the extra height of crown molding when planning your upper cabinets so they don’t hit the ceiling prematurely.
Common Layout Mistakes to Avoid
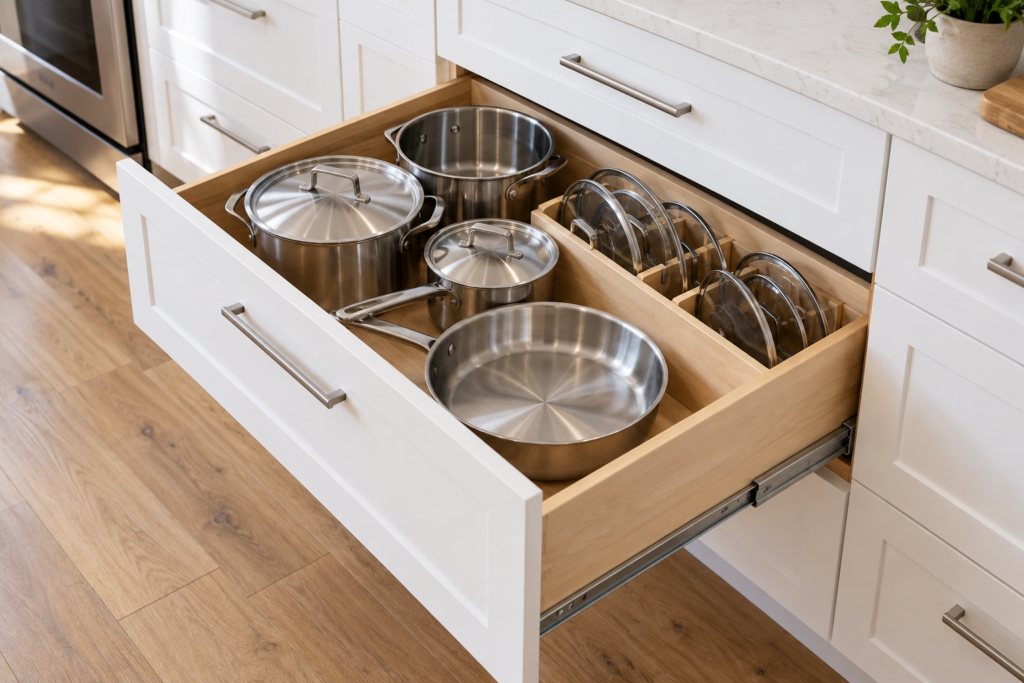
- The Drawer Trap: Always check that your corner drawers won’t hit oven handles or dishwasher doors when extended.
- Ventilation Gaps: Ensure you leave enough breathing room between wall cabinets for your range hood to function effectively.
- Ignoring Landing Zones: Every major appliance needs a 12 to 15 inch countertop buffer next to it for safety and convenience.
Getting these measurements right the first time will save you weeks of stress and thousands of dollars in re-ordering fees. If you’re ready to start your journey with a professional touch, you can order your professional kitchen design today to ensure every inch of your new layout is perfect.
Finalizing Your Design with Warehouse-Direct Shaker Cabinets
Once your measurements are locked and your floor plan is set, the final step in kitchen layout planning with shaker cabinets is sourcing your materials. Many homeowners assume custom-built units are the only way to achieve a high-end look, but warehouse-direct options have changed the game for 2026. Ready to assemble (RTA) models provide the same aesthetic appeal and structural integrity as pre-assembled units while significantly reducing your overall project costs. This approach gives you the freedom to invest more into your appliances or countertops without sacrificing the quality of your foundation.
Choosing ready to assemble kitchen cabinets allows you to stay in control of your timeline. Because these units ship flat, they are much easier to move through narrow hallways or store in a garage until your job site is ready. This logistical flexibility is a major advantage during a large-scale renovation. When you combine the savings of RTA with the durability of shaker construction, you create a kitchen that offers an incredible return on investment.
The Power of Professional Design Support
Even with a solid plan, having a second pair of expert eyes can prevent minor oversights from becoming major headaches. Utilizing professional kitchen design services provides access to 3D rendering tools that bring your vision to life. These renderings allow you to visualize exactly how your shaker cabinets will look in your specific space before you spend a dime on materials. It’s the most effective way to transition from a rough sketch to a final, accurate cabinet manifest that accounts for every filler piece and toe kick.
Quality Control in Warehouse-Direct Sourcing
Sourcing directly from a warehouse doesn’t mean compromising on craftsmanship. In fact, wholesale kitchen cabinets often feature premium details like solid wood frames, dovetail drawer joints, and soft-close hinges as standard. These high-quality features ensure your layout remains durable and functional for decades. Before you finalize your order, run through a final checklist to ensure your cabinet counts match your layout plan perfectly. This includes verifying the number of base, wall, and vanity units needed to complete your design.
Logistics shouldn’t be the most stressful part of your project. Direct free delivery to your door simplifies the process, letting you focus on the assembly and installation. While many homeowners enjoy the process of assembling their own cabinets, hiring a pro for the final installation ensures that everything is perfectly level and plumb. This final touch is what makes your kitchen layout planning with shaker cabinets truly successful, resulting in a space that feels both professionally finished and uniquely yours.
Building Your 2026 Kitchen with Confidence
Mastering your home renovation doesn’t have to be a stressful experience. By focusing on the timeless versatility of shaker doors and following the golden rules of ergonomics, you’ve already taken the biggest step toward success. We’ve explored how the right measurements and floor plan adaptations can turn a challenging space into a high-functioning masterpiece. Remember that successful kitchen layout planning with shaker cabinets is a balance of lasting aesthetics and technical precision. Your kitchen is the heart of your home, and it deserves a layout that supports your daily routine without compromise.
You don’t have to handle the complex logistics or technical drawings alone. Whether you’re looking for warehouse-direct pricing to maximize your budget or you need expert assembly and installation to ensure a perfect fit, we’re here as your trusted partner. With direct FREE delivery, your project can stay on track from the warehouse to your front door. It’s time to turn those sketches into a beautiful, functional reality that your family will enjoy for decades to come.
Start Your Dream Kitchen with Professional Design Support Today
Frequently Asked Questions
How much space should be between a kitchen island and shaker base cabinets?
You should aim for a minimum of 42 inches of walkway space between your island and shaker base cabinets. If your kitchen often has two people cooking at once, increasing this distance to 48 inches ensures everyone can move comfortably without bumping into one another. This clearance is essential for kitchen layout planning with shaker cabinets because it allows doors and drawers to fully extend without obstructing the path during meal prep.
Can I mix different colors of shaker cabinets in one layout?
Yes, mixing colors is a popular 2026 trend that adds visual depth to your space. Many homeowners choose a darker shade for their base cabinets and a lighter tone for their wall shaker cabinets. This two-tone approach creates a grounded feel while keeping the upper portion of the room bright and airy. You can also use a contrasting color on a kitchen island to create a sophisticated focal point in your layout.
What is the standard height for shaker wall cabinets in 2026?
Standard wall cabinet heights typically range from 30 to 42 inches. In 2026, the trend is moving toward 42-inch cabinets that extend all the way to the ceiling to maximize storage and eliminate dust-collecting gaps. If you have standard 8-foot ceilings, 30-inch or 36-inch cabinets are common choices. Always account for the height of your crown molding when selecting your cabinet size to ensure a seamless finish against the ceiling.
Do I need a professional designer to plan my shaker kitchen layout?
While you can certainly draft your own plan, professional design support acts as a critical safety net for DIY projects. A designer uses 3D rendering to help you visualize the final result and catch expensive measurement errors before you order. They can assist with tricky corner solutions and ensure your appliance clearances are accurate. This extra pair of expert eyes provides peace of mind that your kitchen layout planning with shaker cabinets will be successful.
Are shaker cabinets considered modern or traditional in 2026?
Shaker cabinets are unique because they fit both modern and traditional aesthetics. Their clean, minimalist lines allow them to blend into ultra-modern designs, especially when paired with slim frames or minimalist hardware. Conversely, their classic five-piece construction feels right at home in a traditional or farmhouse setting. This versatility is why they remain the most popular choice for homeowners who want a timeless look that won’t go out of style even as trends change.
How do I plan for a dishwasher in a run of shaker cabinets?
You should plan for a standard 24-inch wide opening for your dishwasher, ideally placed directly next to the sink. This location simplifies plumbing and makes loading dishes much more efficient. When mapping out your run of shaker base cabinets, ensure the dishwasher door has at least 21 inches of clear space to open fully. You don’t want the open door to block access to nearby drawers or create a tripping hazard in your walkway.
What are the most common mistakes when planning a shaker kitchen layout?
One frequent mistake is failing to account for the “door swing” of appliances, which can lead to collisions with your new cabinetry. Another error is neglecting “landing zones,” which are the 12 to 15 inch sections of countertop needed next to the stove and refrigerator. Finally, many people order their cabinets before finalizing appliance specifications. These small oversights can lead to expensive adjustments and delays during the installation phase of your project.
How much can I save by choosing RTA shaker cabinets over custom options?
Choosing ready to assemble units can lead to substantial savings compared to custom-built cabinetry. Because these cabinets ship flat and are produced in standard sizes, the manufacturing and logistics costs are much lower. These savings allow you to invest in high-quality features like soft-close hinges and solid wood frames that might otherwise be out of reach. It’s an efficient way to achieve a custom look while staying within a sensible budget for your renovation.