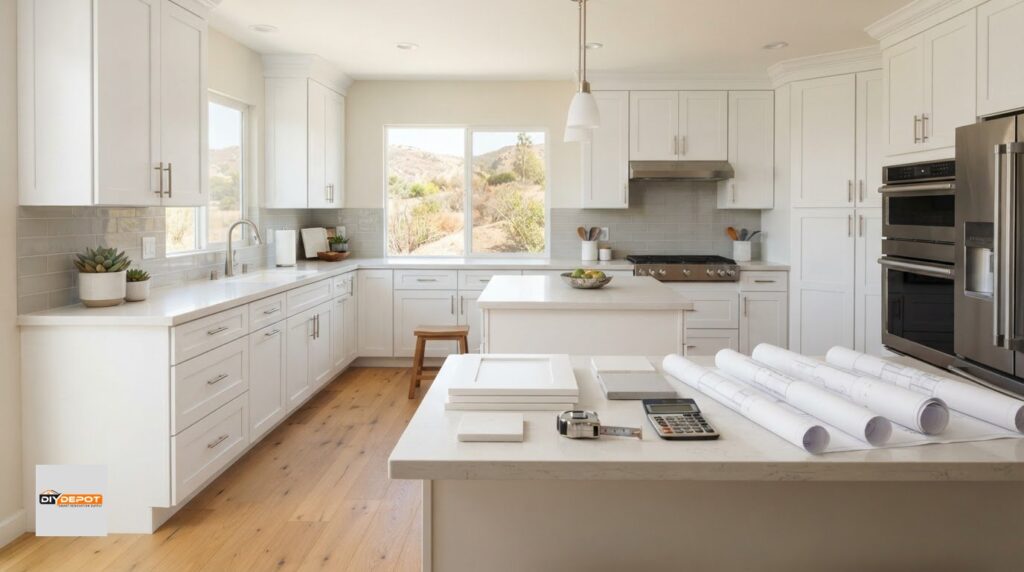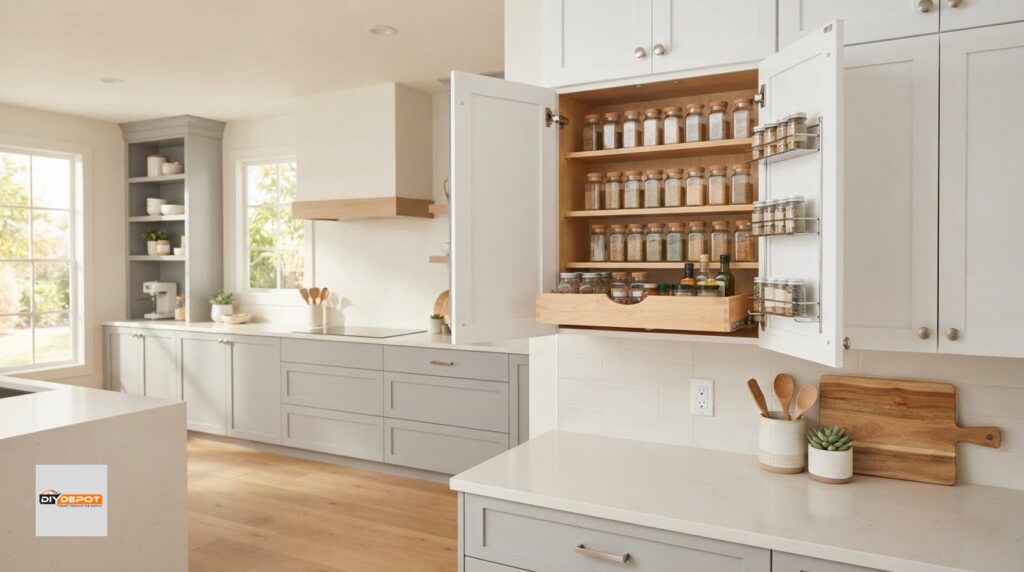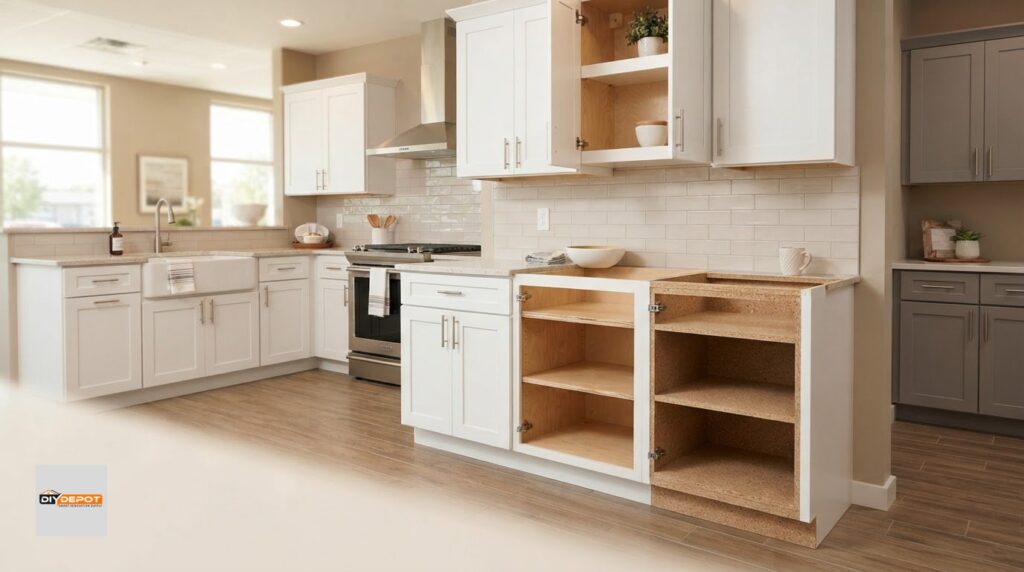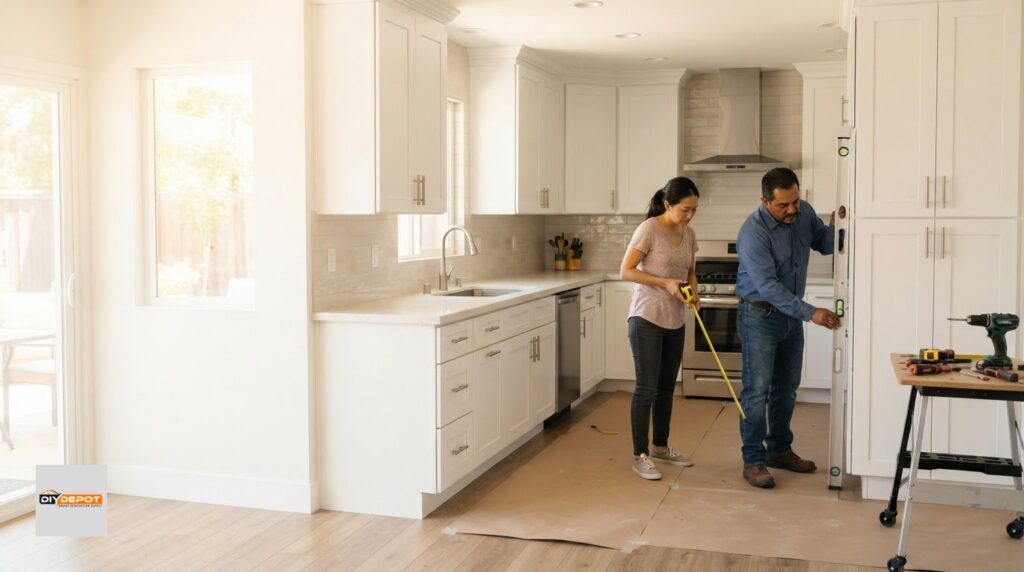

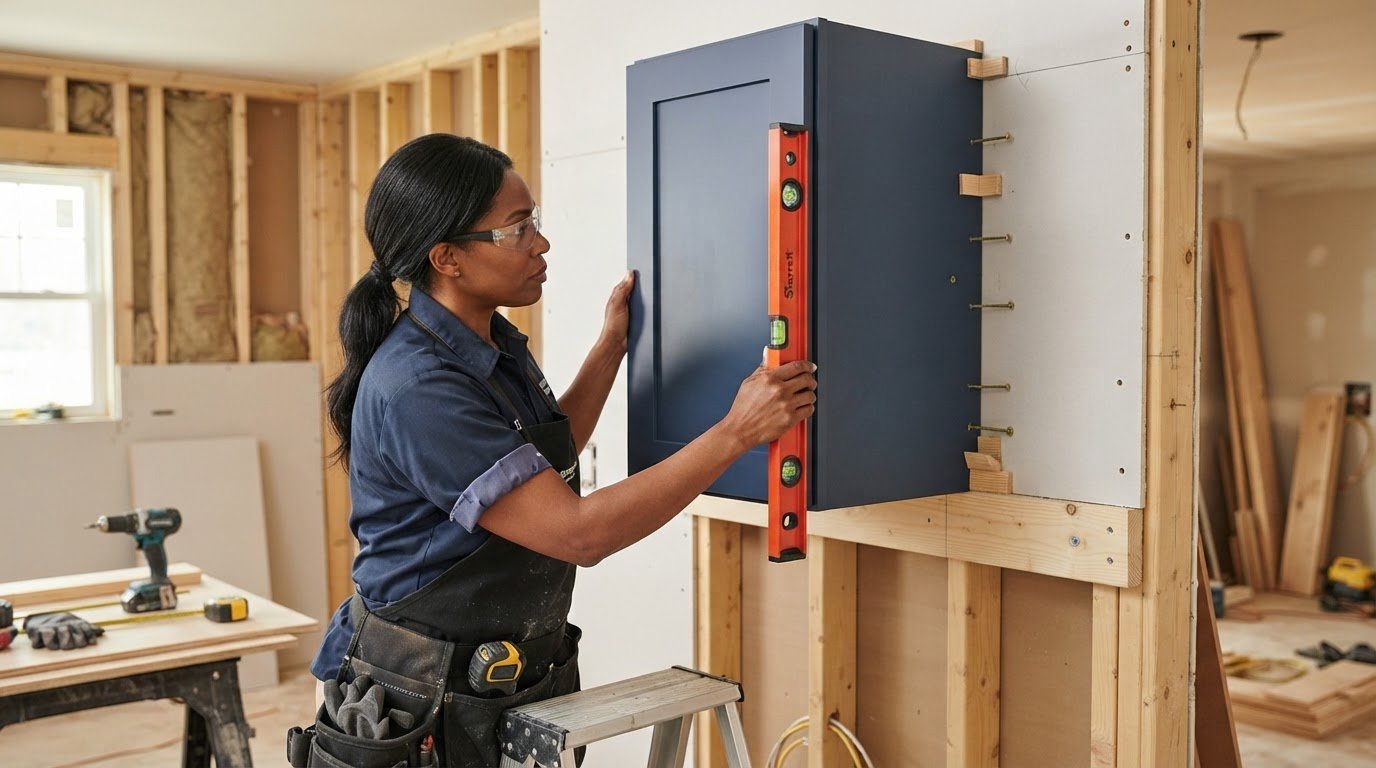
What if the secret to upper cabinets that never sag or pull away has nothing to do with how much weight you can balance overhead? Learning how to install wall cabinets securely comes down to methodical wall mapping and reliable mechanical support before you ever lift a box. It’s completely normal to feel intimidated by the thought of hanging heavy cabinetry. Balancing bulky frames against bowed drywall while trying to drive screws into hidden studs can rattle anyone’s nerves, especially with the lingering fear of an overloaded cabinet tearing loose down the road.
You don’t have to leave your kitchen’s structural safety to guesswork. In this guide, you’ll learn the exact trade techniques to anchor wall cabinets level, plumb, and rock-solid into structural wall studs. We’ll walk step-by-step through mapping your room’s high spots, fastening a temporary ledger support, shimming out wall dips, and securing face frames for a seamless finish, while helping you judge whether to tackle the job yourself or bring in professional installation support.
Key Takeaways
- Choose washer-head cabinet screws and a high-precision level instead of standard drywall fasteners to prevent structural failure.
- Establish clean reference lines from your floor’s highest point to maintain level, balanced upper storage across uneven walls.
- Mount a temporary wood ledger board to take the physical strain out of lifting while securing boxes to wall framing.
- Discover how to install wall cabinets securely by drilling pilot holes directly through solid hanging rails and shimming bowed drywall gaps.
- Connect factory-square face frames flush with specialized clamps before tightening structural fasteners for seamless, gap-free cabinet runs.
Essential Tools and Fasteners for Hanging Wall Cabinets
Every successful kitchen build starts with preparation. Understanding cabinetry basics means recognizing that upper units carry hundreds of pounds of dinnerware, glassware, and pantry supplies. When learning how to install wall cabinets securely, relying on whatever spare screws happen to be in your toolbox creates an immediate safety hazard. Setting up with purpose-built layout tools and correct mechanical fasteners protects your investment and ensures your cabinets stay anchored permanently.
Before lifting any boxes into place, stage your workspace with these essential foundation tools:
- Precision layout tools: A four-foot spirit level or a self-leveling laser level, a dependable chalk line, and a quality measuring tape ensure horizontal lines remain true across the entire room.
- Electronic stud finder: Deep-scan multi-sensors detect wall framing centerlines behind thick drywall and plaster.
- Dedicated cabinet support: A straight 1×4 lumber strip or telescoping support poles carry the dead load so you don’t struggle against gravity while fastening.
- Clamping gear: Face-frame clamps and quick-grip bar clamps keep adjacent cabinets flush and aligned without denting factory finishes.
Choosing the Right Fasteners and Load-Bearing Hardware
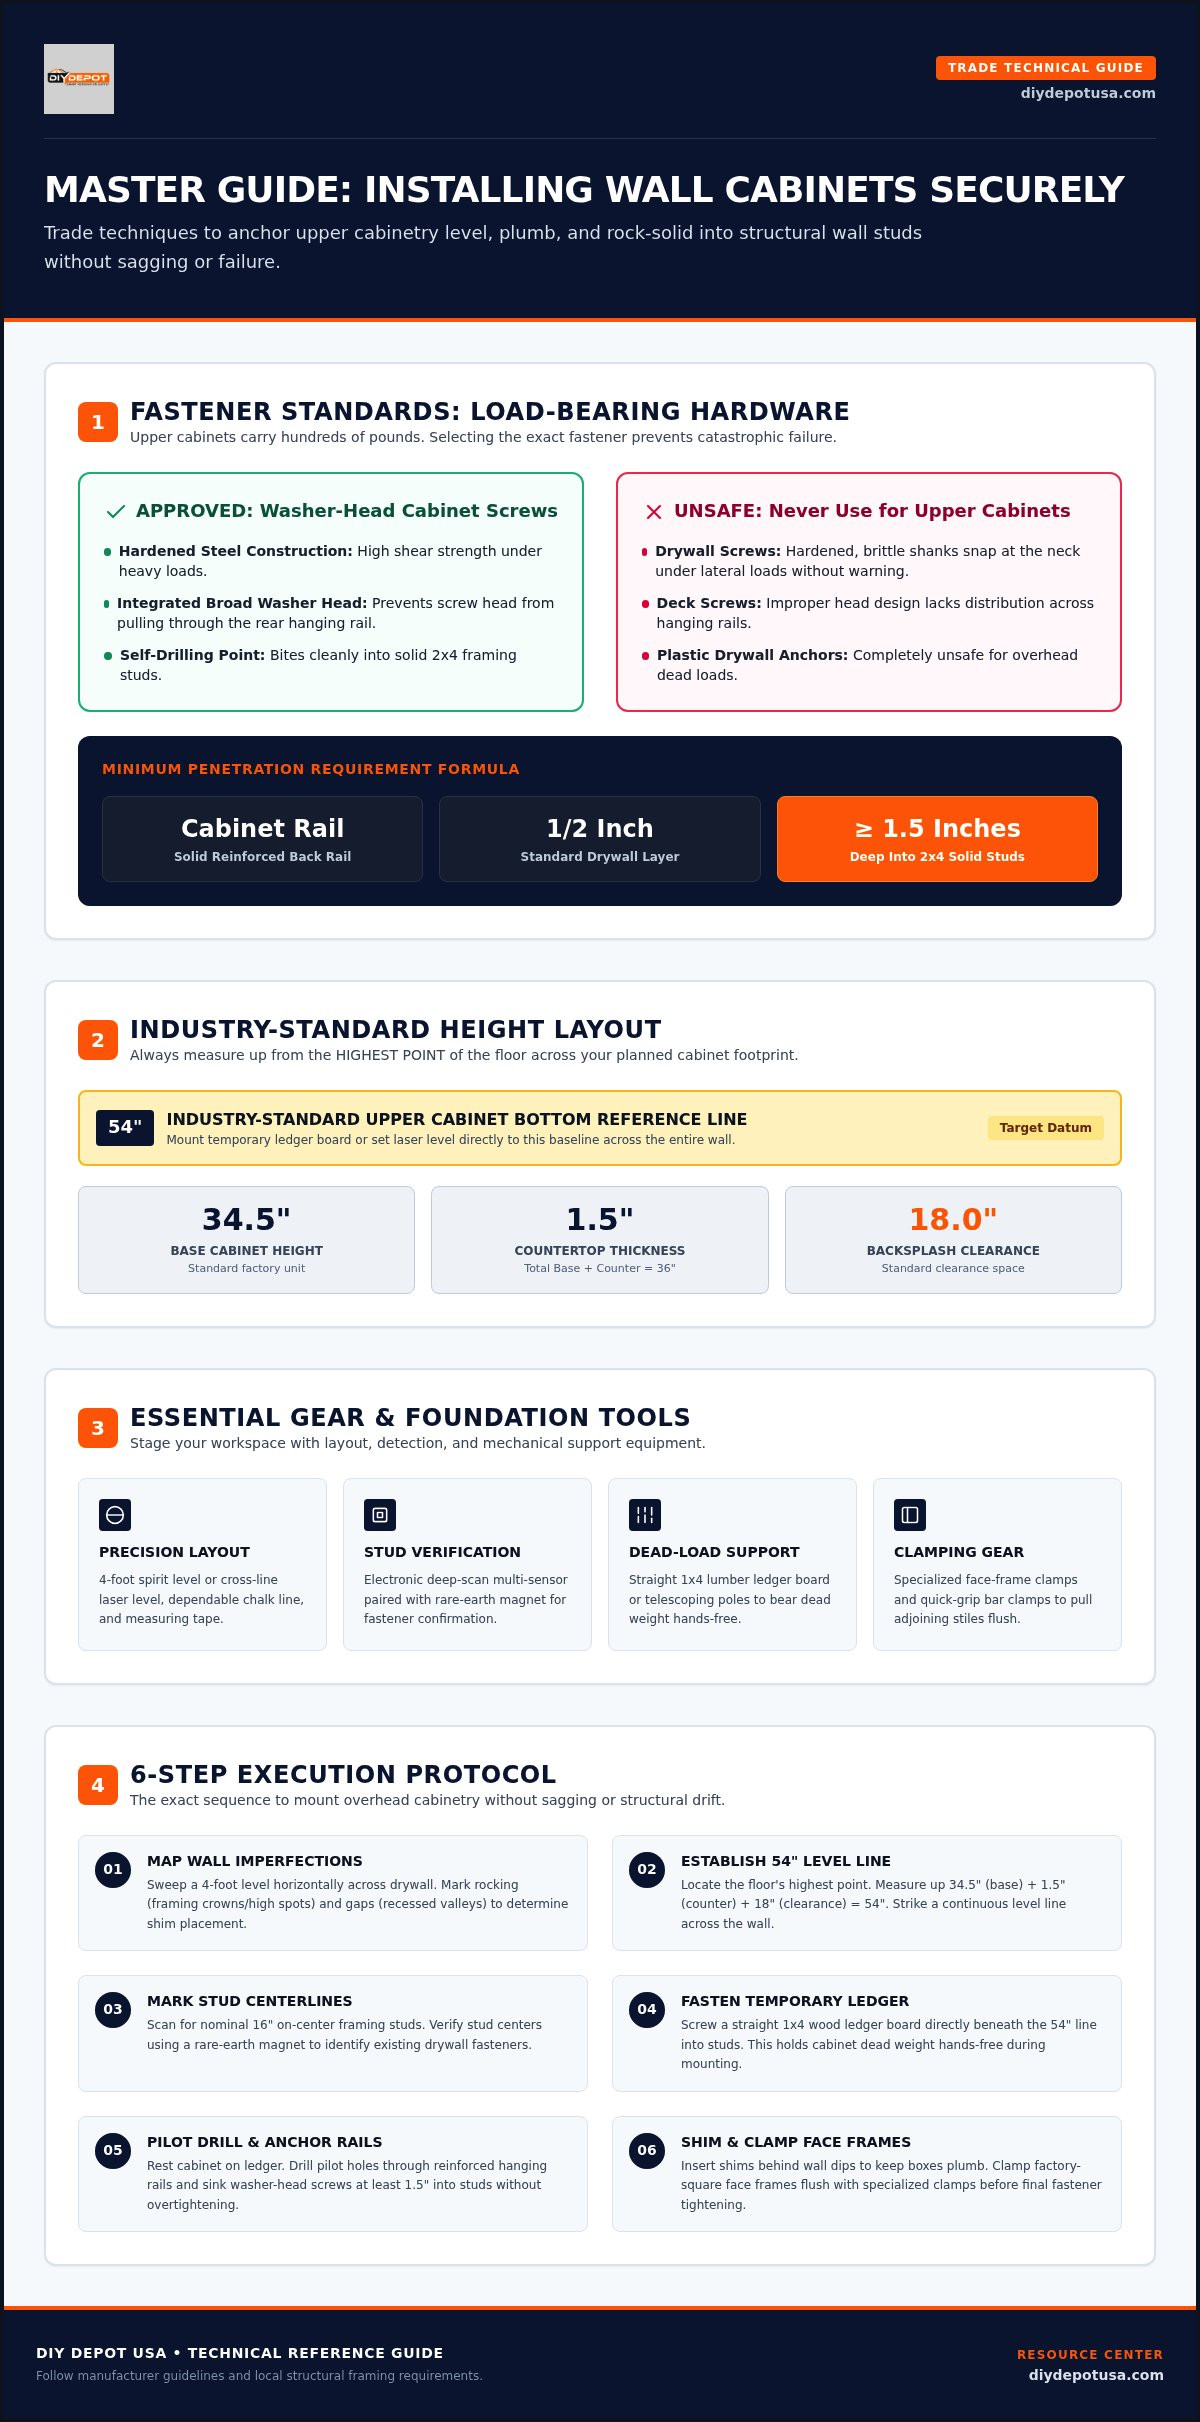
Drywall screws have hardened, brittle shanks designed solely to hang gypsum panels. Never use drywall screws or general deck screws to hang upper cabinets. Under heavy lateral loads, drywall screws easily snap at the neck without warning. Standard plastic drywall anchors are equally unsafe for overhead storage.
Instead, choose dedicated cabinet screws featuring hardened steel, self-drilling points, and broad washer heads. The integrated washer prevents the head from pulling through the back hanging rail. For dependable holding power, select fasteners long enough to pass through your cabinet’s hanging rail, penetrate 1/2-inch drywall, and sink at least 1.5 inches deep into solid 2×4 framing studs. High-quality wall shaker cabinets feature reinforced hanging rails designed specifically to handle these washer-head fasteners without splitting.
Specialty Tools That Simplify Overhead Mounting
Specialty gear takes the strain out of overhead positioning. Pairing an electronic deep-scan sensor with a strong rare-earth magnet confirms both wood stud locations and existing drywall drywall nails. A tripod-mounted cross-line laser level casts a continuous, visible reference line along the wall, eliminating the need to pencil endless manual marks.
Finally, specialized face-frame clamps pull adjoining stiles together and guide pilot drilling in one step. This mechanical alignment delivers the seamless, continuous appearance that defines how to install wall cabinets securely like an experienced craftsman.
Mapping the Wall: Finding Studs, High Spots, and Level Lines
Drywall rarely sits flat, and floors are almost never level. Rushing to hang cabinets without mapping these imperfections guarantees alignment headaches later. Mastering how to install wall cabinets securely begins with a comprehensive layout drawn right onto the drywall before you ever lift a cabinet box into the air.
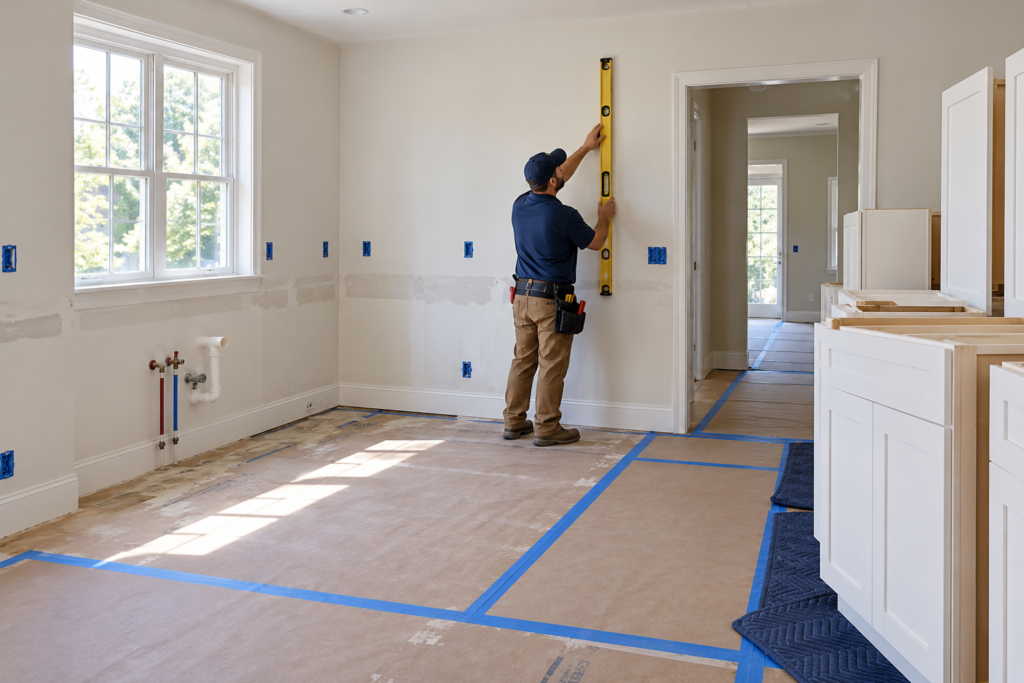
Take a long four-foot level or straightedge and sweep it horizontally across the installation wall. Watch for light leaking beneath the edge. Rocking indicates a crown (high spot) in the framing, while a gap signals a recessed hollow. Mark these crowns and valleys directly on the wall with light pencil marks so you know exactly where shims will be needed later.
Locating the High Spot on Your Floor
Always measure up from the highest point of your floor, never the lowest. Set your level along the floor run beneath your planned cabinet footprint to find this peak. If you measure from a low spot, your base cabinets will end up too tall when you hit the rise, crowding your backsplash area.
Once you locate the high spot, mark a line 34.5 inches up for standard base cabinet height, then add 1.5 inches for countertop thickness (totaling 36 inches). Next, measure up an additional 18 inches to establish the industry-standard upper cabinet bottom line at exactly 54 inches from the floor’s high point. Extend this line across the entire wall using your laser level or chalk line. If you’re coordinating a full room layout, taking time to review your overall spatial plan helps avoid costly layout surprises down the line.
Finding and Marking Wall Stud Centers Accurately
Studs are nominally spaced 16 inches on center, but framing shifts around corners, plumbing stacks, and electrical chases. Use your electronic scanner to find both outer edges of each stud, then mark the exact 1.5-inch centerline between those edges. Confirm the center by driving a thin trim nail into the drywall within the area that the cabinets will ultimately cover. When the nail hits solid wood resistance rather than hollow air, you have verified the structural anchor point.
Draw continuous vertical pencil lines down each stud location through your 54-inch mark. Finally, measure the distance from the room’s starting corner to each stud line and transfer those exact dimensions onto the solid hanging rails inside your wall shaker cabinets. Pre-marking these points ensures every screw hits the meat of the wood, showing you firsthand how to install wall cabinets securely without relying on luck.
Installing a Temporary Ledger Board for Hands-Free Support
Balancing a 50-pound cabinet overhead while fishing for screws is an easy way to cause an injury or drop a box. Professional installers eliminate that physical strain with a simple trade secret: a temporary wood ledger board. Screwing a scrap piece of dimensional lumber directly into the wall framing gives your cabinets a rigid, load-bearing shelf to sit on. This simple step transforms an exhausting, frantic balancing act into a calm, controlled process that lets you focus on how to install wall cabinets securely.
Pick a clean, straight piece of 1×4 or 2×4 lumber that spans the width of your planned cabinet run. Sight down the edge to confirm it has no crowns or twists. Position the top edge of this board directly along the 54-inch bottom reference line marked during your wall layout. This board will carry 100 percent of the cabinet weight while you align, shim, and fasten the upper boxes.
Fastening the Ledger Board to Structural Framing
Set your level across the lumber to verify the board remains perfectly horizontal from end to end. Next, anchor the board into the wall framing by driving two 3-inch construction screws into every stud centerline you mapped earlier. Don’t rely on simple finish nails or drywall anchors here; this board must support significant downward shear weight as multiple cabinets rest upon it.
Drive the screw heads flush or countersink them slightly below the wood face. Any screw head protruding above the board’s top edge will tilt your cabinet base forward or prevent it from resting flat. Once the ledger is locked tight to the studs, double-check it with your level one more time. Any tilt in this support board will telegraph through every box in your run.
Removing the Ledger and Patching Drywall After Installation
Keep the ledger firmly screwed into the studs until the entire run of cabinets is hung, shimmed, screwed to the wall, and clamped together through adjoining face frames. Once the boxes form a rigid, self-supporting unit anchored into the wall framing, back out the 3-inch ledger screws and ease the board away from the wall.
Removing the board leaves behind small screw holes in the drywall along your reference line. If you plan to install a tile backsplash, those small holes sit well within the tile field and require no patching at all. If you’re leaving a painted drywall finish, quickly fill each penetration with spackling compound, sand it smooth once dry, and touch it up with wall paint. This approach keeps your workspace clear and demonstrates how to install wall cabinets securely with minimal effort.
Step-by-Step Guide: Hanging, Shimming, and Securing Wall Cabinets
Precision execution at this stage makes the difference between crooked, binding doors and silky-smooth cabinetry. Many DIYers make the mistake of cinching down wall screws on the very first box before bringing in the next one. Doing that locks the first cabinet in place, removing the wiggle room you need to pull adjacent face frames perfectly flush. Knowing how to install wall cabinets securely means keeping fasteners slightly loose until adjoining units lock together into a unified, continuous assembly.
Mounting the First Corner Cabinet Perfectly Plumb
Always start your run in a corner. The corner box dictates the plane and level for every cabinet flanking it down the wall. Lift the corner box onto your secured ledger board. Drill pilot holes through the top and bottom hanging rails where your stud marks line up, then sink washer-head cabinet screws just enough to hold the box against the wall without binding.
Place your level vertically on the face frame and along the side panel. Walls rarely form true 90-degree corners, so slip tapered wood shims behind the cabinet back near stud locations until the box reads plumb in both directions. If you want a trouble-free foundation, consider factory-square wall shaker cabinets engineered with heavy-duty back structural mounting rails that won’t flex or crack when shimmed.
Joining Adjacent Face Frames Flush Without Gaps
Slide the adjacent cabinet onto the ledger and snug it up to the first unit. Instead of fastening this second cabinet directly to the wall right away, focus on marrying the two face frames. Align the front stiles flush using specialized face-frame clamps or padded locking pliers.
Drill two countersunk 1/8-inch pilot holes through the side edge of the face frame stile, placing them directly behind hinge mounting plates to conceal them later. Drive dedicated trim screws through the stiles to pull the two frames into an invisible seam. Connecting the face frames first creates a rigid, unbroken face plane that prevents gaps between adjoining units.
Final Anchoring and Removing Shims Cleanly
Once your cabinet frames are locked together, drill pilot holes through the second cabinet’s hanging rails into the marked studs. Insert shims behind any gaps between the back rail and the drywall to prevent pulling the box out of square as you fasten it. Now drive all mounting screws firmly home into the studs across the connected run.
Take a sharp utility knife, score both sides of any protruding wood shims right at the cabinet edge, and snap them off clean. Recheck the diagonals of each box with a tape measure to ensure they remain square; equal diagonal measurements mean your doors will close true without rubbing. If you prefer to skip the heavy lifting, you can easily book an appointment with experienced professionals for cabinet installation support.
Ensuring Long-Term Safety: Weight Limits, Checks, and Professional Help
Hanging your cabinetry straight is a major milestone, but long-term structural integrity requires validation before you fill those shelves with heavy dishware. Stacks of ceramic plates, stoneware bowls, and canned pantry goods quickly add up to hundreds of pounds of downward pull. Knowing how to install wall cabinets securely includes confirming that your mounting system handles real-world dynamic loads without shifting, creaking, or pulling away from the framing.
Conducting Post-Installation Deflection and Security Tests
Perform a manual deflection test before loading any items. Place both hands firmly on the bottom interior shelf of each cabinet and apply moderate downward pressure. Watch the seam along the back wall closely. You should observe zero vertical deflection, box twisting, or seam separation along the top structural hanging rail.
Listen for wood groaning or popping drywall around the fasteners. After 48 hours, return to each cabinet with a handheld driver and check fastener torque. Settling wood fibers and compressed drywall paper can occasionally loosen tension slightly. Retightening ensures your anchor points stay solid for decades.
Understanding Weight Distribution and Load Capacities
Smart weight distribution protects both your cabinet joints and wall studs from localized structural fatigue over time. Keep these sensible storage rules in mind:
- Lower shelf loading: Place your heaviest items, like ceramic Dutch ovens, stoneware service platters, and bulk canned goods, on the lowest interior shelf, which sits directly adjacent to the structural wall anchors.
- Span management: Avoid stacking tall columns of ceramic dishes in the dead center of long, unassisted shelf spans to prevent permanent wood sag or shelf peg tear-out.
- Run balance: Distribute heavier cookware across the entire interconnected run rather than concentrating excessive mass into a single upper box.
When to Hire Professional Installation Services
Every home presents unique framing challenges. While straightforward runs with standard wood studs make great weekend projects, complex renovations can introduce serious structural hurdles. Commercial metal studs, solid concrete masonry, or walls with severe bow profiles often require specialized anchors and extensive scribing that can quickly overwhelm a DIY timeline.
If you’re weighing whether to tackle this yourself, exploring your options helps you find the right balance between hands-on labor and guaranteed precision. Our team supplies sturdy cabinetry alongside expert installation support to take the heavy lifting off your shoulders. Ready for an effortless kitchen update? Schedule professional cabinet installation support today to ensure your dream kitchen comes together perfectly.
Build Lasting Strength and Style Into Your Kitchen
Mastering how to install wall cabinets securely transforms your kitchen renovation from an intimidating chore into a genuinely rewarding project. Success always begins well before lifting a box into place. By establishing true reference lines from your floor’s highest point, letting a temporary wood ledger support the dead weight, and clamping face frames flush before driving final wall screws, you ensure your upper storage remains level, plumb, and anchored for decades.
A flawless result also relies on solid materials engineered for real-world installation. When you’re ready to upgrade your kitchen, we make the process simple from day one. Take advantage of warehouse-direct pricing on durable shaker cabinetry, featuring factory-square face frames that make seamless box alignment effortless. With professional kitchen design assistance and nationwide cabinet installation services ready whenever you need an extra hand, building a safe, stunning cooking space is well within your reach. Explore our durable shaker cabinets and installation services to kick off your renovation today.
Frequently Asked Questions
Can I install wall cabinets into drywall without hitting wall studs?
No, you should never mount heavy wall cabinets directly into drywall using hollow-wall anchors. Drywall lacks the shear and tensile strength needed to support cabinet casework packed with dishware. Fasteners must sink directly into structural framing studs. If a cabinet’s position misses a stud entirely, span the framing inside the wall cavity with solid horizontal 2×4 wood blocking before hanging.
What size screws should I use to install wall cabinets securely?
Use #8, #9, or #10 heavy-duty cabinet screws that measure at least 2.5 to 3 inches long. The screw must pass through the cabinet’s internal hanging rail, penetrate 1/2-inch drywall, and sink a minimum of 1.5 inches directly into solid wood studs. Choose screws featuring wide washer heads rather than tapered bugle heads to prevent crushing or pulling through back rails.
Do I install upper wall cabinets or lower base cabinets first?
Always hang your upper wall cabinets before placing base units whenever possible. Installing uppers first gives you wide-open floor space to stage step stools, ladders, and lumber supports without leaning over fragile countertops. It saves your lower cabinetry from accidental dents, dropped tools, and wood dust, simplifying how to install wall cabinets securely from start to finish.
How do you secure wall cabinets to an uneven or bowed wall?
Secure cabinets to bowed framing by inserting tapered wood shims behind the upper and lower hanging rails wherever hollow gaps occur. Never force a mounting screw tight against a recessed drywall hollow without a shim in place. Driving fasteners into unsupported drywall bends the cabinet box out of square, causing face-frame seams to pop open and cabinet doors to bind.
How much weight can a properly installed kitchen wall cabinet hold?
A standard manufactured wall cabinet anchored into at least two structural wood framing studs safely supports between 200 and 500 pounds of distributed weight. Cabinetry meeting Kitchen Cabinet Manufacturers Association (KCMA) standards undergoes rigorous static and dynamic load testing to verify joint resilience. For maximum safety, distribute dense items across lower shelves right beside structural mounting rails.
Why is using a temporary ledger board recommended for wall cabinets?
A temporary ledger board provides a continuous, dead-level mechanical shelf that physically supports the full weight of upper boxes during layout. Instead of straining to balance a heavy unit overhead while hunting for stud marks, you simply rest each box on the lumber. This hands-free stability lets you focus on plumbing edges, shimming hollows, and tightening connectors accurately.
What is the standard hanging height for kitchen upper wall cabinets?
The standard benchmark places the bottom edge of kitchen wall cabinets exactly 54 inches above the finished floor. Because standard base cabinets stand 34.5 inches high and countertops add roughly 1.5 inches, this 54-inch mark establishes the recommended 18-inch clearance between the counter surface and upper storage. Always measure this distance from the floor’s highest spot along the wall run.