

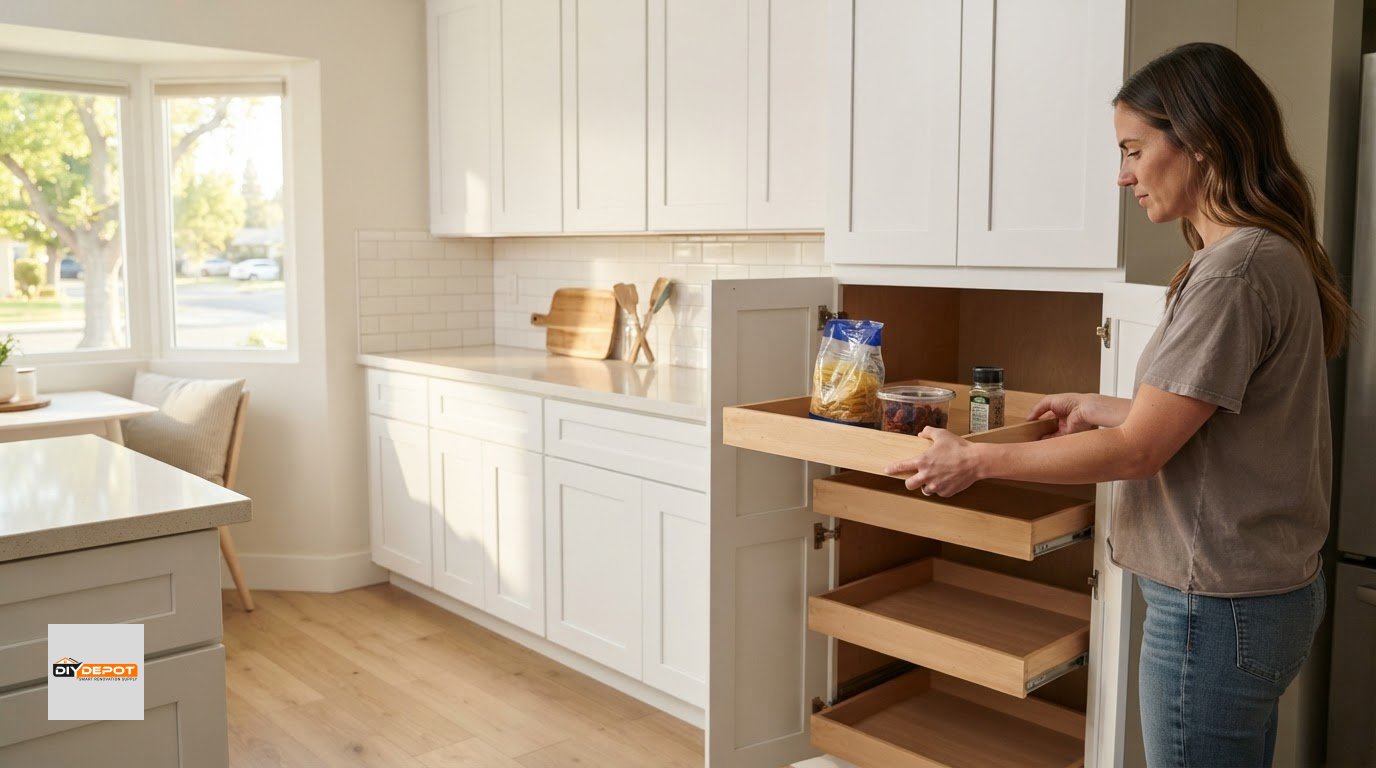
Shaker cabinets remain popular for their clean, simple door design. White and gray are familiar choices, while blue and green offer more color without changing the classic framed profile.
If you’re considering Shaker cabinets for a home in California, Las Vegas, or the Phoenix area, look beyond appearance. Construction, dimensions, and fit with your kitchen layout all matter. Resale appeal depends on how well the finished kitchen suits the home and the people who use it.
This guide explains what to consider when choosing Shaker cabinets, from color and construction to measurements and ready-to-assemble options available at DIY Depot. Use these practical checks to decide whether the style and cabinet plan fit your home and renovation.
Key Takeaways
- Compare cabinet construction details, not just the door style, to understand how an option may suit your kitchen.
- Assess resale appeal through the kitchen’s overall function and how well the cabinetry fits the home.
- When comparing ready-to-assemble options, look beyond the starting price to understand what the cabinet selection includes.
- Measure cabinet spaces carefully and review depth, shelving, and toe-kick dimensions before planning the layout.
- Explore base, wall, and vanity cabinet options alongside professional kitchen design support to shape a plan around your project.
Are shaker cabinets popular?
Yes. White and gray remain the most popular colors for Shaker kitchen cabinet fronts, while blue and green are gaining popularity. Shaker cabinets continue to appeal to homeowners who want a simple door profile that can work with different room styles.
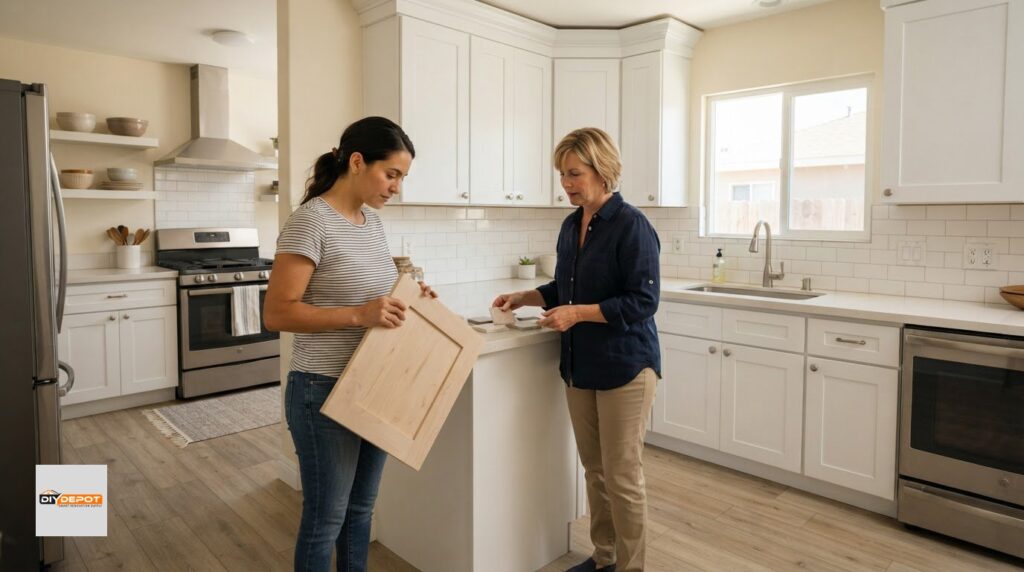
Start by comparing cabinet colors with the finishes that will stay: countertops, flooring, backsplash, and walls. White fronts can work well with pale counters, while gray may pick up darker veining in stone. The colors do not need to match exactly, but they should look intentional together.
Lighting changes how a finish looks. Gray may appear warmer beside wood flooring and cooler near bright white tile. View samples in daylight and under the kitchen’s evening lights to spot undertones that a screen image can hide.
Blue and green bring color to the familiar framed door profile. Muted green can complement natural wood details, while deeper blue can contrast with pale walls. Let the surrounding finishes guide how bold the cabinet color should be, and consider balancing colorful cabinets with more restrained counters or backsplash tile.
- For a brighter look: Pair white fronts with light counters and understated hardware.
- For contrast: Set gray fronts against pale walls or a lighter backsplash.
- For a warm country feel: Brass or black cup pulls can complement the square door frame.
- For a color accent: Consider blue or green, then coordinate nearby finishes around it.
The surface finish also affects how color reads. A less reflective finish looks softer, while a glossier surface reflects more light. Compare samples beside nearby materials: the same shade can feel different next to warm wood, cool tile, or a bright countertop.
Shaker cabinets can come in framed or frameless configurations, so color is only one part of the decision. Consider how the cabinet edges work with surrounding materials. For a California, Las Vegas, or Arizona home, start with the largest fixed finishes, choose a complementary cabinet color, then select hardware that suits the room.
To make the decision easier, narrow the palette before comparing samples. Choose a cabinet color, place it beside the countertop and flooring, then test hardware against the combination. This helps you see whether the choices work together without requiring every finish to match.
Affordability and resale appeal
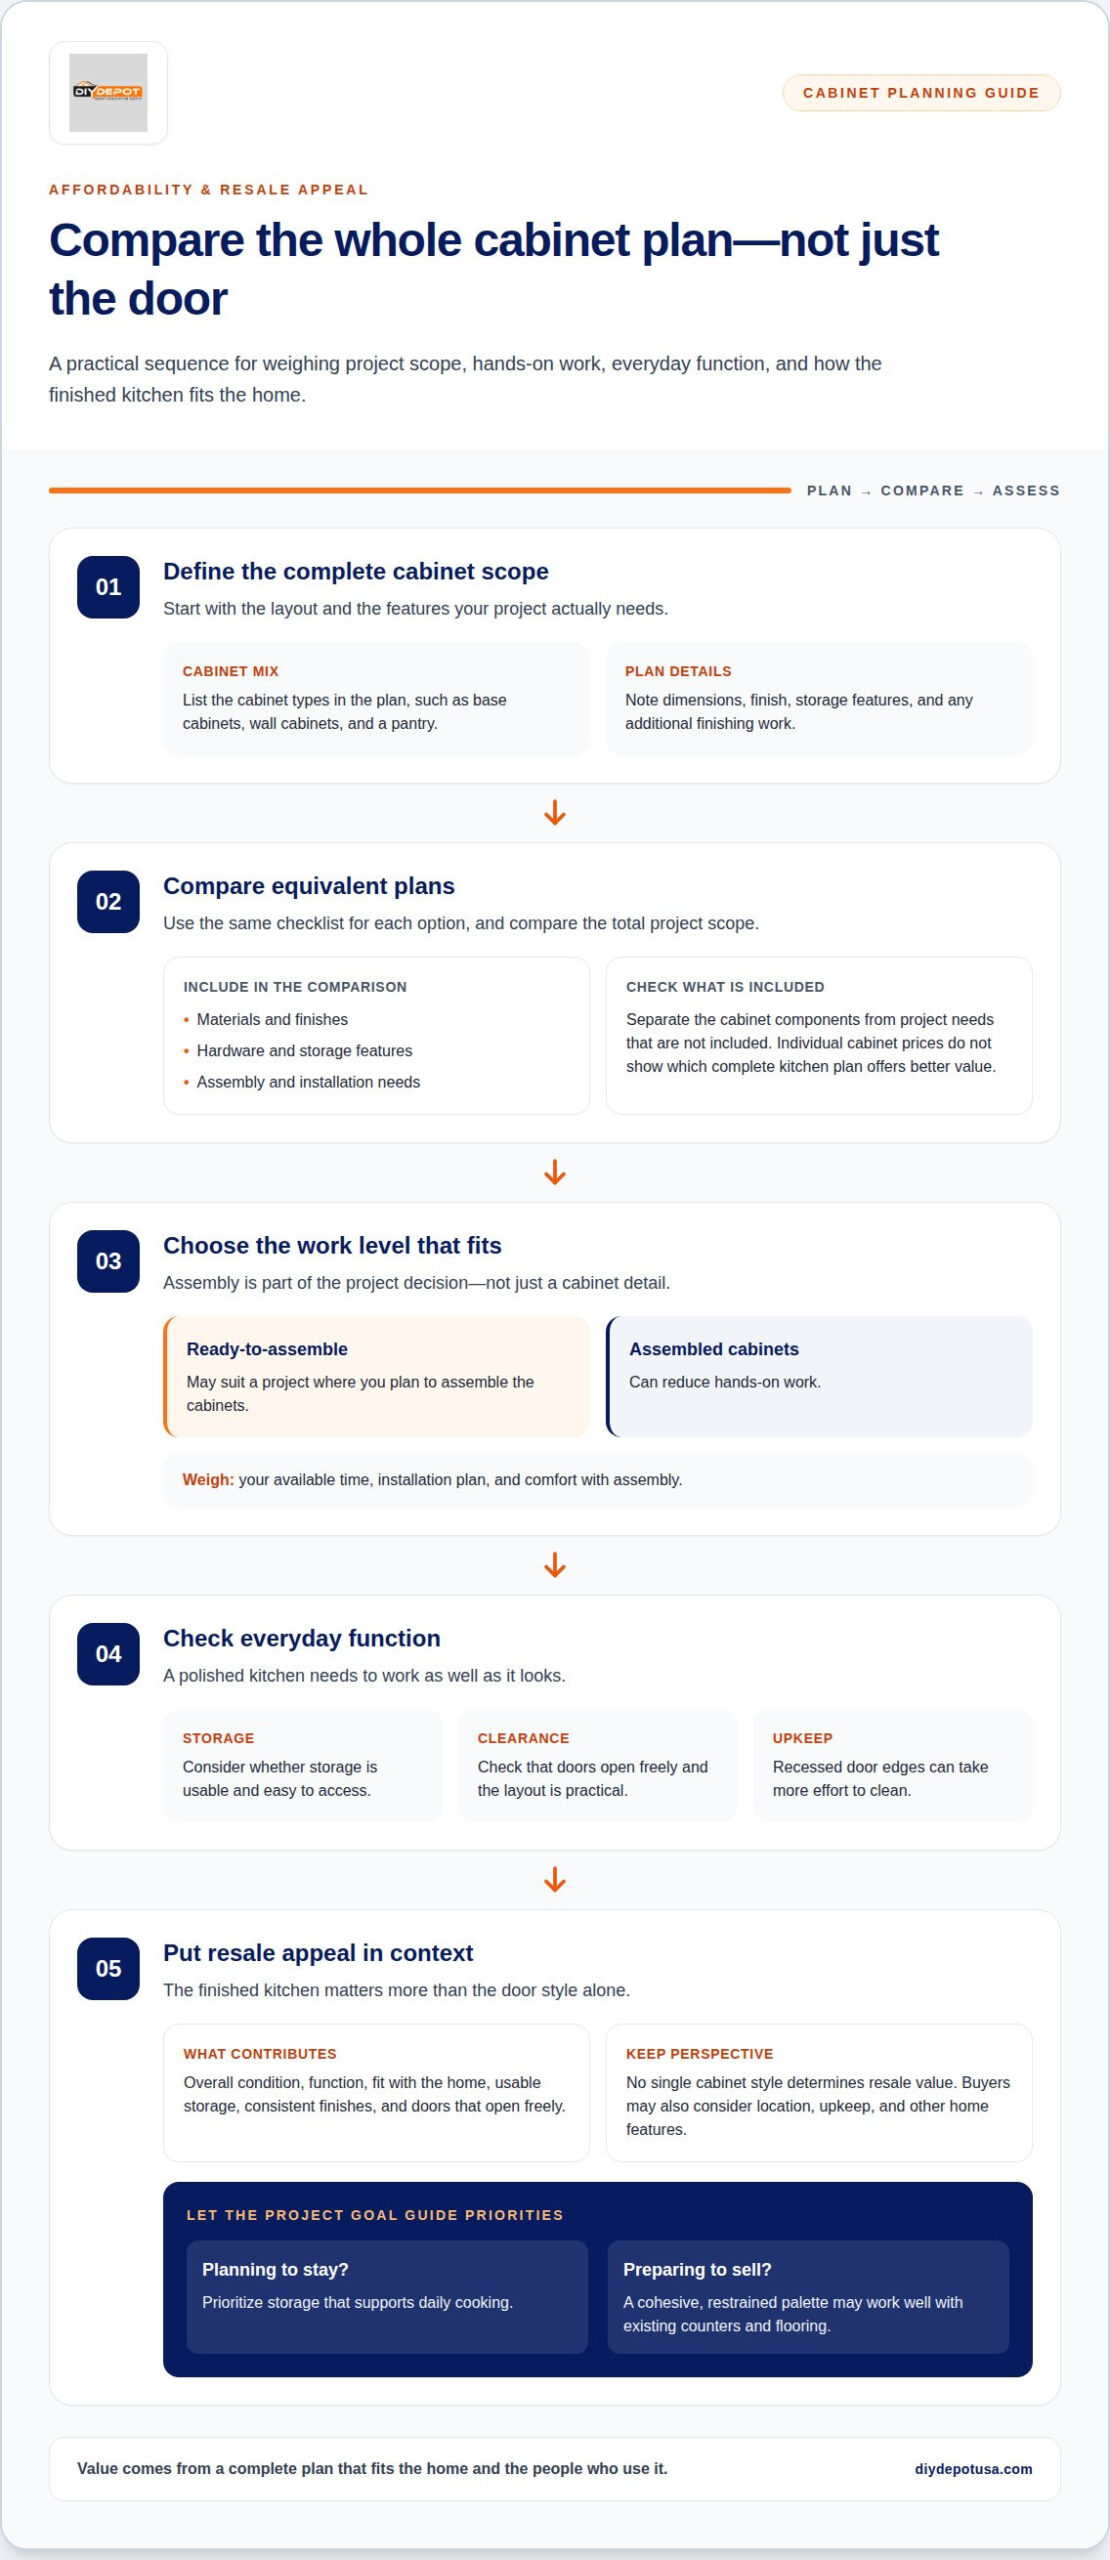
Shaker cabinets offer a straightforward door profile that suits different kitchen styles. Recessed edges can take more effort to clean, and construction should fit your budget and project needs. For resale, the finished kitchen matters more than the door style alone.
Affordability Considerations
Affordability depends on the complete cabinet plan, not just the door style. Compare materials, finishes, hardware, storage features, and whether assembly or installation is part of your project. A compact layout with standard cabinet sizes calls for different choices than a kitchen needing varied widths, extra storage, or extensive finishing work.
Use the same checklist for each option: note what the cabinet includes, identify separate project needs, and compare equivalent layouts. A white base cabinet and a gray wall cabinet serve different purposes, so their individual prices do not show which full kitchen plan offers better value. Compare the total project scope.
Ready-to-assemble cabinets may suit a project where you plan to assemble them, while assembled cabinets can reduce hands-on work. Choose based on your time, installation plan, and comfort with assembly. Include these practical needs in your comparison, not just the door design.
Resale Appeal
A kitchen’s resale appeal depends on its overall condition, function, and fit with the home. Shaker doors can complement traditional details or a more contemporary layout, leaving buyers room to imagine their own finishes. White and gray can also work with a range of countertop and wall colors.
Look beyond the cabinet fronts. A well-planned layout, usable storage, consistent finishes, and doors that open freely all contribute to a polished kitchen. Attractive doors cannot make up for awkward storage or a room that is difficult to use.
No single cabinet style determines resale value. Buyers may consider the kitchen alongside the home’s location, upkeep, and other features. Treat Shaker cabinets as one part of a renovation plan, not a stand-alone investment with a predictable return.
Match your cabinet investment to how long you expect to enjoy the kitchen and what the room needs now. If you plan to stay, prioritize storage that supports daily cooking. If you’re preparing to sell, a cohesive, restrained palette may work well with existing counters and flooring.
- Compare complete plans: Include cabinet type, finish, hardware, assembly, and installation needs.
- Check daily function: Consider storage access and door clearance alongside appearance.
- Keep resale in perspective: A coordinated, usable kitchen matters beyond its cabinet style.
For a closer look at available cabinet configurations, browse cabinet options and compare them with your kitchen plan.
RTA kitchen cabinet starting prices
Ready-to-assemble (RTA) cabinets are assembled before installation, but a starting figure alone does not describe a complete kitchen. Compare the same cabinet mix and included components to understand what an estimate covers.
Starting Price Details
An RTA starting price usually describes a particular cabinet or limited configuration, not every kitchen plan. Your selection depends on the number and types of cabinets, their dimensions, finish, and storage features. A plan with base cabinets, wall cabinets, and a pantry differs from one with only a short run of base cabinets.
Before comparing options, write down the cabinet types and features in each layout. Check whether the amount covers the cabinet components alone or also includes hardware, assembly, or installation. Compare equivalent plans rather than treating the price of one cabinet as the cost of a whole kitchen.
Cost per Linear Foot
There is no single meaningful per-linear-foot figure for every U.S. kitchen. Cabinet dimensions, the mix of base and wall units, finish, and included components all affect what each measured run represents. A straight wall of base cabinets cannot be compared directly with a layout that also includes wall units and specialty storage.
For a useful comparison, define the kitchen run and cabinet mix first. Then note how each estimate measures linear footage and which cabinets it includes. If one calculation includes upper and lower cabinets while another counts only one run, the figures describe different scopes, even if both use linear feet.
RTA planning also involves assembly. The homeowner or installer needs to account for assembling the cabinet components and fitting them into the kitchen layout. That work is separate from choosing a door style. RTA cabinets may suit a project where assembly is part of the plan, while someone with limited time may weigh the task differently.
Use this comparison checklist for each kitchen cabinet estimate:
- Cabinet mix: Record base, wall, and specialty cabinets separately.
- Dimensions: Compare cabinet widths, heights, and depths across matching runs.
- Finish and features: Note the selected finish, hardware, and storage details.
- Included work: Separate cabinet components from assembly and installation.
- Measurement basis: Confirm which cabinets the linear-foot calculation represents.
Two kitchen plans can have the same wall length but different cabinet counts. One may use a few wider units; another may add narrower cabinets and more storage features. The room dimensions stay the same, but the selections and project scope differ. Use a starting amount to guide comparison, not replace a complete cabinet plan.
Once the layout and inclusions match, a starting price is easier to interpret. Use it to compare similar RTA options, then consider whether the full configuration suits the way your kitchen needs to function.
Traditional shaker cabinet door construction
Traditional Shaker doors have a wide, square frame around a flat, recessed center panel. This five-part arrangement creates a clear outline without raised ornamentation. The broad frame and plain center define the style, not a particular color or finish.
The frame-and-panel design adds visible structure to a kitchen. On a white door, the recessed center creates subtle shadows; on a darker finish, the square outline may stand out more. These effects depend on the door shape and room lighting, so view the profile in conditions similar to where the cabinets will be used.
Shaker cabinets can be framed or frameless. This describes the cabinet box, not the door profile. A framed cabinet has a face frame at the front of the box; a frameless cabinet does not. Either can use a Shaker-style door, so compare the box design separately from the door’s appearance.
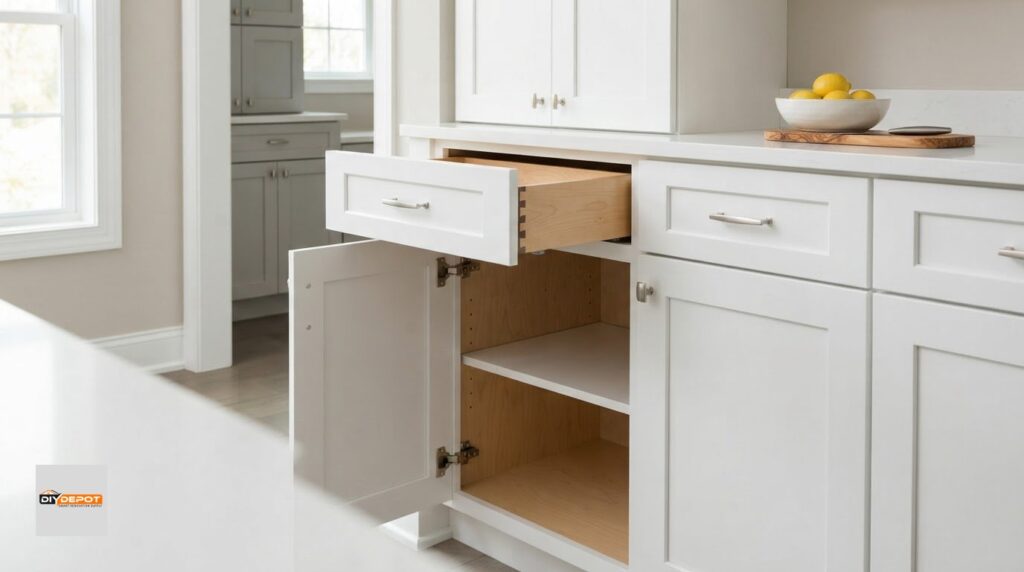
Other specifications describe different cabinet components. For example, listed construction details include concealed hinges with 6-way adjustability, 3/4-inch solid hardwood drawers with dovetail joints, and 1/2-inch, 7-ply painted hardwood plywood sides. These details apply to hinges, drawers, and cabinet sides, rather than defining the recessed door panel itself.
Inspect each component to understand what a cabinet includes:
- Door front: Look for the square frame and flat recessed center.
- Hinges: Note whether they are concealed and how they adjust.
- Drawer corners: Check whether the joints use dovetail construction.
- Cabinet sides: Review the listed material and thickness.
Looking at each component makes comparisons clearer. The door shows the style, an open drawer reveals its joints, and the cabinet interior shows the side material. Shaker cabinets may share a recognizable profile, but the full specifications describe the product more accurately than the style name alone.
Hardware can shift the room’s character without changing the door construction. Brass or black cup pulls can add a cozy country feel, while simpler pulls keep attention on the square frame. For example, consider how the handle shape relates to nearby faucets, lighting, or appliances before choosing a finish.
When reviewing a sample, look at the door face, open a drawer, and inspect the cabinet interior. This quick check separates appearance from construction details and helps you compare similar doors with different supporting components. Your choice can reflect both the style you want and the specifications your project needs.
Cabinet dimensions and specifications
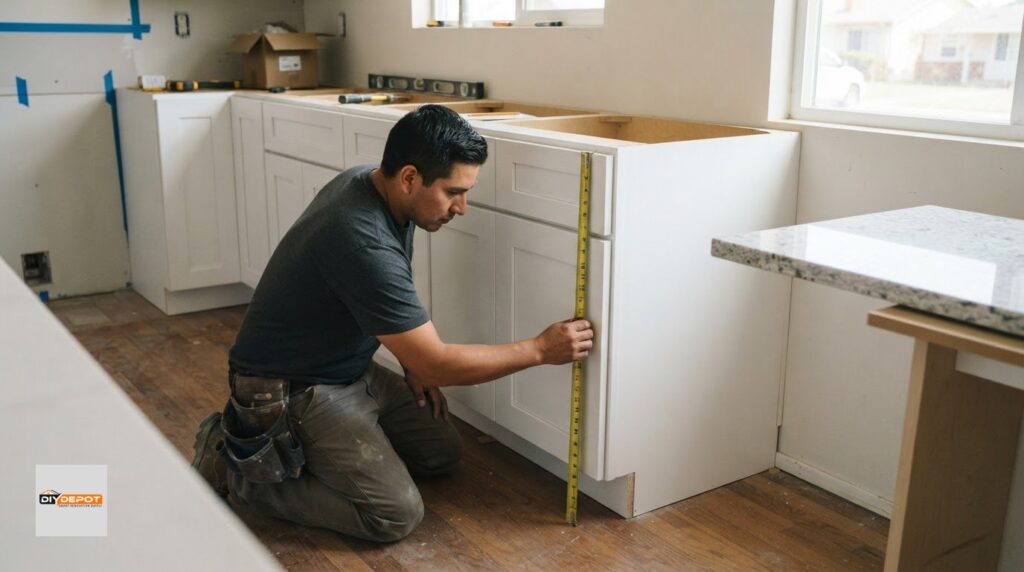
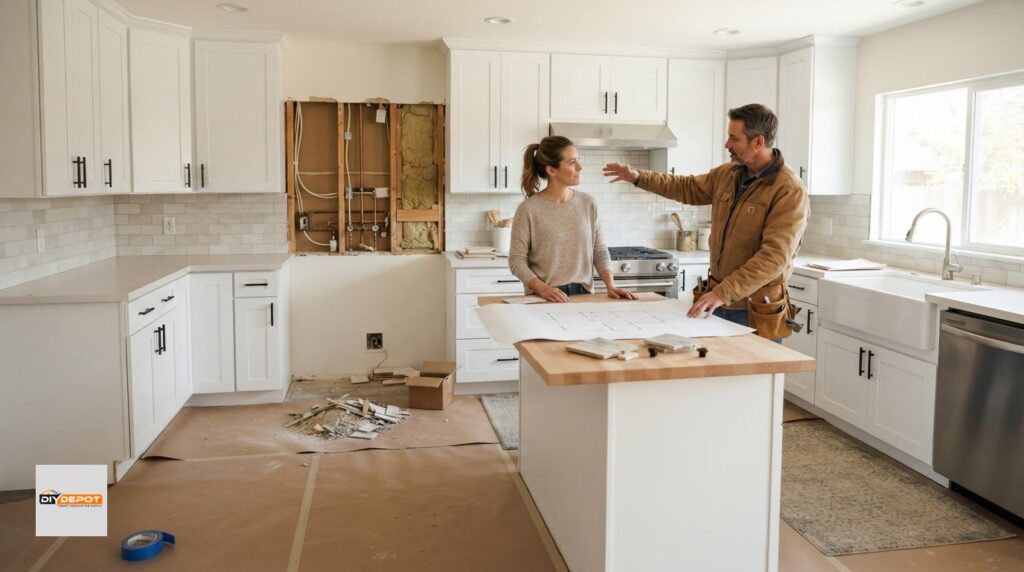
Measure each wall, opening, and fixed obstruction before deciding on cabinet widths. Use the planned layout, clearances, and dimensions to guide each cabinet’s position during installation.
Cabinet Sizing Details
Product dimensions describe more than a cabinet’s outside width and height. For example, a York Slim Sand Shaker sample door measures approximately 14-5/8 inches wide by 14-1/4 inches high. That sample helps illustrate the door’s scale, but it isn’t a full cabinet measurement.
Review each listed component separately. York Slim Sand Shaker face frames measure 1-1/2 by 3/4 inches and are made from eucalyptus grandis. The product page lists 3/4″ inch plywood shelves, while the wall cabinets shown in its listings are 12 inches deep.
Base cabinet details matter too. York Slim Sand Shaker toe kicks are 1/2 inch thick and extend 2-1/2 inches from the cabinet front. That projection affects how the cabinet meets the floor and where feet sit. Comparing these details helps distinguish cabinet-box dimensions from door, shelf, and toe-kick measurements.
Measuring for Installation
Start with a written room plan. Measure each wall run, then note doorways, windows, plumbing, outlets, and appliances that affect cabinet placement. Record each feature’s location from the same corner so you can match the measurements to your drawing.
Next, compare planned cabinet widths and depths with the available space. A 12-inch-deep wall cabinet, for example, projects into the room differently from a base cabinet. Include the toe-kick projection when assessing the cabinet front’s relationship to flooring and walkways.
Use this sequence to organize measurements:
- Map the room: Record wall lengths and mark openings or fixed features.
- Note vertical limits: Measure from the floor to windows, soffits, and other obstacles.
- Plan cabinet runs: Match cabinet widths and depths to the measured wall space.
- Review clearances: Consider doors, drawers, and appliance access in the layout.
Before installation, compare the room plan with the cabinet dimensions, not just the sample door. A 14-5/8-inch sample width describes that door, while a listed cabinet depth describes the cabinet body. Keeping those dimensions distinct helps prevent ordering decisions based on the wrong measurement.
For a layout with several cabinet types, list base and wall units separately. Mark each cabinet’s dimensions and location, then check how doors and drawers open near appliances or corners. Compare cabinet options with your measured layout to see which sizes fit the spaces. For additional guidance on storage features and planning a pantry layout, see this guide to pantry cabinets for California homes.
DIY Depot
DIY Depot USA can help turn cabinet research into a practical kitchen plan. Its professional kitchen design support can help you consider dimensions, layout, and style together.
Choose base, wall, and vanity Shaker cabinets to suit each room. A kitchen plan may combine base and wall cabinets, while a bathroom update calls for vanity cabinets. Consider the room’s purpose alongside its measurements to narrow your options and create a cohesive plan.
If you’re ready to discuss your cabinet project, contact DIY Depot.
Shape a Cabinet Plan That Fits Your Home
Turn your preferences into a plan that works for your rooms and routines. Decide which spaces need cabinets, how you use them, and what you want the finished look to feel like. This gives your Shaker cabinet project direction while leaving room to consider the full layout.
DIY Depot USA offers base, vanity, and wall Shaker cabinets, along with professional kitchen design support. Start with the room you’re updating and any measurements or layout ideas you already have to connect your needs with a coordinated cabinet plan.
Bring your questions and priorities into the planning process, whether you’re updating one area or coordinating cabinets across rooms. Contact DIY Depot about shaker cabinets to discuss the next step for your project. A thoughtful plan can make the renovation feel more manageable, and you can move forward at a pace that suits your home.
Frequently Asked Questions
Looking for Inspiration?
Start with existing features such as flooring, countertops, and natural light. Then choose cabinet colors and hardware that connect those elements rather than compete with them. Homeowners planning kitchens in California, Las Vegas, Phoenix, Bakersfield, Fresno, Santa Maria, San Luis Obispo, Santa Barbara, Ventura, Visalia, Oxnard, Kern County, or Kings County can use the same approach: build a palette around the finishes already in the room.
What materials are Shaker cabinets made from?
Materials can vary by cabinet and component. Some collections feature real wood construction, while sides or shelves may use plywood and drawer components may use hardwood. A cabinet’s door, box, shelf, and drawer can use different materials. Read the specifications for each part rather than assuming the door material describes the whole cabinet.
What is the difference between solid wood, plywood, and MDF Shaker cabinet doors?
Solid wood doors use lumber, while plywood is built from thin wood layers bonded together. MDF is an engineered panel made from wood fibers and binder. These materials differ in construction, appearance, and how they respond to changes in room conditions. For a fair comparison, consider the door’s core material, surface finish, and frame construction together. A Shaker profile describes the door’s shape, not the material used to make it.
Are Shaker cabinets more expensive than flat-panel or raised-panel cabinets?
The door style alone does not determine cabinet cost. Material, finish, construction, hardware, and cabinet configuration all affect a comparison. Shaker doors, like flat-panel and raised-panel doors, can be made from different materials. Compare options with the same layout and included features so the price reflects comparable products and project scope.
What paint colors and hardware are popular for Shaker cabinets?
White and gray are popular cabinet colors, while blue and green offer more color. Choose hardware to suit the room: brass or black cup pulls can create a country feel, while simpler pulls keep the look clean. Try hardware beside nearby lighting or faucet finishes, and compare colors and hardware together before deciding.
Are Shaker cabinets going out of style in 2026?
No. Shaker cabinets remain popular in 2026, even as color preferences shift. Their straightforward door design can work with different hardware and surrounding finishes, so the overall look isn’t tied to one palette. If you want a current feel without relying on a short-lived color trend, choose a cabinet finish that suits your home and use smaller details, such as pulls, to add a more personal accent.
How do you clean and maintain Shaker cabinet doors?
Pay particular attention to the recessed edges, which can take extra effort to clean.




One thought on “Shaker Cabinets Guide for California & Phoenix Homes”