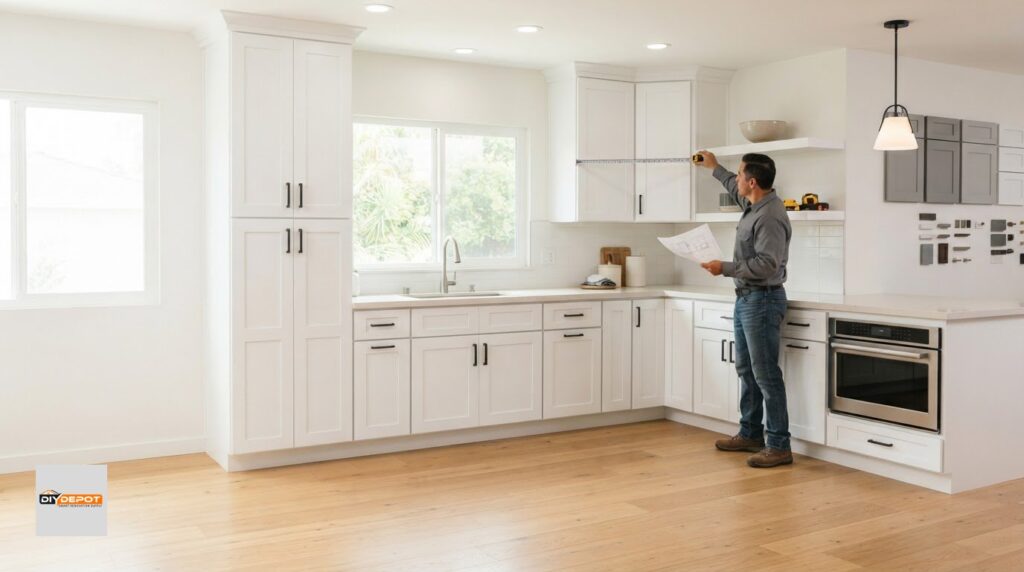

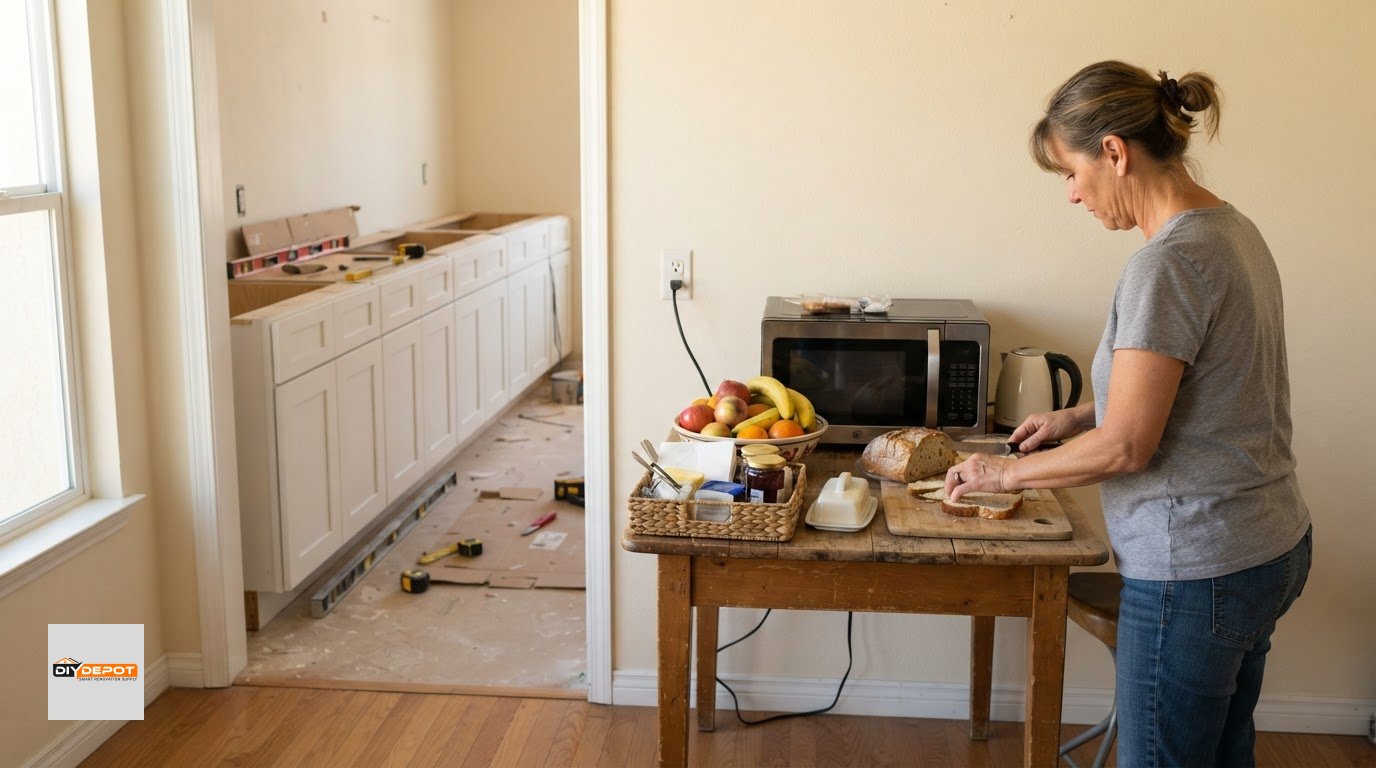
A kitchen remodel can take one to three months, and the kitchen may be gutted and unusable for about a full week. Knowing how to survive a kitchen remodel starts with planning for the days when your usual counters, sink, and appliances aren’t available. A simple, well-stocked temporary setup can make that disruption easier to manage.
It’s understandable to wonder how you’ll keep meals and daily routines on track during construction. Prepare a practical food-prep space, choose appliances that suit it, and keep essentials close at hand. This guide covers the timeline, temporary kitchen setup, useful supplies, and steps to take before work begins, so you can make the renovation more manageable from start to finish.
Key Takeaways
- Plan meals and cooking around the remodel timeline, with simple foods and backup options ready before construction starts.
- Choose a temporary kitchen spot away from the work area, with a usable surface and access to an outlet and plumbing.
- Pick small appliances that match the meals you expect to make, and keep shelf-stable foods easy to reach.
- Clear the construction zone before demolition and protect a separate, construction-free space for everyday use.
- Pack a small set of dishes, utensils, and cleanup supplies so essential items stay accessible throughout the project.
1. How Long Does a Kitchen Remodel Take?
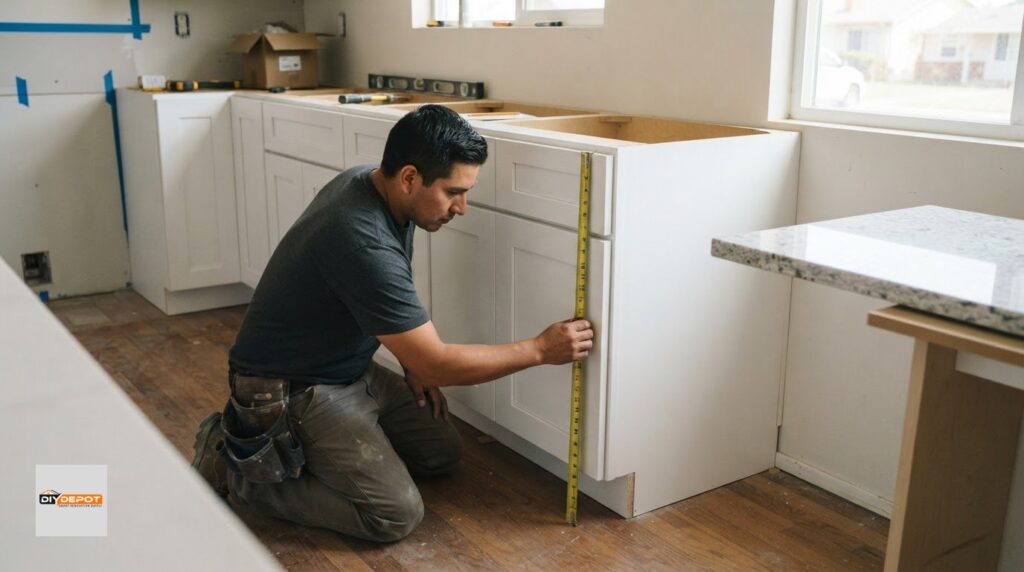
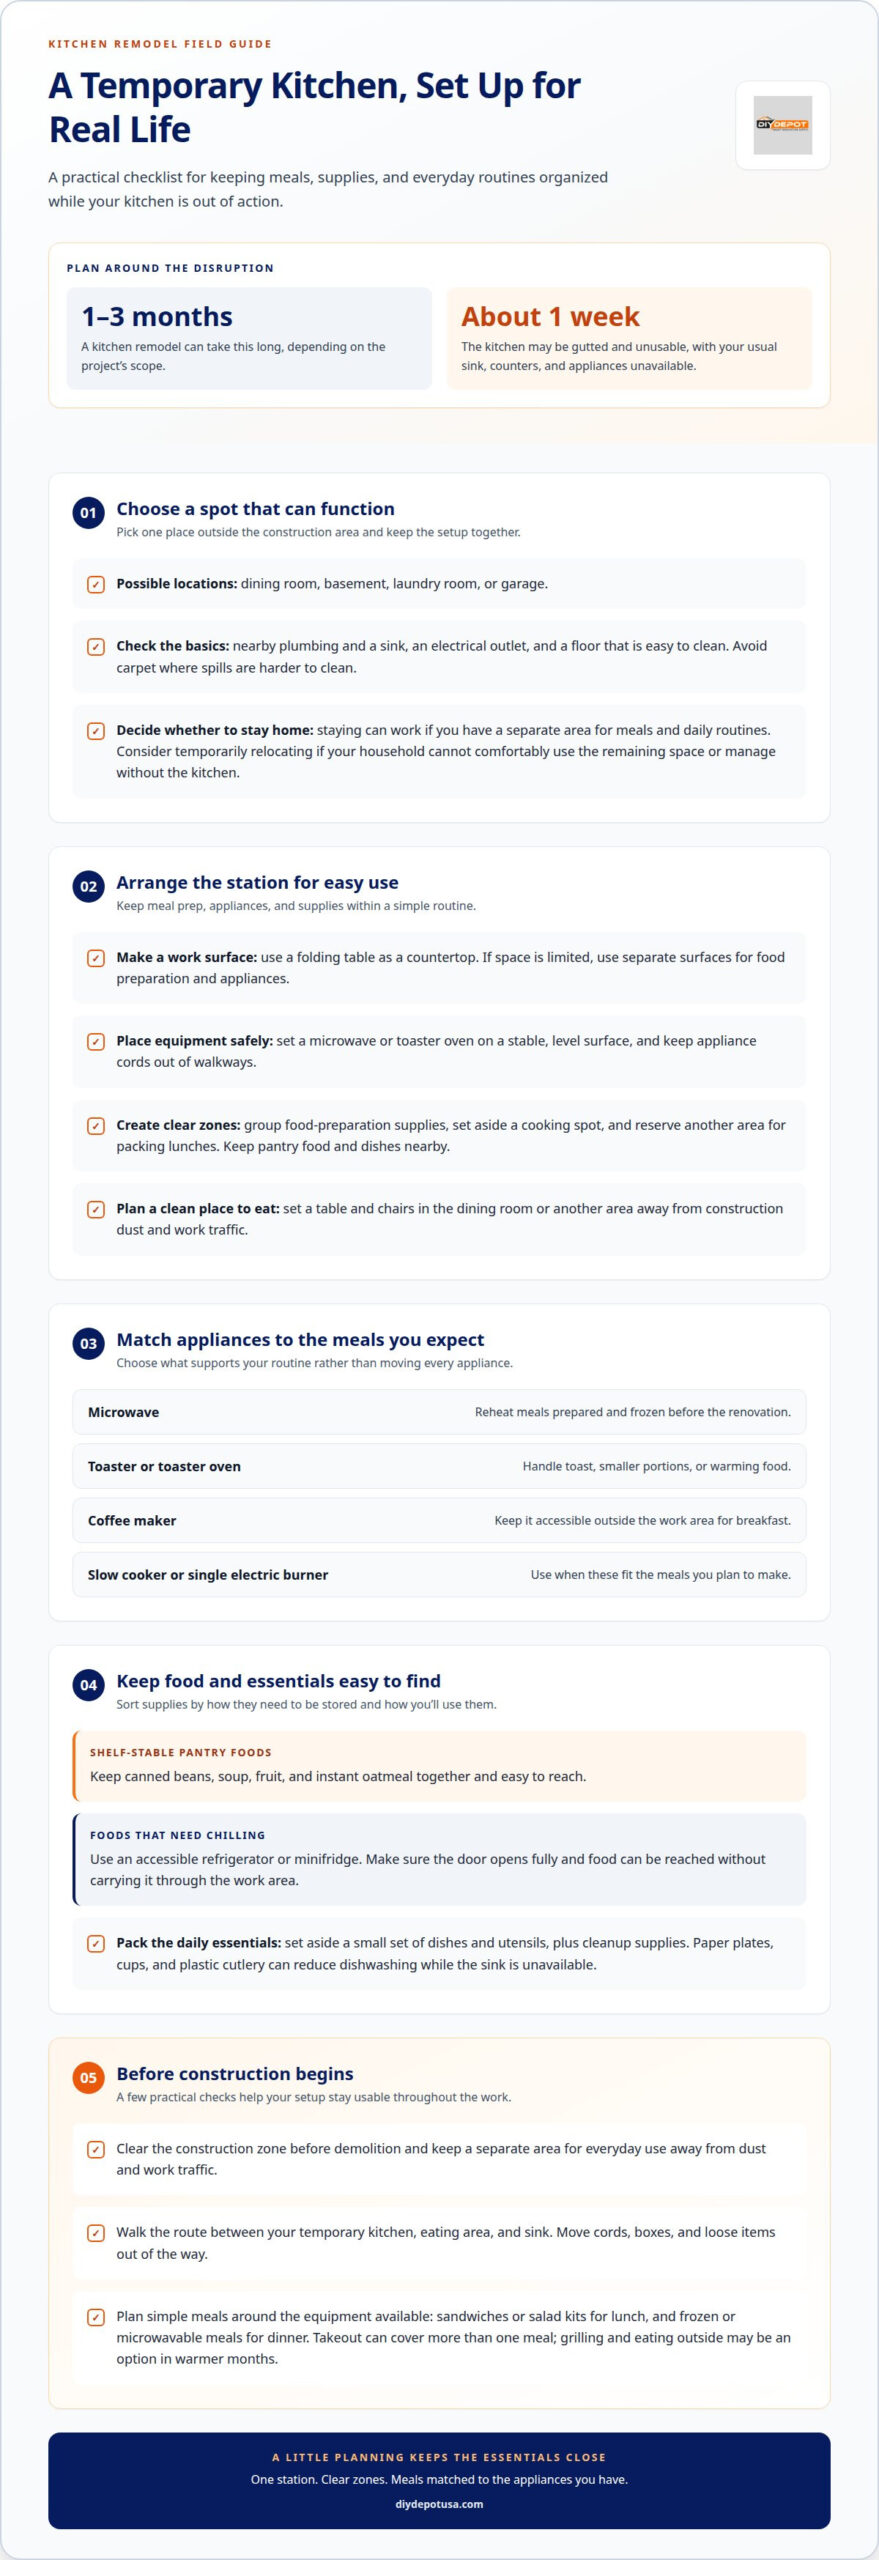
In the United States, a kitchen remodel can take one to three months, depending on the project’s scope. The kitchen may be gutted and unusable for about a full week, leaving you without your usual sink, counters, or appliances. Treat meals and cooking as part of the renovation plan, not an afterthought.
Whether permits and inspections may be required depends on the work and local requirements. Include time for permit preparation in your project schedule, since gathering permits, ordering materials, and waiting for products typically takes 1-4 weeks.
Before demolition, plan meals for the days when cooking is limited. Note which meals need refrigeration, heating, or minimal preparation. For example, you could have sandwiches or salad kits for lunch and frozen or microwavable meals for dinner. A written plan helps you match groceries to the appliances in your temporary kitchen.
Stock simple meals and snacks before construction begins. Keep shelf-stable foods such as canned beans, soup, fruit, and instant oatmeal together so they’re easy to find. Refrigerate items that need chilling, and place the coffee maker somewhere accessible outside the work area. Paper plates, cups, and plastic cutlery can reduce dishwashing while the sink is unavailable.
Plan meals around the equipment you’ll have. A microwave can reheat meals prepared and frozen before the renovation; a toaster can handle toasted foods, and a slow cooker can make soup or other hands-off dinners. Cereal and cold sandwiches work when you don’t want to use a stove. Store each meal’s ingredients near the appliance you’ll use.
2. Where Should You Set Up Your Temporary Kitchen?
Choose a spot outside the construction area, such as a dining room, basement, laundry room, or garage. Keep the temporary kitchen in one place instead of scattering food and appliances around the house. A single station makes it easier to prepare meals, find supplies, and keep the rest of your home functional during renovation.
Should you stay home or move out during a kitchen remodel? Staying home can work if you have a separate area for meals and daily routines. Consider temporarily relocating if your household can’t comfortably use the remaining space or manage without the kitchen, whether that means staying locally or booking a relaxing getaway at wildsidelodges.com during the heaviest demolition. Make that decision before work begins.
Prioritize access to plumbing and a cleanable floor when choosing the location. A temporary kitchen should have a sink nearby for washing dishes and an electrical outlet for appliances. Avoid carpet, where spills are harder to clean. A garage may work if it offers those essentials, while a basement can provide room to keep cooking and food preparation together.
Use a folding table as a countertop, and position appliances so cords don’t cross walkways. Set a microwave or toaster oven on a stable, level surface, with pantry food and dishes nearby. Keep the fridge easy to reach and leave table space for assembling lunch or preparing ingredients. If counter space is limited, use separate surfaces for food preparation and appliances.
Make the kitchenette easier to use by dividing it into clear zones. Group food-preparation supplies, designate a cooking spot, and reserve another area for packing lunches. For example, put bread, spreads, and lunch containers in one bin, with cooking tools beside the microwave. This setup saves you from searching different rooms whenever you need a simple meal.
Plan a proper place to eat, too. Set a table and chairs in the dining room or another clean area instead of relying on TV trays on the sofa or meals on the living-room floor. Keep the eating space clear of construction dust and work traffic. A table also provides a consistent spot for family meals, homework, or organizing the next day’s food.
Before renovation starts, walk the route between your temporary kitchen, eating area, and sink. Move cords, boxes, and loose items out of the way. A clear path, accessible plumbing, and a stable countertop help make the temporary setup functional for everyday cooking.
3. Choosing small appliances and food storage
Choose appliances based on the meals you expect to make, not every appliance you own. A microwave reheats food, while a toaster oven can cook or warm smaller portions. A coffee maker supports breakfast, and a slow cooker can prepare dinner while you handle other tasks. Matching equipment to your routine makes temporary cooking more manageable.
How can you cook and store food without a kitchen? Use an appliance such as a microwave, toaster oven, slow cooker, or single electric burner, and store ingredients in a fridge or pantry. Separate shelf-stable foods from items that need refrigeration so you can find either quickly.
For chilled groceries, consider moving an old garage refrigerator to an accessible spot or using a minifridge. A rented or secondhand small refrigerator can also work if there’s an accessible outlet outside the kitchen. Choose a location where the door opens fully and you can reach food without carrying it through the work area.
Before renovation begins, decide which appliances you need for your usual meals. If breakfast means coffee and toast, set aside the coffee maker and toaster. If your household relies on slow-cooked dinners, make room for the slow cooker and its insert. Keep frequently used appliances easy to reach, and pack away items you won’t need.
Prepare each appliance before the kitchen is cleared. Clean it, gather its parts, and place it near the outlet where you plan to use it. Make sure the temporary counter or table has room for both the appliance and food preparation. Keep cords out of walkways, and avoid locations where an open door or cabinet will block access.
Portable cooking tools offer different options. An air fryer or toaster oven can help when the main oven is unavailable; a hot plate or single electric burner can handle simple stovetop cooking. A slow cooker suits meals that need longer cooking, and liners can reduce cleanup. Choose tools that fit your space and meal plan instead of crowding the temporary kitchen.
Store food according to how you’ll use it. Keep canned soup, beans, fruit, and instant oatmeal together in a pantry bin, and group refrigerated ingredients on one shelf. This makes it easier to put together breakfast or a quick meal without searching through cabinets. Keep frequently used items near the temporary cooking area and store extras elsewhere.
Keep the living room and other shared spaces clear of extra appliances. Designate one storage spot for food and cooking equipment to keep the temporary arrangement orderly as construction progresses. A short list of essential appliances and a clear place for refrigerated and shelf-stable food make the setup easier to maintain.
4. Decluttering and preparing before construction
Start clearing the kitchen before demolition, not on the morning construction begins. Set aside time to pack, or hire movers to remove dishes, pantry goods, countertop appliances, and furniture. Gathering packing materials and moving cartons from sites like boxstore.co.za makes protecting fragile cookware easier, and labeling boxes by room or use—such as “breakfast items” or “serving dishes”—keeps essentials organized.
Move computers, artwork, plants, and other belongings away from the work area. Clear space in the garage or elsewhere in the home for cabinetry and construction materials. If the refrigerator can move to the garage or another room, it can remain available during renovation. Clear its route before work starts.
Choose a construction-free room for daily routines. Ask the project team to keep it clear of access and storage, and separate its doorway from the work zone. A living room or bedroom can provide a quiet place to rest while crews work. Set aside essentials such as chargers, medications, and clean clothes before packing the kitchen.
Reduce dust by sealing doorways to the remodeling area and keeping doors closed. Close vents on the same floor as the work, and clean or change the HVAC filter daily during construction. Keep a dustpan, broom, and cleaning cloths accessible outside the work zone. These steps help contain mess without turning the rest of your home into another construction area.
Keep children and pets away from tools, wires, and other hazards. Use baby gates to block younger children from the construction zone, and keep pets in a separate room or enclosed area. Pet booties may protect paws from nails, but keeping animals away from the work area is essential.
Plan for schedule changes by setting a simple routine for updates. Keep the project timeline handy and communicate with the project team about progress and next steps. If a task takes longer than expected, adjust meals and the temporary setup rather than moving supplies back into the kitchen. Keeping workday essentials together in one bin can reduce daily disruption.
Before demolition, walk through the home with your household and identify the protected room, storage area, and routes around construction. Make sure cords, boxes, and plastic coverings don’t block those paths. A clear plan makes it easier to adapt if the renovation schedule shifts.
5. Keeping essential kitchen items accessible
Pack a small, clearly labeled bin with tools for your temporary cooking setup. Include cookware and utensils suited to your chosen appliances, such as a pot for a slow cooker or a spatula for a hot plate. Store the bin beside food supplies, not in boxes destined for long-term storage.
Make dishwashing simple by setting aside a plate, bowl, mug, glass, fork, spoon, knife, and place mat for each household member. Wash them after use, or choose disposable dishes and utensils to reduce cleanup. A small cleanup station with dish detergent, a scrub brush, and a dish towel gives everything a place.
Keep the kitchen sink available as long as possible to make dishwashing easier. Before demolition, ask the project team to include sink removal in the work sequence. Once the sink is unavailable, use your temporary cleanup station and avoid moving dirty dishes between rooms. Disposable plates can also reduce the need to wash dishes in a bathroom sink.
Organize the temporary area with labeled containers for everyday items. Group coffee supplies, keep the toaster near breakfast foods, and store lunch containers beside snacks. Simple labels such as “morning” or “cleanup” help everyone return items to the right place. Keep only regularly used items within reach.
Give children a clear routine for the temporary kitchen. Show them where cups, snacks, and safe-to-reach dishes are stored, and explain which areas remain off-limits during construction. For example, place their usual breakfast items on a low shelf away from cooking appliances. A visible reminder on the storage bin can help guests or a visiting friend follow the same routine.
Clear the floor and work surface after each meal. Return appliances to their assigned spots, wipe up spills promptly, and put food away instead of leaving it on a folding table overnight. A lidded food-waste can also helps keep the area tidy and contain odors. These small resets make essentials easier to find during busy renovation days.
Before the new cabinets are installed, decide where daily-use dishes, coffee, and small appliances should go. Group items by routine, such as breakfast or cleanup, so storage supports how your household actually uses the kitchen. If cabinet placement is part of your plans, book a kitchen design appointment to plan accessible storage around your everyday essentials.
DIY Depot: Base Shaker Cabinets
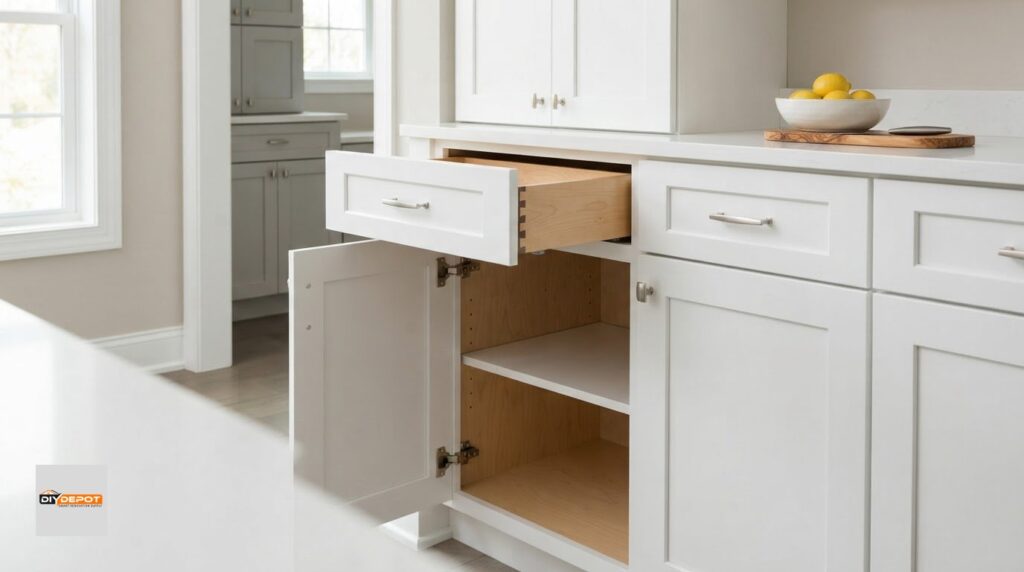
DIY Depot helps with the cabinetry portion of kitchen renovations, offering Base Shaker Cabinets and professional kitchen design support. Use the design service to plan the new layout and choose base cabinets that suit your storage needs and daily routines. Wall shaker cabinets can also be part of the plan, while vanity shaker cabinets are for bathroom projects.
Planning cabinet placement before construction helps you prepare for installation and decide where dishes, cookware, and small appliances will go in the finished kitchen. A temporary setup gets you through the disruption; a clear cabinet plan helps make the renovated space practical for everyday use.
Contact DIY Depot to discuss your kitchen plans.
Make Your Next Kitchen Decision With Confidence
If you’re ready to discuss your remodeling plans, contact DIY Depot for remodeling help. Take the next step at a pace that feels right, with your household’s needs guiding the decisions ahead.
Frequently Asked Questions
How Long Does a Kitchen Remodel Take?
A kitchen remodel in the United States can take one to three months, depending on the project’s scope. That period may include planning, material orders, permit preparation, and construction, so the kitchen may not be unusable throughout. A project that includes more than cabinet replacement may have different preparation and work phases. Plan around the dates when key spaces and appliances will be unavailable.
Where Should You Set Up Your Temporary Kitchen?
Set up in a clean space outside the work zone, such as a dining room, basement, laundry room, or garage. Choose a location with a convenient outlet and access to plumbing for cleanup. Keep everything together rather than distributing appliances and food between rooms. For example, use a folding table for meal-preparation supplies and a separate nearby surface for appliances.
How long does a typical kitchen remodel take?
Plan for a project that may span one to three months, with the schedule shaped by its scope and preparation. The kitchen may be gutted and unusable for about a full week, but the renovation as a whole includes other phases. Material orders and permit preparation can affect when construction begins. Ask for a timeline that distinguishes planning, construction, and periods when specific kitchen functions will be unavailable.
What should you set up in a temporary kitchen during a remodel?
Prioritize what your household uses daily: food storage, a work surface, a way to prepare meals, and a place for basic cleanup. A microwave, toaster oven, or slow cooker can support different meals. Keep a small set of cooking tools nearby, then reserve a separate table for eating. For instance, store lunch containers near shelf-stable snacks so packing food doesn’t interrupt cooking.
What supplies should you pack or move before a kitchen remodel?
Pack dishes, cookware, pantry items, and appliances you won’t need during construction. Label containers by purpose, such as “baking” or “serving,” and keep everyday items separate from long-term storage. Move artwork, plants, computers, and furniture away from the work area. If the refrigerator can be relocated, clear its route beforehand and set aside food you’ll need during the move.
How do you minimize dust, noise, and disruption during a kitchen renovation?
To limit dust, seal doorways to the work area, close nearby vents, and clean or change the HVAC filter daily. Keep household routines and stored essentials outside the construction zone. Knowing how to survive a kitchen remodel also means planning around noisy work. Use the project schedule to arrange calls, naps, or focused tasks away from the kitchen. A protected room gives household members a quieter place to retreat.
What safety precautions should you take during a kitchen remodel?
Keep children and pets out of the work area, where tools, wires, and building materials may be present. Use baby gates for younger children and arrange a separate area for pets. Keep routes between rooms clear of boxes and cords. Explain which spaces are off-limits, and make sure everyone knows where to find meals and household essentials without crossing active construction.
How do you plan meals and manage dishes during a kitchen renovation?
Choose meals based on the appliances and storage available, then group ingredients by whether they need refrigeration. Set aside reusable dishes for each household member, with detergent, a brush, and a towel nearby. Disposable plates can reduce washing. Knowing how to survive a kitchen remodel also means planning a quick backup meal, such as prepared food to reheat, and keeping its utensils accessible.