

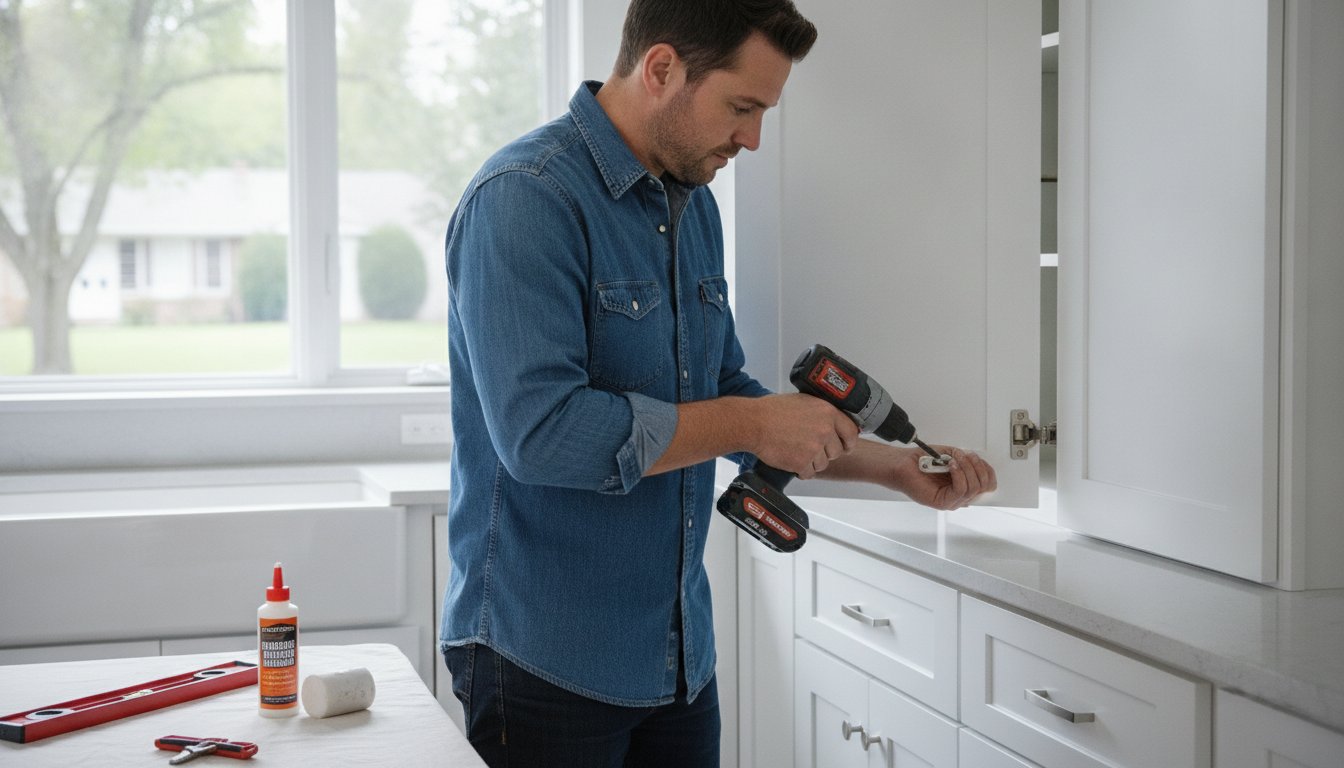
You don’t need a master carpenter’s workshop to achieve a high-end kitchen finish that looks like it cost a fortune. Most homeowners worry that one wrong turn of a screwdriver will ruin expensive materials or leave them with cabinets that are permanently out of square. It’s a common fear, especially when you’re staring at a stack of flat-pack boxes and a bag of hardware that looks like a complex puzzle. You want your kitchen to feel solid and look seamless, not like a project that was rushed or misaligned.
The secret to a flawless diy shaker cabinet assembly isn’t expensive machinery; it’s a methodical approach to the “squareness test” and proper preparation. This 2026 guide is designed to remove the guesswork and give you the confidence to build a professional-grade kitchen on a realistic budget. We’ll show you how to eliminate unsightly gaps and ensure your soft-close drawers and doors glide perfectly every time. By following these steps, you’ll move from unboxing to a sturdy, gap-free installation that adds real value to your home. Let’s get started on turning those boxes into the high-end kitchen you’ve been dreaming of.
Key Takeaways
- Learn why a clean, flat workspace is the first step to preventing panel scratches and ensuring a smooth start to your project.
- Master the “gentle mallet” technique and wood glue application for a rock-solid, gap-free diy shaker cabinet assembly every time.
- Discover the secrets to mounting hinges and aligning drawer fronts so they operate with professional-grade smoothness and precision.
- Get expert tips on troubleshooting common issues like warped panels or stripped screw holes to keep your renovation on track.
- Find out how warehouse-direct quality and professional design support from DIY Depot USA simplify the entire renovation process.
Preparing for Your DIY Shaker Cabinet Assembly
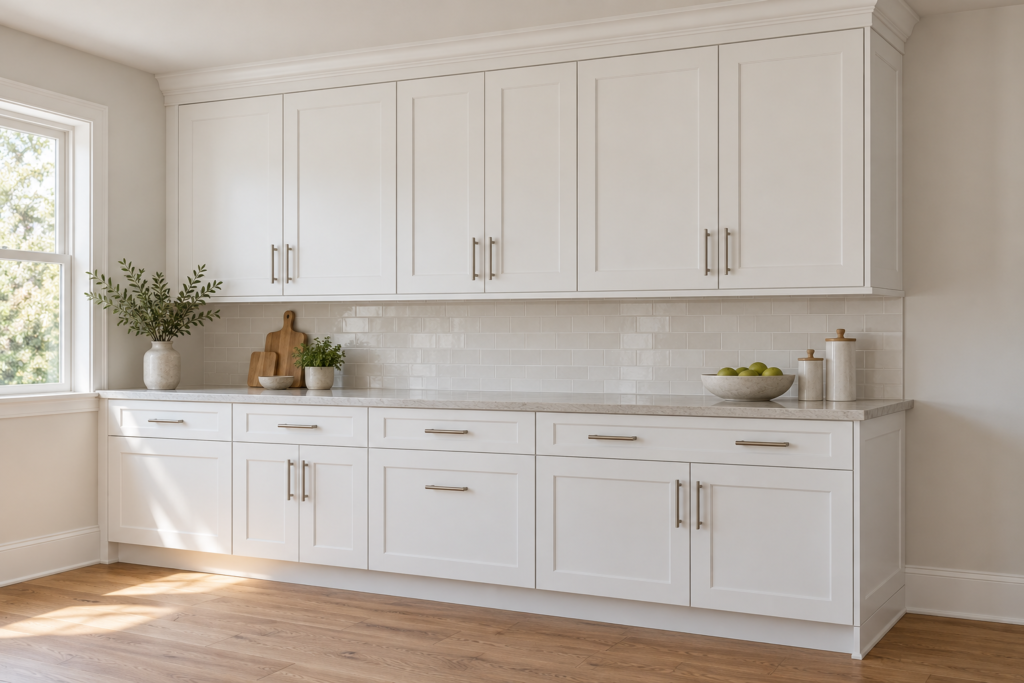
Starting a kitchen renovation is an exciting milestone, but your success begins long before you pick up a tool. RTA stands for “Ready-to-Assemble,” which means your cabinets arrive flat-packed to maximize shipping efficiency and lower your costs. These units are specifically designed for straightforward diy shaker cabinet assembly, but achieving a high-end look requires a bit of prep work. The design itself draws from historical Shaker furniture principles that prioritize durability, clean lines, and functional simplicity.
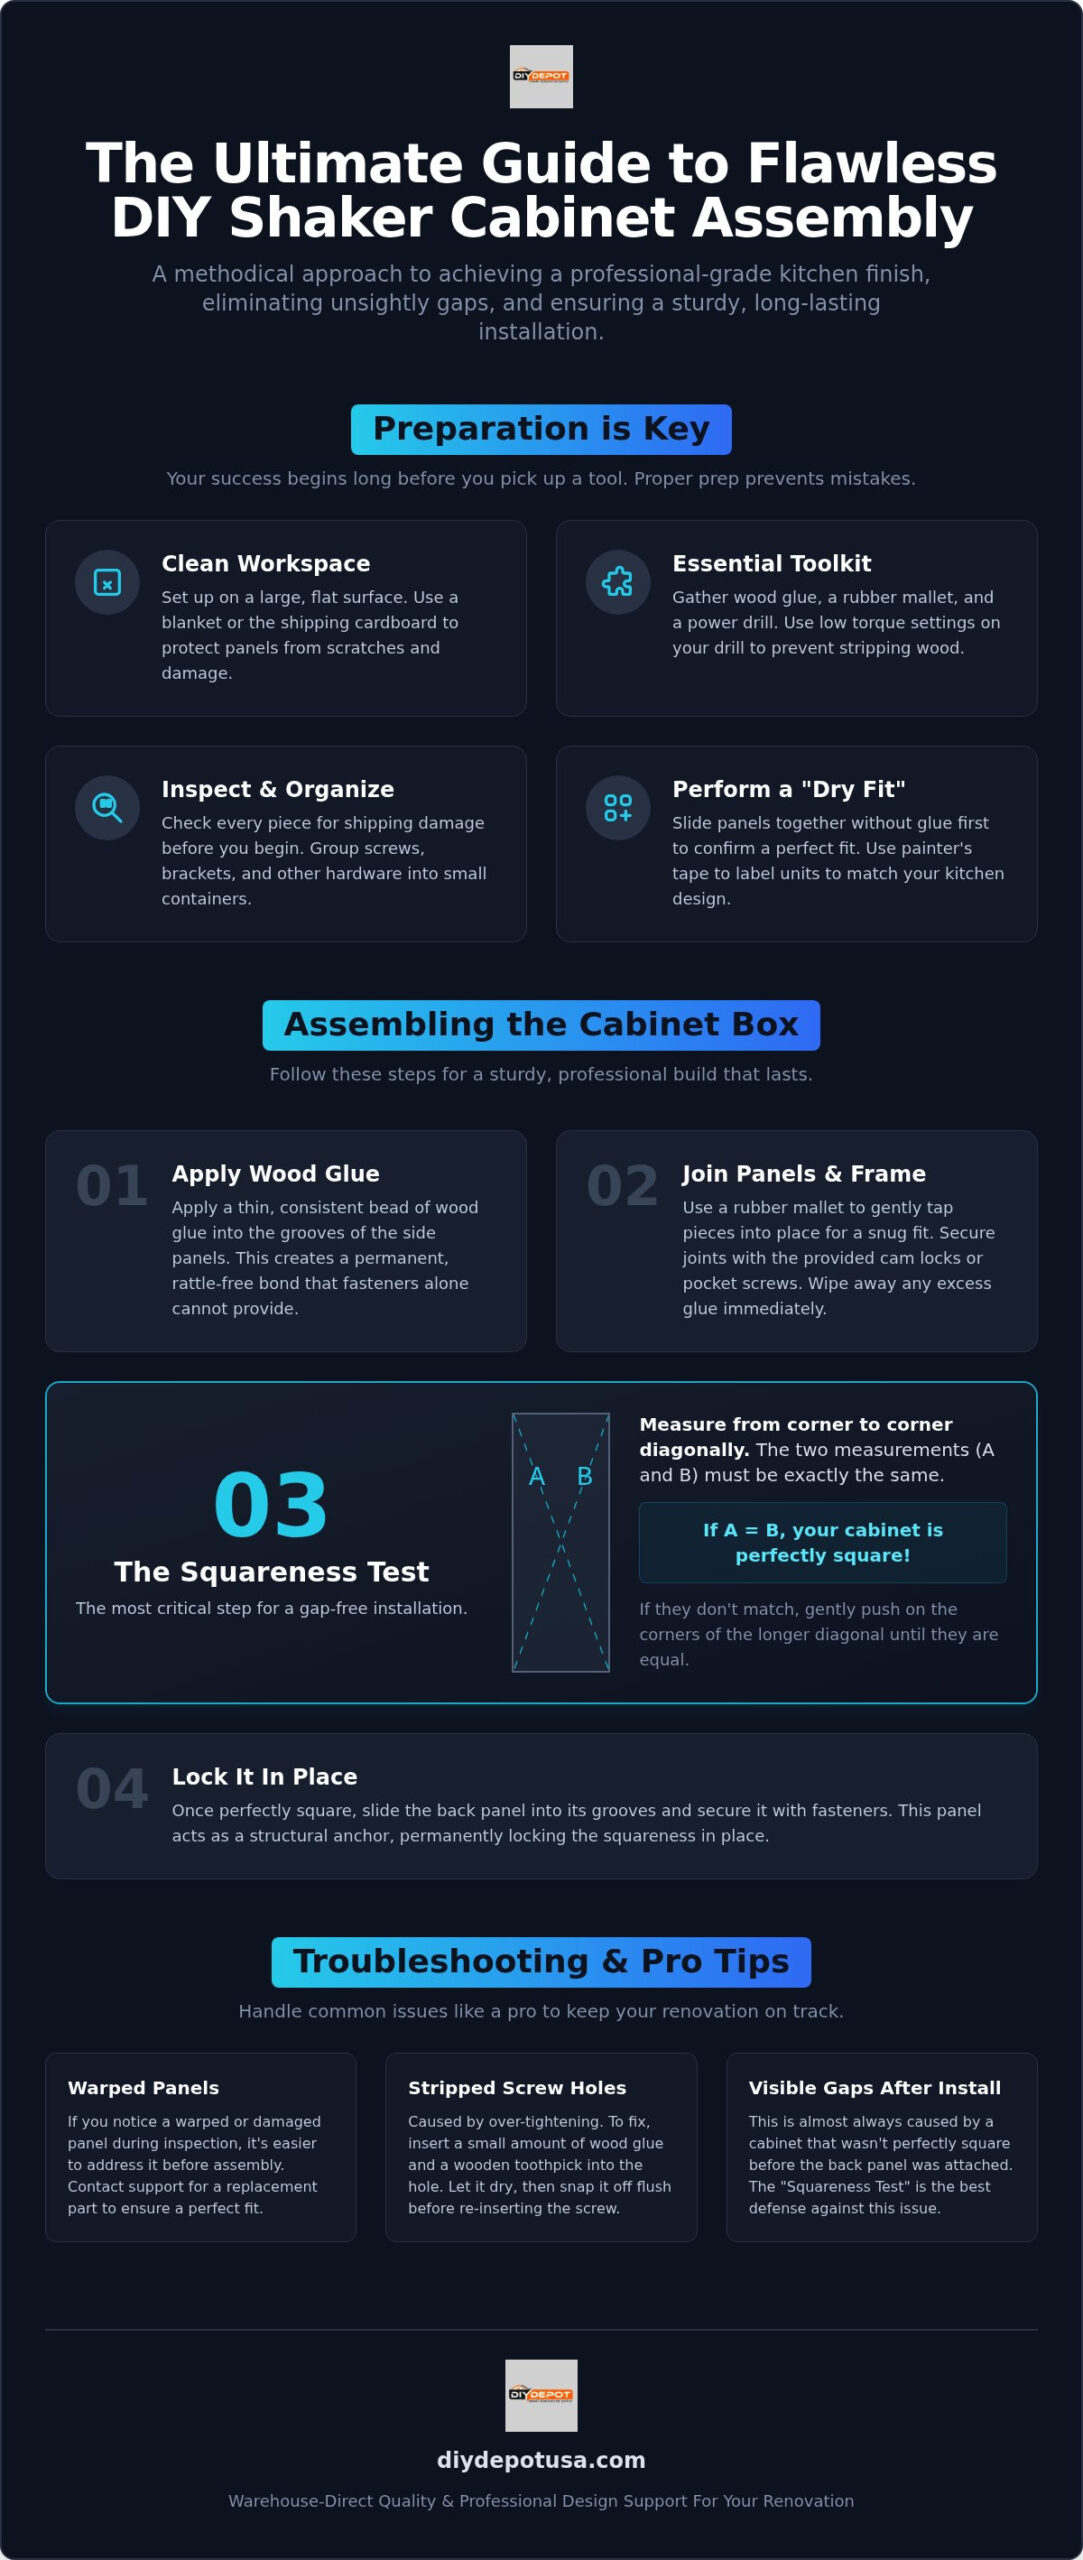
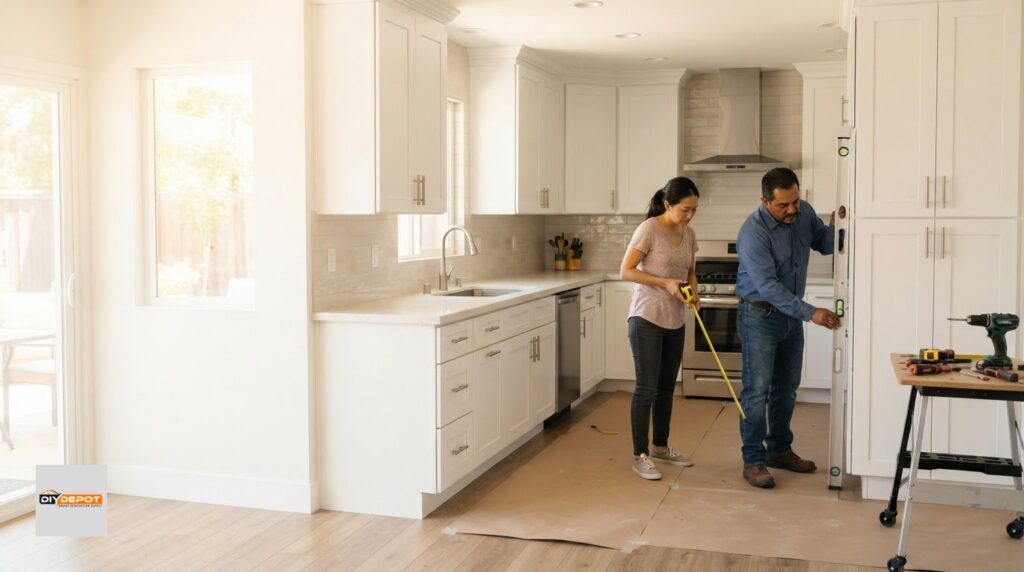
You’ll need a clean, flat workspace to avoid damaging the finish. A large table or a clear section of the floor works perfectly, but always lay down a moving blanket or the cardboard from the shipping boxes first. Your essential toolkit should include a bottle of wood glue, a rubber mallet, and a power drill with adjustable torque settings. Keeping your drill on a low setting is a smart move; it prevents you from over-tightening screws and stripping the wood cores.
Unboxing and Parts Identification
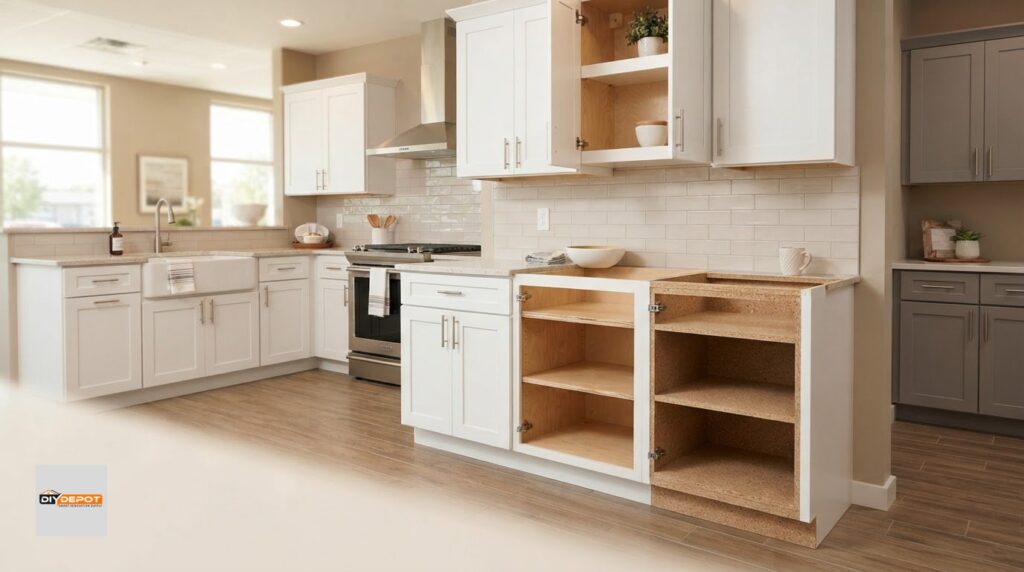
When you open your boxes, take a few minutes to identify the main components. You’ll find the face frame, which is the solid front portion of the cabinet, along with the side panels, back panels, and floor. It’s vital to inspect every piece for shipping damage before you start. If a panel is warped or a corner is dented, it’s much easier to swap it out before the glue is applied. Organize your hardware by grouping screws, cam locks, and brackets into small containers. This simple step prevents the frustration of searching for a tiny part in the middle of your diy shaker cabinet assembly.
The Pre-Assembly Staging Area
A common mistake is rushing to apply adhesive right away. Instead, perform a “dry fit” by sliding the panels into their respective grooves without any glue. This confirms that everything is square and fits together as intended. Use painter’s tape to label each unit so it corresponds with your professional kitchen design. Finally, set up a dedicated glue station with damp rags nearby. This keeps your workspace organized and prevents sticky fingerprints from getting onto the visible exterior surfaces of your new cabinetry.
Step-by-Step: Assembling the Shaker Cabinet Box
Now that your staging area is set and your parts are identified, it’s time to begin the actual construction. Start by applying a thin, consistent bead of wood glue into the grooves of the side panels. This creates a permanent, rattle-free bond that standard fasteners alone can’t provide. It’s a small step, but it’s the difference between a cabinet that feels solid and one that creaks over time. This attention to detail is what makes a successful diy shaker cabinet assembly stand out from a rushed job.
Joining the Panels and Face Frame
Align your side panels with the face frame carefully. Use a rubber mallet to tap the pieces into place. This “gentle mallet” technique ensures a snug fit without marring the wood finish or denting the shaker panels. Most RTA kits use either cam locks or pocket screws for these joints. Cam locks are excellent for speed and keeping hardware hidden from view, while pocket screws provide a high-strength mechanical bond that many DIYers prefer for base cabinets. Regardless of the fastener type, always follow basic woodworking safety guidelines by wearing eye protection and keeping your workspace clear of tripping hazards. If glue squeezes out of the joints during this process, wipe it away immediately with a damp rag. Dried glue can prevent the door hinges from sitting flush or interfere with the final paint or stain.
Ensuring Your Cabinet is Perfectly Square
A cabinet that looks square to the naked eye might still be “racked” or leaning slightly. This subtle tilt causes massive headaches during installation when you try to align multiple units together. The “Squareness Test” is your best defense against this common issue. Take your tape measure and measure from the top-left corner to the bottom-right corner of the box. Next, measure from the top-right to the bottom-left. If the two measurements are exactly the same, your box is perfectly square. Even a small discrepancy of an eighth of an inch can lead to visible gaps between your cabinets once they are mounted on the wall.
If the measurements don’t match, gently apply pressure to the corners of the longer diagonal until the box shifts into alignment. Once it’s perfect, slide the back panel into the grooves and secure it with the provided fasteners. This panel acts as the structural anchor that locks the squareness in place permanently. If you’re tackling a massive renovation and want to save time, you might consider the professional assembly of our shaker cabinets to guarantee a high-end result without the manual labor. Taking these extra minutes now ensures that your doors and drawers will operate smoothly for the life of your kitchen.
Installing Shaker Doors and Drawer Fronts
The exterior of your cabinets is what everyone sees, so this stage of the diy shaker cabinet assembly requires a steady hand and a bit of patience. Shaker doors feature a distinct recessed center panel surrounded by a sturdy frame. Because the outer frame is where your hardware attaches, you must be careful not to splinter the wood when driving screws into the stiles. Pre-drilling small pilot holes is a simple trick that prevents the wood from splitting and ensures your hinges sit perfectly flat against the surface. This small step makes a massive difference in the final look of your kitchen.
Hinge Attachment and Fine-Tuning
Most modern ready to assemble kitchen cabinets come with 3-way adjustable hinges. These are a lifesaver for DIYers because they allow you to move the door up and down, left and right, or in and out with just a few turns of a screwdriver. If you notice a “sagging” door that looks uneven, don’t panic. You can fix it in seconds by adjusting the vertical screw on the hinge plate. This fine-tuning process is how you achieve consistent “reveals,” which are the uniform gaps between doors across your entire cabinet run. For an extra touch of luxury, install soft-close dampers during this stage. They prevent doors from slamming and give your kitchen that high-end, custom feel.
Drawer Box Assembly and Face Alignment
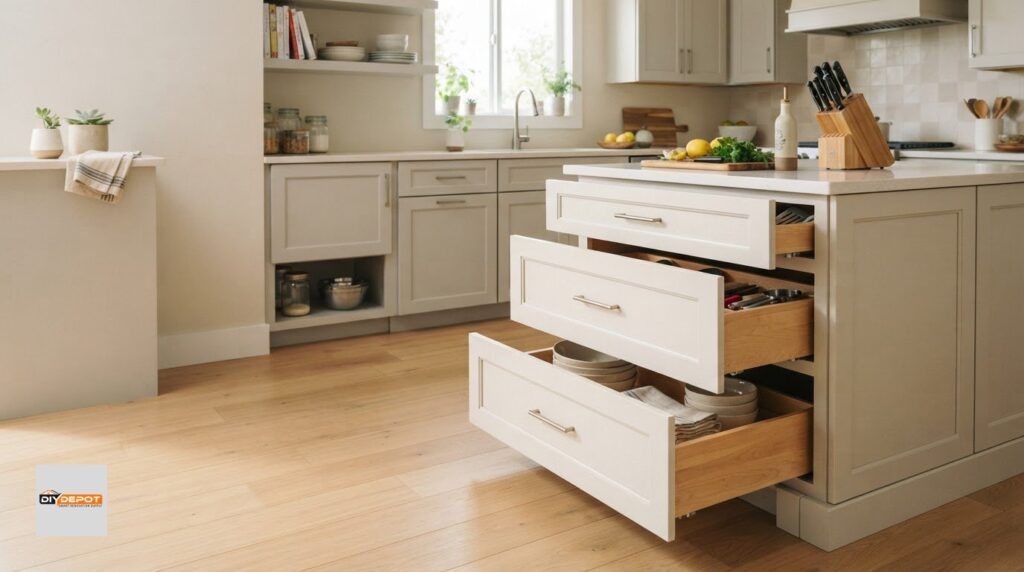
Quality shaker cabinets often feature dovetail drawer joints. These interlocking notches provide maximum durability and a classic look. When assembling them, use a rubber mallet to tap the joints together firmly, applying a small amount of wood glue for extra security. Once the box is built, you’ll need to mount the shaker drawer front. Accuracy is key here. Center the front on the box so the overlays are even on all sides. It’s often helpful to use a few pieces of double-sided tape to hold the front in place while you secure it from the inside.
Before you finish, test the glide. Slide the drawer in and out several times to ensure it doesn’t catch on the face frame or sit crooked. If it feels tight, check your drawer slide measurements or ensure the cabinet box is still square as discussed in the previous section. Finally, use a hardware template to install your handles or knobs. A template takes the guesswork out of measuring and ensures every piece of hardware is perfectly symmetrical across your new kitchen. Taking the time to align these visible elements ensures your diy shaker cabinet assembly results in a professional, polished finish.
Troubleshooting Common DIY Assembly Issues
Even with the best preparation, you might encounter a few hiccups during your diy shaker cabinet assembly. Wood is a natural material, and sometimes environmental factors or shipping can cause minor issues. The key is to stay calm and use the right techniques to correct these small setbacks before they become permanent fixtures in your kitchen. Most assembly problems have straightforward solutions that don’t require professional intervention or expensive specialized tools.
Correcting Misaligned Panels
If a panel is slightly warped and refuses to slide into its groove, don’t reach for a heavy hammer. This can damage the finish or crack the wood. Instead, use a bar clamp to gently pull the stubborn panel into alignment with the face frame. If a screw hole strips out in a plywood or MDF core, use the “toothpick trick.” Dip a wooden toothpick in wood glue, insert it into the hole, and snap off the excess. Once dry, the screw will have fresh material to grip. For minor finish chips or scratches that occur during the build, a color-matched touch-up pen is usually all you need to make the blemish disappear. If a part is significantly damaged or warped beyond repair, it’s better to pause and request a replacement rather than trying to force a faulty piece into your layout.
Preparing for Installation
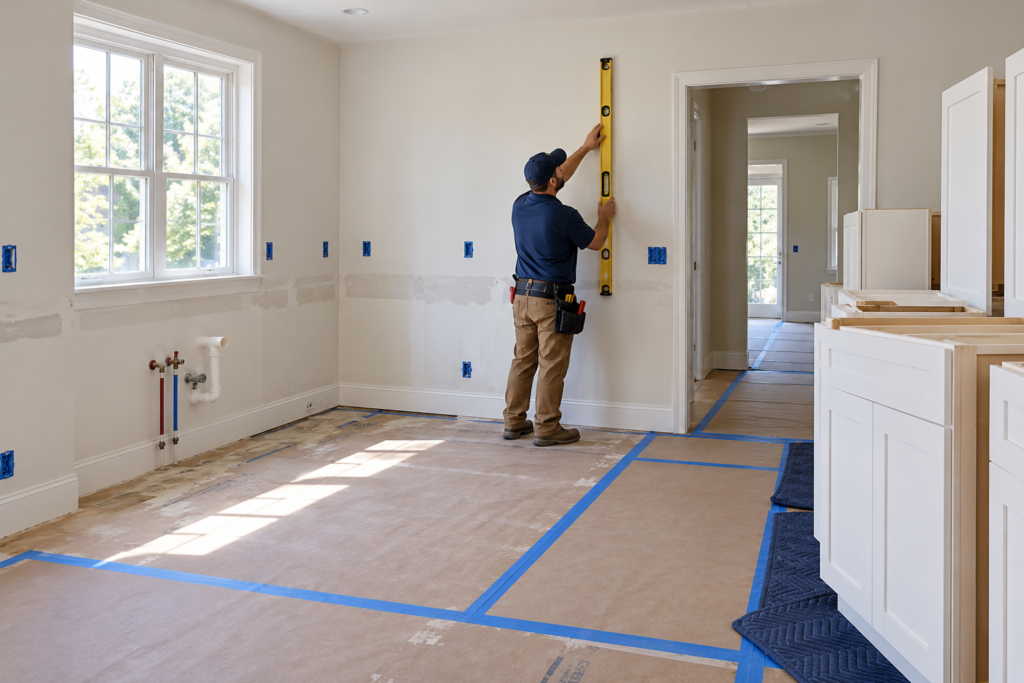
Once your cabinet box is built and the “squareness test” is passed, you need to prep for the transition to the wall. Adding small corner blocks to the interior of the box provides extra stability and prevents the unit from racking when you move it. Before the cabinets leave your staging area, take a moment to mark your wall studs and check for any floor level discrepancies. Referencing a kitchen base cabinets guide will help you understand the proper height settings and shim requirements for your specific floor plan.
If you find that a cabinet is slightly out of square after the glue has dried, you can often compensate for this during the installation phase by using shims against the wall. However, the goal is always to start with a perfectly square box. If you’re tackling a large-scale project and want to ensure every unit is flawless, you can always explore our high-quality base shaker cabinets that are designed for easier assembly than standard big-box store units. Taking these final troubleshooting steps ensures your kitchen looks like it was handled by an expert, even on a DIY budget.
Achieving a Professional Finish with DIY Depot USA
Completing a high-end kitchen renovation on a budget is entirely possible when you start with the right materials. While your technique is vital, the quality of the components you’re working with dictates the final outcome. Choosing wholesale kitchen cabinets allows you to access professional-grade wood and hardware without the retail markup. This ensures that your diy shaker cabinet assembly is a rewarding experience rather than a struggle against inferior materials that warp or strip easily.
The DIY Depot USA Advantage
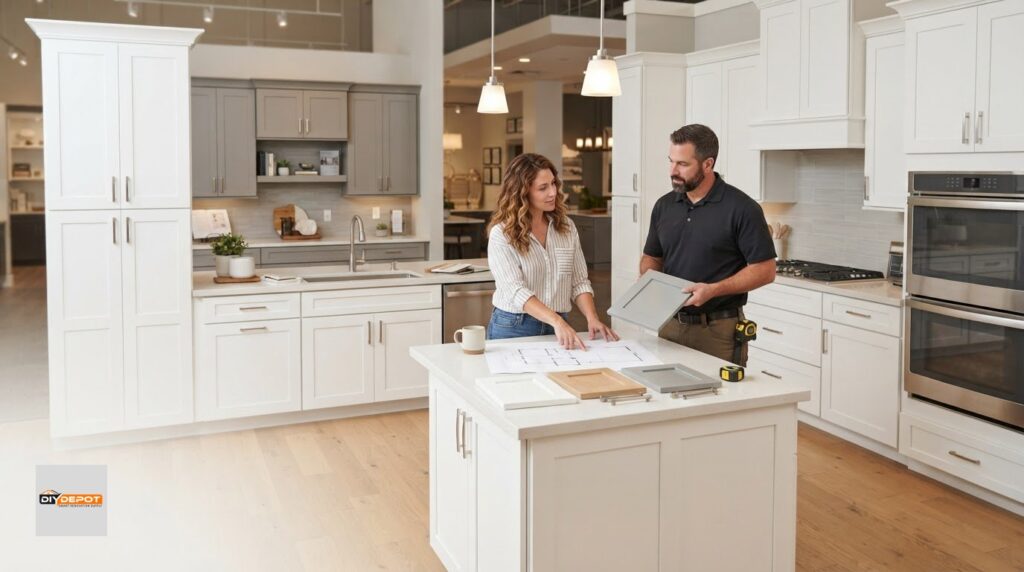
Our warehouse-direct model isn’t just about cost savings; it’s about quality control. We provide cabinets built with solid wood frames and high-quality plywood cores that are designed to stay square and sturdy for decades. When you aren’t fighting warped panels, the assembly process moves significantly faster. If you hit a snag or have a question about a specific hardware piece, our expert support team is ready to help. We also offer professional design services to help you plan your layout perfectly before you even place an order. This prevents the common headache of receiving units that don’t fit your space. Homeowners looking for the warehouse direct cabinets California professionals rely on will find that our 2026 quality standards, including CARB2-compliant plywood construction, make a measurable difference in the final result. With fast, free delivery, you can keep your project on schedule and move from unboxing to installation without unnecessary delays.
Professional Assembly Services
While many homeowners find the diy shaker cabinet assembly process manageable, some projects are simply too large or complex to tackle alone. If you’re installing an entire house of cabinetry or a large commercial kitchen, you might prefer to focus on the design while we handle the manual labor. We offer expert assembly for our kitchen shaker cabinets to ensure every box is perfectly square and every hinge is adjusted to precision. This service provides peace of mind, knowing that your investment is being handled by professionals who understand the nuances of leveling and structural integrity. Whether you choose to build them yourself or utilize our professional installation services, our goal is to be your trusted partner in creating a beautiful, functional home. You can easily request a quote for assembly and installation on your next order to see how we can best support your renovation journey.
Build Your Dream Kitchen with Confidence
Mastering a diy shaker cabinet assembly is a rewarding journey that turns flat-packed boxes into the centerpiece of your home. By focusing on a clean staging area and passing the “squareness test” as we discussed, you ensure your cabinets stay sturdy and look professional for years. Success truly lies in the details, from applying wood glue for rattle-free joints to fine-tuning those soft-close hinges for perfect alignment. You now have the knowledge to create a high-end finish without the custom price tag.
At DIY Depot USA, we’re here to support you at every step of your renovation. Whether you need professional kitchen design support to finalize your layout or prefer to utilize our expert assembly and installation options for a larger project, we have the resources to help you succeed. We also offer direct FREE delivery on qualifying orders to keep your project moving forward without unnecessary costs. You don’t have to settle for standard big-box quality when professional-grade results are within reach.
Ready to take the next step? Shop our Warehouse-Direct Shaker Cabinets and Start Your Project Today! You’ve got the plan and the tools; now it’s time to build a kitchen you’ll be proud of for a lifetime.
Frequently Asked Questions
Do I need wood glue for RTA shaker cabinet assembly?
Yes, applying wood glue to the grooves is essential for a permanent, rattle-free bond. While the mechanical fasteners hold the panels together, the glue provides long-term structural integrity and prevents the cabinet from creaking as the wood expands and contracts. It’s a small step that significantly elevates the quality of your diy shaker cabinet assembly. Just keep a damp cloth nearby to wipe away any excess glue before it dries.
How long does it take to assemble one shaker kitchen cabinet?
A typical shaker cabinet takes between 20 and 45 minutes to assemble once you have your workspace organized. Your first unit will likely take the longest as you familiarize yourself with the parts and hardware. As you develop a rhythm, the process becomes much faster. Factors like the size of the unit and whether you’re using dovetail drawer joints will also influence the total time spent per box.
Can I assemble shaker cabinets by myself or do I need a partner?
You can certainly assemble most shaker cabinets by yourself, especially wall and standard base units. The RTA design is intended for solo DIYers. However, having a partner is very helpful when you’re working with large pantry cabinets or heavy vanity units. A second set of hands makes it much easier to hold panels in place while you secure the fasteners, ensuring everything stays aligned and square during the process.
What tools are absolutely necessary for DIY cabinet assembly?
You only need a few basic tools for a successful build. A rubber mallet is vital for tapping panels into place without damaging the wood finish. You’ll also need a power drill with adjustable torque settings, a Phillips head screwdriver, and a tape measure for the squareness test. Don’t forget the wood glue for the joints and a clean, flat surface covered with a moving blanket to protect the panels from scratches.
How do I make sure my shaker cabinets are perfectly square?
The most reliable method is measuring the diagonals of the cabinet box. Use your tape measure to check the distance from the top-left corner to the bottom-right, then do the same for the other side. If the numbers are identical, your cabinet is square. If they differ, gently push on the corners of the longer diagonal until they match. Locking the back panel into place will then secure this perfect alignment permanently.
What is the most common mistake people make during RTA assembly?
Skipping the “dry fit” is the most frequent error we see. It’s tempting to apply glue immediately, but sliding the panels together without adhesive first ensures that everything fits correctly and is free of shipping damage. Another common mistake is over-tightening screws with a power drill, which can strip the wood core. Keeping your drill on a low torque setting prevents this and keeps your diy shaker cabinet assembly on track.
How do I adjust the hinges if the shaker doors are uneven?
Modern shaker cabinets feature 3-way adjustable hinges that make alignment simple. There are three specific screws on each hinge that control the door’s position. One screw moves the door up and down, another moves it left and right, and the third adjusts the depth. By making small, incremental turns with a manual screwdriver, you can eliminate uneven gaps and ensure your doors sit perfectly flush with the face frame for a professional look.
Is it better to assemble all cabinets at once or one by one?
We recommend assembling your cabinets one by one to avoid mixing up hardware or panels. Each box contains specific parts for that unit, and keeping them separate reduces confusion and workspace clutter. Once a cabinet is fully assembled and squared, move it to a safe staging area before starting the next one. This methodical approach keeps your project organized and helps you maintain a steady pace throughout your kitchen renovation.

4 thoughts on “DIY Shaker Cabinet Assembly: 2026 Step-by-Step Guide”