
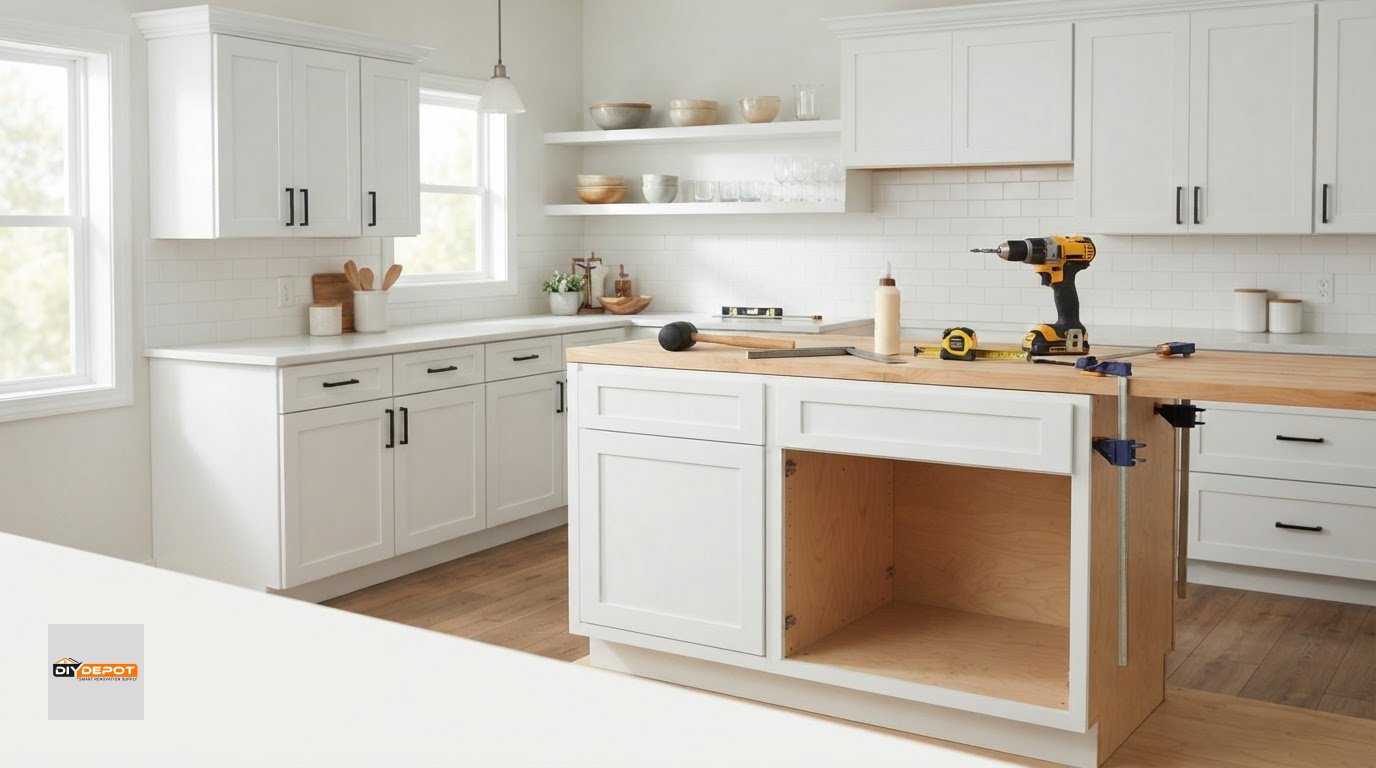
You don’t need a workshop full of specialty gear to assemble cabinets. The essential tools needed for cabinet assembly are a rubber mallet, wood glue, and a screwdriver or drill for cam-lock fasteners. A tape measure, square, and level help with measuring and alignment, while the correct driver bit and a light touch help prevent damage.
When cabinet parts, hardware, and tools are spread across the floor, it can be hard to know where to begin. A focused kit makes the work more manageable. Knowing what each tool does helps you avoid scuffs, stripped screw holes, and crooked joints. This guide covers drivers and bits, squares, clamps, mallets, measuring tools, and safety gear, and explains which tools help with assembly and which are useful for positioning and installation.
Key Takeaways
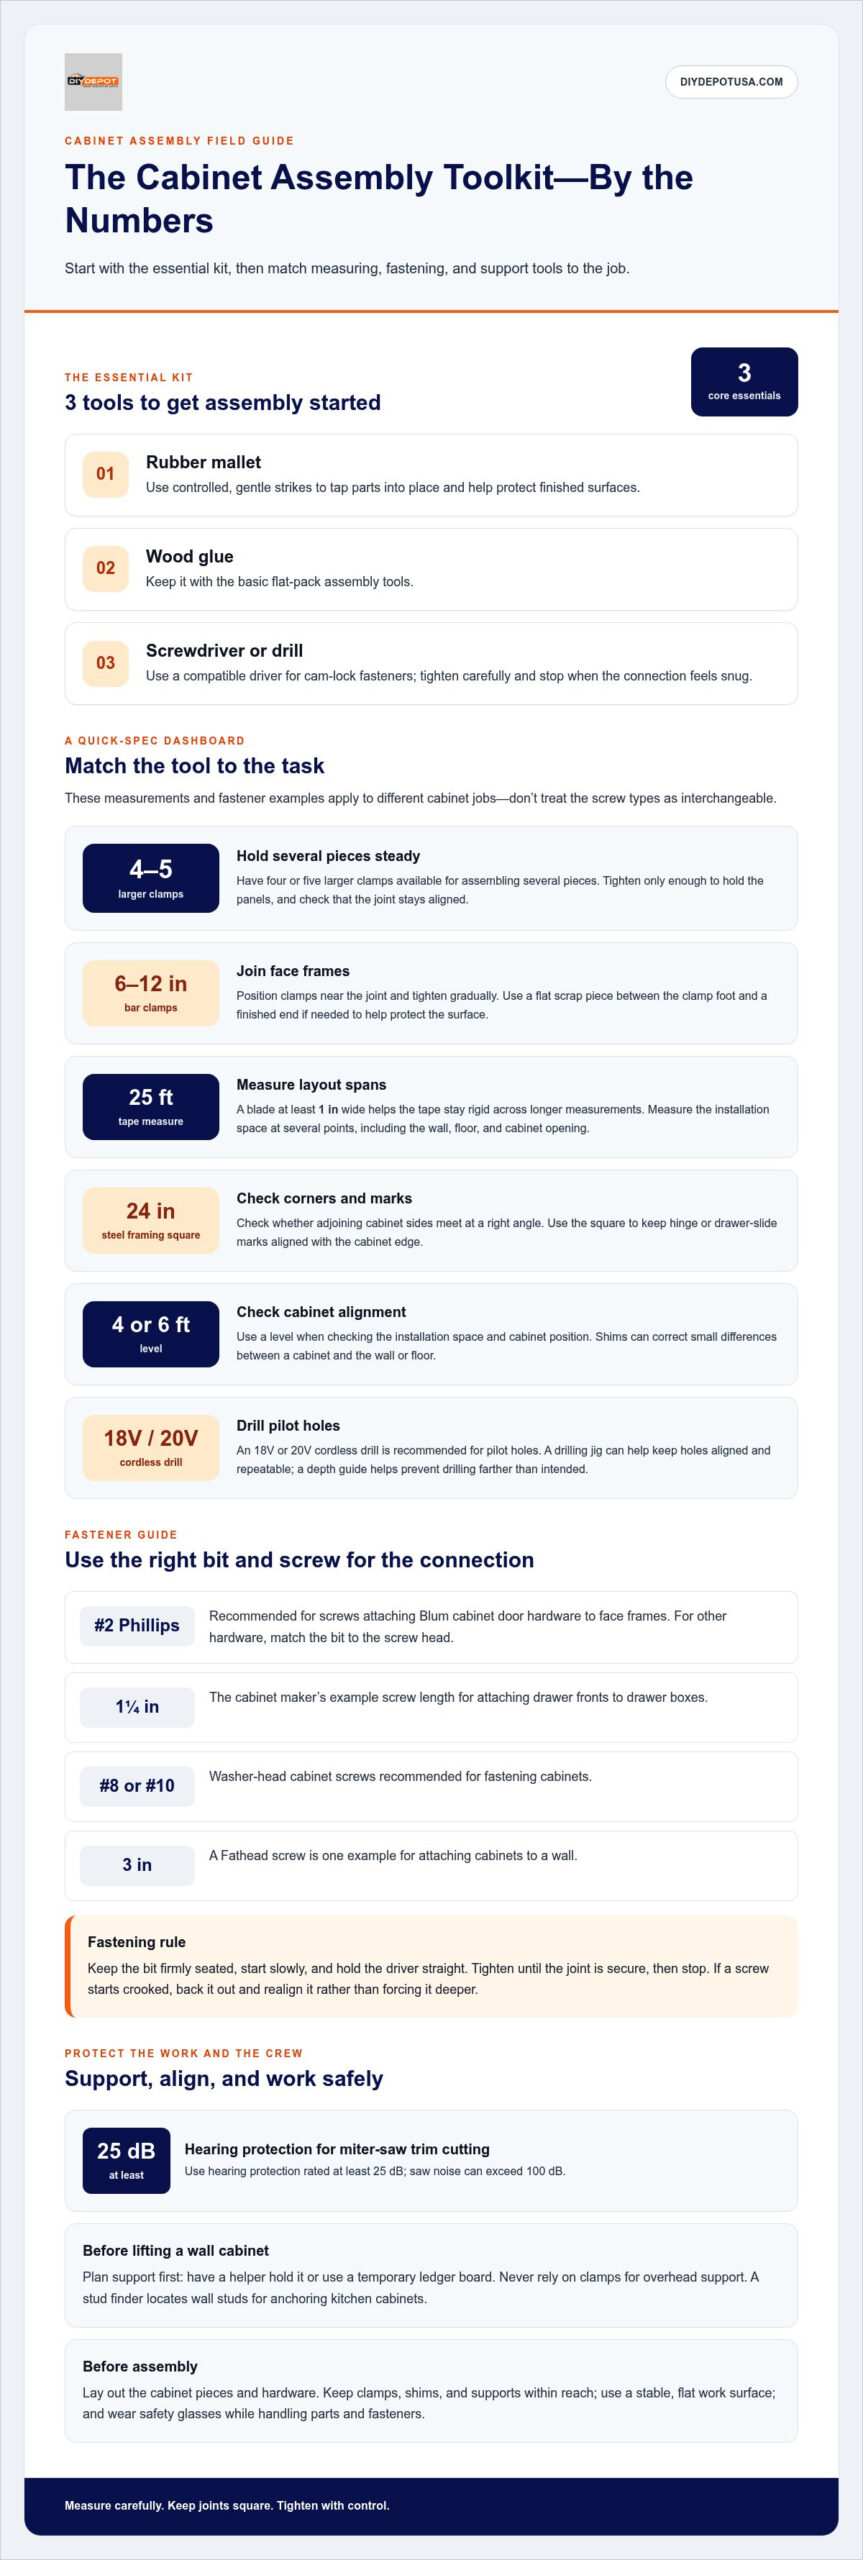
- Choose a drill or screwdriver bit that fits the fastener, and tighten carefully to avoid stripping holes or damaging cabinet parts.
- Use clamps to hold pieces steady as you assemble them, and plan support before lifting wall cabinets into position.
- Check corners with a square and cabinet alignment with a level so parts sit straight before you secure them.
- Tap parts into place with a rubber mallet using controlled, gentle strikes to help protect finished surfaces.
- Keep measuring and layout tools close at hand; accurate placement makes assembly and installation easier to manage.
1. Drills, impact drivers, bits, and cabinet screws
A cordless drill can drive screws that join ready-to-assemble cabinet parts and fasten assembled cabinets in place. A Phillips-head screwdriver or drill can attach side panels and tighten screws. For cam-lock fasteners, use a compatible driver and stop when the connection feels snug. Excess force can strip a screw hole or damage a cabinet, while too little can leave the joint loose.
An impact driver can drive screws quickly, but its pulsing action requires a light touch on cabinet parts. Start slowly and keep the bit firmly seated in the screw head. A slipping bit can mar the surface or damage the fastener. Hold the driver straight and keep adjoining panels square as you tighten. If a screw starts crooked, back it out and realign it instead of forcing it deeper.
Use a bit that matches the fastener. A #2 Phillips bit is recommended for screws attaching Blum cabinet door hardware to face frames. For other hardware, check the screw head and choose the matching bit instead of assuming every cabinet screw uses Phillips. Keep a manual Phillips screwdriver nearby for delicate adjustments. It gives you more control when tightening hinges or drawer hardware by hand.
Pre-drilling creates a pilot hole to guide a screw, especially during installation. An 18V or 20V cordless drill is recommended for drilling pilot holes. A drilling jig can help keep holes aligned and repeatable, while a depth guide helps prevent drilling farther than intended. Mark the hole location, secure the workpiece, and drill straight. Avoid drilling into an assembled panel without checking where the hole will emerge.
Match screw length and type to the task. The cabinet maker’s example for attaching drawer fronts to drawer boxes is 1¼-inch screws. Cabinet pieces can also be fastened with finishing screws and/or nails. For fastening cabinets, #8 or #10 washer-head cabinet screws are recommended. A 3-inch Fathead screw is one example for attaching cabinets to a wall. These examples serve different connections, so don’t treat them as interchangeable.
Drive each screw until the joint is secure, then stop. Before tightening the remaining fasteners, check that the cabinet is square and the panels meet evenly. If a screw turns without gripping, stop rather than continuing to run the drill. Recheck the hole and fastener alignment. This measured approach helps protect the cabinet material and keeps connections firm and properly seated.
2. What tools will you need to assemble your cabinets?
For cabinet assembly, clamps keep panels steady while you join them, check the fit, and secure fasteners. Have four or five larger clamps available for assembling several pieces. Bar clamps measuring 6 to 12 inches work well for joining face frames. Before tightening, position each clamp so it presses the joint evenly instead of twisting one edge out of alignment.
To make a face frame flush, align it with the cabinet edge first. Place clamps near the joint and tighten them gradually, watching for movement. If a clamp foot could mark a finished end, put a flat scrap piece between the clamp and cabinet. This spreads the pressure and helps protect the finish. Recheck the frame before fastening it.
Clamps can hold cabinet parts together during assembly, leaving your hands free to align hardware or drive fasteners. Set the panels on a stable, flat work surface, bring the edges together, then position clamps without covering the fastener locations. Tighten only enough to hold the pieces. Too much pressure can shift a joint, so check the edges as you work.
During installation, shims can correct small differences between a cabinet and the wall or floor. Slide them behind or beneath the cabinet where a gap affects its position, then check the alignment before fastening. Plan support before lifting a wall cabinet: have a helper hold it or use a temporary ledger board. Never rely on clamps for overhead support.
A complete tool budget depends on what you already own and whether your project needs extra clamps, measuring tools, or installation supports.
For cabinet assembly, wear safety glasses to protect your eyes while handling parts and fasteners. If cutting cabinet trim with a miter saw, use hearing protection rated at least 25 dB; saw noise can exceed 100 dB. Keep the work area clear so clamps, panels, and tools don’t become trip hazards.
Flat-pack kitchen cabinets typically need a rubber mallet, wood glue, and a screwdriver or drill for cam-lock fasteners. Add clamps to hold panels steady, shims for fitting, and a tape measure and square for layout. A level helps check alignment, and safety glasses protect your eyes during assembly.
Before starting, lay out the cabinet pieces and hardware, then keep clamps, shims, and supports within reach. This setup helps you spot missing parts and prepare support before you need to hold a panel or wall cabinet in place.
3. Squares for marking and hardware installation
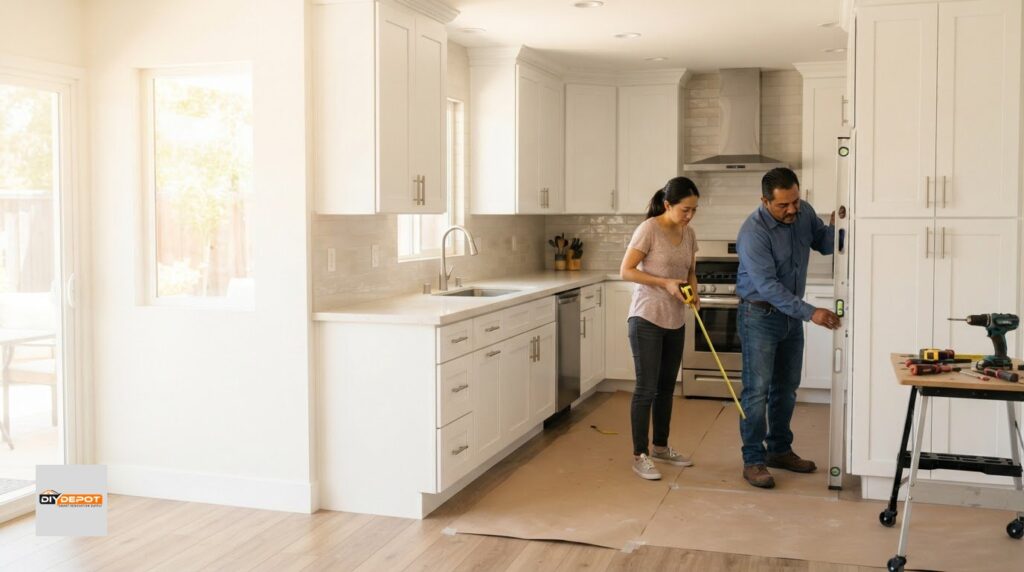
For measuring and leveling cabinet installation spaces, use a tape measure, a 4- or 6-foot level, and a square. A 25-foot tape measure with a blade at least 1 inch wide helps measure longer layout spans while staying rigid. A 24-inch steel framing square checks whether cabinet corners meet at a right angle.
Use a framing square before attaching hardware or joining cabinet sections. Place its edges against two adjoining sides and check that the corner sits flush along both. If there’s a gap, adjust the panels before tightening the joint. For hinge or drawer-slide hardware, mark matching positions on corresponding sides, then use the square to keep each mark aligned with the cabinet edge.
Measure the installation space at several points, including the wall, floor, and cabinet opening. Compare those measurements with the cabinet dimensions before moving parts into place. Walls and floors can vary, so note where a cabinet may need adjustment. A stud finder locates wall studs for anchoring kitchen cabinets. Mark stud positions clearly before lifting cabinets into place.
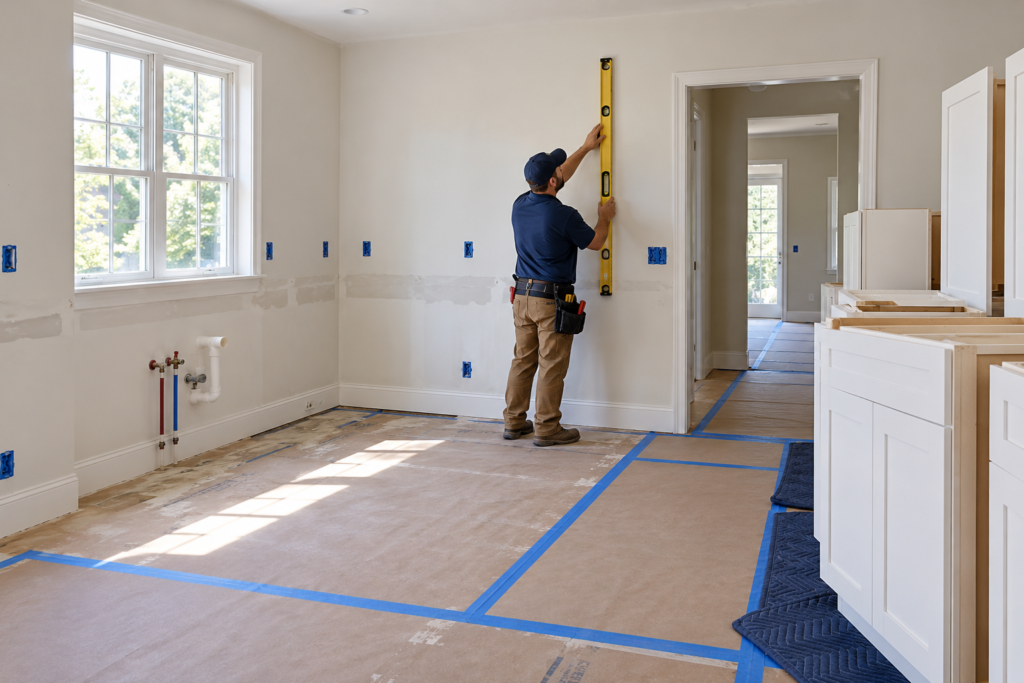
A level checks that cabinets sit straight horizontally and vertically. Rest a 4-foot level across the cabinet top to check horizontal alignment, then place it against the front edge to check vertical alignment. A 6-foot level can help span a longer run. Recheck alignment after each adjustment, because one cabinet shifted out of level can affect adjoining cabinets and drawer operation.
Choose installation screws suited to the fastening task. Cabinet installation screws are recommended to be 2 1/2 inches or 3 inches long. Keep the screw straight as it enters the cabinet and wall stud. Over-tightening can damage the cabinet or strip a screw hole; under-tightening can leave the cabinet loose. Avoid relying on a single measurement or a quick visual check when positioning hardware.
Accuracy matters across the full installation. A difference of 1/16 inch can result in misaligned doors and gaps in the moulding. Before fastening, measure the cabinet position, check the square at the corners, and confirm level across the face. Then inspect door and drawer gaps. If the drawer front sits unevenly, revisit the cabinet alignment before adjusting its hardware.
Keep the tape measure, framing square, level, stud finder, pencil, and installation screws together. This small set supports measuring, marking, alignment, and fastening without searching for tools. Use the square to check the assembled cabinet, the level to position it, and the stud marks to guide wall attachment. This sequence helps prevent errors before screws secure the cabinet.
4. Using a rubber mallet without damaging parts
A rubber mallet helps seat cabinet parts without striking finished surfaces with a hard metal face. Use it to tap a joint into alignment when hand pressure alone won’t bring the edges together. A 26-ounce dead-blow mallet is one option for tapping cabinet parts together. Begin with gentle strikes, then check the joint before applying more force.
Keep every mallet blow controlled. Support the panel on a stable surface, aim at the joint, and avoid striking corners or thin edges directly. If the mallet could mark a finished panel, place a clean scrap block between it and the cabinet. The block spreads the impact. Inspect the joint after each tap to see whether the pieces are seating evenly.
Don’t use a mallet to force a misaligned fastener or close a gap caused by a misplaced panel. If a joint resists light tapping, stop and inspect the cabinet. Check that the edges meet and the hardware lines up. Correcting the position first helps prevent dents and uneven pressure on the assembled parts.
Scribing helps a cabinet side fit against an uneven wall. Position the cabinet, then use a compass or scribing tool to transfer the wall’s shape onto the cabinet edge. Mark the cut line clearly and move the cabinet before trimming. Test the fit again, making small adjustments rather than removing too much material at once.
For cabinet trim, a miter saw can make controlled cuts. Choose a blade with at least 60 teeth, preferably 80, for cutting cabinet trim. Secure the trim and keep hands clear of the blade path. A miter saw can generate noise above 100 dB, so use hearing protection with a Noise Reduction Rating of at least 25 dB.
What tools are needed to cut or modify cabinets during installation? For trim, use a miter saw with the recommended blade, plus a tape measure and pencil to mark the cut. For scribing, use a compass or scribing tool to transfer the wall profile, then trim carefully and smooth the edge with a sanding block.
After trimming, place the cabinet against the wall again and check the fit before fastening it. Use a sanding block to smooth rough edges and wood filler to address small gaps during finishing. Use the mallet only for gentle fitting, not cutting or correcting a poor measurement. Keeping these tasks separate protects the finished surface and makes adjustments easier to control.
5. Basic tools for cabinet assembly
The tools needed for cabinet assembly depend on the fasteners and the work planned. For a basic flat-pack build, start with a screwdriver or drill for cam-lock fasteners and a rubber mallet. Use wood glue if the instructions call for it. Add a tape measure, pencil, and level if you’ll position cabinets in the room. A focused kit keeps the work area clear and tools easy to find.
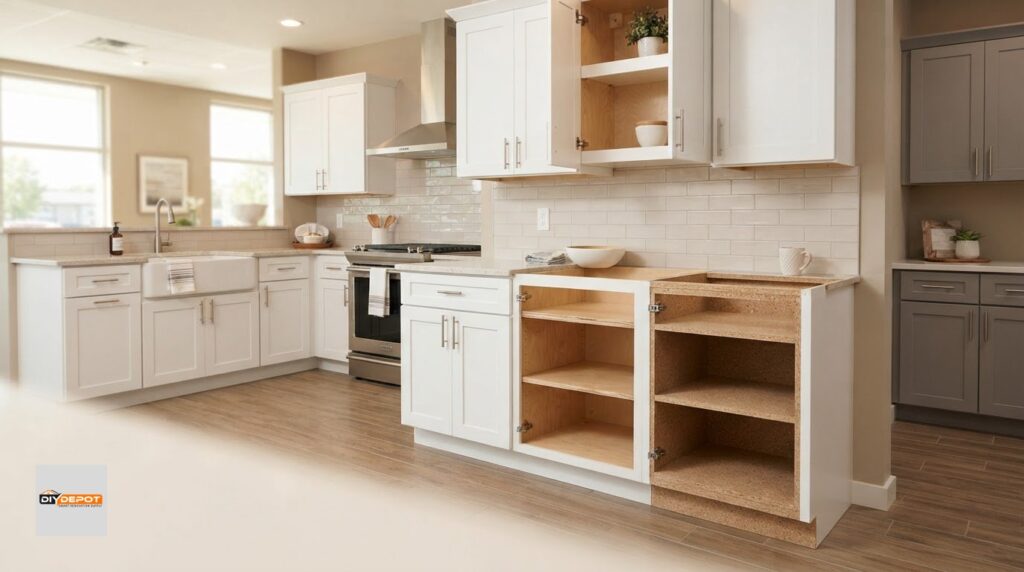
Before assembly, spread the panels on a clean, well-lit surface and group hardware by type. Compare each piece with the instructions to spot missing parts before building the cabinet box. Keep small screws in a tray or container instead of loose on the floor. This makes it easier to find the right fastener for hinges or drawer components.
A tape measure helps compare cabinet dimensions with the intended space and mark placement. For layout measurements, a 25-foot tape measure with a blade at least 1 inch wide is recommended. Use a level to check whether cabinets sit straight horizontally and vertically. Measure before moving heavy pieces, then recheck the position after adjustments. The tools needed for cabinet assembly should match the task, rather than an imagined full workshop.
Some projects need additional tools. A staple gun and wood glue can add sturdiness to drawer setups and cabinet backs when appropriate. A stud finder locates studs for anchoring cabinets during installation. Keep safety glasses nearby while handling tools and fasteners. Before lifting a wall cabinet, arrange a helper or temporary ledger board to support it during positioning.
Hinges and drawer hardware are easier to fit when the cabinet is stable and its parts are accessible. Keep the driver bit beside the instructions, and attach hardware only after identifying its intended location. If a door or drawer sits unevenly, pause and check the cabinet position before adjusting the hardware. This helps you tell whether the issue is alignment or a misplaced hinge or slide.
Prepare the workspace before beginning. Clear space to turn panels, keep tools within reach, and group hardware so parts stay organized. A well-lit, distraction-free area helps you focus and notice when a panel or fastener is out of place. The tools needed for cabinet assembly are only part of a useful setup; a clear work surface and organized parts also support careful work.
For a small project, such as a single vanity cabinet, a basic kit may cover assembly and positioning. A larger kitchen installation may need extra layout and support tools. Let the cabinet instructions and work stages guide what you add. A practical starter kit supports accurate assembly without filling the workspace with equipment you won’t use.
DIY Depot: Base Shaker Cabinets
DIY Depot offers Base Shaker Cabinets for homeowners planning a kitchen project and choosing cabinets to assemble. The right tools help with careful assembly, and selecting cabinets that suit your layout is an important first step. DIY Depot also offers Vanity Shaker Cabinets and Wall Shaker Cabinets for bathrooms and kitchen configurations.
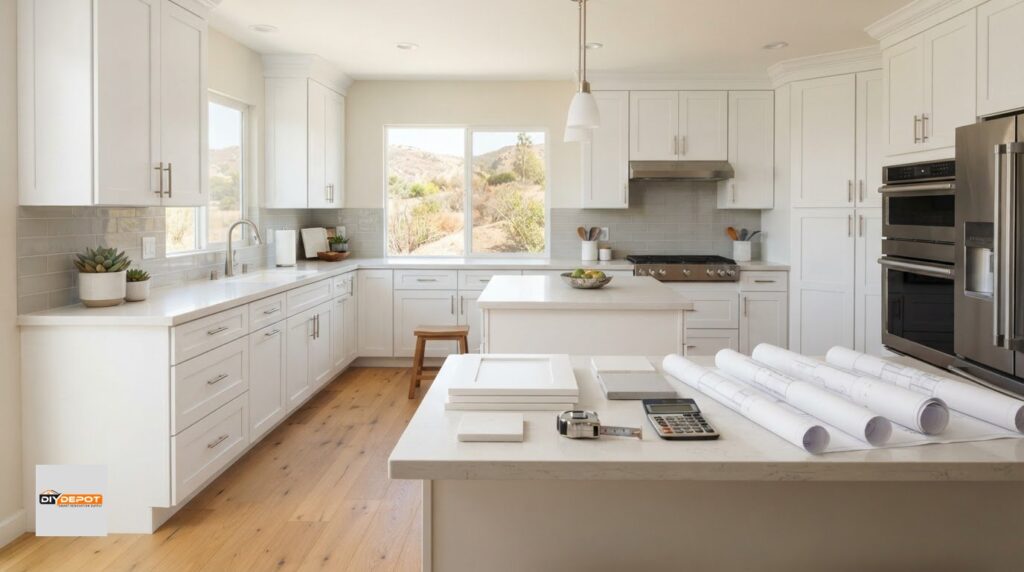
If you’re still planning the room, DIY Depot’s Professional Kitchen Design can help organize cabinet choices around your intended layout. Once you know what you need, explore the available shaker cabinets and choose the next step that fits your project.
Make Your Cabinet Project the Next Step
Good preparation turns a cabinet project into a series of manageable decisions. As you plan, consider how the finished room should function, where storage matters most, and whether you want to handle assembly and installation yourself. The tools needed for cabinet assembly help you work carefully, while a clear cabinet plan gives those tools a purpose.
DIY Depot offers Base Shaker Cabinets, Vanity Shaker Cabinets, and Wall Shaker Cabinets for different areas of the home. When choosing cabinets for a kitchen or another renovation, match your selection to the space and how you use it. A well-planned starting point can make the work ahead more organized.
For help with your cabinet project, contact DIY Depot. Take the next step at a pace that feels right, and build a space that works for you.
Frequently Asked Questions
What tools will you need to assemble your cabinets?
For a typical ready-to-assemble cabinet, gather a screwdriver or drill, a rubber mallet, wood glue, and the supplied fasteners. Add a tape measure, square, and level if you’ll position cabinets in a room. The exact kit depends on the cabinet’s joinery: cam-lock connections need a compatible driver, while drawer assembly may call for a staple gun. Check the assembly instructions before opening hardware packets.
What basic hand tools are needed to assemble cabinets?
A practical hand-tool kit includes a Phillips screwdriver, tape measure, carpenter’s square, pencil, rubber mallet, and safety glasses. A small container keeps loose screws and cam-lock fittings from getting lost among the panels. Use the square to check a drawer box before securing its corners, then compare opposite measurements if the box looks skewed. A sanding block can smooth a rough edge after a careful trim adjustment.
What power tools are useful for cabinet assembly?
A cordless drill is useful for driving fasteners and making pilot holes during installation. Keep suitable driver and drill bits on hand, and use a low, controlled speed near cabinet surfaces. A staple gun can secure drawer components or cabinet backs when the instructions call for it. For trim work, a miter saw can make clean angled cuts. Wear hearing protection during operation.
What screws, fasteners, and hardware are needed for cabinet assembly?
Use the fasteners specified for the cabinet connections, including cam locks, screws, or nails where indicated. The screw depends on the joint: drawer fronts, hinges, and wall attachment may use different fasteners. Match each screw to its intended hole and hardware, and keep hinge plates and drawer-slide parts grouped by cabinet. Don’t substitute a longer screw without considering where its tip could emerge.
What tools are needed to assemble and install wall cabinets?
Wall cabinets call for measuring and marking tools, a level, a stud finder, a drill, and installation screws. A helper or temporary ledger board can support the cabinet as you position it, leaving you free to align it before fastening. Mark stud locations first, then align the cabinet with the planned layout. For a row of cabinets, check each unit against its neighbor before securing the next.
Can cabinets be assembled without a power drill?
Yes. A manual screwdriver can turn cam locks and cabinet screws, although it takes more effort than a power drill. Work steadily, keeping the bit seated so it doesn’t slip or damage the fastener head. Hand tightening gives direct feedback as a connection becomes snug. For pilot holes or numerous screws during installation, a drill can make the work easier, but basic assembly can be done with hand tools.
What are common cabinet assembly mistakes and how can tools help prevent them?
Common problems include mixing up hardware, misaligning panels, overtightening screws, and fastening cabinets before checking their position. Sort parts before assembly, use a square to check corners, and recheck alignment before driving the final fasteners. A level helps spot a tilted cabinet, while a tape measure can catch placement errors. If a screw spins without gripping, stop and inspect the hole instead of continuing to drive it.