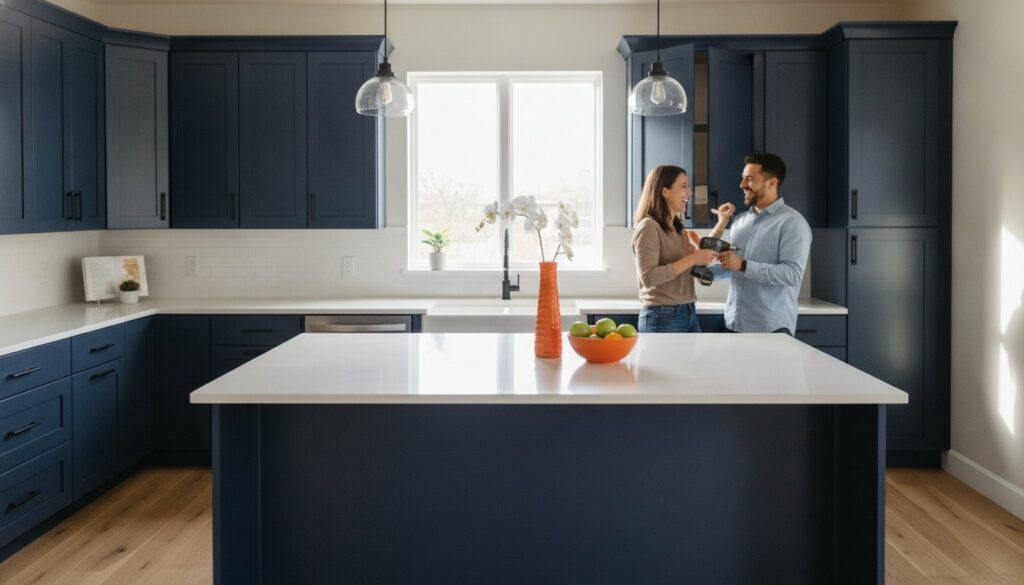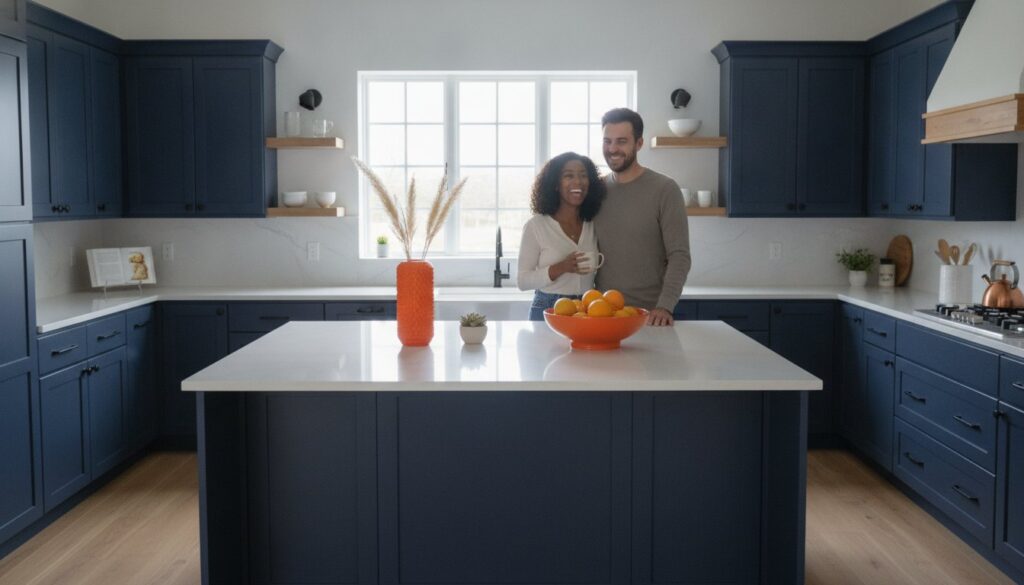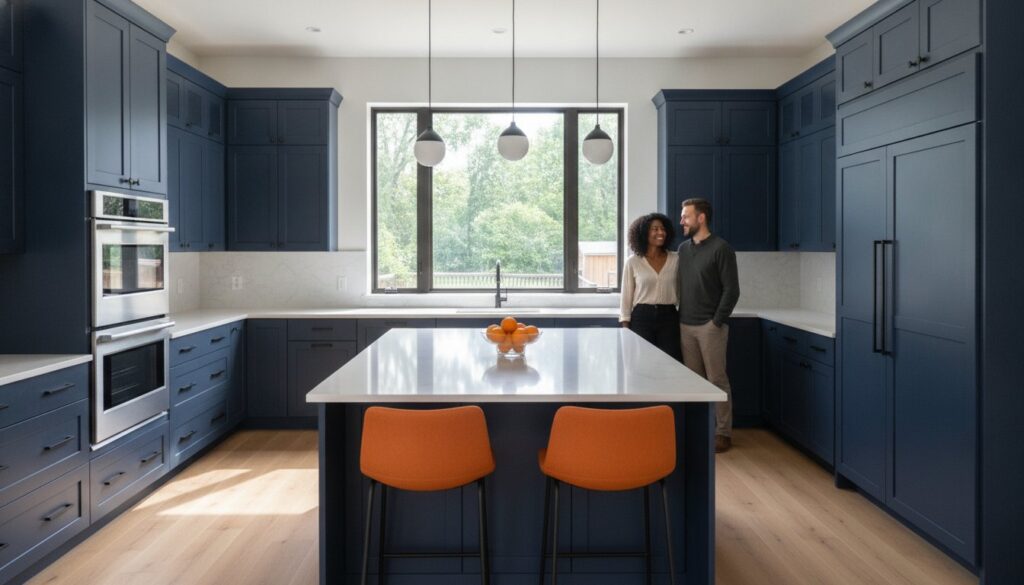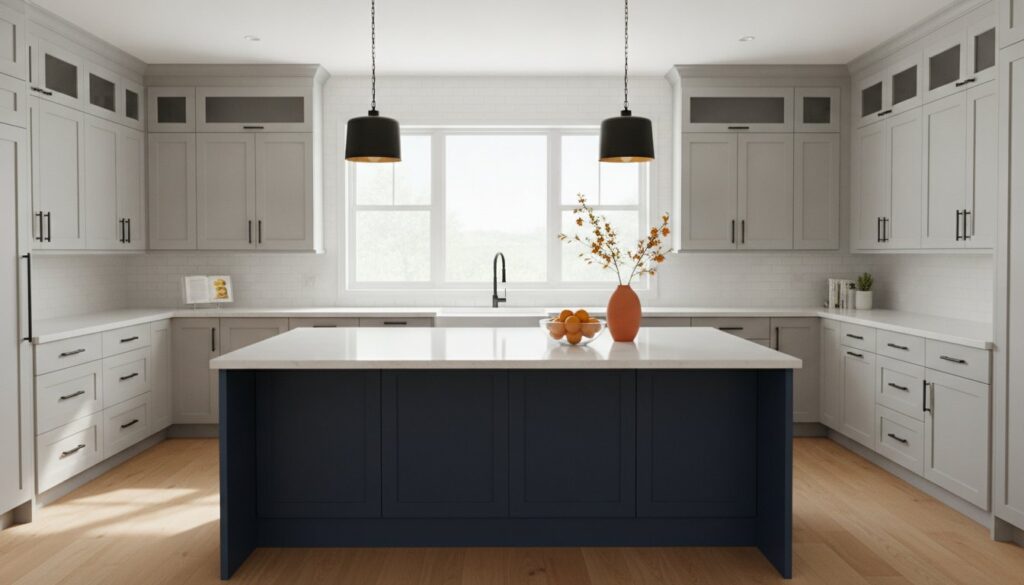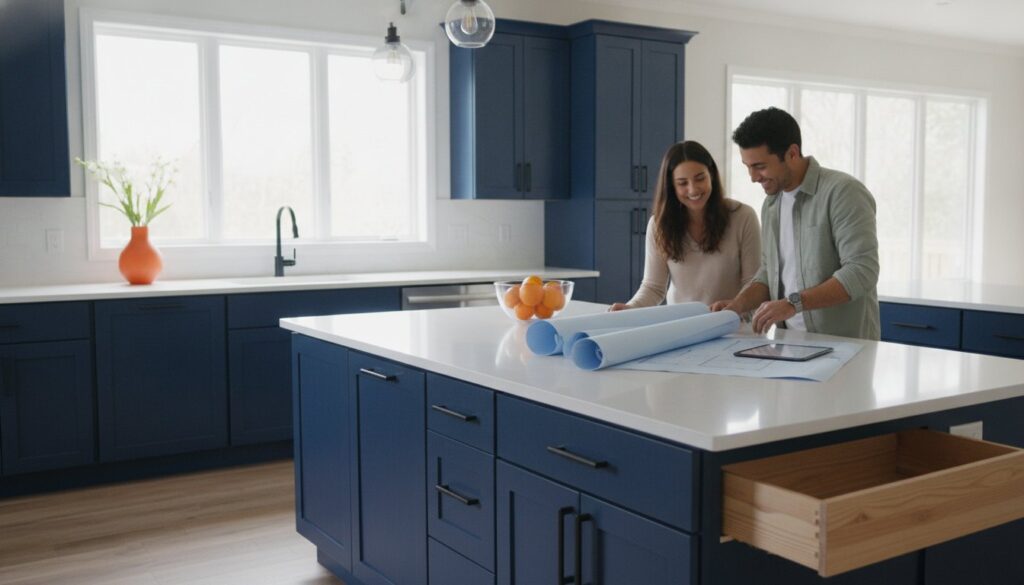

The most expensive mistake in a kitchen remodel isn’t the countertop choice; it’s failing to utilize the vertical space that’s already right in front of you. While base cabinets do the heavy lifting, your upper storage defines the room’s visual personality and storage efficiency. Mastering a wall shaker cabinet installation allows you to eliminate that awkward gap between the cabinet and the ceiling while creating a high-end, custom look without the professional contractor’s price tag.
It’s completely normal to feel a bit nervous about hanging heavy, all-wood units above your expensive new appliances. You want to ensure those cabinets stay securely on the wall and that every inch of vertical space serves a purpose. We understand that the choice between RTA and pre-assembled quality can feel confusing, especially when you’re aiming for a professional finish on a DIY budget.
This guide will walk you through everything you need to know to achieve a seamless result. You’ll learn how to plan your layout for maximum capacity, choose the right materials for structural integrity, and follow a proven installation process that prioritizes safety and style. From verifying wall studs to the final door adjustment, we’re here to help you build the kitchen you’ve always wanted.
Key Takeaways
- Learn why all-wood plywood box construction is essential for vertical storage to prevent sagging and ensure long-term durability under heavy loads.
- Discover how to optimize your layout using standard widths and depths to maximize storage capacity while maintaining a clean, modern aesthetic.
- Master a safe wall shaker cabinet installation by using professional tools like cabinet jacks and laser levels to secure units firmly to wall studs.
- Understand how professional design support can help you avoid costly planning errors and ensure your cabinetry fits perfectly around existing appliances.
- Find out how warehouse-direct pricing on RTA units makes it possible to achieve a high-end, semi-custom look without the custom price tag.
Understanding Wall Shaker Cabinets: The Foundation of Upper Kitchen Storage
Wall shaker cabinets are the primary vertical storage solution in most homes. While base units hold heavy pots and pans, your upper cabinets keep everyday essentials at eye level. When you begin a wall shaker cabinet installation, you’re doing more than just hanging boxes; you’re defining the visual footprint of your room. These units provide the necessary storage for glassware and dishes while keeping countertops clear for prep work. By utilizing vertical space, you create a kitchen that feels organized rather than cluttered.
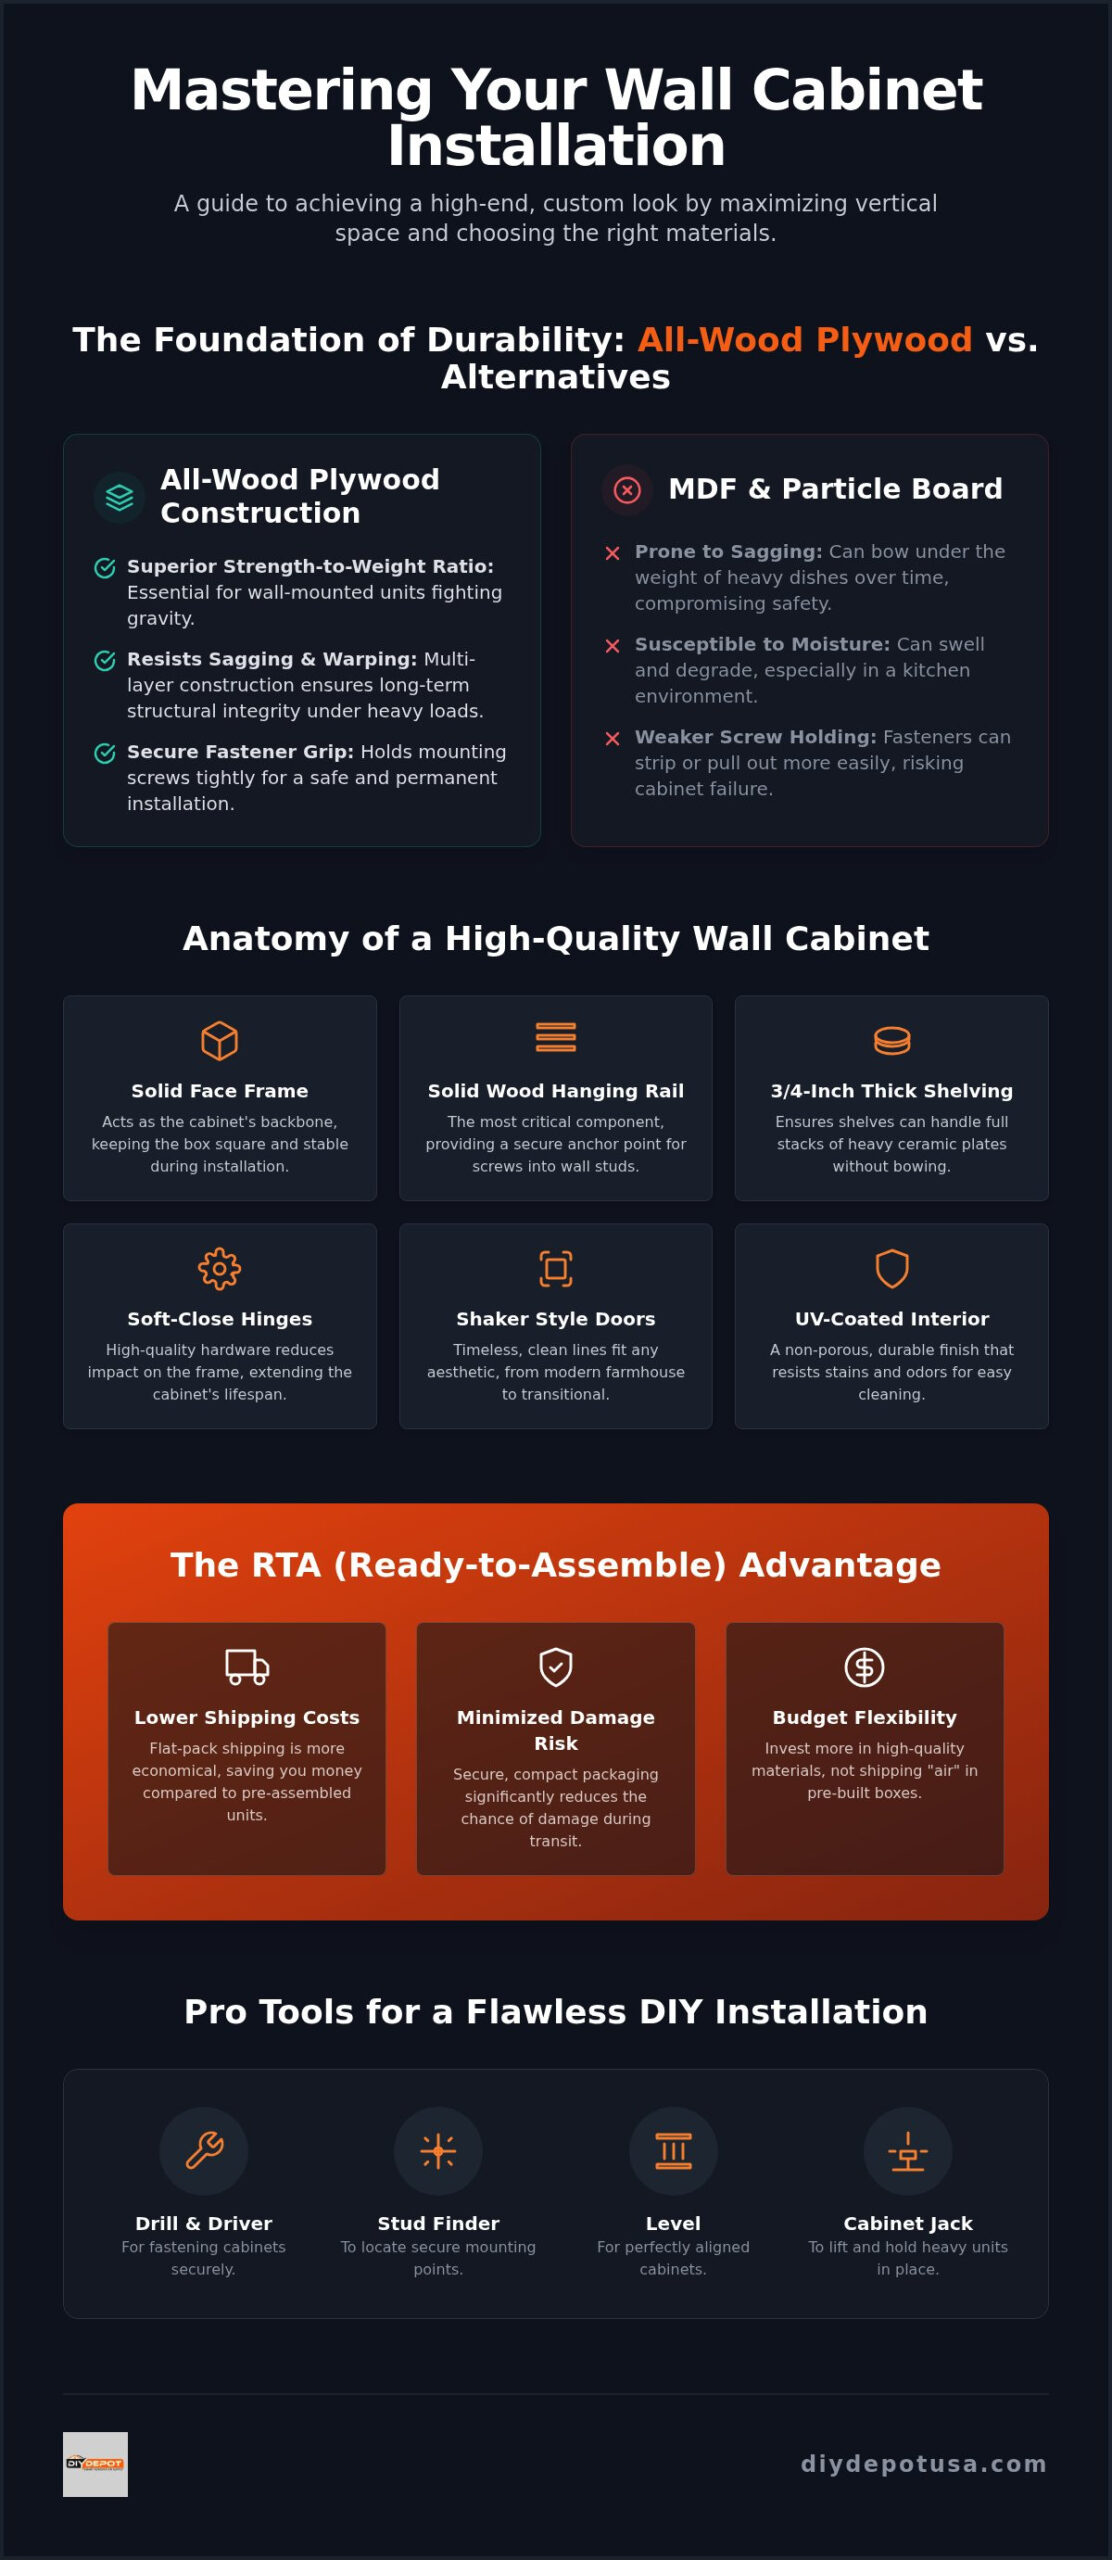
The strategic advantage of choosing RTA (Ready-to-Assemble) units for your project is significant. These cabinets ship in flat packs, which reduces shipping costs and minimizes the risk of transit damage. This budget flexibility allows you to invest more in high-quality materials rather than paying for the “air” inside pre-assembled boxes. For many homeowners, this is the secret to achieving a custom look on a realistic budget. You can explore a variety of options at the DIY Depot USA shop to see how these units fit your vision.
The Anatomy of a High-Quality Wall Cabinet
A wall cabinet must be built differently than a base unit because it relies entirely on its back structure for support. The hanging rail is the most critical component for long-term safety. This solid wood strip runs across the top and bottom of the cabinet back, providing a secure anchor point for screws to bite into wall studs. Without a sturdy hanging rail, the weight of your dishes could eventually cause the cabinet to pull away from the wall.
- Box Material: We prioritize all-wood plywood box construction because it holds fasteners better than particle board and resists sagging.
- Soft-Close Hinges: High-quality hinges reduce the physical impact on the cabinet frame, which extends the life of the unit.
- Shelving: Look for shelves that are at least 3/4-inch thick to ensure they can handle a full stack of ceramic plates without bowing.
Shaker Style: A Timeless Choice for Upper Storage
Shaker styling is defined by its clean lines and recessed center panels. This look is incredibly versatile; it fits perfectly in a modern farmhouse or a sleek transitional kitchen. Because the design is so simple, it doesn’t overwhelm the senses, even when you have a long run of upper cabinets. This is particularly helpful during a wall shaker cabinet installation in smaller kitchens where heavy ornamentation might make the room feel cramped.
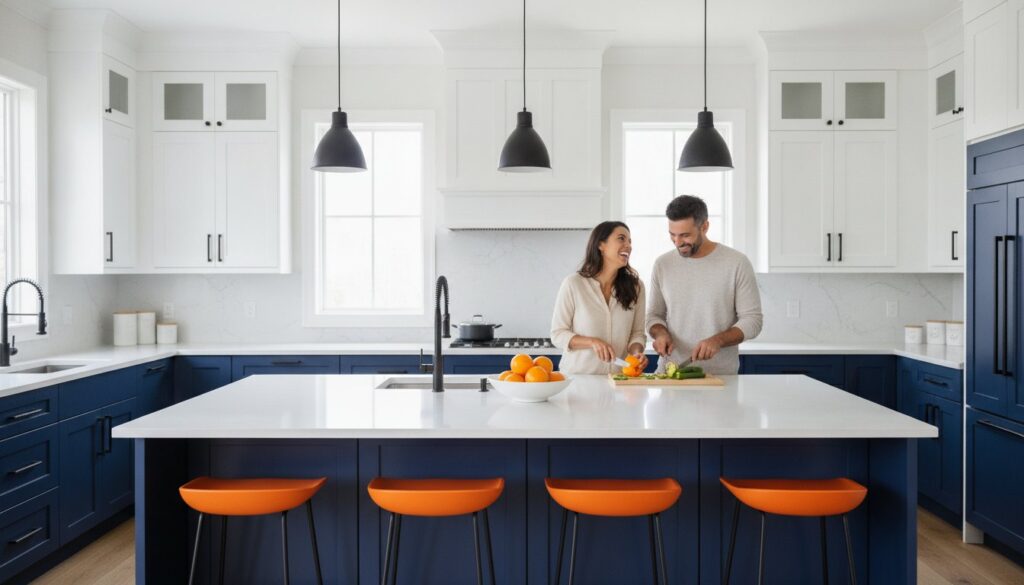
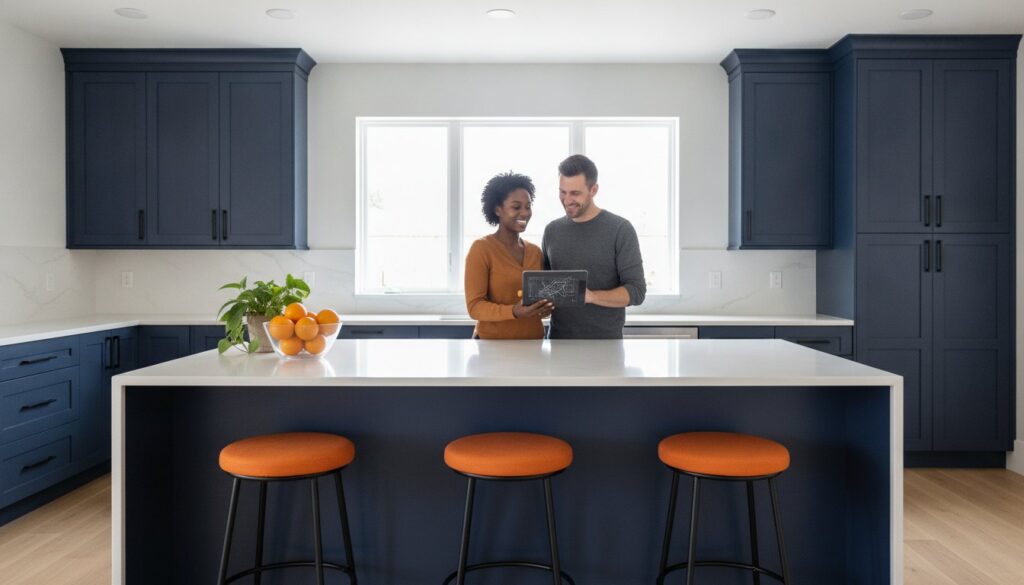
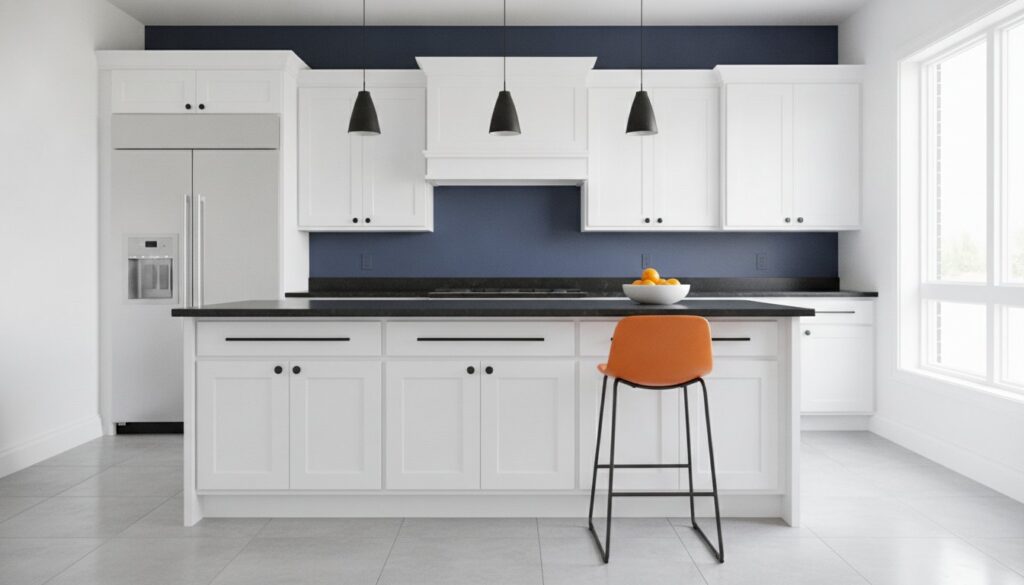
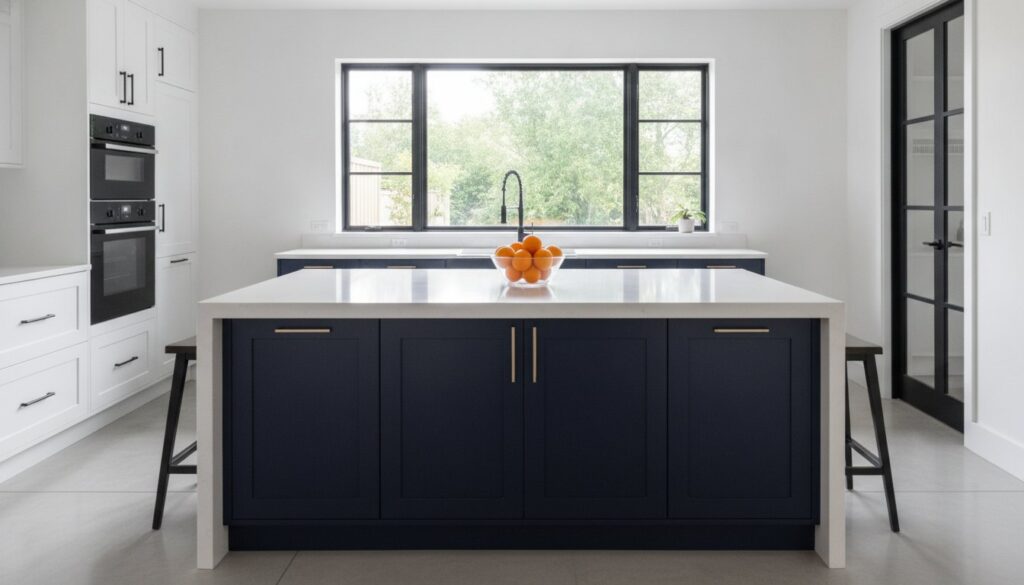
White shaker wall units are a favorite for a reason. They reflect light, which helps brighten the space and makes the ceiling feel higher. If you’re working with a smaller footprint, these units can visually expand the room. Whether you prefer the crisp look of white or the depth of a navy blue, the shaker door provides a sophisticated backdrop for your hardware choices, from matte black pulls to classic brass knobs.
Evaluating Construction Standards: All-Wood vs. Alternatives
Selecting the right materials for your upper cabinetry is a decision that impacts both the safety and the longevity of your kitchen. Unlike base cabinets that sit firmly on the floor, uppers must fight gravity every single day. This is why the “all-wood” promise is so important. Plywood box construction offers a superior strength-to-weight ratio compared to particle board or MDF. It provides a more stable foundation for the hanging rails, ensuring that your wall shaker cabinet installation remains secure even when the shelves are fully loaded with heavy stoneware and glass.
Structural stability also relies heavily on the presence of a solid face frame. These frames act as the backbone of the cabinet, keeping the box perfectly square during the mounting process. For a DIY renovator, this makes assembly much more forgiving. A square cabinet is easier to level and align with its neighbors. Additionally, high-quality units feature UV-coated interiors. This clear, durable finish creates a non-porous surface that resists stains and odors, making it much easier to maintain a hygienic environment for your dishes and food storage.
Plywood Box Construction vs. MDF Alternatives
Industry standards typically favor 1/2-inch or 3/4-inch plywood for high-end wall units. Plywood is composed of multiple layers of wood veneer glued together in alternating directions, which prevents warping and provides excellent screw-holding power. In contrast, MDF is significantly heavier and denser. Using heavy MDF for units that must be hung can increase the stress on your wall studs and fasteners. Plywood also offers better resistance to the steam and moisture naturally found near cooking surfaces and sinks. If you’re unsure which material fits your specific layout, you can contact our team for professional guidance on material selection.
Finish Quality and Surface Durability
The visual appeal of your kitchen depends on a furniture-grade finish that can withstand daily use. Authentic shaker doors require a multi-step painting process to achieve a smooth, consistent color that doesn’t peel or crack. You should look for joinery that is tight and precise; high-quality shaker doors use cope-and-stick or mitered joints that prevent the wood from splitting at the corners over time. Planning your wall shaker cabinet installation with these standards in mind ensures that your kitchen stays looking new. Modern finishes are now tested for scratch and stain resistance, protecting your investment from the high-traffic demands of a busy household.
Layout Planning: Sizing, Heights, and the Golden Zone
Proper planning is the difference between a kitchen that looks “off” and one that feels custom. Before you start your wall shaker cabinet installation, you have to map out the grid. This phase determines how much storage you’ll actually gain and how well the room functions for daily tasks. Most layouts use a mix of widths to fill the space efficiently. You’ll find everything from 9-inch fillers for tight gaps to 36-inch double-door units for your main storage areas. While 12 inches is the industry standard depth, some designers choose deeper options for over-the-fridge units to create a built-in look.
The “Golden Zone” is the 18-inch space between the countertop and the bottom of the wall cabinet. This measurement is crucial for ergonomics. It leaves enough room for small appliances like blenders or coffee makers while keeping the top shelves within reach for most adults. If you’re feeling overwhelmed by these measurements or have a tricky corner to navigate, you can Book a Professional Kitchen Design Appointment to get expert help with your layout.
Choosing the Right Height for Your Ceiling
Your ceiling height dictates your cabinet choice. If you have a standard 8-foot ceiling with existing soffits, 30-inch cabinets are usually the best fit. For a more stately look on an 8-foot ceiling without soffits, 36-inch units are the way to go. If you’re lucky enough to have 9-foot ceilings or higher, 42-inch cabinets maximize every inch of vertical storage. This is a common strategy during a wall shaker cabinet installation to eliminate the “dust zone” above the cabinets. Use crown moulding to bridge the final gap to the ceiling for a seamless, high-end finish.
Specialty Wall Units for Modern Layouts
Standard boxes aren’t always enough to solve every storage challenge. Bridge cabinets are shorter units designed to sit over refrigerators or sinks, providing a continuous line of cabinetry without obstructing access. Microwave wall cabinets are a smart way to reclaim counter space by moving the appliance to eye level. If you’re struggling with corners, a dedicated corner wall cabinet solves the “blind corner” dilemma by providing easy access to deep spaces. Since these uppers need to align perfectly with your lower storage, check out The Essential Guide to Kitchen Base Cabinets to ensure your foundation is solid before you hang your uppers.
The Step-by-Step Wall Shaker Cabinet Installation Process
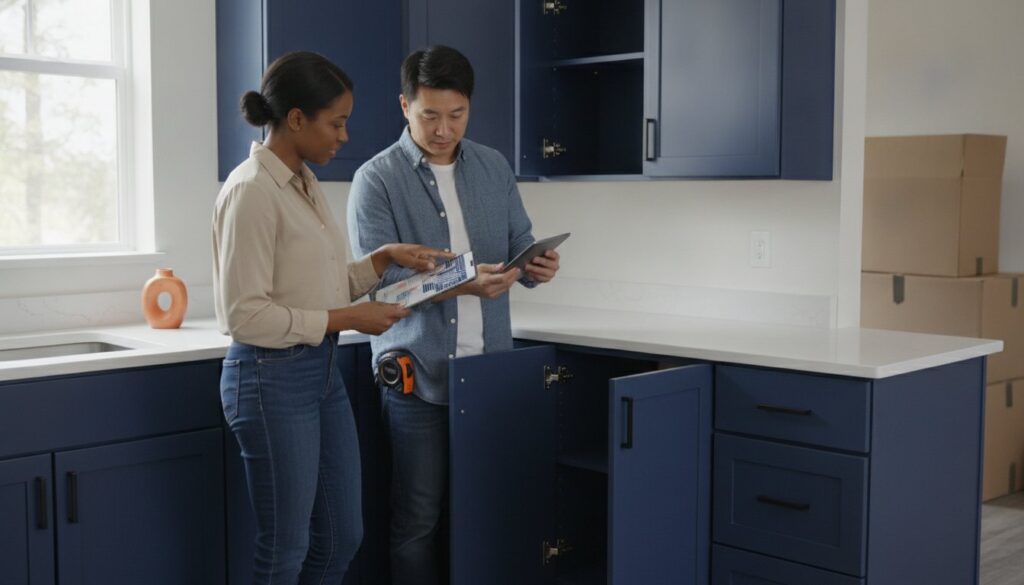
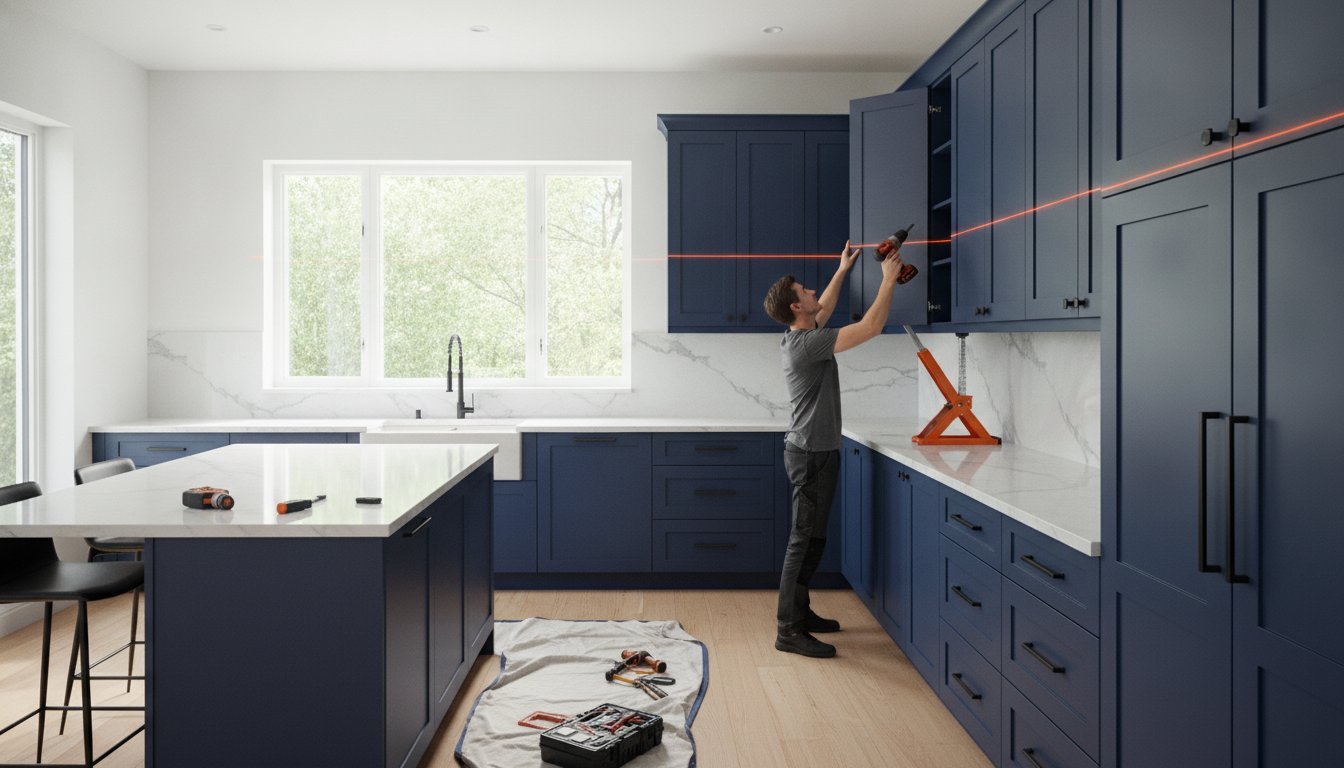
Hanging upper units is the moment your kitchen transformation truly takes shape. It’s a task that requires precision and a steady hand. A successful wall shaker cabinet installation relies on a solid structural foundation and the right tools for the job. You’ll need a reliable toolkit that includes a high-quality stud finder, a laser level for perfect horizontal lines, and cabinet jacks to hold the weight while you work. If you’re working solo, cabinet jacks act as a second set of hands, allowing you to position each unit exactly where it needs to be without physical strain.
Your absolute priority is finding and securing the cabinets to the wall studs. You should never rely on drywall anchors for kitchen cabinetry. Once you’ve located the studs, mark them clearly with a pencil above and below where the cabinet will sit. This ensures your mounting screws bite into solid wood, providing the weight-bearing capacity needed for heavy stacks of ceramic plates. If you’re still weighing the options between handling this yourself or hiring an expert, our DIY vs. Professional Cabinet Installation Guide can help you decide which path fits your project timeline.
Pre-Installation Preparation
Preparation is the secret to a professional finish. Start by marking the “high point” of your kitchen floor. Even in modern homes, floors are rarely perfectly level. Use this high point as your baseline to measure up and mark your cabinet bottom line. This ensures your uppers appear level even if the floor has a slight slope. We also recommend installing a “ledger board” for temporary support. Screw a straight piece of 1×4 lumber into the studs exactly at your bottom line. This board supports the cabinet’s weight during the mounting process, allowing you to focus on driving the screws. Always pre-drill your holes through the cabinet’s hanging rail to prevent the wood from splitting.
Finishing Touches: Trim, Lighting, and Hardware
The details are what elevate a standard kitchen to a high-end space. Light valances are a smart addition if you plan to install under-cabinet LED strips. These trim pieces hide the wires and bulbs, providing a clean, professional glow on your countertops. When it comes to hardware, choose pulls that complement the clean lines of the shaker door. Sleek matte black or brushed brass bar pulls often work best with the minimalist aesthetic. Finally, you may encounter small gaps where the cabinet meets an uneven wall. Scribing filler pieces allows you to trim the wood to follow the wall’s exact contour for a seamless fit. Once you have your layout planned, you can shop our full selection of wall shaker cabinets to find the perfect match for your home.
Why Source Your Wall Shaker Cabinets from DIY Depot USA?
Choosing the right supplier is just as vital as the quality of your tools. At DIY Depot USA, we bridge the gap between professional-grade materials and DIY accessibility. By offering warehouse-direct pricing, we eliminate the retail markups typically found at big-box stores. This economic advantage allows you to invest in a higher caliber of cabinetry, featuring all-wood plywood box construction that provides the structural integrity required for a safe wall shaker cabinet installation. Our commitment to quality also includes strict formaldehyde compliance, meeting California 93120 standards to ensure a healthy environment for your family.
Professional Design and Support Services
A successful outcome often hinges on the planning phase of your wall shaker cabinet installation. You don’t have to navigate this alone. Our expert designers work with you to optimize your vertical storage footprint, ensuring every inch of wall space is used effectively and looks balanced. We provide comprehensive measurement guides to guarantee a perfect fit, so you don’t face the frustration of a cabinet that’s an inch too wide for your wall. Our RTA collections are specifically engineered for ease of assembly, with clear instructions that make the process straightforward even for first-time renovators. You can Shop our Wall Shaker Cabinet Collection to see the variety of sizes and finishes we have ready for your project.
National Logistics and Direct Delivery
We understand that shipping large cabinetry requires careful handling and reliable timing. Our national logistics network follows strict safety protocols to ensure your order arrives in pristine condition. When your warehouse-direct cabinets arrive, you’ll find everything organized and ready for the assembly phase. We’re committed to your project’s success from the initial design phase to the final installation. If you ever feel stuck or need clarification on a specific step, our team is just a phone call away to provide the neighborly support you need to finish your kitchen with confidence. We treat every customer like a partner in the renovation process, prioritizing your satisfaction over a simple transaction.
Elevate Your Kitchen with Confidence
Mastering your vertical storage is about more than just extra shelf space; it’s about creating a kitchen that feels balanced and professional. By prioritizing high-quality all-wood construction and following a methodical layout plan, you ensure your wall shaker cabinet installation is both safe and visually stunning. You now have the knowledge to navigate the “Golden Zone” for ergonomics and secure your units firmly to wall studs for long-term reliability.
The path to a premium kitchen doesn’t have to be stressful or overpriced. Through warehouse-direct pricing and free professional design support, you can achieve a high-end look while staying within your budget. Our all-wood cabinets are built to be durable and easy to assemble, providing the structural integrity you need for a successful renovation. We focus on providing the physical tools and the expert guidance necessary for your project to shine.
Start your kitchen transformation today; browse our Wall Shaker Cabinets
We’re here to support you every step of the way. Your dream kitchen is well within reach, and we can’t wait to help you bring that vision to life.
Frequently Asked Questions
What is the standard height for wall shaker cabinets?
Standard wall cabinets are typically available in heights of 30, 36, and 42 inches. Your choice should align with your ceiling height and desired aesthetic. For 8-foot ceilings, 30-inch cabinets work well with soffits, while 36-inch units provide a more contemporary look. If your ceilings are 9 feet or higher, 42-inch cabinets are ideal for maximizing vertical storage. Remember to maintain an 18-inch clearance above your countertops for optimal workspace ergonomics.
Can I install wall cabinets by myself, or should I hire a pro?
You can successfully complete a wall shaker cabinet installation as a DIY project with the right preparation. Using tools like ledger boards and cabinet jacks can simplify the process and ensure safety. However, if your layout is complex or you’re working with heavy all-wood units, hiring a professional can save time and prevent errors. We provide expert assembly and installation services to help you achieve a high-end result without the stress of doing it alone.
What is the difference between RTA and pre-assembled wall cabinets?
RTA cabinets arrive in flat packs, which makes them more affordable to ship and easier to move into tight spaces. They are engineered for straightforward assembly using basic tools. Pre-assembled cabinets come ready to hang but often involve higher shipping costs due to their bulk. Both versions in our inventory feature durable all-wood plywood box construction. Choosing between them usually comes down to whether you prefer to save money or save time during your remodel.
How much weight can a standard shaker wall cabinet hold?
A standard all-wood wall cabinet can generally support between 50 and 75 pounds per linear foot. This capacity relies on a proper installation where screws are driven directly into wall studs through the hanging rail. Plywood boxes are specifically chosen for their strength and ability to hold fasteners securely over time. To ensure long-term stability, it’s best to place heavier items on the bottom shelf and distribute the weight evenly across the entire cabinet width.
Do wall shaker cabinets come with adjustable shelves included?
Our wall shaker cabinets include adjustable shelving as a standard feature. These shelves are crafted from 3/4-inch plywood to ensure they don’t sag under the weight of heavy dishes or pantry items. The ability to move shelves up or down allows you to customize the interior for everything from tall blenders to short spice jars. This adaptability makes it much easier to keep your kitchen organized and efficient as your storage needs evolve over time.
How do I choose the right color for my upper cabinets?
Selecting a color for your upper cabinets depends on the lighting and size of your kitchen. White shaker cabinets are popular because they brighten the room and create an airy, open feel. If you prefer a bolder look, darker shades like navy can add depth and a modern touch to the space. You might also consider a two-tone approach where uppers are a lighter color than the base units to keep the room from feeling top-heavy.
What are bridge cabinets used for in a kitchen layout?
Bridge cabinets are shorter units designed to fit in restricted spaces, such as above a refrigerator or a kitchen sink. They allow you to maintain a consistent line of cabinetry across the wall for a polished look. During a wall shaker cabinet installation, these units are essential for utilizing every available inch of vertical storage. They are perfect for seasonal items or large platters that you don’t need to access on a daily basis.
How do I clean and maintain painted shaker cabinets?
Cleaning your painted shaker cabinets is straightforward and doesn’t require specialized products. A soft cloth dampened with warm water and a drop of mild dish soap is usually all you need to remove grease. It’s important to avoid abrasive pads or cleaners containing bleach, as these can dull the finish. Always wipe the cabinets dry with a clean cloth afterward to prevent moisture from settling into the corners of the recessed center panels.