
A shaker cabinet’s door style is timeless, but the way you arrange them is what actually defines your home’s era. It’s natural to worry that a standard configuration might look generic or struggle to accommodate the high-tech appliances of 2026. You want a space that feels custom and intentional, not like a carbon copy of every other renovation on the block. Finding the right shaker cabinet layout ideas is the secret to making a classic choice feel entirely your own.
We know that the leap from an RTA order to a professional-grade kitchen can feel a bit daunting, especially when you are managing the fear of measurement mistakes. You deserve a layout that works as hard as you do while maintaining that clean, minimalist aesthetic you love. In this article, you will discover how to optimize your home with versatile shaker cabinet configurations that balance modern efficiency with classic style. We will preview five design strategies to maximize your vertical storage, master the kitchen work triangle, and ensure your final result looks like it was handled by a seasoned pro, all while staying within a warehouse-direct budget.
Key Takeaways
- Learn why the simple five-piece construction of shaker cabinets remains the most versatile choice for both modern and traditional home designs.
- Explore functional shaker cabinet layout ideas like L-shaped and U-shaped configurations to maximize your kitchen’s work triangle and efficiency.
- Discover how to eliminate “dust gaps” and maximize storage by utilizing 36-inch or 42-inch wall cabinets and specialized corner units.
- See how to maintain a cohesive look throughout your home by adapting shaker styles for bathroom vanities and entryway drop zones.
- Understand the critical steps of accurate measurement and professional design support to turn your warehouse-direct project into a professional-grade success.
The Versatility of Shaker Cabinetry in Modern Layouts
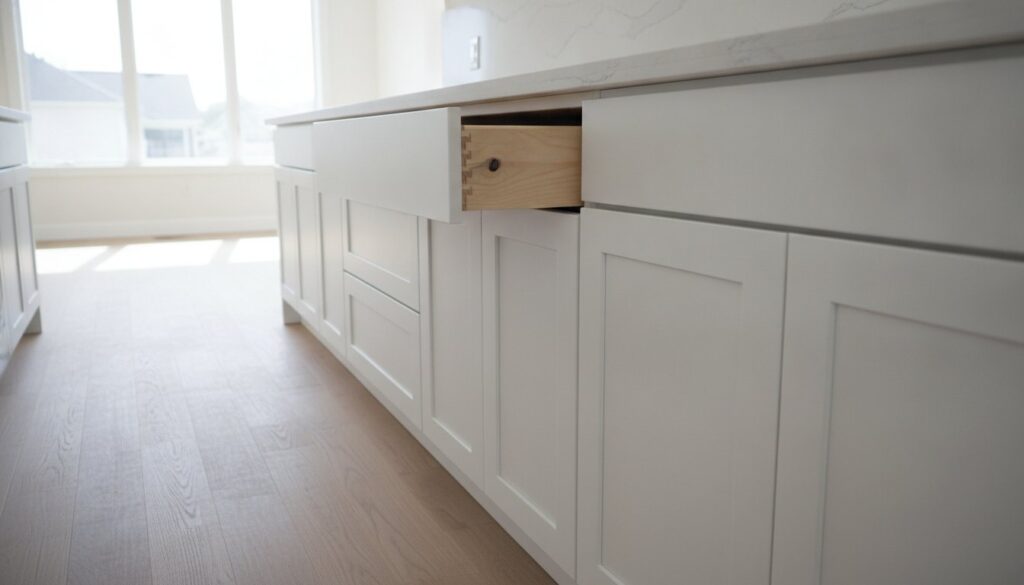
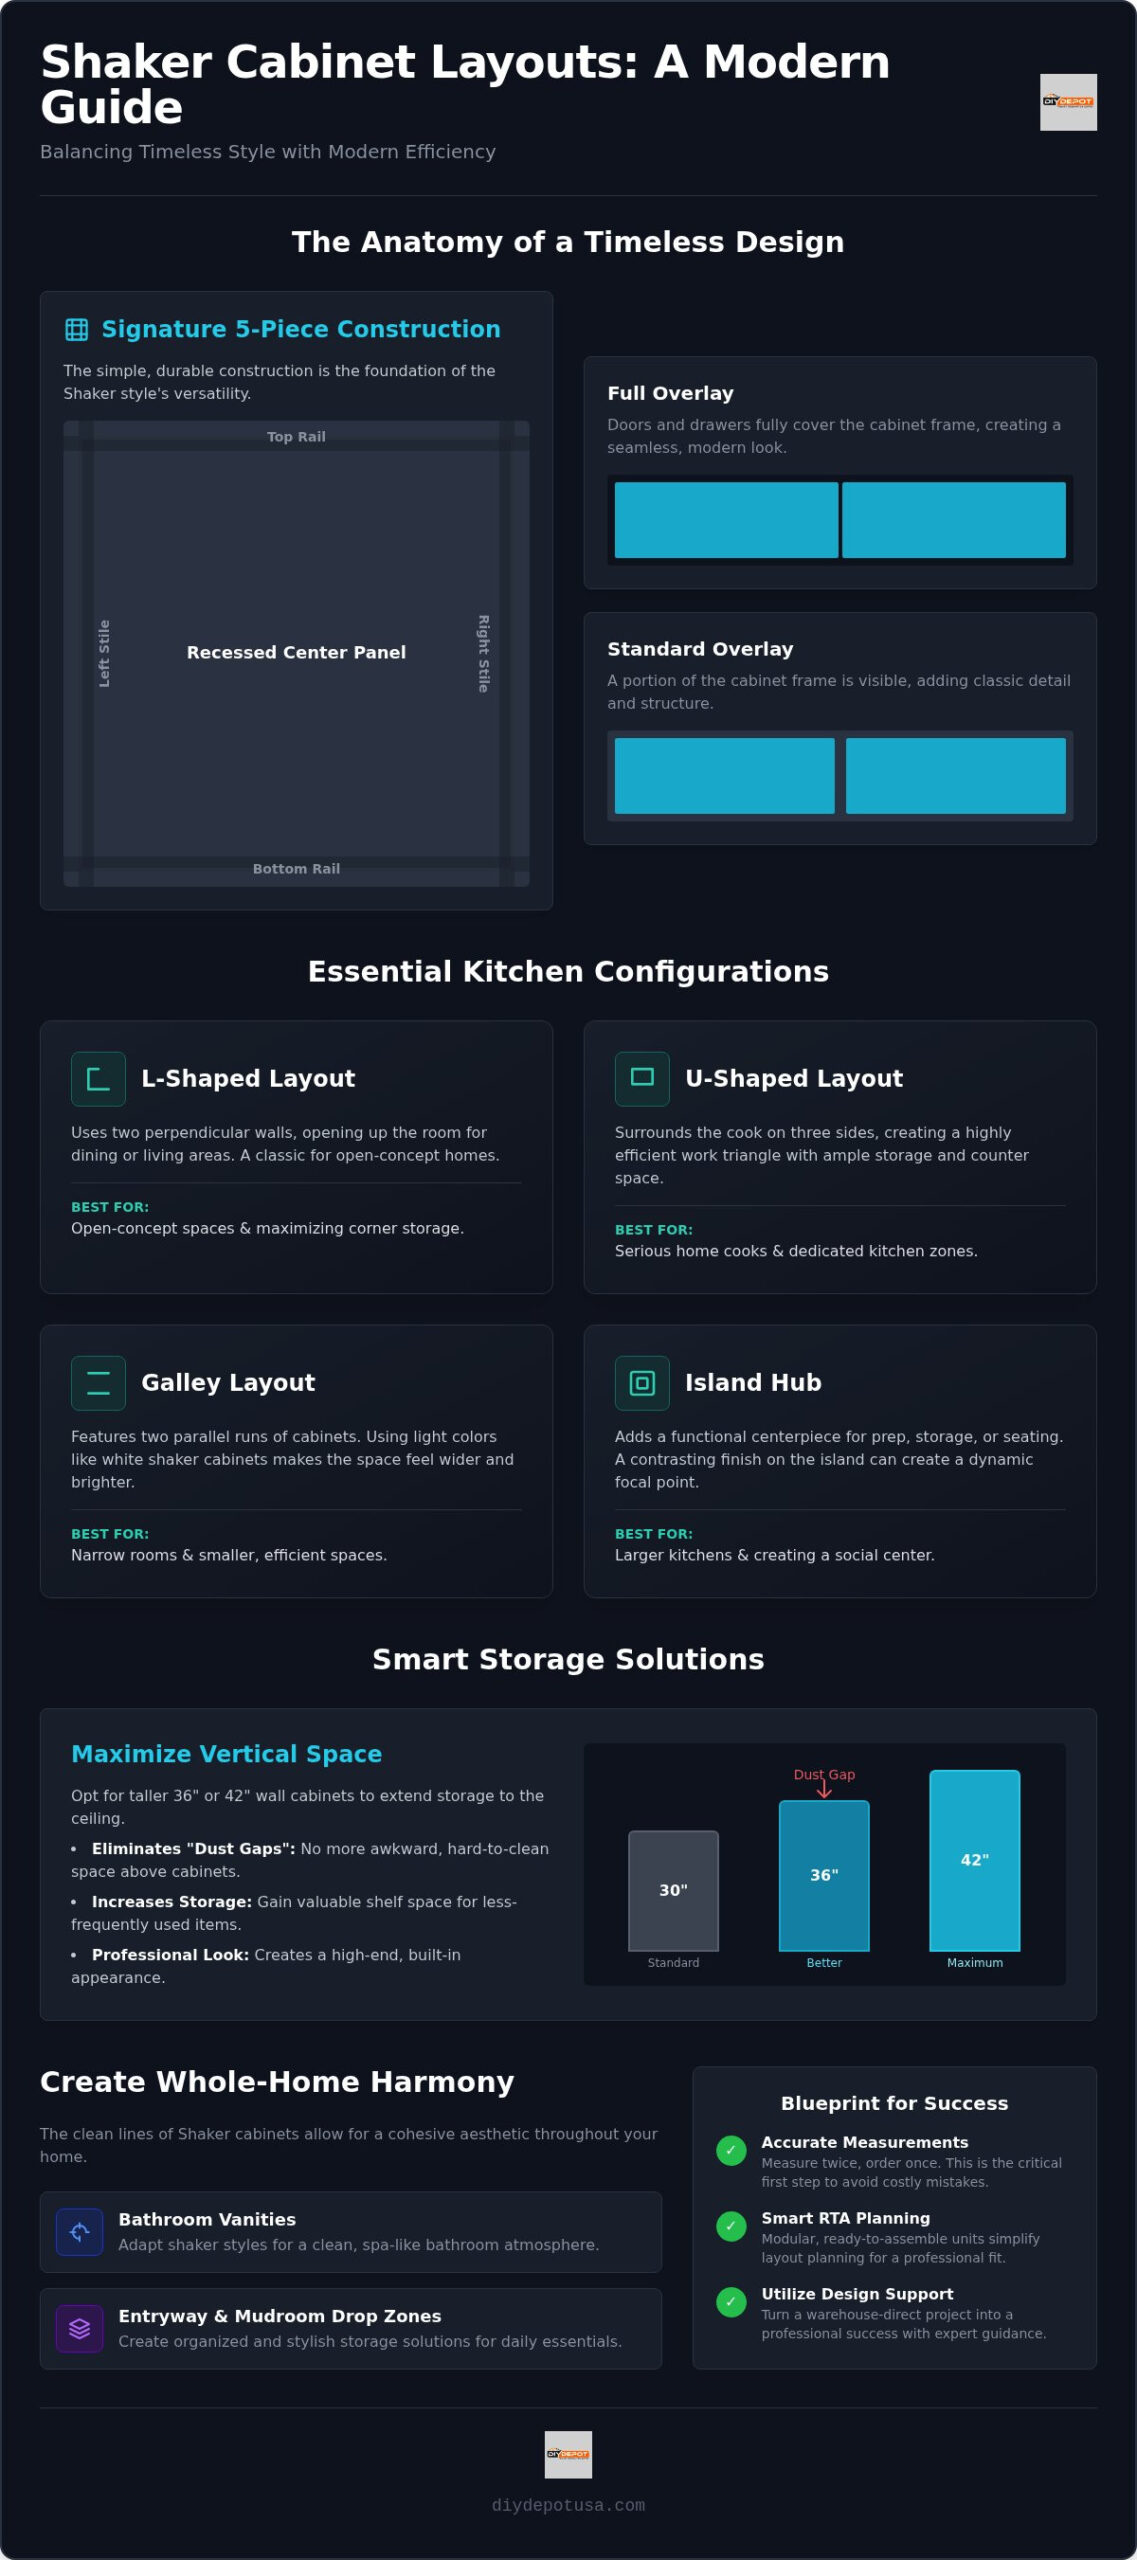
Shaker cabinets are easily identified by their signature five-piece door construction and recessed center panel. This design isn’t just a trend; it’s a legacy of Shaker design principles that emphasize honesty, utility, and simplicity. Because they lack heavy ornamentation, these cabinets serve as a versatile foundation for almost any home renovation. Whether you’re aiming for a sleek, minimalist kitchen or a warm, traditional space, the right shaker cabinet layout ideas will help you achieve that balance.
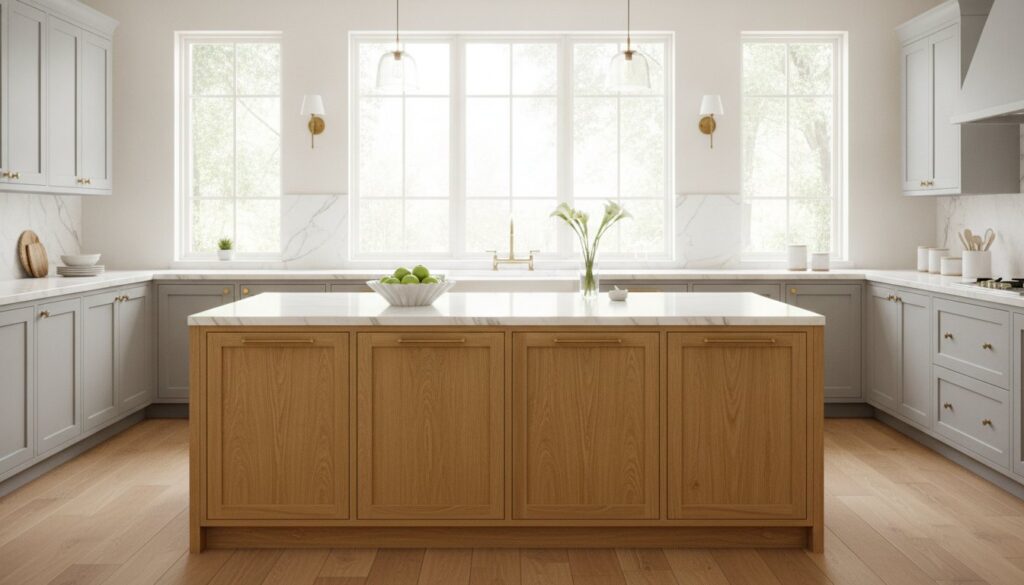
Think of shaker units as a blank canvas for your home. The way you choose to arrange them, combined with your choice of hardware, can completely redefine the room’s character. For instance, pairing white shaker wall cabinets with slim, modern pulls creates a crisp 2026 aesthetic. Conversely, using natural wood tones with traditional cup pulls brings a sense of timeless comfort. This versatility allows you to create a cohesive whole-home aesthetic. You can carry the same style from your kitchen base shaker cabinets into your bathroom using vanity shaker cabinets, ensuring a seamless transition between rooms.
Why Shaker Cabinets Suit Any Floor Plan
One primary reason shaker styles remain the gold standard for floor planning is their clean, geometric profile. In smaller layouts, ornate detailing on cabinet doors can often feel cluttered or overwhelming. Shaker cabinets avoid this pitfall. Their flat frames keep the visual weight light, which is especially helpful in tight L-shaped or galley configurations. It’s a simple way to make a compact space feel much larger than it actually is.
The standardized sizing found in shaker units also simplifies the modular planning process for RTA (ready-to-assemble) projects. It’s easier to map out your storage when the units are predictable and functional. Additionally, the recessed panel creates subtle shadows that add depth to the room. In a long run of cabinetry, these shadows provide a visual break, preventing the layout from looking like a flat, monotonous wall. It’s a small detail that makes a big difference in how professional the final design feels. These subtle lines give your shaker cabinet layout ideas a sense of architectural purpose.
Choosing Between Inset and Overlay Shaker Layouts
When finalizing your layout, you’ll need to decide on the “overlay” style, which significantly impacts the visual rhythm of the room. Full overlay shaker cabinets are a popular choice for modern designs. In this configuration, the doors and drawer fronts almost entirely cover the cabinet frame. This creates a seamless, “wall-of-cabinets” effect that feels very high-end and streamlined. It’s perfect for homeowners who want a clean, uninterrupted look.
If you prefer a more traditional look, standard overlay options are an excellent, budget-friendly alternative. These leave a portion of the cabinet frame visible around each door. The spacing between the doors creates a distinct vertical and horizontal grid across your walls. This grid adds a sense of structure and classic charm to the space. Whether you choose full or standard overlay, the goal is to create a layout that feels balanced and intentional for your specific home.
Essential Kitchen Configurations: Mapping Your Shaker Layout
Choosing the right configuration is the foundation of a successful renovation. It determines how you move through the space and affects the overall “flow” of your home. When you’re exploring shaker cabinet layout ideas, you’ll find that the simplicity of the shaker style makes it easy to adapt to several classic home designs, such as those featured by Turnkey Floor Plans. Each layout has a logic behind it, designed to solve specific spatial challenges while keeping your home functional and stylish.
- L-Shaped Layout: This is a favorite for open-concept homes. It uses two perpendicular walls to maximize corner space with shaker base cabinets, leaving the rest of the room open for a dining area or living space.
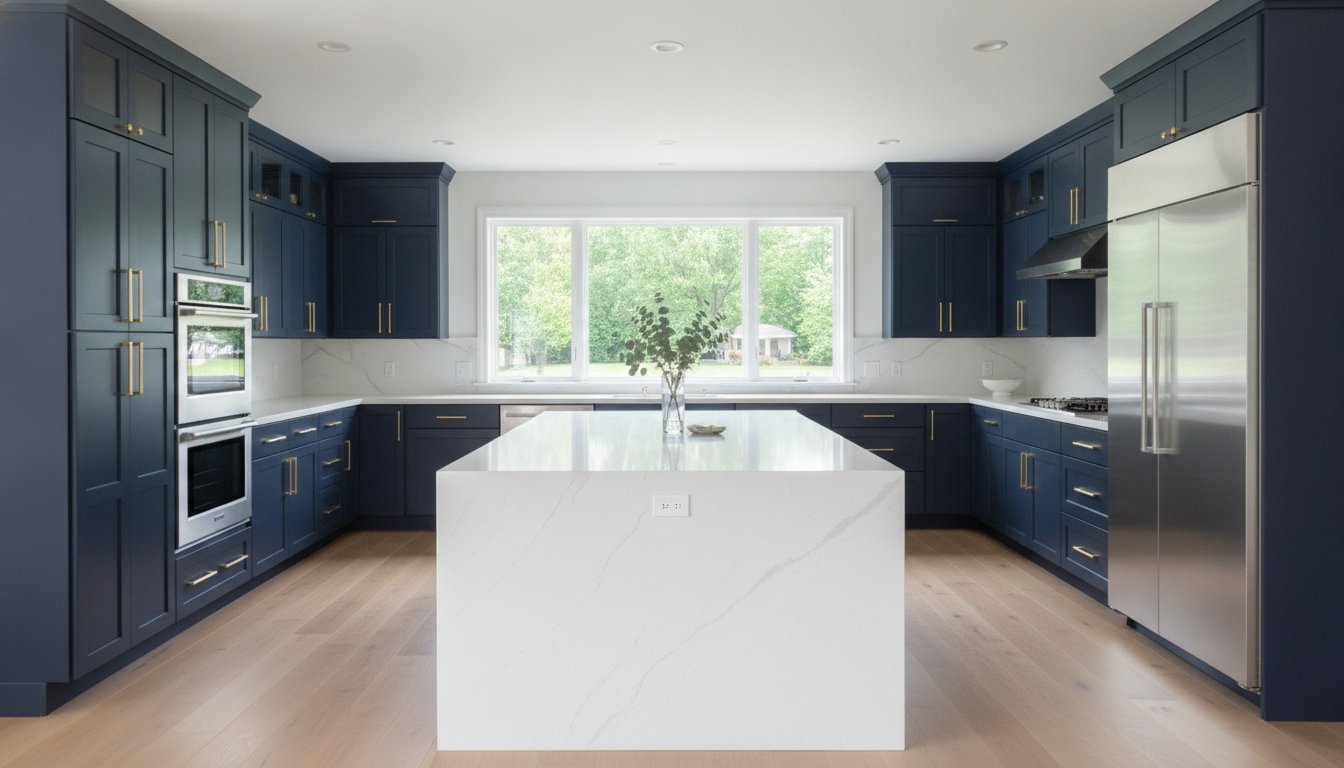
- U-Shaped Kitchen: If you’re a serious home cook, this configuration creates a high-efficiency zone. It surrounds you with storage and prep surfaces on three sides, minimizing the steps you take between stations.
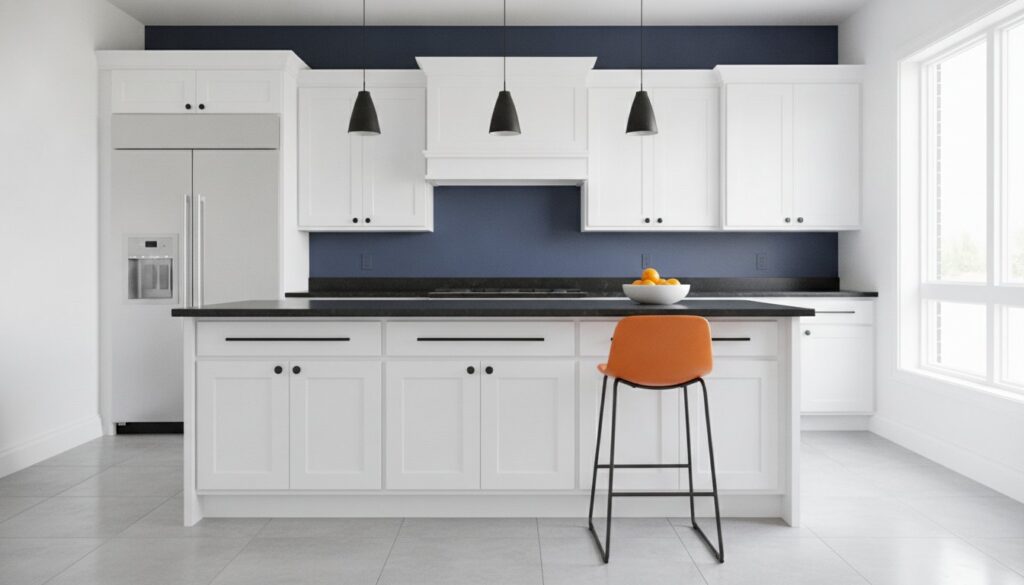
- Galley Kitchen: Narrow spaces don’t have to feel cramped. Using white shaker wall cabinets in a galley layout keeps the room bright and airy, reflecting light to make the walkway feel wider.
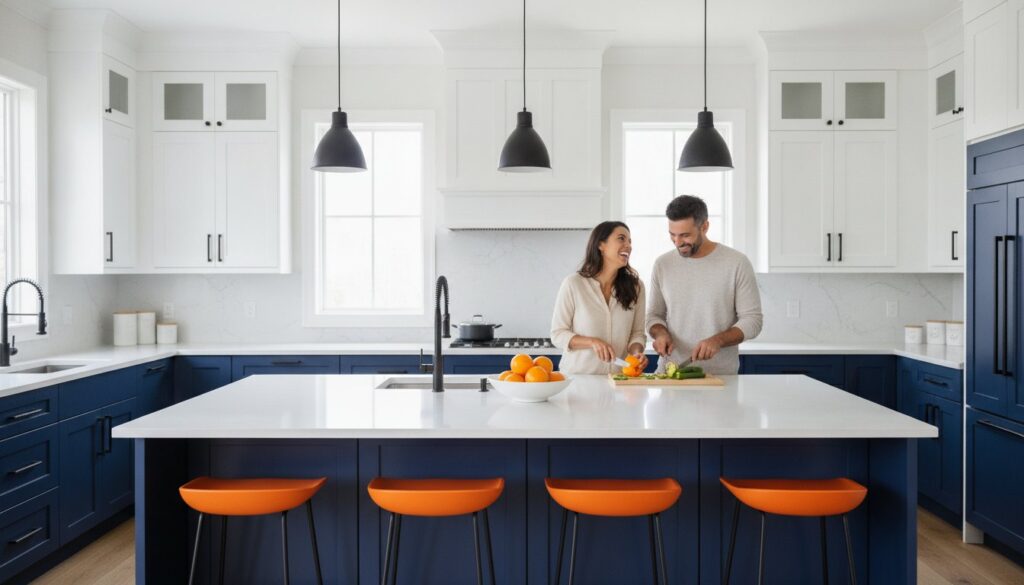
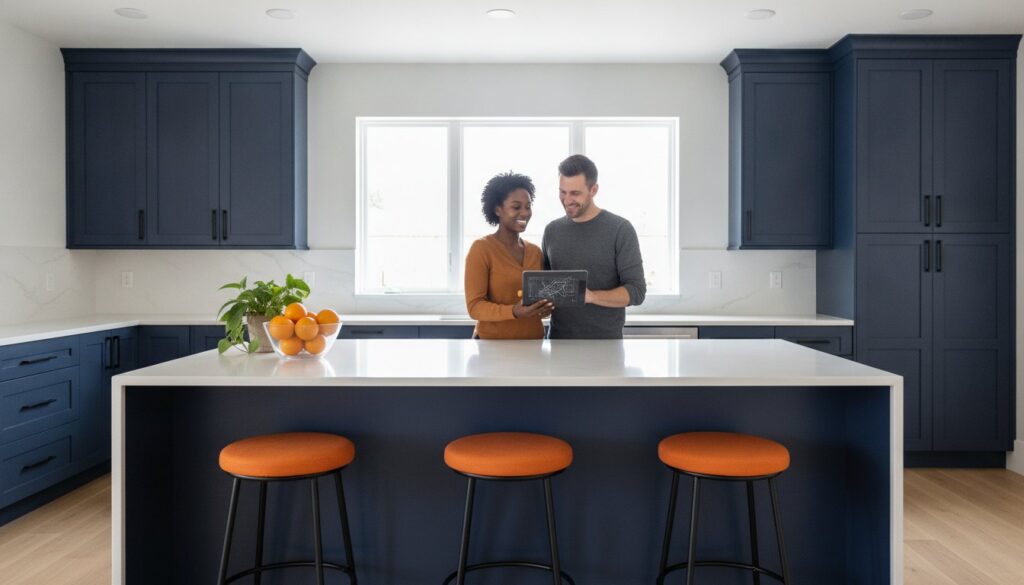
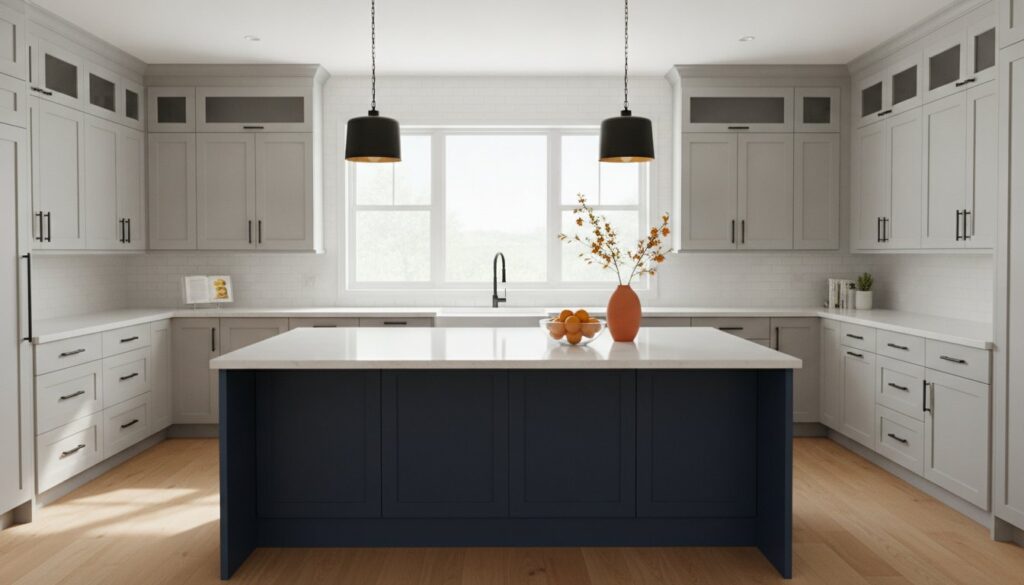
- Island Hub: For larger kitchens, an island serves as a functional focal point. You can even use a contrasting finish on your shaker island to add visual interest without clashing with the perimeter cabinets.
The Work Triangle in a Shaker Kitchen
The “work triangle” is a time-tested concept that connects your sink, stove, and refrigerator. Positioning these three elements correctly is vital for a functional kitchen. Following established kitchen design rules helps you avoid a layout that feels clunky or disorganized. For maximum efficiency, each leg of the work triangle should ideally measure between four and nine feet. You also need to plan for door clearance. Ensure your shaker cabinet doors can open fully without hitting your appliances or blocking another person’s path through the room. It’s these small details that separate a DIY project from a professional result.
Incorporating Islands and Peninsula Seating
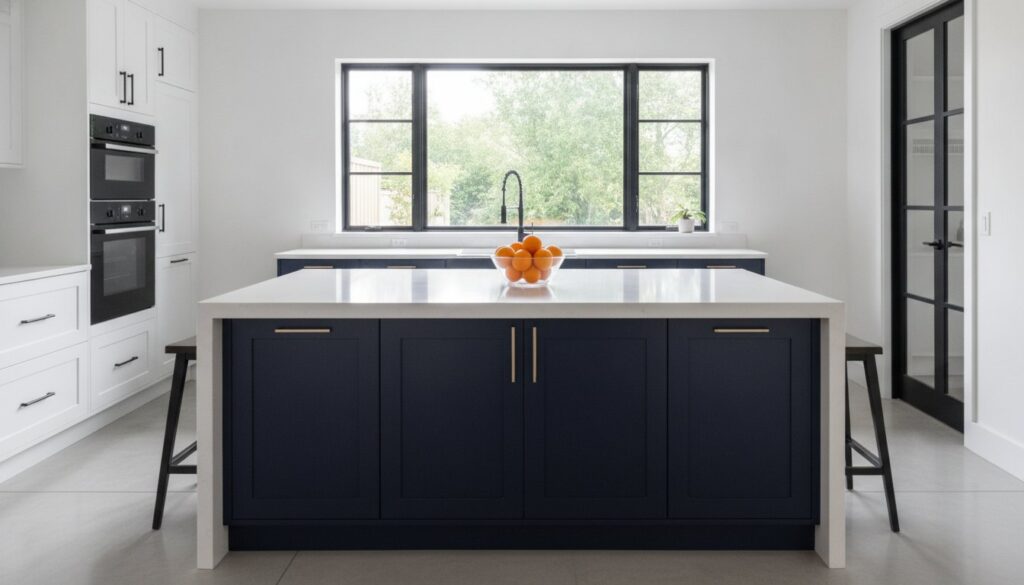
Islands are incredibly versatile tools in your design toolkit. You can use standard base shaker cabinets to build a custom-width island that fits your specific needs, whether that’s extra prep space or a dedicated baking station. Some modern shaker cabinet layout ideas feature “waterfall” countertops that wrap over shaker end panels, creating a sleek and high-end look. If you’re tight on space, a peninsula offers many of the same benefits as an island but connects directly to a wall. Don’t forget to optimize the back of your island with shallow cabinets for extra storage or enough knee space for comfortable seating. If you’re feeling stuck on the math, our team provides professional kitchen design support to help you get every measurement just right.
Maximizing Storage with Vertical and Corner Layout Ideas
Storage is often the biggest source of frustration in a kitchen remodel. Your shaker cabinet layout ideas should focus on making every inch of your floor plan work for you. One of the most effective ways to do this is by looking up. Traditional layouts often leave a gap between the top of the cabinets and the ceiling, which quickly becomes a “dust gap” that serves no purpose. By opting for 36-inch or 42-inch wall shaker cabinets, you can eliminate this gap and gain significant storage for items you only use occasionally.
Another growing trend for 2026 is the “wall of storage.” This involves grouping tall pantry units with standard wall cabinets to create a massive, floor-to-ceiling storage zone. To finish the look, use bridge cabinets over your refrigerator and sink. This simple strategy creates a built-in appearance that makes your RTA project look like it was designed by a high-end custom shop. It’s an easy way to achieve a professional look on a warehouse-direct budget.
Wall Cabinet Height Strategies
Standard layouts often benefit from a bit of variety in cabinet heights. You can use 12-inch bridge cabinets to create a functional microwave station, which frees up valuable prep space on your base cabinets. If you prefer a more traditional aesthetic, staggered cabinet heights can add a layer of visual texture to the room. For specific height specs and planning tips, see The 2026 Guide to Kitchen Shaker Cabinets: Expert Wall Storage Solutions. These small adjustments help your layout feel customized to your daily routine.
Solving the Corner Cabinet Dilemma
Corners are where many DIY designs run into trouble. You have to choose between a Lazy Susan and a Blind Base shaker unit. Lazy Susans are excellent for visibility, while Blind Base units are often better for storing heavy pots and pans. You also have to decide between diagonal corner wall cabinets and 90-degree “L” corners. Diagonal units offer more storage volume, but 90-degree corners provide a sleeker, more modern aesthetic.
Accurate measurement of the “reach-in” space is essential for these units. If the opening is too narrow, the cabinet becomes a “black hole” for lost kitchen tools. You also need to plan your hardware carefully. Large pulls can sometimes hit adjacent drawers in a tight corner layout. Keeping these clearances in mind ensures your shaker cabinet layout ideas result in a kitchen that is as easy to use as it is to look at.
Whole-Home Harmony: Shaker Layouts for Bathrooms and Beyond
Shaker style is a design chameleon. It transitions beautifully from the kitchen into every other corner of your house. By applying consistent shaker cabinet layout ideas across multiple rooms, you create a sense of architectural unity that makes your home feel more expensive and well-planned. To see how this unity is achieved in elite properties, looking at the work of Donna Livingston Design can provide valuable design cues. It’s an effective strategy for homeowners who want a professional finish without the high cost of custom-built units. This whole-home approach ensures that your aesthetic remains steady as you move from one space to the next.
Designing the Perfect Shaker Vanity Layout
Bathrooms require a careful balance between storage needs and available floor space. For smaller guest baths or powder rooms, a single vanity shaker cabinet provides enough room for essentials while keeping the area open and uncluttered. In larger master suites, a double vanity configuration is often the preferred choice to accommodate two people comfortably. You can find inspiration for these setups in this guide to Bathroom Vanities: The 2026 Guide to Quality. Coordinating your bathroom shaker styles with your kitchen cabinetry ensures that your home’s design language feels intentional and cohesive.
Mudrooms and Laundry Room Transitions
Mudrooms are the hardworking “drop zones” of the modern home. You can use tall shaker cabinets to create locker-style storage for coats, bags, and shoes. This layout keeps daily clutter behind closed doors and maintains a tidy entryway for guests. In the laundry room, layout efficiency is the top priority. We recommend incorporating base shaker cabinets with heavy-duty countertops to create a dedicated folding station that can withstand daily use. Shaker wall cabinets are also perfect for hiding detergents, iron boards, and utility supplies, keeping the room looking organized and clean even on laundry day.
Don’t overlook the potential of a home office or library. You can build custom desks and extensive shelving units using a combination of base shaker cabinets and wall units. This provides a professional workspace with plenty of hidden storage for files, printers, and office equipment. Whether you are upgrading a single room or planning a whole-home renovation, you can browse our shaker cabinets to find the perfect fit for your next project. Using these modular pieces allows you to achieve a built-in look in any room of the house.
From Concept to Reality: Planning Your RTA Shaker Project
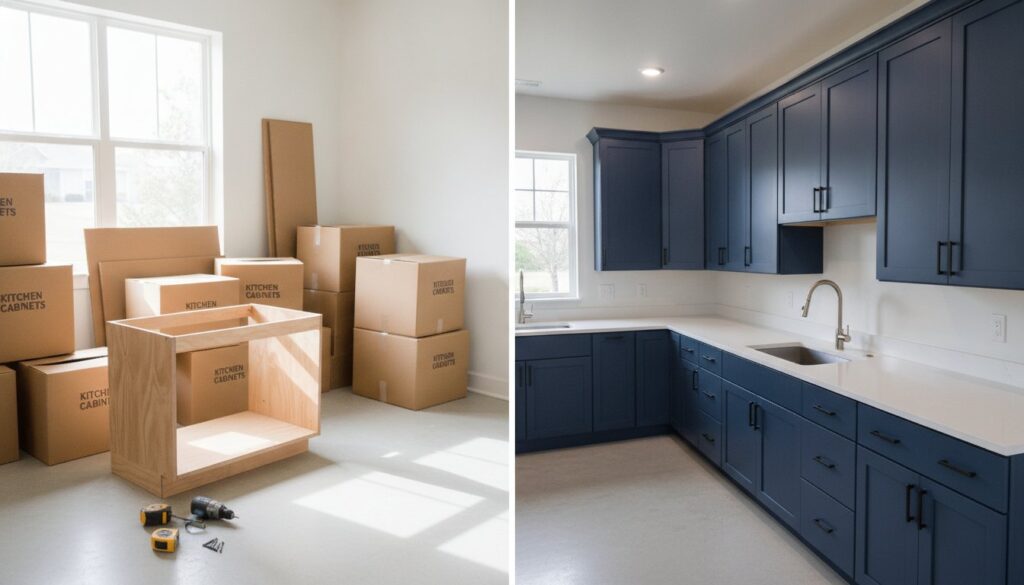
Turning your favorite shaker cabinet layout ideas into a physical reality requires more than just a good eye for design. It’s a structured process that starts with the most critical step: accurate measurements. Even a half-inch error can cause a domino effect across your entire wall, leaving you with gaps or doors that won’t open. We recommend measuring your space twice, and then measuring it again. You need to account for every window frame, electrical outlet, and plumbing line to ensure your warehouse-direct cabinets fit perfectly on delivery day.
The Value of Professional Design Support
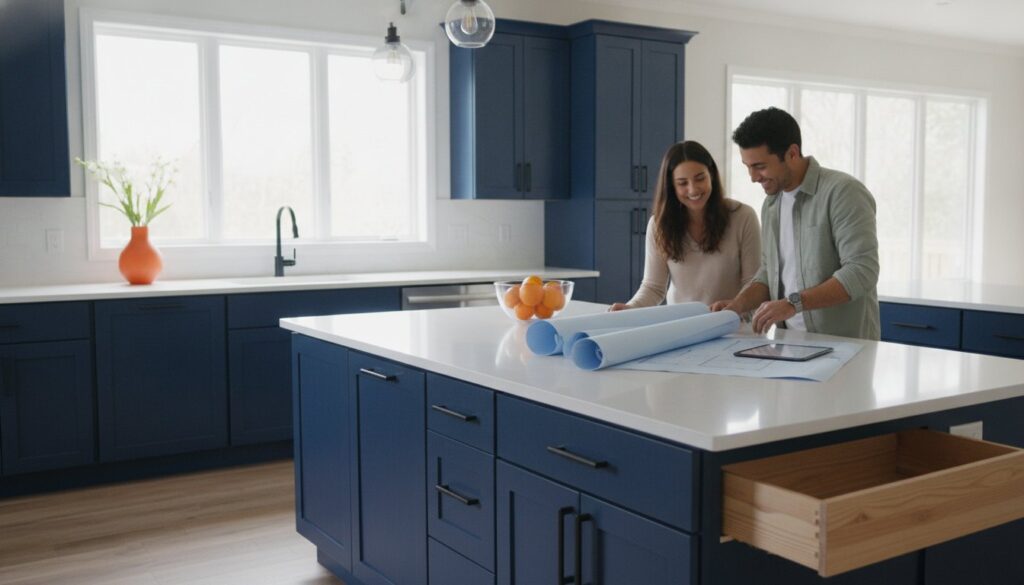
While it’s tempting to jump straight into ordering, utilizing expert help can save you from expensive mistakes. A professional designer helps you visualize the flow of your shaker layout before a single box arrives. They’re trained to spot “dead corners” where storage becomes inaccessible or areas where appliance clearances might clash with cabinet hardware. By using Professional Kitchen Design Services: A Resource for Smart Renovations, you can refine your plan to ensure every inch of your kitchen is functional and beautiful.
Designers also help you balance the visual rhythm we discussed in earlier sections. They can suggest where to place bridge cabinets or how to align your wall units with your base shaker cabinets for a symmetrical, high-end look. This partnership bridges the gap between a standard RTA order and a custom-feeling renovation that fits your home’s specific footprint. It’s the best way to ensure your layout feels intentional rather than generic.
Assembly and Installation Considerations
Once your cabinets arrive, you face a choice between DIY assembly and hiring a professional. Shaker cabinets are prized for their clean lines, but those lines only look good if they’re perfectly level. A professional installation is often the difference between a kitchen that looks like a weekend project and one that feels like a custom-built masterpiece. This is especially important for large shaker cabinet layout ideas that include islands or long galley runs where even slight misalignments become obvious.
Combining warehouse-direct pricing with expert assembly gives you the best of both worlds: significant savings and a flawless finish. Professionals have the tools and experience to handle shimming and leveling on uneven floors, which is a common challenge in older homes. You can review a full DIY vs. Professional Cabinet Installation cost-benefit analysis to see which path fits your budget and skill level. Whether you choose to build them yourself or hire our team, the goal is a sturdy, level installation that stands the test of time.
Build Your Future Kitchen Today
A successful renovation is about more than just picking a door style. It’s about how those doors work together to create a space that feels both modern and functional. By exploring these shaker cabinet layout ideas, you’ve taken the first step toward a home that balances efficiency with classic design. Whether you’re maximizing vertical storage or creating a cohesive look across your mudroom and bathroom, the right configuration makes all the difference.
You don’t have to tackle this complex project alone. We’re here to bridge the gap between DIY savings and professional-grade results. You can take advantage of our warehouse-direct pricing on all shaker units and simplify the process with our professional assembly and installation services. We even offer direct free delivery for regional orders to keep your project moving forward without any added stress.
Ready to turn your vision into a reality? Start your free professional kitchen design today. We look forward to helping you build a home you’ll love for years to come.
Frequently Asked Questions
How do I choose the best layout for a small kitchen with shaker cabinets?
For compact spaces, a galley or L-shaped configuration is usually the best choice. These layouts keep the floor plan open and prevent the room from feeling cramped. We recommend using white or light-colored wall shaker cabinets that reach the ceiling to draw the eye upward. This simple trick makes a small room feel much larger while providing the extra storage you need for a functional kitchen.
Can I mix different shaker cabinet colors in the same layout?
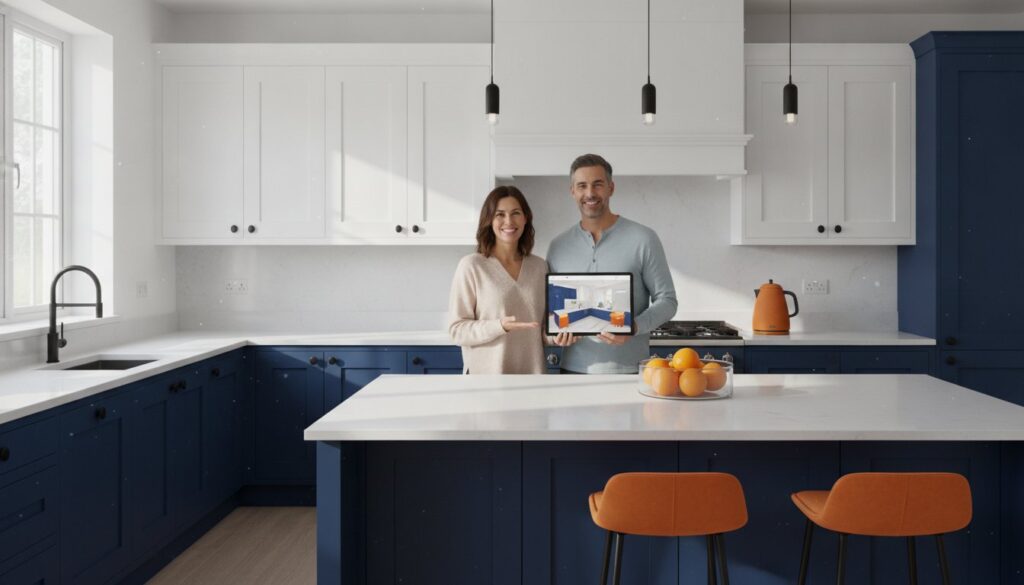
Yes, mixing colors is a popular way to add personality to your home. Many homeowners choose a “tuxedo” look by installing darker base shaker cabinets with lighter wall units. Another great option is using a bold, contrasting color for a kitchen island. To keep the design cohesive, try using the same hardware style across all units to tie the different colors together into one unified layout.
What is the most efficient layout for a high-traffic family kitchen?
A U-shaped layout or an open L-shaped plan with a central island works best for busy families. These configurations provide multiple work zones so more than one person can prep food at once. When planning these shaker cabinet layout ideas, remember to keep the legs of your work triangle between four and nine feet. This ensures that the sink, stove, and refrigerator are accessible without causing a traffic jam in the middle of the room.
Do shaker cabinets work better in modern or traditional layouts?
Shaker cabinets are unique because they work perfectly in both styles. Their clean, five-piece construction acts as a neutral foundation. For a modern look, you can choose full-overlay doors with minimalist bar pulls. If you prefer a traditional feel, standard-overlay doors paired with classic cup pulls or decorative knobs will achieve that timeless aesthetic. The final vibe depends more on your choice of hardware and finishes than the cabinet style itself.
How much space should I leave between a shaker island and the perimeter cabinets?
You should aim for at least 36 to 42 inches of clearance on all sides of your island. This provides enough room for cabinet doors and appliances, like dishwashers or ovens, to open fully without obstruction. If your kitchen often has multiple cooks working at the same time, increasing that distance to 48 inches will make the space much more comfortable. Proper spacing is a key part of successful shaker cabinet layout ideas.
Are shaker cabinets a good choice for a bathroom vanity layout?
They are an excellent choice for bathrooms because they provide a clean, uncluttered look that suits a relaxing environment. Using vanity shaker cabinets allows you to carry the same design language from your kitchen into your bathrooms for whole-home harmony. Because they are available in various modular sizes, you can easily configure them to fit anything from a small powder room to a large master suite with double sinks.
What are the benefits of using 42-inch wall shaker cabinets in a layout?
Using 42-inch wall units allows you to maximize your vertical storage and eliminate the “dust gap” typically found above shorter cabinets. This creates a more streamlined, built-in appearance that looks much more expensive than standard stock options. It’s a smart way to store seasonal items or bulky appliances that you don’t use every day. This choice adds significant value to your home while keeping your countertops clear of clutter.
How can I make my shaker cabinet layout look more custom and high-end?
The secret to a high-end look is in the details and the quality of the installation. Incorporating elements like crown molding, light rails, and bridge cabinets over the fridge creates a polished, tailored feel. We also recommend utilizing professional kitchen design support to ensure your measurements are perfect from the start. Finally, a professional installation ensures every unit is perfectly level, which is the hallmark of a custom-built kitchen project.