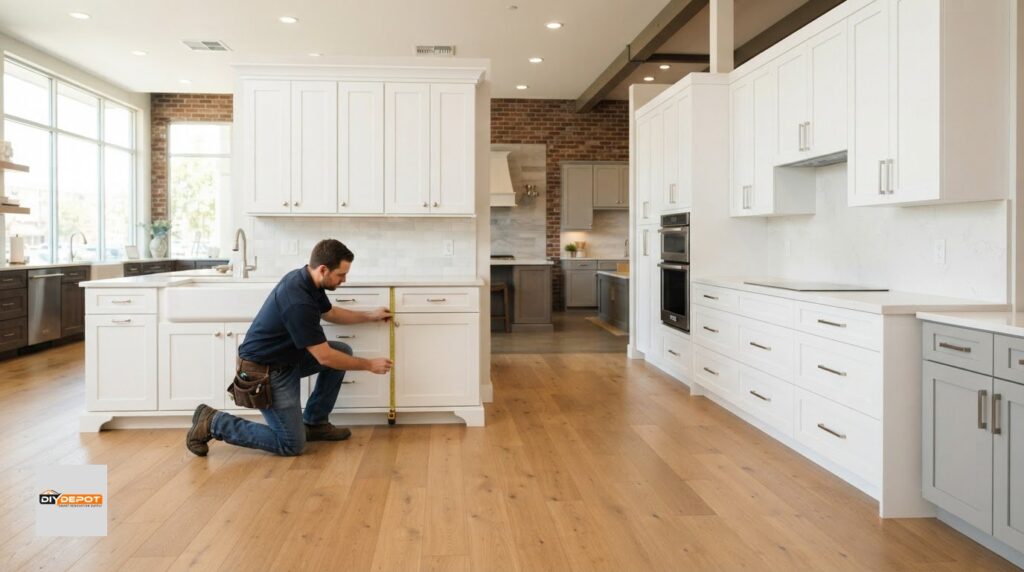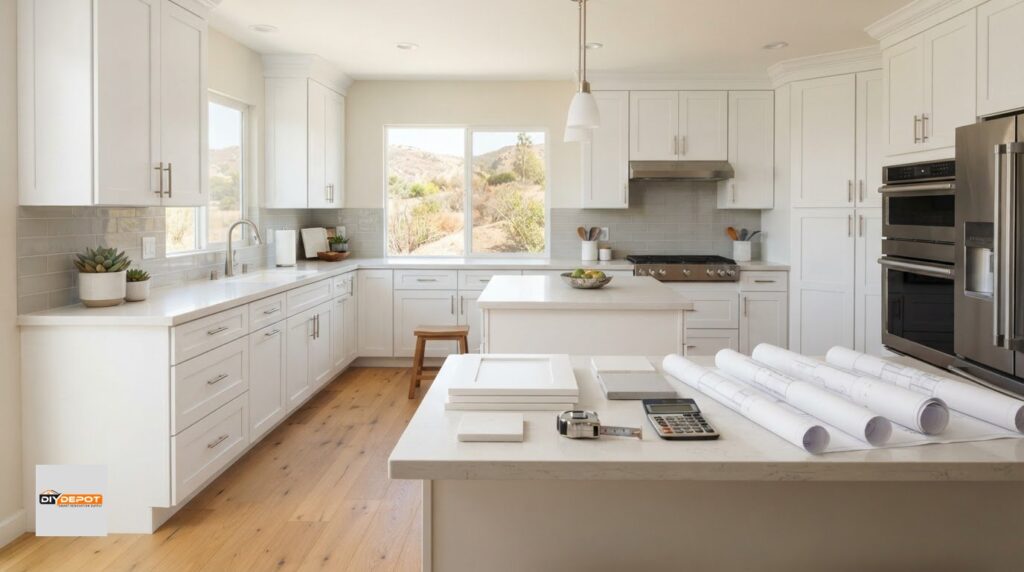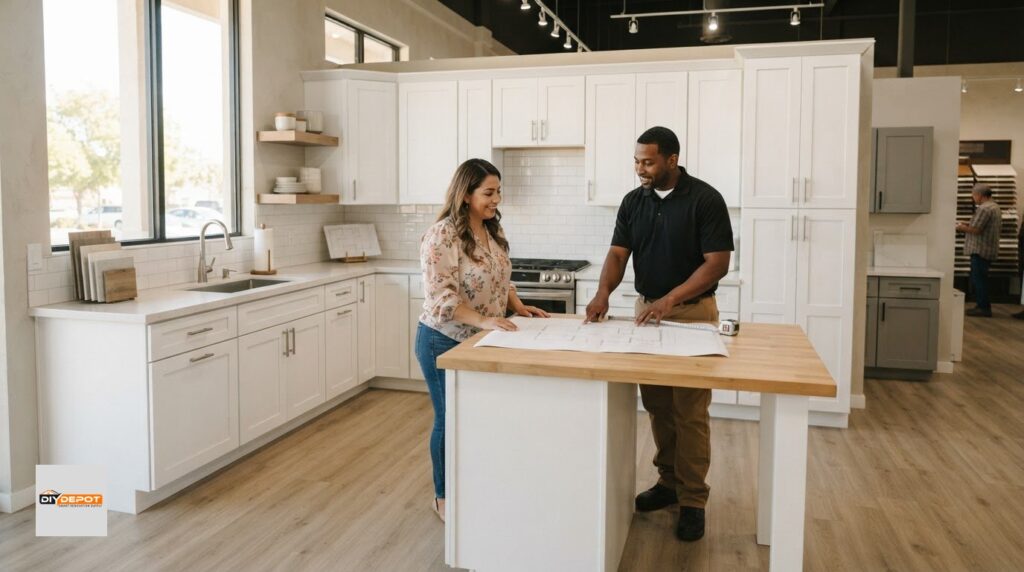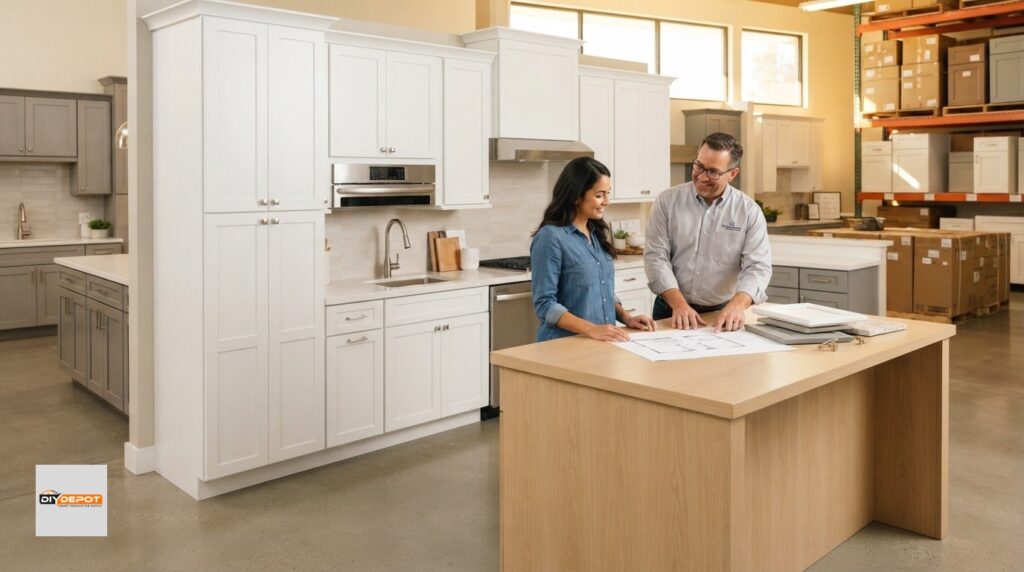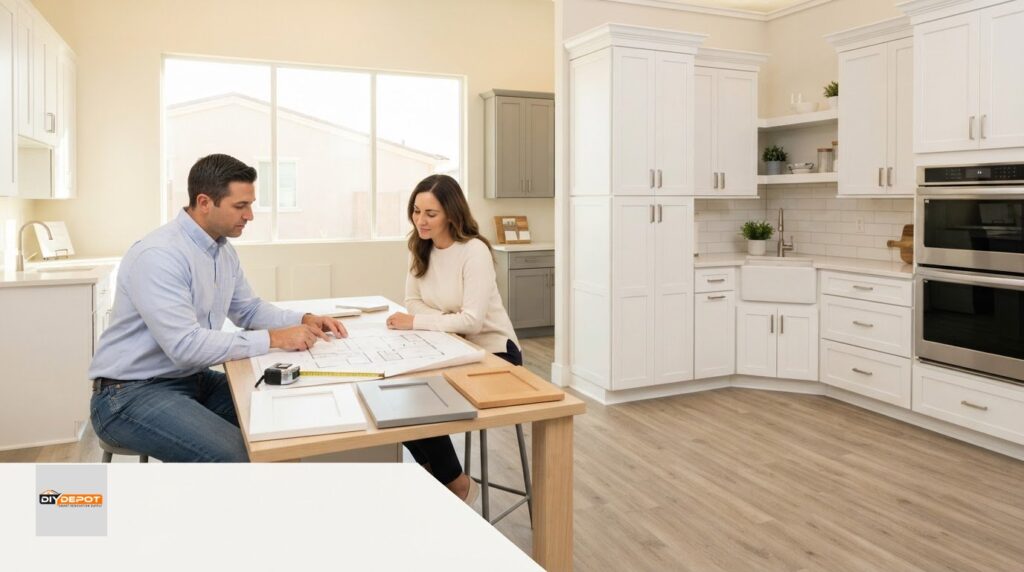

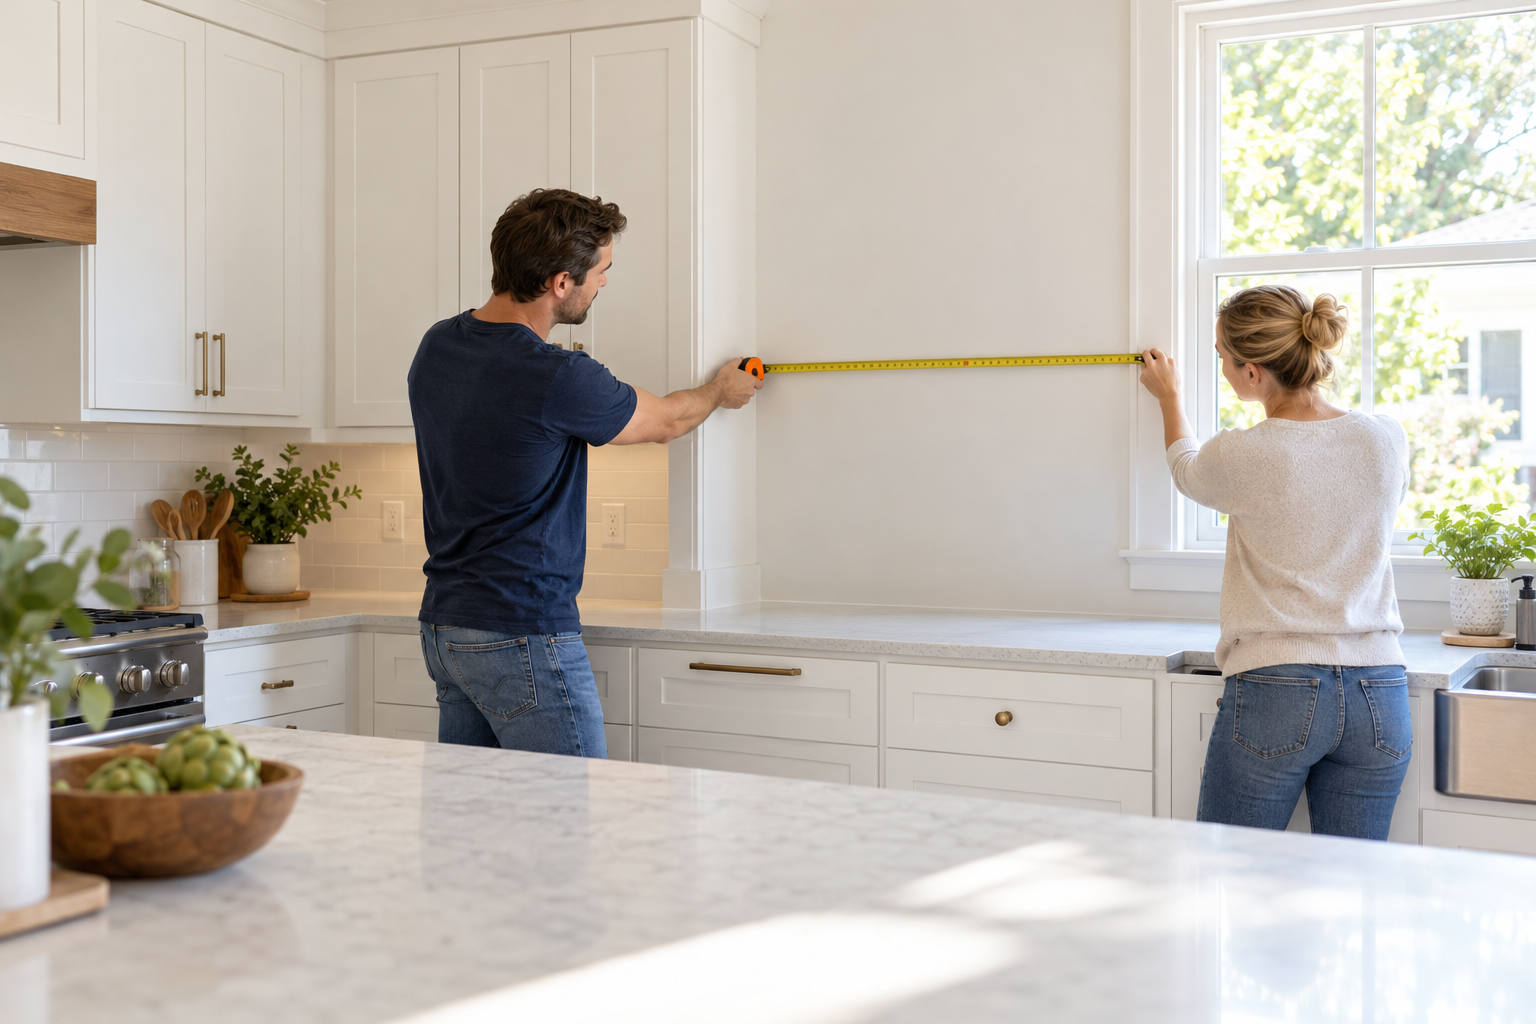
Before you order kitchen cabinets, you need to know the dimensions of your room. Measurements help you plan cabinet placement, appliance openings, and storage.
This guide explains how to measure your kitchen for cabinets and what information to bring to DIY Depot USA in Bakersfield.
1. Gather Your Supplies
You’ll need:
- A tape measure
- Paper or graph paper
- A pencil
- A phone for photos
- Someone to help hold the tape
Record everything in inches, including fractions. Write 120½ inches instead of rounding to 121 inches.
2. Draw Your Kitchen Layout
Sketch your kitchen as if you’re looking down from above. Your drawing does not need to be to scale.
Show each wall, window, doorway, and opening. Add the sink, refrigerator, range, dishwasher, and any island or peninsula.
Label your walls A, B, C, and D. Use those labels when recording measurements and taking photos.
Mark anything you plan to move, remove, or keep.

3. Measure Each Wall
Measure the full length of each wall from corner to corner. Measure the room itself rather than relying on the dimensions of your existing cabinets.
Next, measure the sections along that wall:
- Corner to the outside edge of window or door trim
- Width of the opening, including trim
- Outside edge of the trim to the next corner
For example, a wall might measure:
- Corner to window trim: 36 inches
- Window width, including trim: 48 inches
- Window trim to next corner: 60 inches
- Total wall length: 144 inches
Add the sections together and compare them with the full wall measurement. If they don’t match, measure again.
If cabinets or appliances block access, label that measurement as unverified.
4. Measure Windows and Doorways
For each window, record:
- Width and height of the opening
- Overall width and height, including trim
- Floor to the bottom of the sill or trim
- Distance from a wall corner to the outside edge of the trim
For each doorway, record:
- Opening width and height
- Overall width, including trim
- Distance from the trim to the nearest corner
- Direction the door swings
Include openings to dining rooms, hallways, and other rooms, even when there is no door.
These measurements help identify where cabinets, countertops, and doors could interfere with one another.
5. Measure Ceiling Height and Obstructions
Measure from the floor to the ceiling in several places. Record each measurement because floors and ceilings may vary.
If flooring will change, record that too. The finished floor height affects cabinet and appliance fit.
Include the location and dimensions of:
- Soffits or boxed areas above cabinets
- Beams
- Sloped ceilings
- Wall projections
- Posts
- Vents
Measure the underside of any soffit from the floor and record how far it extends from the wall.
6. Mark Plumbing, Electrical, and Gas Locations
On your sketch, mark:
- Sink drain and water connections
- Dishwasher connections
- Refrigerator water connection
- Gas connection
- Electrical outlets and switches
- Range hood duct or exhaust opening
- Heating and cooling vents
Where accessible, measure from a labeled corner to the center of each connection. Record its height above the floor.
For plumbing that comes through the floor, also record its distance from the wall.
Identify any connections you intend to move. Your cabinet plan should account for those changes.
7. Record Appliance Models and Dimensions
List every appliance that will be part of the kitchen:
- Refrigerator
- Range or cooktop
- Wall oven
- Microwave
- Dishwasher
- Range hood
Record the model number, width, height, and depth.
For replacement appliances, use the manufacturer’s specifications and installation instructions. The appliance’s outside dimensions do not always equal the required cabinet opening.
Include the sink model if you have selected one. Its installation requirements help determine the sink base cabinet size.
Account for handles, ventilation, door swings, and space needed to open drawers or remove refrigerator bins.
8. Measure Islands and Walkways
If you have an island or peninsula, record its length, width, and location.
Measure the distance between it and nearby countertops, walls, and appliances. State whether you measured from the cabinet box, countertop edge, or appliance front.
For a proposed island, mark where you want it on your sketch. Its size and placement need to work with appliance doors, seating, and movement through the kitchen.
9. Take Photos of the Room
Take photos of:
- Each wall from end to end
- Each corner
- Windows and doorways
- Plumbing and appliance connections
- Ceiling obstructions
- The kitchen from adjoining rooms
Match the photos to your wall labels. Include close-ups of anything that may affect cabinet placement.
Kitchen Measurement Checklist
Before you bring in your plans, gather:
- A sketch with labeled walls
- Full wall lengths and individual wall sections
- Window and doorway dimensions
- Ceiling heights
- Soffit and obstruction measurements
- Plumbing, electrical, gas, and vent locations
- Appliance model numbers and installation specifications
- Sink specifications, if selected
- Island dimensions and walkway measurements
- Photos
- A list of changes you want to make
Before You Order Cabinets
Use your measurements to start the design process. Have the dimensions and cabinet layout verified before ordering.
The review should include appliance openings, sink fit, corner access, fillers, finished panels, trim, and door and drawer clearances.
If demolition reveals different dimensions or you change appliances, flooring, or utility locations, update the plan before placing your order.
Start Planning Your Kitchen With DIY Depot USA
Bring your sketch, measurements, photos, and appliance details to DIY Depot USA in Bakersfield.
Tell us what you want to change, what storage you need, and your project budget.
Book an appointment to discuss your kitchen cabinet plans.
Still learning about cabinet options? Read What Are RTA Cabinets?.